Tmux is a terminal multiplexer tool that allows you to manage multiple terminal sessions within a single window. It is a versatile tool with a vast range of features, making it a superb choice for power users who spend a lot of time working with command-line interfaces. One of Tmux’s most valuable features is its copy-paste mode, which lets you copy and paste text between Tmux panes and between different applications. However, not many people are aware of how powerful this feature can be. This article will examine tips and tricks to help you get the most out of Tmux’s copy-paste mode.
Understanding Tmux’s copy-paste mode
Before we delve into the tips and tricks, it’s essential to understand how to set up Tmux copy-paste mode. By default, Tmux uses the “vi” key bindings for its copy-paste mode, which can be challenging for users unfamiliar with the “vi” editor. However, you can change the key bindings to match your preferences.
Tmux’s copy-paste mode is a two-step process. First, you enter copy mode by pressing “ctrl + b” followed by the “[” key. This will switch Tmux into copy mode, and you can now use the arrow keys to move around the terminal window and highlight the text you want to copy. Once the text has been highlighted, you can copy it to the clipboard by pressing “ctrl + w”
To paste the text, you need to enter paste mode by pressing “ctrl + b” followed by “].” This will paste the text from the clipboard into the terminal window. Tmux’s copy-paste mode is straightforward, but several tips and tricks can help you be more efficient with it.
Tmux copy-paste mode tips and tricks
Below are tips and tricks to be emulated when using this terminal multiplexer:
Tip 1: Using mouse support
Tmux supports mouse input, which means you can use the mouse to select text and copy it to the clipboard. To enable mouse support in Tmux, you need to add the following line to your Tmux configuration file (~/.tmux.conf):
set -g mouse on
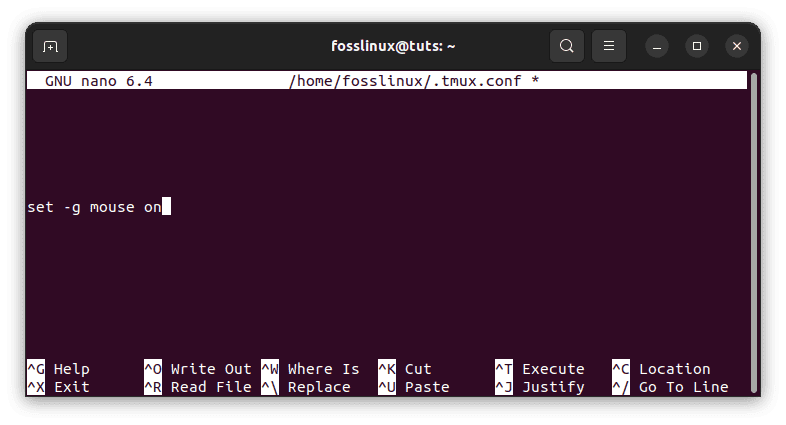
Enable mouse support mode
Once you have enabled mouse support, you can select text by clicking and dragging the mouse cursor over the text you intend to copy. Tmux will automatically switch to copy mode, highlighting the text you selected. To copy the text to the clipboard, you can either press “ctrl + w” or right-click and select “Copy” from the context menu.
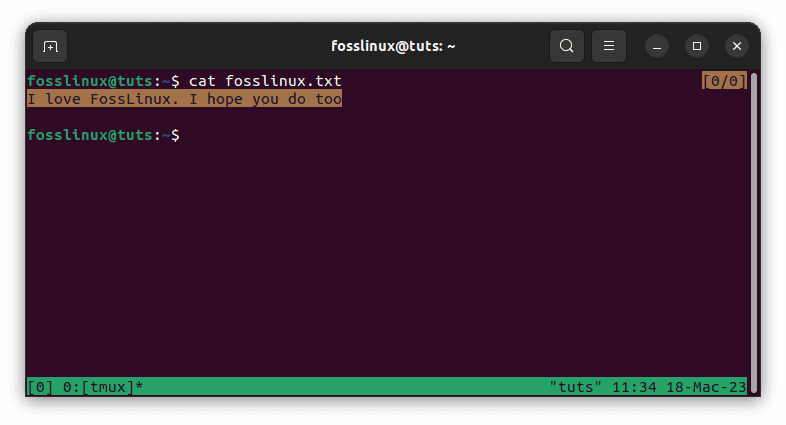
Select text using the mouse
Tip 2: Copying multiple lines
By default, Tmux’s copy-paste mode only copies the current line of text. However, you can use the “v” key to enter visual mode to copy multiple lines. In visual mode, you can use the arrow keys to select multiple lines of text. Once you have highlighted the text you want to copy, press “ctrl + w” to copy it to the clipboard.
Tip 3: Copying to the system clipboard
Tmux’s copy-paste mode only copies text to the Tmux clipboard, which means you can only paste the text within a Tmux session. If you want to copy text to the system clipboard, you can use a tool called xclip. xclip is a command-line utility that allows you to copy and paste content between the terminal and the X Window System clipboard.
To use xclip, you need to install it first. On Ubuntu or Debian-based systems, you can install it using the following command:
sudo apt-get install xclip
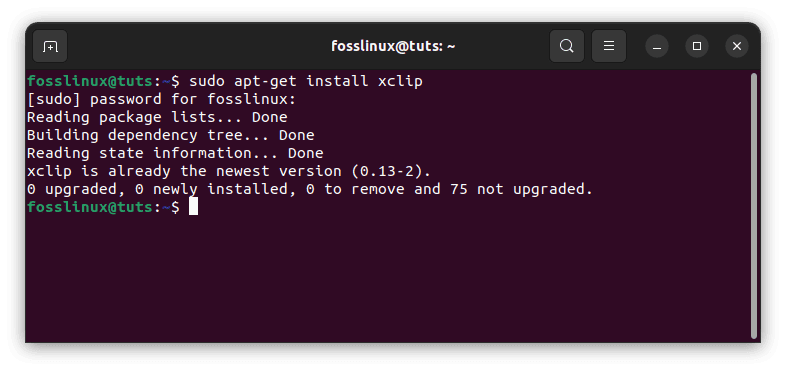
Install xclip
Once you have installed xclip, you can copy text from Tmux to the system clipboard by running the following command:
tmux show-buffer | xclip -selection clipboard
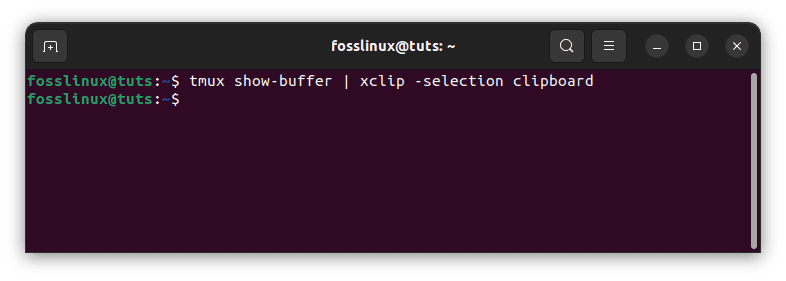
Xclip copy from tmux buffer
This line of code will copy the contents of the Tmux clipboard to the system clipboard, and you can now paste it into any application using the standard paste command (ctrl + v).
Tip 4: Copying and pasting between Tmux panes
One of the most valuable features of Tmux copy-paste mode is the ability to copy and paste text between different Tmux panes. Tmux’s copy-paste mode allows you to copy text within a single pane and between different panes. This is particularly useful when you have multiple panes open and want to copy and paste text between them. To copy text from one pane to another, enter copy-paste mode in the source pane and select the text you want to copy. Next, move to the destination pane using the prefix key followed by the “o” key (or “Ctrl+b” followed by the arrow keys). Finally, paste the text into the destination pane using the prefix key followed by the”]” key.
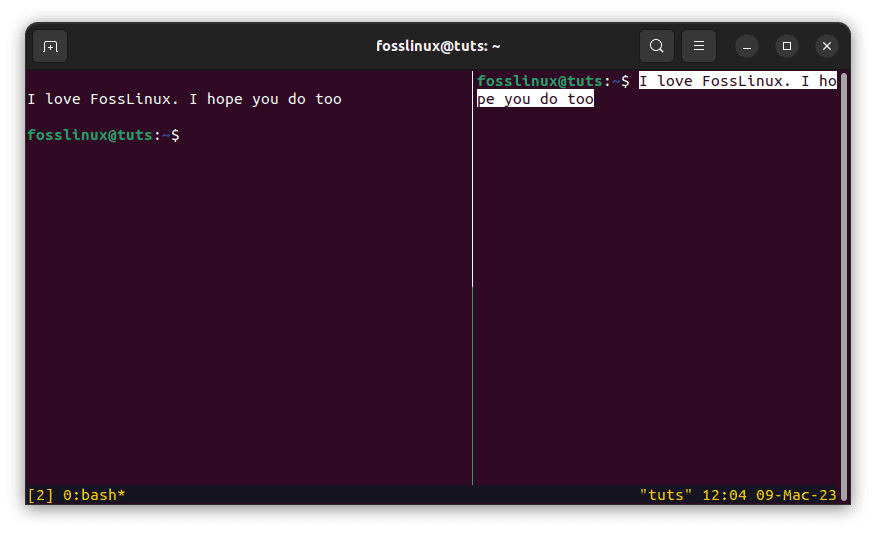
Paste copied content
This will paste the text from the Tmux clipboard into the target pane.
Tip 5: Copying and pasting between Tmux and the system clipboard
By default, Tmux copy-paste mode only copies and pastes text within Tmux. However, you can configure Tmux to use the system clipboard, allowing you to copy and paste text between Tmux and other applications outside Tmux.
To enable this feature, you will need to append the following line of code to your Tmux configuration file (~/.tmux.conf):
set-option -g default-command "reattach-to-user-namespace -l zsh"
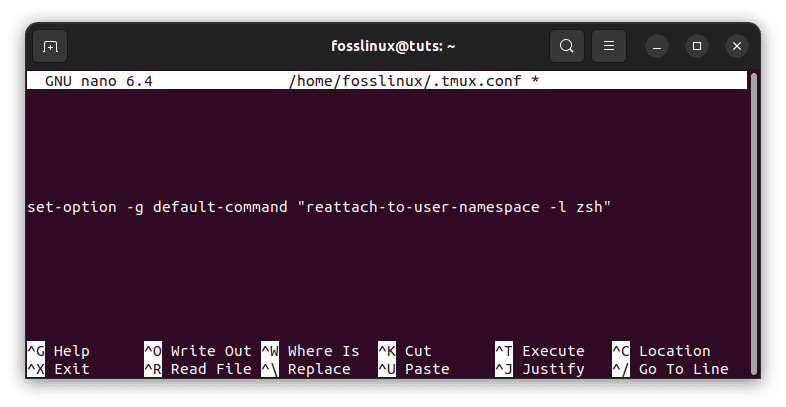
Configure to copy to the system clipboard
This line tells Tmux to use the “reattach-to-user-namespace” command, which enables access to the system clipboard. Once you have added this line to your configuration file, restart Tmux for the changes to take effect.
To copy text to the system clipboard, enter copy-paste mode and select the text you want to copy. Instead of pressing “Enter” to copy the text to the Tmux buffer, press “Ctrl+b” followed by the”]” key. This will copy the text to both the Tmux buffer and the system clipboard.
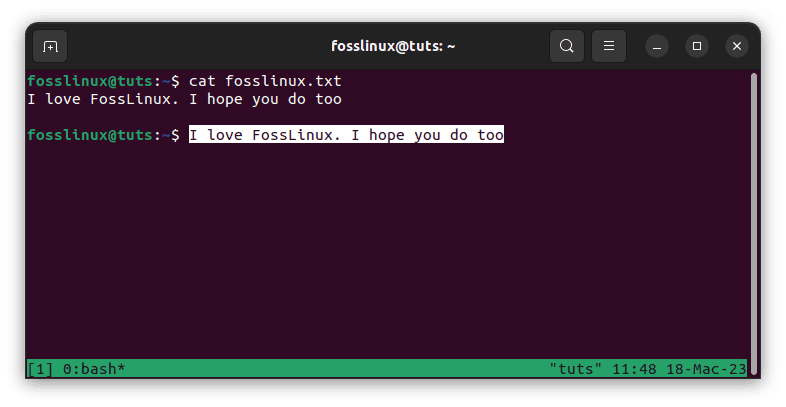
Copy text
To paste text from the system clipboard, use the prefix key followed by the “[“key to enter copy-paste mode. Then, press “Ctrl+b,” followed by the “[“key to paste the text from the system clipboard into Tmux.
Alternatively, if this method fails to do the trick for you, follow the other method highlighted below:
Sometimes, you may need to copy text from Tmux to the system clipboard or vice versa without using the first method. If that is the case for you, don’t freak out since we have an alternate solution. Tmux supports this functionality through a tool called tmux-yank.
tmux-yank is a Tmux plugin that allows you to copy text from Tmux to the system clipboard and paste text from the system clipboard into Tmux. To use tmux-yank, you need first to install it. You can install it with the aid of the following command:
git clone https://github.com/tmux-plugins/tmux-yank ~/.tmux/plugins/tmux-yank
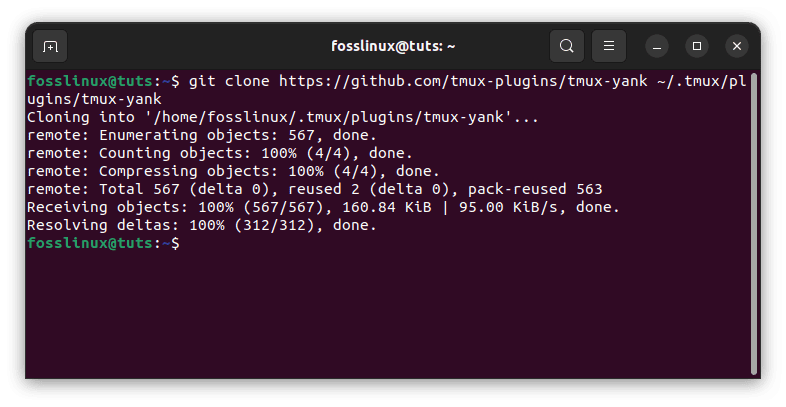
clone tmux yank
Once you have installed tmux-yank, you can copy text from Tmux to the system clipboard by entering copy mode and selecting the text you want to copy. After you have chosen the text, press “ctrl + y” to copy it to your system clipboard.
To paste content from the system clipboard into Tmux, you must use the “prefix + y” key combination. This will paste the text from the system clipboard into the Tmux pane.
Tip 6: Copying and pasting between Tmux windows
Another useful feature of Tmux copy-paste mode is the capacity to copy and paste text between different Tmux windows. To copy text from one window to another, enter copy-paste mode in the source window and select the text you want to copy. Next, move to the destination window using the prefix key followed by the “n” key (for the next window) or the “p” key (for the previous window). Finally, paste the text into the destination window using the prefix key followed by the”]” key.
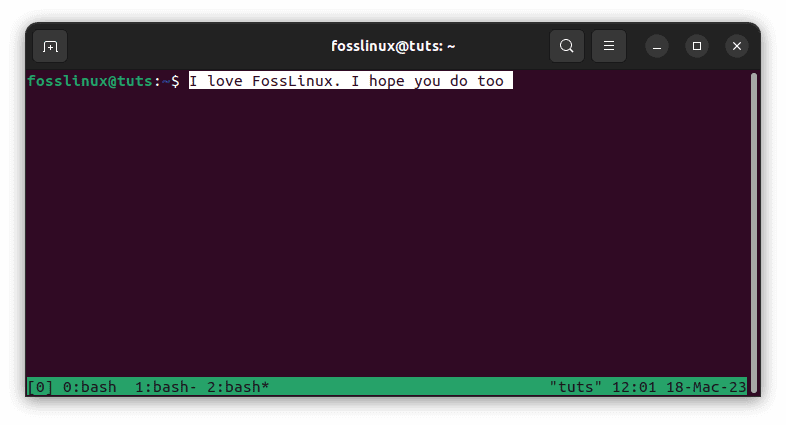
Paste on a new window
Tip 7: Using Tmux’s buffer
Tmux’s buffer is a temporary storage area that holds the most recently selected text. By default, Tmux’s buffer is set to 2000 bytes, which means it can hold a significant amount of text. You can use the buffer to store frequently copied and pasted text.
To copy text to the buffer, enter copy mode and select the text you want to copy. Once you have selected the text, press “ctrl + w” to copy it to the Tmux clipboard. Next, press “ctrl + b” followed by “=.” This will display the contents of the Tmux buffer. You can employ the arrow keys to navigate the buffer and select the text you want to paste.
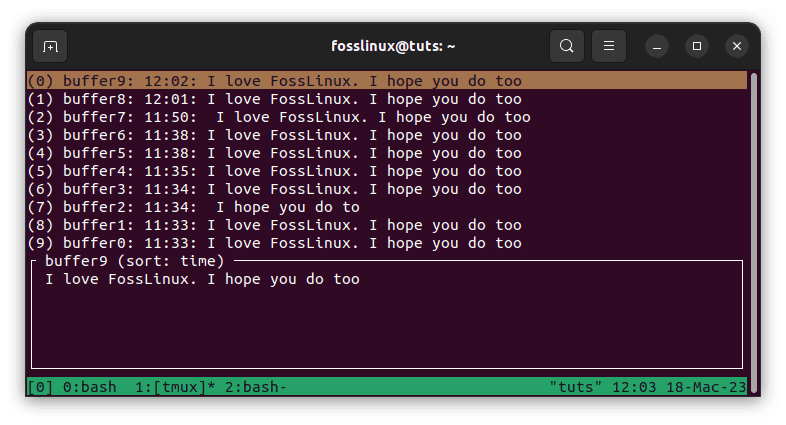
Check tmux buffer
Tip 8: Copying multiple lines of text
Copying a single line of text in Tmux is straightforward, but what about copying multiple lines? Fortunately, Tmux has a simple solution for this. To copy multiple lines of text in Tmux, enter copy mode and move your cursor to the beginning of the first line you want to copy. Next, press “ctrl + space” to mark the beginning of the selection. Navigate your cursor to the end of the last line you want to copy and press “alt + w” to copy the selection to the Tmux clipboard.
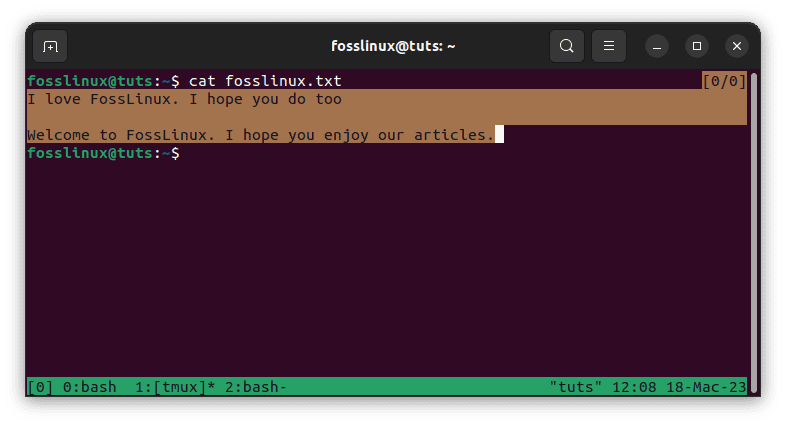
Copy multiple lines
You can then paste the copied content using Tmux’s paste mode.
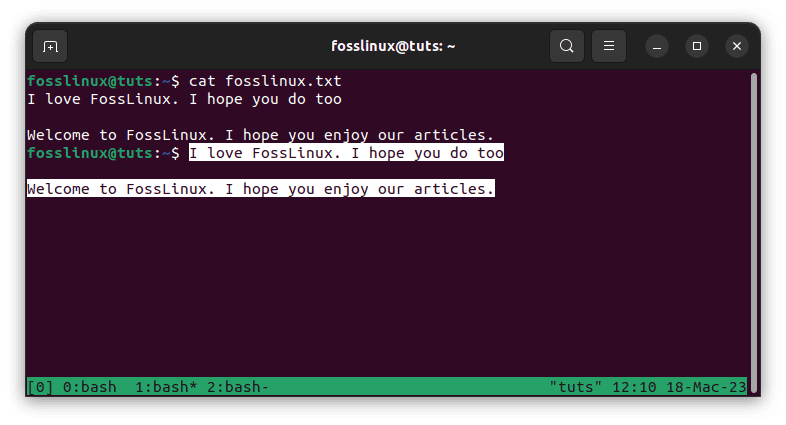
Paste copied content
Tip 9: Customizing Tmux’s copy-paste mode
Tmux copy-paste mode is highly customizable, and you can configure it to suit your needs. For example, you can change the key bindings for copy mode, adjust the buffer size, or enable automatic copying to the system clipboard. To customize Tmux’s copy-paste mode, you must modify your Tmux configuration file.
Here are some helpful customization options:
To edit your Tmux configuration file, enter the following command in your terminal:
sudo nano ~/.tmux.conf
This will open your Tmux configuration file in your default text editor. You can then add or modify the settings for Tmux’s copy-paste mode.
1. Changing the key bindings: As mentioned earlier, you can change the key bindings for Tmux copy-paste mode. To do this, add the following line to your Tmux configuration file:
bind-key -T copy-mode-vi <new-key> send-keys -X <command>
Replace “<new-key>” with the new key binding you want to use and “<command>” with the Tmux command you wish to execute. For example, to change the “space” key to the “Ctrl+Space” key, you would add the following line to your configuration file:
bind-key -T copy-mode-vi C-Space send-keys -X beginning-of-line \; send-keys -X start-selection \; send-keys -X next-word \; send-keys -X select-extend

Change from space to ctrl-space
To change the key bindings for copy mode, you can append the following line of code to your configuration file:
bind-key -T copy-mode-vi v send-keys -X begin-selection
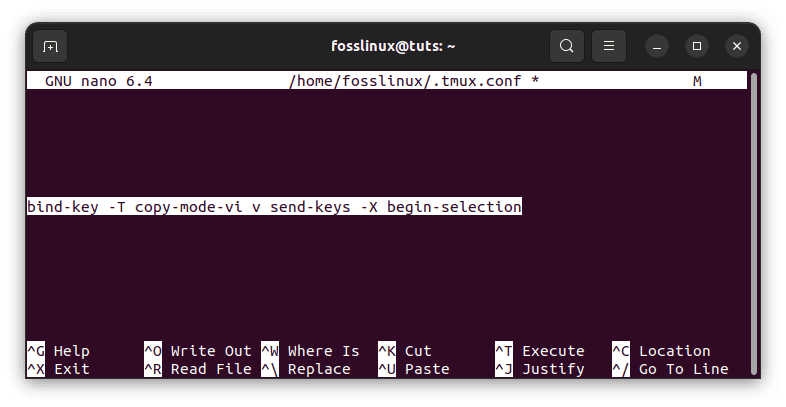
Change key bindings for copy mode
This will change the key binding for copy mode to “v” instead of “ctrl + b” followed by “[.”
2. Changing the copy buffer: By default, Tmux uses a single copy buffer for all copy-paste operations. However, you can configure Tmux to use separate copy buffers for each pane or window. To do this, add the following line to your Tmux configuration file:
set-option -g set-clipboard on
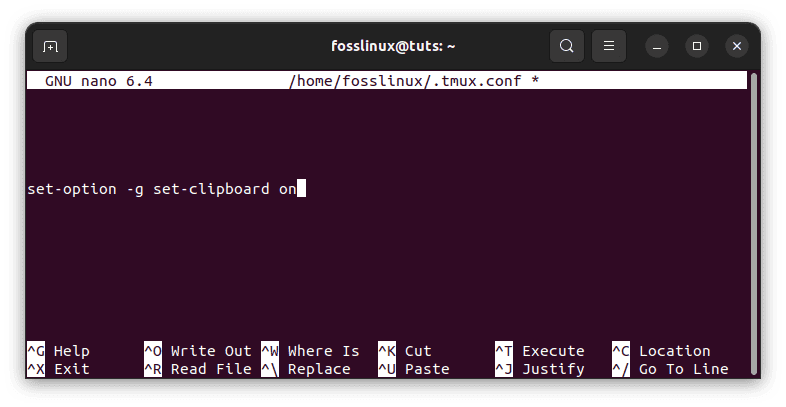
Change copy buffer
This will enable separate copy buffers for each pane and window. To copy text to a specific buffer, use the prefix key followed by the “w” key (for the current window) or the “p” key (for the current pane) and then follow the standard copy-paste procedure. To paste text from a specific buffer, use the prefix key followed by the”]” key and then specify the buffer using the “-b” option. For example, to paste text from the copy buffer for the current pane, use the following command:
Ctrl+b ] -b p
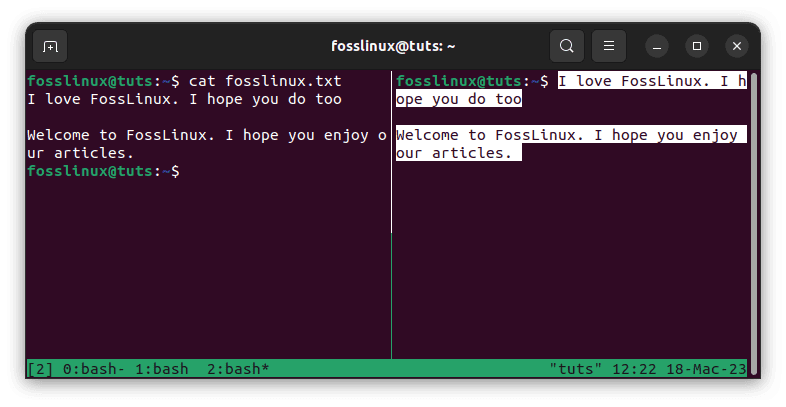
Paste on a new pane
3. Using external copy-paste utilities: Tmux also supports external copy-paste utilities, such as xclip or pbcopy. These utilities allow you to copy and paste text to and from the system clipboard. To use an external copy-paste utility, add the following line to your Tmux configuration file:
set-option -g set-clipboard off
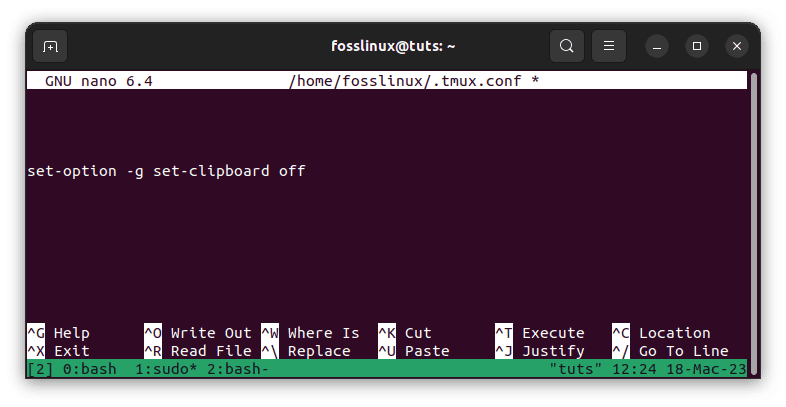
Use external copy utilities
This will disable the Tmux copy buffer and use the external copy-paste utility instead. Ensure the utility is installed on your system before using this option.
Tip 10: Troubleshooting Tmux’s copy-paste mode
Sometimes, Tmux’s copy-paste mode may not work as expected. For example, you may find that you cannot copy text from Tmux to the system clipboard or that the text you copy is not being pasted correctly. If you encounter issues with Tmux copy-paste mode, there are several troubleshooting techniques you can try:
- Check your Tmux version: Tmux copy-paste mode has undergone significant changes in recent versions, and some features may be unavailable in older versions. Make sure that you are using the latest version of Tmux.
- Check your Tmux configuration: Make sure your Tmux configuration file is correctly configured and there are no conflicts with other key bindings or options.
- Check your terminal emulator: Some terminal emulators may not fully support Tmux copy-paste mode or have conflicting key bindings. Try using a different terminal emulator or modifying the key bindings in your current emulator.
Conclusion
Tmux’s copy-paste mode is a powerful tool that can save you much time and effort when working with the terminal. This feature allows you to copy and paste text within Tmux sessions and between Tmux sessions and the system clipboard. By effectively understanding how to use Tmux’s copy-paste mode, you can become more productive and efficient in your work. In this article, we explored some tips and tricks to aid you in getting the most out of Tmux’s copy-paste mode. From enabling mouse support to copying text between Tmux and the system clipboard, these tips will help you take your Tmux workflow to the next level.
Remember to practice using Tmux copy-paste mode regularly to familiarize yourself with its functionality and experiment with the customization options to find what works best for you. You can quickly become a Tmux copy-paste mode expert with some practice and experimentation.
Thank you for reading this guide; I hope you found it helpful. If you have any questions or comments, please leave them below. Happy Tmux-ing!

