
Google Cloud Platform is a scalable cloud computing platform that provides many services. Its powerful tools have become a popular choice for developers, enterprises, and startups alike. If you’re a Linux Mint user and want to use the Google Cloud Platform to develop, test, and deploy your applications, this article is for you.
We will explore various steps involved in setting up and using the Google Cloud Platform in Linux Mint. Everything from setting up a Google Cloud Platform account and installing the Google Cloud SDK to configuring the kit and using its services is covered. You will also learn how to create and manage virtual machines, deploy containers, and automate tasks with Google Cloud Functions. So, without further ado, let’s get started.
Setting up a Google Cloud Platform account
Before using the Google Cloud Platform, you need to set up an account with Google. Follow these steps to create a new account:
Go to the Google Cloud Platform website and click the “Get Started for Free” button.
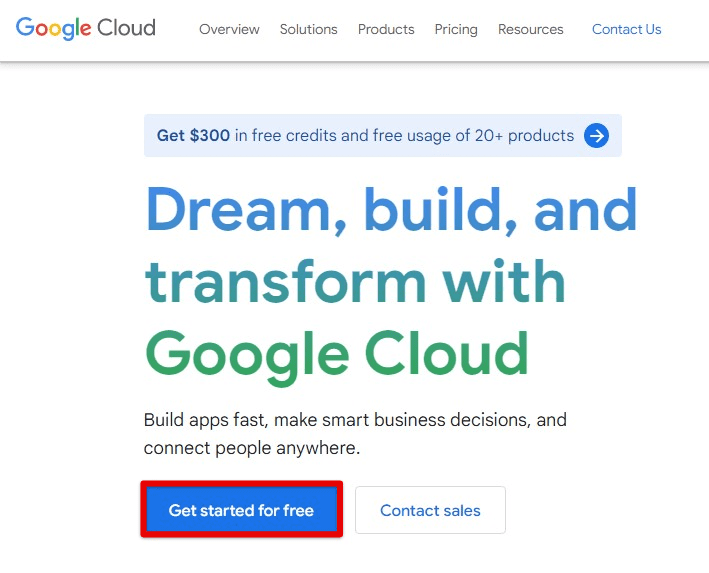
Get started with the free button
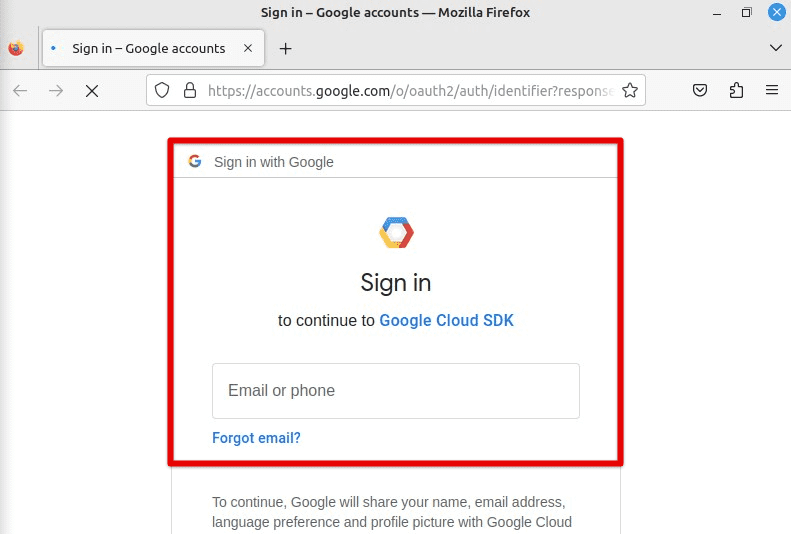
Enter your email address and click on “Next” to proceed. Create a new Google account or sign in with your existing account.
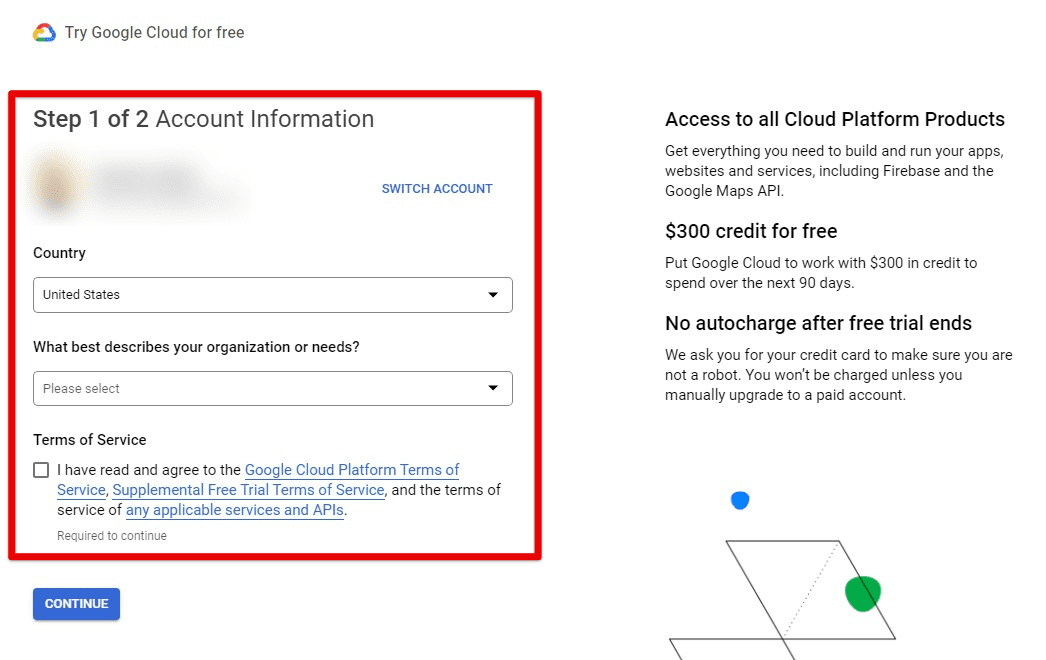
Signing in Google Cloud console
Once you’re signed in, you’ll see the Google Cloud Console dashboard. Click on the “Select a Project” dropdown in the top navigation bar and click on “New Project”.
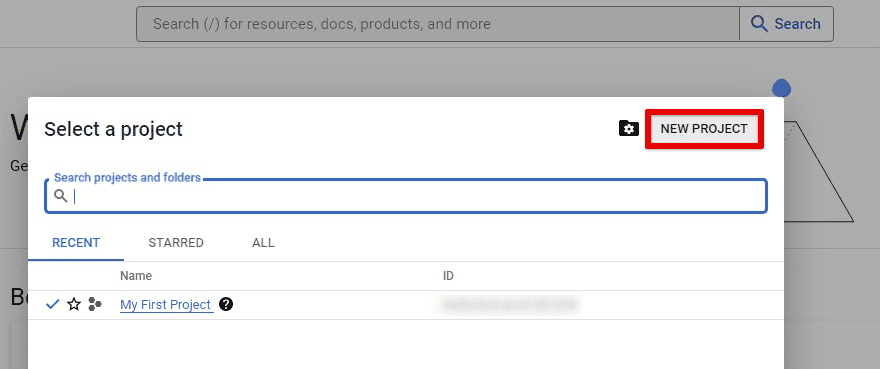
Starting a new project
Enter a name for the project and click on “Create”.
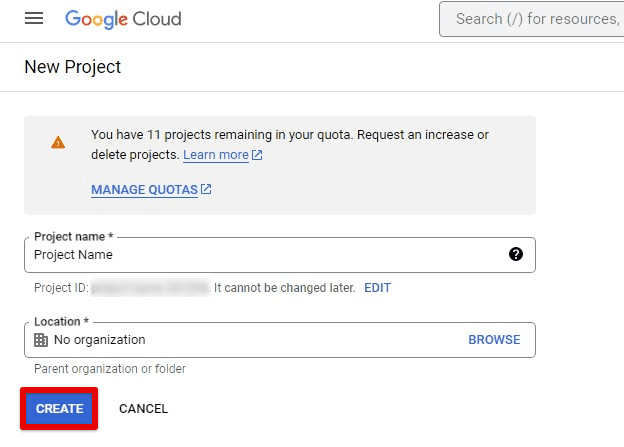
Creating a new project
After creating your project, you must enable billing to use Google Cloud Platform services. Click on the “Billing” dropdown in the left sidebar and then click on “Enable Billing”. Follow the prompts to set up billing for your account. You’ll need to provide valid credit card or bank account information.
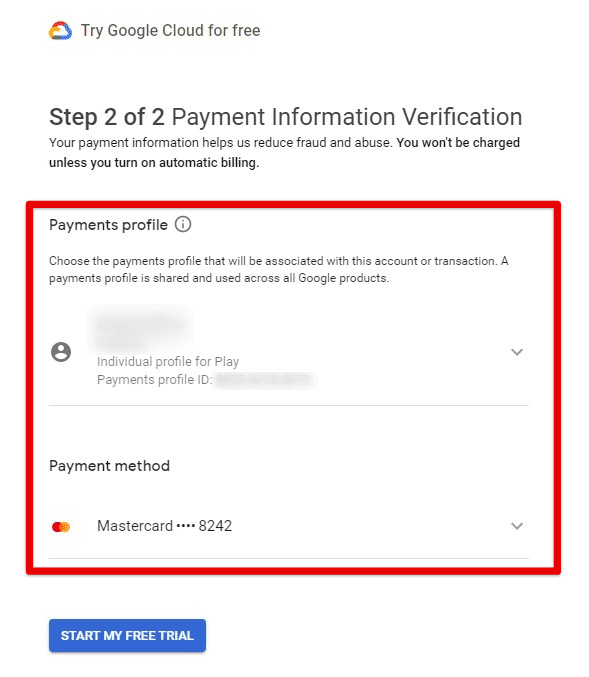
Setting up billing details
Once you’ve completed these steps, your account will be set up and ready to use with the Google Cloud Platform. The following section will look at installing the Google Cloud SDK on Linux Mint.
Installing the Google Cloud SDK on Linux Mint
Now that you’ve set up the Google Cloud Platform account, the next step is to install the Google Cloud SDK on your Linux Mint machine. Depending on your preferences and requirements, several methods are available to install the SDK. In this section, we have explored three different ways for this installation.
Using the package manager: One of the easiest ways to install the Google Cloud SDK on Linux Mint is through the default package manager. Linux Mint is based on Ubuntu, so remember that the commands used to install the SDK will be similar to Ubuntu. First, open the terminal window and run the following commands. Doing so installs the latest version of the SDK on your machine.
sudo apt-get update
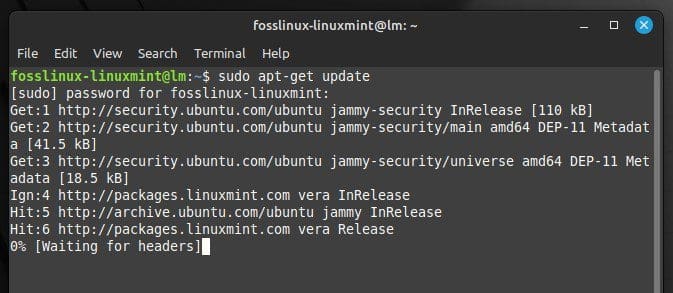
Updating packages in Linux Mint
sudo apt-get install google-cloud-sdk
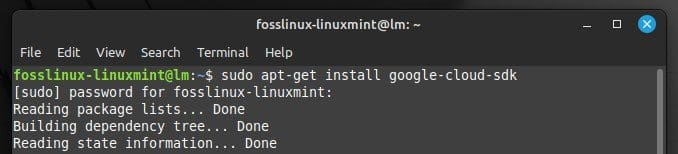
Installing Google Cloud SDK
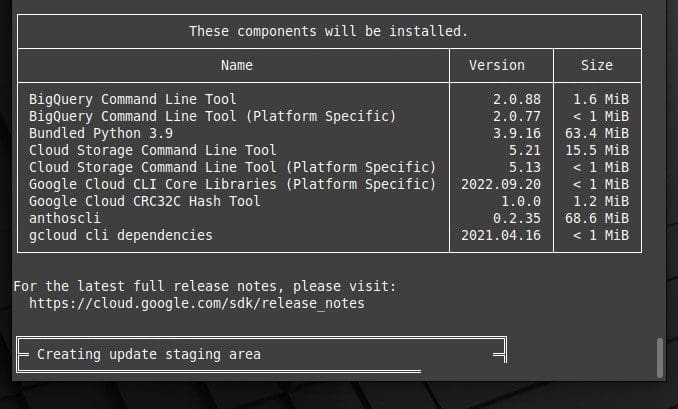
Manually installing the SDK: If you prefer to install the SDK manually, you can download the SDK archive from the Google Cloud Platform website and extract it to a location of your choice. To download the SDK, go to this link. Choose the appropriate download link for your system architecture (32-bit or 64-bit) and extract the archive to a directory of your choice.
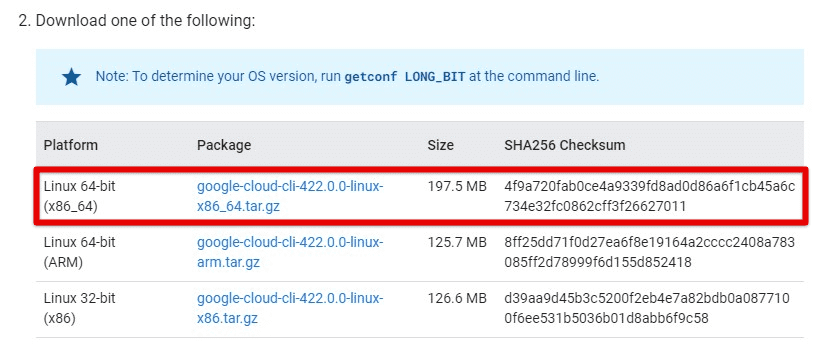
Downloading Google Cloud SDK
After extracting the archive, run the “install.sh” script to install the SDK. Open the terminal window, navigate to the directory where you extracted the archive, and run the following command:
./google-cloud-sdk/install.sh
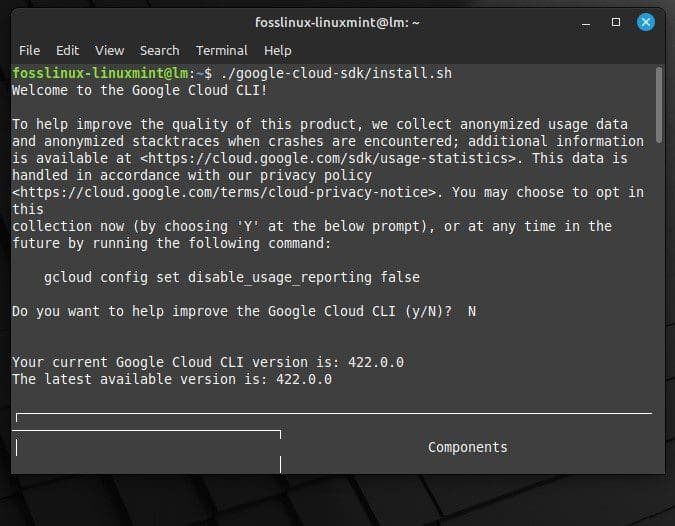
Running the install.sh script
Using Google’s own installation script: Google provides its own script for the SDK, which may be used to install the SDK on Linux Mint. To use this method, open the terminal window and run the following command:
curl https://sdk.cloud.google.com | bash
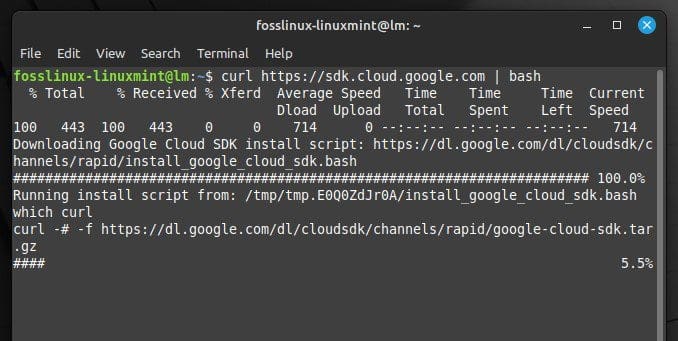
Running Google’s installation script
Google installation script running
Doing so downloads and runs the installation script, guiding you through the entire process. Once you’ve installed the Google Cloud SDK, you can move on to the next section to learn how to configure it.
Configuring the Google Cloud SDK
After installing the Google Cloud SDK, you must perform the appropriate configuration. This involves setting up authentication, specifying a default project, and setting environment variables. Here’s how to do all of this on Linux Mint:
Setting up authentication: To use the Google Cloud SDK, you must authenticate with your Google Cloud Platform account. Run the following command in a terminal window to authenticate:
gcloud auth login
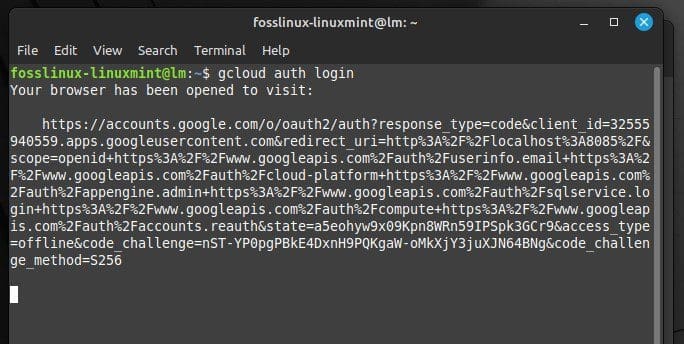
Setting up authentication
This will open a web browser and prompt you to sign in to your Google account. After signing in, you’ll be asked to grant the Google Cloud SDK permission to access your account. After the permissions have been granted, you’ll be redirected back to the terminal window.
Signing in to continue
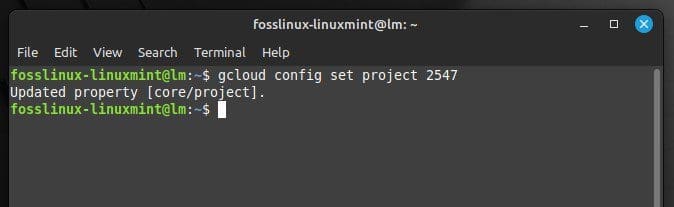
Specifying a default project: When you create a new resource in the Google Cloud Platform, you need to specify a project to associate it with. To avoid specifying the project every time you create a new resource, specify a default project for the SDK. Run the following command to do so:
gcloud config set project 2547
Specifying a default project
Make sure to replace “2547” with the actual project ID you want to set as default.
Setting environment variables: To make working with the Google Cloud SDK easier, you can set environment variables for some common properties. Run the following command to set these environment variables:
source /home/desktop/path.bash.inc

Setting environment variables
Remember to replace “/home/desktop” with the actual path to the directory where you installed the SDK.
After completing these steps, your Google Cloud SDK should be properly configured and ready to use. You can now use the SDK to create and manage resources on the Google Cloud Platform.
Using Google Cloud platform services
The Google Cloud SDK provides a command-line interface (CLI) for managing various Google Cloud Platform services. In this section, we’ll look at how to use some of these services.
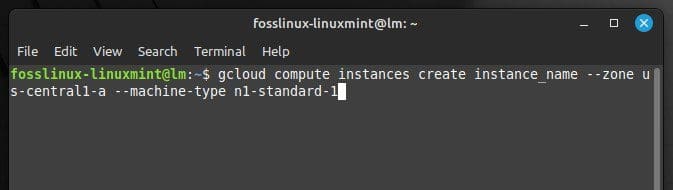
Google Compute Engine: Google Compute Engine provides virtual machines (VMs) that can be used to run applications and services. To create a new VM instance, run the following command:
gcloud compute instances create instance_name --zone us-central1-a --machine-type n1-standard-1
Creating a new VM instance
Do not forget to replace instance_name with the name you want to give your instance, us-central1-a with the zone where this instance will be created, and n1-standard-1 with the machine type you want to use.
To list all the VM instances in a project, run the following command:
gcloud compute instances list

Listing VM instances in a project
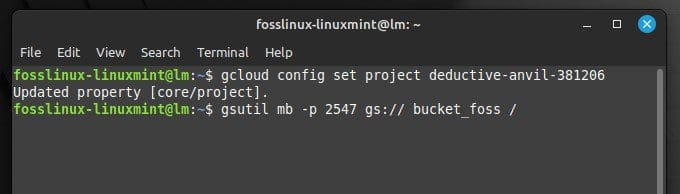
Google Cloud Storage: Google Cloud Storage provides object storage for unstructured data. To create a new storage bucket, run the following command:
gsutil mb -p 2547 gs://bucket_foss/
Creating a new storage bucket
Replace “2547” with the project ID you want to create the bucket in and bucket_foss with the bucket name.
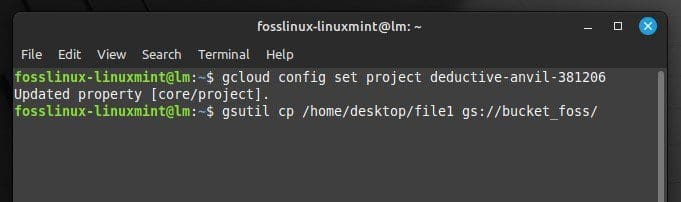
To upload a file to this bucket, run the following command:
gsutil cp /home/desktop/file1 gs://bucket_foss/
Uploading a file to the bucket
Remember to replace “/home/desktop/file1” with the path to the file to be uploaded.
Google Kubernetes Engine: Google Kubernetes Engine provides managed Kubernetes clusters for running containerized applications. To create a new Kubernetes cluster, run the following command:
gcloud container clusters create cluster_foss --num-nodes 4 --zone us-central1-a

Creating a new Kubernetes cluster
Don’t forget to replace “cluster_foss” with the name you want to give your cluster and “4” with the number of nodes you want to create.
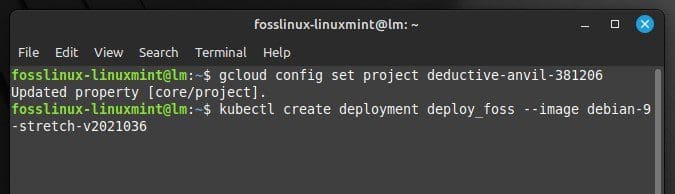
To deploy a container to a Kubernetes cluster, run the following command:
kubectl create deployment deploy_foss --image debian-9-stretch-v20210316
Deploying a container to the Kubernetes cluster
Note: These are just a few examples of the many services that can be managed using the Google Cloud SDK. You can refer to the Google Cloud Platform documentation for more information on using these and other services.
Creating and managing virtual machines
Google Compute Engine offers virtual machines that can be used to run applications and services. In this section, we’ll look at how to create and manage virtual machines from the Linux Mint command line using the Google Cloud SDK.
Creating a virtual machine: To create a new virtual machine instance, run the following command in the terminal:
gcloud compute instances create instance_name --image debian-9-stretch-v20210316 --zone us-central1-a --machine-type n1-standard-1
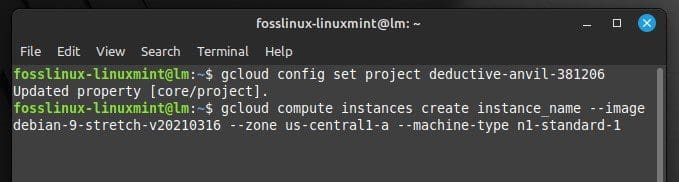
Creating a new virtual machine instance
Managing a virtual machine: You can use the following commands to start, stop, or delete a virtual machine:
gcloud compute instances start instance_name
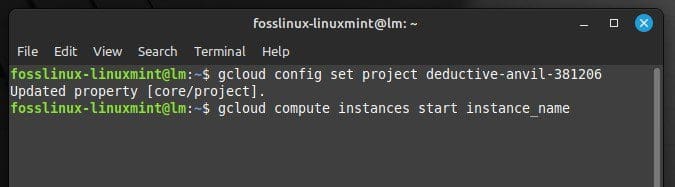
Starting a virtual machine
gcloud compute instances stop instance_name
Stopping a virtual machine
gcloud compute instances delete instance_name
Deleting a virtual machine
SSH into a virtual machine: To connect to a virtual machine using SSH, run the following command in the Linux Mint terminal:
gcloud compute ssh instance_name
Connecting to a virtual machine using SSH
Note: These are just a few examples of the many actions that can be performed on virtual machines using the Google Cloud SDK. You can refer to the Google Compute Engine documentation for more information on managing virtual machines.
Deploying and managing containers
Google Kubernetes Engine is a managed environment for deploying, managing, and scaling containerized applications. Let us look at how to use Google Kubernetes Engine from the Linux Mint command line using the Google Cloud SDK.
Creating a Kubernetes cluster: To create a new Kubernetes cluster, run the following command in the terminal:
gcloud container clusters create cluster_foss --zone us-central1-a
Creating a Kubernetes cluster
Deploying containers: To deploy a container to your Kubernetes cluster, you must create a deployment configuration file. Here’s an example YAML file for deploying an NGINX web server:
apiVersion: apps/v1

kind: Deployment

metadata:

  name: nginx-deployment

spec:

  selector:

    matchLabels:

      app: nginx

  replicas: 2

  template:

    metadata:

      labels:

        app: nginx

    spec:

      containers:

      - name: nginx

        image: nginx:latest

        ports:

        - containerPort: 80
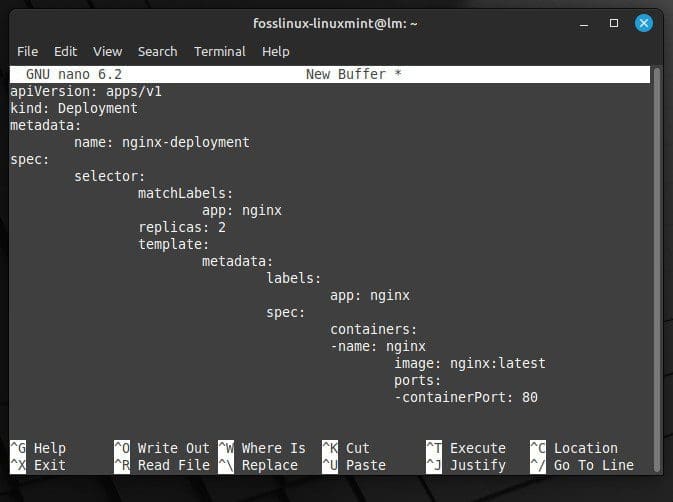
YAML file for deploying the NGINX web server
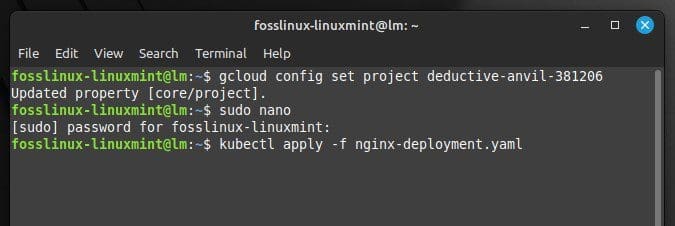
Save the above file as nginx-deployment.yaml and run the following command to deploy the container:
kubectl apply -f nginx-deployment.yaml
Saving the deployment file
Managing containers: To view the status of your Kubernetes deployment, run the following command:
kubectl get deployments
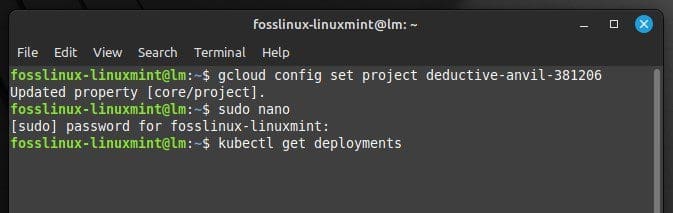
Viewing the deployment status
To view the status of your pods (which represent running instances of your containers), run the following command:
kubectl get pods
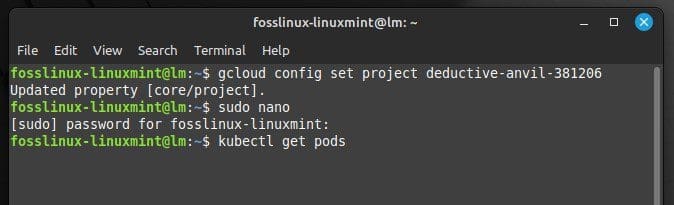
Viewing the pods status
To scale your deployment for running more instances of your container, run the following command:
kubectl scale deployment nginx-deployment --replicas=3
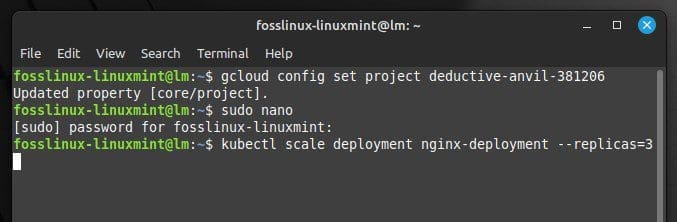
Scaling deployment for running more instances
Make sure to replace nginx-deployment with the name of your deployment.
Cleaning up: In case you need to delete your Kubernetes cluster, run the following command in the Linux Mint terminal:
gcloud container clusters delete cluster_foss
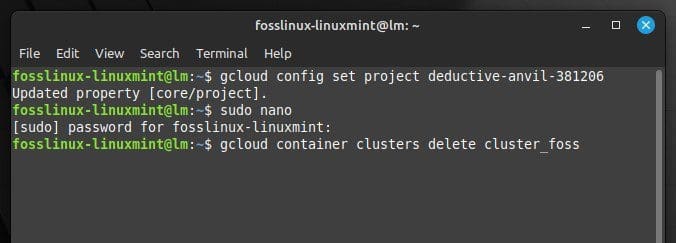
Deleting a Kubernetes cluster
Note: These are just a few examples of the many actions that can be performed on Kubernetes clusters using the Google Cloud SDK. Refer to the Google Kubernetes Engine documentation for more container management information.
Monitoring and logging
Google Cloud monitoring and logging are powerful tools for analyzing your Google Cloud Platform resources. Let’s see how to use these tools to monitor and analyze virtual machines and containers.
Setting up monitoring and logging: Before using Google Cloud monitoring and logging tools, you must set them up with the necessary resources. In the Google Cloud Console, navigate to the Monitoring or Logging page.
Monitoring and logging page
Click the “Get started” button to set up the necessary resources. Then, follow the prompts to enable the APIs.
Monitoring virtual machines: To monitor a virtual machine, you must create a monitoring agent and install it on the machine. Install the monitoring agent on your device by running the following commands in the terminal:
curl -sSO https://dl.google.com/cloudagents/install-monitoring-agent.sh
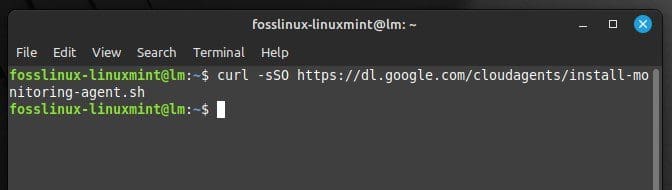
Installing the monitoring agent
sudo bash install-monitoring-agent.sh

Installing the monitoring agent on a virtual machine
Once the monitoring agent is installed, navigate to the Google Cloud Console page. Next, click the “Uptime checks” tab and create a new uptime check for your virtual machine.
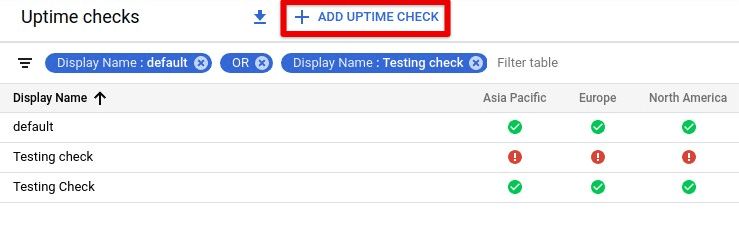
Creating a new uptime check
You can also create custom metrics for the machine by following the Google Cloud Monitoring documentation instructions.
Monitoring containers: To monitor containers running on Google Kubernetes Engine, use the Kubernetes Monitoring API. Enable this API by running the following command in the terminal:
gcloud services enable monitoring.googleapis.com
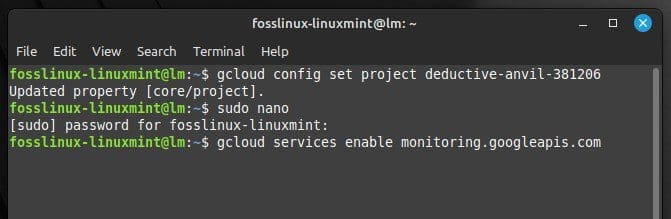
Enabling monitoring API
Create a new Kubernetes service account with the necessary permissions by running the following commands:
kubectl create serviceaccount monitoring
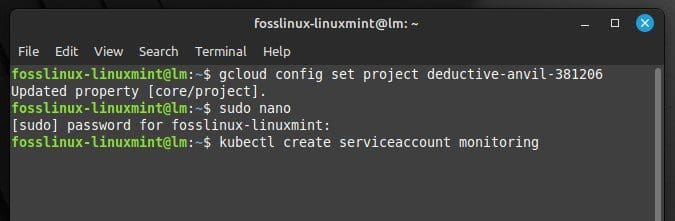
Creating a new service account
kubectl create clusterrolebinding monitoring --clusterrole=monitoring --serviceaccount=default:monitoring
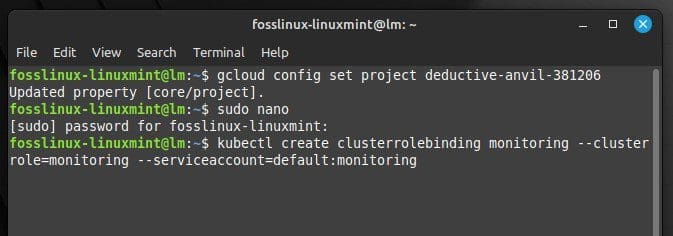
Setting default permissions
Configure your Kubernetes cluster to use the monitoring service account by running the following command:
kubectl annotate pod pod_foss monitoring.stackdriver.com/managed-by=kubernetes-monitoring
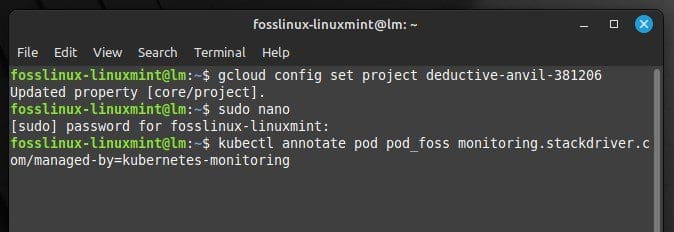
Configuring Kubernetes cluster
You can now use the Monitoring page in the Google Cloud Console to view metrics and logs for your containers.
Analyzing logs: Google Cloud Logging allows you to view logs from the Google Cloud Platform resources. To view logs for a specific resource, navigate to the Logging page in the Google Cloud Console. Select the resource for which you want to view logs.
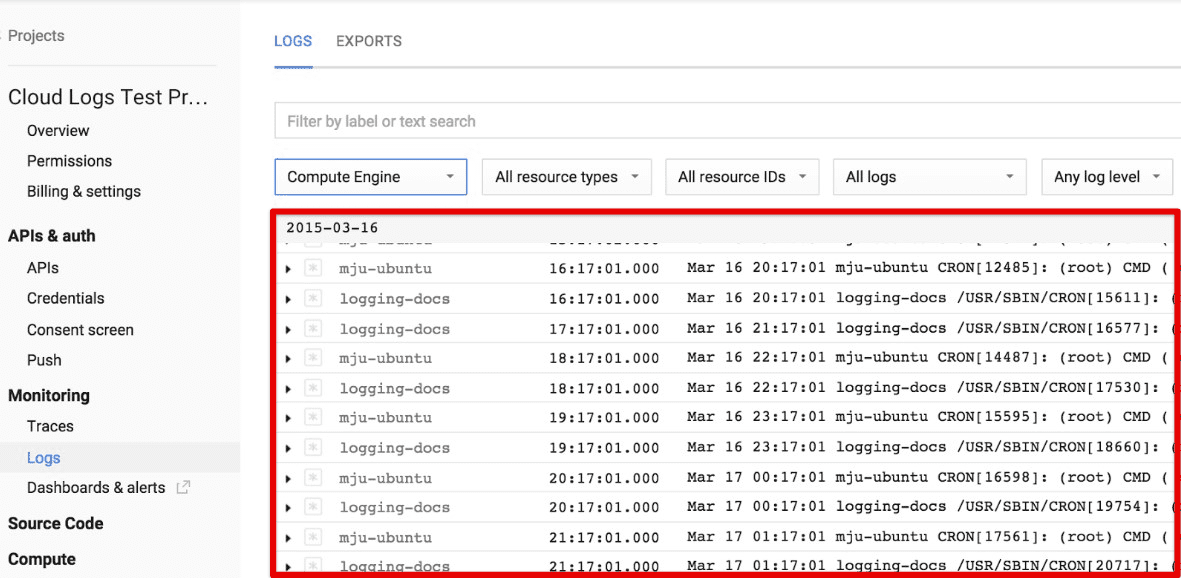
Google Cloud logging page
Use the filter bar to filter the logs by severity, resource type, or other criteria. You can also export your logs to Google Cloud Storage or BigQuery for further analysis.
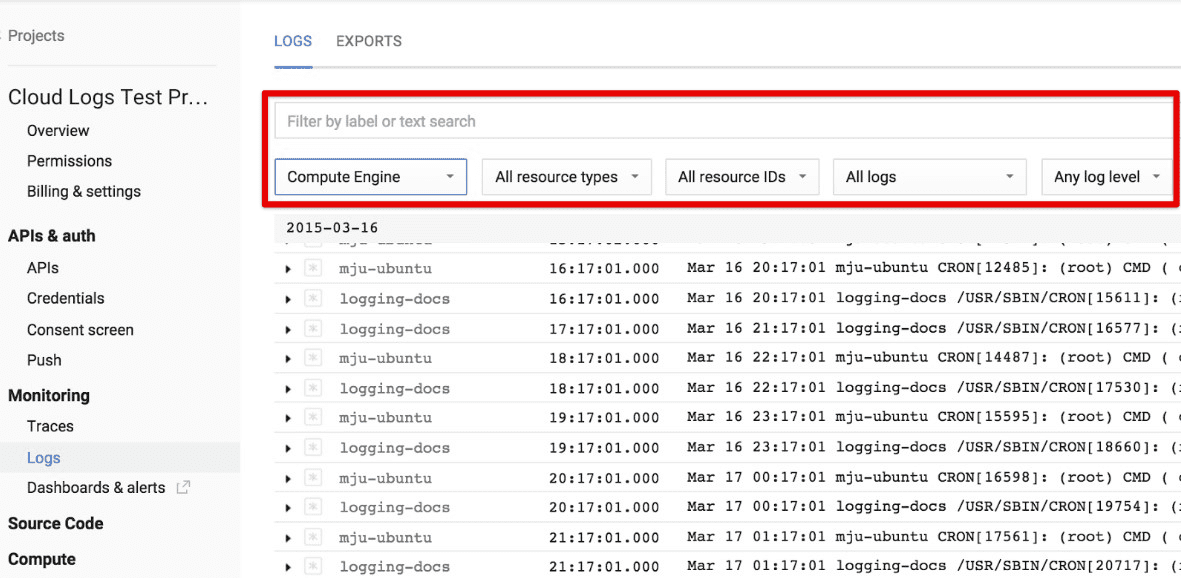
Filtering Google Cloud resource logs
Note: These are just a few examples of the many actions that can be performed using Google Cloud Monitoring and Logging. You can refer to the respective documentation for more information.
Automating tasks with Google Cloud Functions
Google Cloud Functions is a serverless computing service that enables you to write code that responds to events or triggers, such as an HTTP request, a change in a Google Cloud Storage bucket, or a new message in a Google Pub/Sub topic. Following are the steps for using Google Cloud Functions to automate tasks and perform serverless computing.
Setting up Google Cloud Functions: Before you can use Google Cloud Functions, you need to set up the necessary resources. In the Google Cloud Console, navigate to the Cloud Functions page. Next, click the “Create function” button to create a new function.
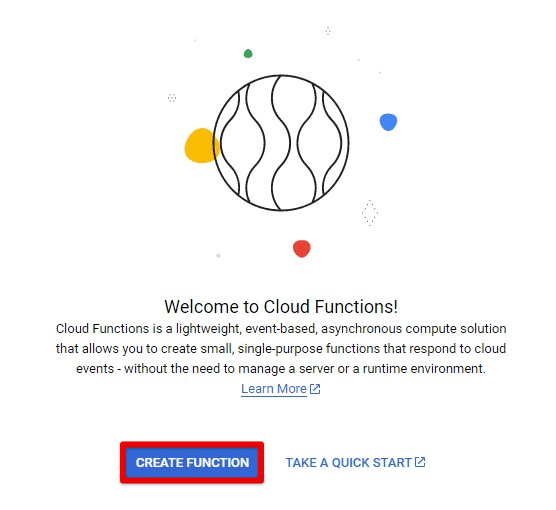
Creating a new function
Follow the prompts, which include selecting the trigger type, specifying the runtime, and writing the function code.
Writing a cloud function: To write a cloud function, specify the function code and any necessary dependencies. Following is an example function that logs a message to the console:
def hello_world(request):

    request_json = request.get_json()

    if request_json and 'name' in request_json:

        name = request_json['name']

    else:

        name = 'World'

    return f'Hello, {name}!'
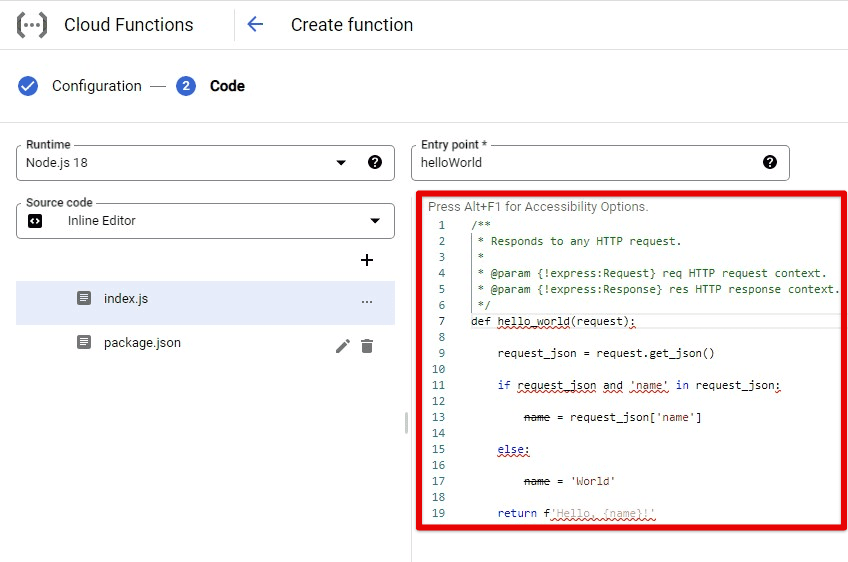
Writing a cloud function
Deploying and running a cloud function: Deploy the function by running the following command in the terminal:
gcloud functions deploy hello_world --entry-point entry_foss --runtime node.js 18 --trigger-trigger-type=http --source=/home/desktop
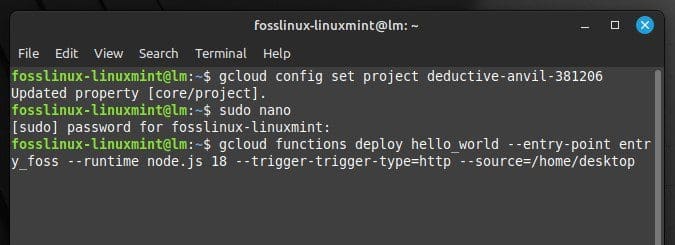
Deploying a function
Run the function by triggering the event or trigger specified in the function code.
Triggering cloud functions: Cloud Functions can be triggered by various events or triggers, such as an HTTP request, a change in a Google Cloud Storage bucket, or a new message in a Google Pub/Sub topic. Create a new HTTP trigger by running the following command:
gcloud functions deploy hello_world --entry-point entry_foss --runtime node.js 18 --trigger-http --allow-unauthenticated
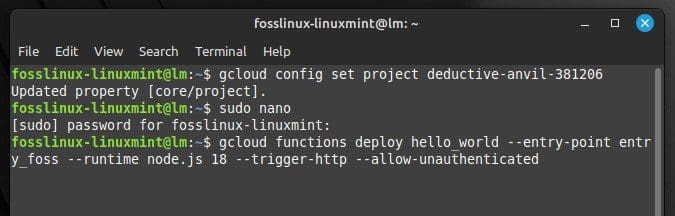
Creating a new HTTP trigger
Send an HTTP request to the function by using the function’s URL.
Ubuntu is a popular operating system used by developers, system administrators, and other technology professionals. In recent years, there has been a growing trend toward using Ubuntu in cloud computing environments. If you want to do the same, here is our beginner’s guide to Ubuntu on the cloud.
Managing cloud functions: You can use the Google Cloud Console or the gcloud command-line tool. Following are some everyday tasks:
Listing functions:
gcloud functions list
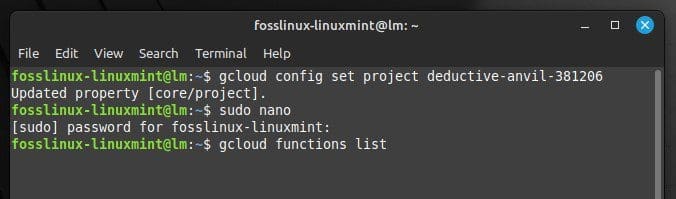
Listing functions
Viewing function details:
gcloud functions describe hello_world
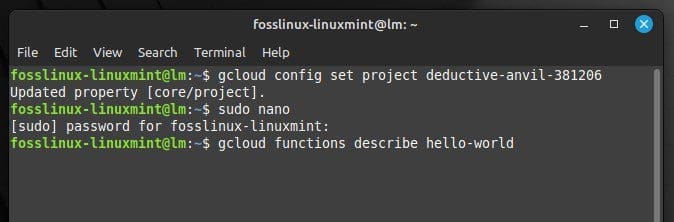
Viewing function details
Deleting a function:
gcloud functions delete hello_world
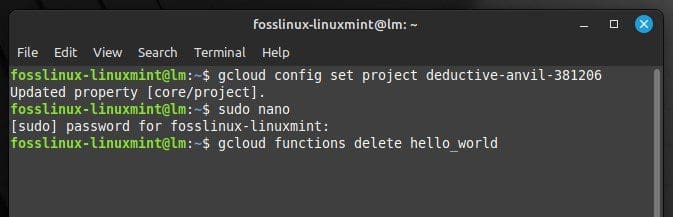
Deleting a function
Conclusion
With the steps outlined in this article, you can harness the power of the Google Cloud Platform to manage cloud resources from a Linux Mint machine. It provides an extensive range of services that can help you build, deploy, and manage applications and services in the cloud.
We covered setting up a Cloud Platform account, installing and configuring the SDK, and using various platform services from the command line, including compute engine, cloud storage, and Kubernetes. Other topics were also discussed, such as creating and managing virtual machines, deploying containers in a Kubernetes cluster, and monitoring platform resources.