Multimedia files, such as audio and video files, are essential to our daily lives. However, to play, edit, or share these files, it’s important to have the appropriate codecs installed on your system. Ubuntu is a popular operating system well-known for its simplicity and ease of use. One of the major advantages of Ubuntu is that it is open-source, which means anyone can use and modify the source code.
Another advantage is that it is free to download and use, making it an attractive option for many users. However, one of the downsides of Ubuntu is that it does not come pre-installed with all the necessary multimedia codecs. This can be a challenge for users who want to play or stream media files, such as music, videos, and movies. In this tutorial guide, we will explore how to install multimedia codecs on Ubuntu 22.04 and provide you with step-by-step instructions on how to do it.
If you’re a Ubuntu user, you know that one of the biggest challenges is installing the right multimedia codecs. Without these codecs, you won’t be able to play or stream your favorite music, videos, or movies. This can be a key inconvenience, especially if you rely heavily on multimedia files. However, by the end of this article, you will know exactly how to install the necessary multimedia codecs on your Ubuntu 22.04 machine. You will have access to all your favorite multimedia files without worrying about compatibility issues or missing codecs.
What are Multimedia Codecs?
Multimedia codecs are software components that enable the encoding and decoding of multimedia files. Codecs allows multimedia files to be compressed for efficient storage and transmission while ensuring that the files can be played back or edited on various devices and software applications.
Importance of Multimedia Codecs
- Multimedia codecs are essential for enabling the use of multimedia files in a variety of contexts. Without the appropriate codecs, multimedia files may not be compatible with certain software applications, operating systems, or devices, limiting their usefulness and accessibility.
- Installing the appropriate multimedia codecs ensures that users can work with and enjoy multimedia files in various ways, such as playing music or video, editing videos, or creating multimedia content. Multimedia codecs help ensure that multimedia files are stored and transmitted efficiently, reducing the amount of storage space or bandwidth needed. This is particularly important in situations where storage or bandwidth is limited, such as on mobile devices or in areas with slow internet connections.
Examples of Multimedia Codecs
Some examples of multimedia codecs include:
- MP3: an audio codec widely used for music playback and streaming.
- H.264: a video codec commonly used to stream video content over the internet.
- AAC: an audio codec that is used for high-quality music streaming and video production.
- FLAC: a lossless audio codec that is used for high-quality music playback and archiving.
- MPEG-4: a video codec that is used for video streaming, video conferencing, and multimedia applications.
Each codec has its own features, pros, and cons, and the choice of codec depends on the user’s specific use case and requirements.
Installing Multimedia Codecs on Ubuntu 22.04
There are several methods for installing multimedia codecs on Ubuntu 22.04. This section will explore the most popular methods used to install multimedia codecs.
Method 1: Using the Ubuntu Restricted Extras Package
The Ubuntu Restricted Extras package is a convenient way to install all the necessary multimedia codecs on your Ubuntu machine. This package includes several proprietary multimedia codecs, including support for MP3, MPEG4, and other popular formats. Here are the steps to install the Ubuntu Restricted Extras package:
Step 1: Open the Terminal on your Ubuntu machine.
Step 2: Type the following command and press Enter:
sudo apt-get install ubuntu-restricted-extras
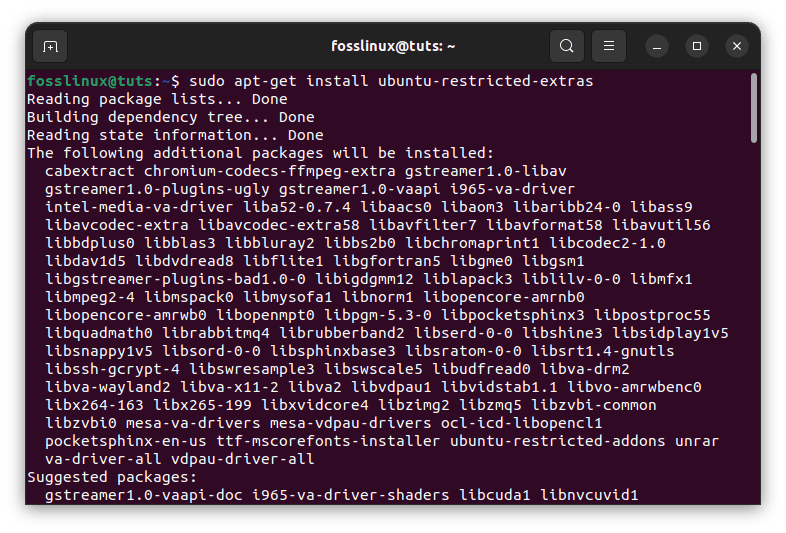
Install Ubuntu restricted extras
Step 3: The Terminal will ask you to confirm the installation. Type “Y” and press Enter.
Step 4: The installation process will begin and may take a few minutes to complete. Once the installation is complete, you can play and stream your favorite multimedia files.
Pros:
- Easy to use and install.
- Includes support for several popular multimedia codecs.
- No need to manually install individual codecs.
Cons:
- The package includes proprietary codecs, which may not align with some users’ open-source philosophy.
- The package may not include all necessary multimedia codecs.
Method 2: Installing individual codecs using the terminal
Users can install individual multimedia codecs using the terminal by typing the appropriate command for each codec. For example, to install the H.264 codec, users can type the following command:
sudo apt-get install gstreamer1.0-libav
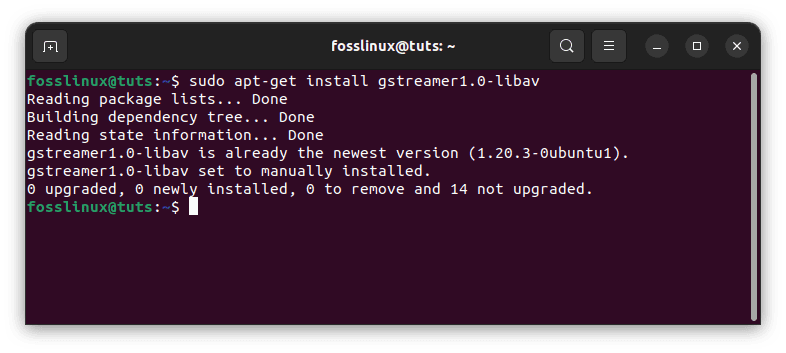
Install H.264 codecs
This command will install the H.264 codec on your Ubuntu OS.
Method 3: Installing multimedia codecs using a graphical package manager
Users can also install multimedia codecs using a graphical package manager such as Synaptic Package Manager or Ubuntu Software Center.
The chosen method depends on the user’s preference and familiarity with the terminal. Researching the specific multimedia codecs and their compatibility is important before installing them on your Ubuntu system. Some multimedia codecs may be proprietary and require additional installation steps, such as adding the “multiverse” repository and accepting End User License Agreements.
It is also important to note that some multimedia codecs may be illegal to use in certain jurisdictions, and it is the user’s responsibility to ensure that they are not violating any laws or regulations by using certain codecs or multimedia files.
To install multimedia codecs using the GUI (graphical user interface), follow the steps provided herein:
1. Open the “Software & Updates” application. You can do this by clicking on the Ubuntu “Activities” button in the top left corner of the screen, searching for “Software & Updates,” and clicking on the corresponding icon.
2. In the “Software & Updates” application, click on the “Additional Drivers” tab.
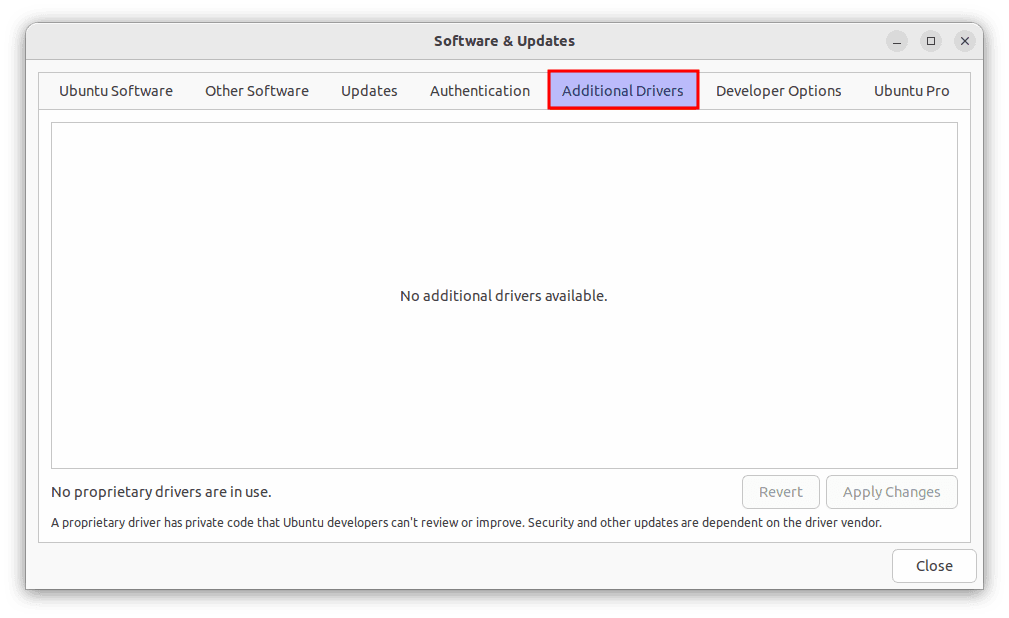
Additional drivers
3. If your system has any proprietary drivers or firmware that can be installed, they will be listed here. Select any relevant drivers or firmware you wish to install, and click “Apply Changes.”
4. Next, click on the “Ubuntu Software” tab.
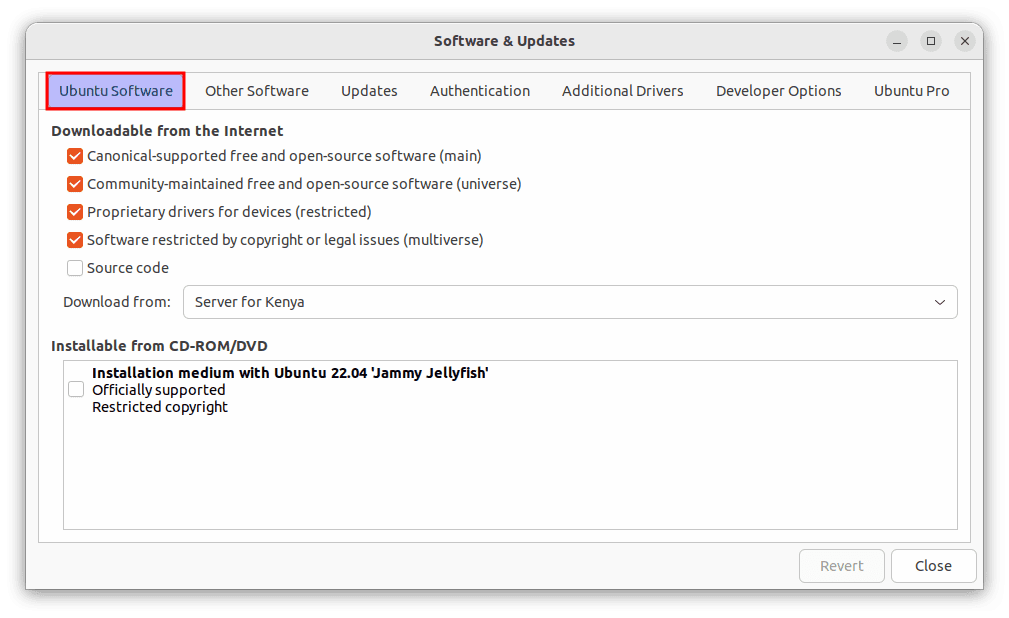
Ubuntu software tab
5. In the “Ubuntu Software” tab, ensure that the “Community-maintained free and open-source software (universe)” repository is enabled. This repository contains many free and open-source multimedia codecs that can be installed on your system.
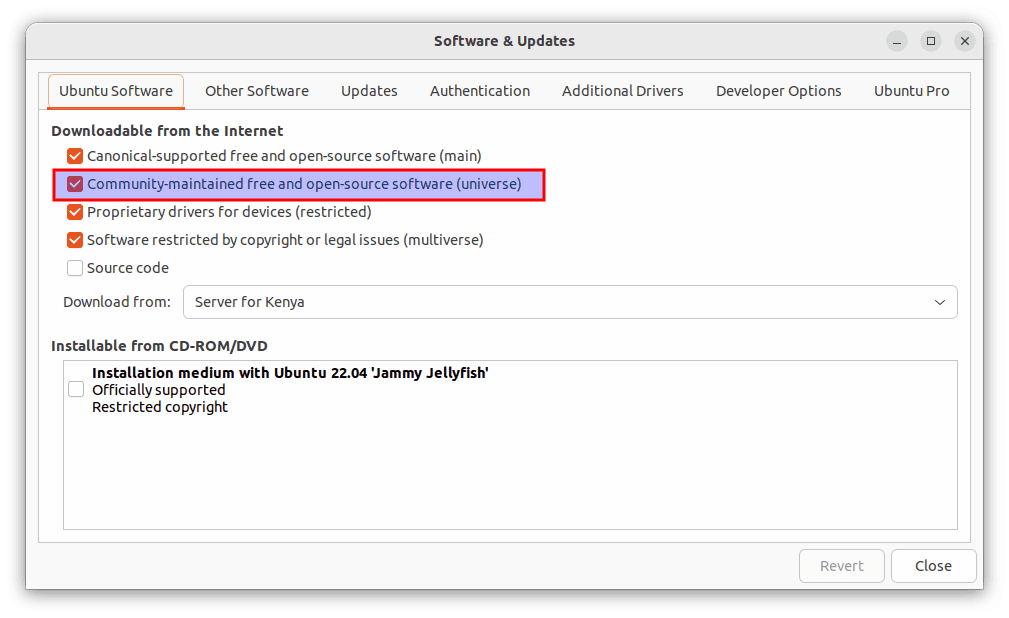
Universe repo
6. To install multimedia codecs, search for the codec you wish to install in the “Ubuntu Software” search bar. For example, if you wish to install the popular “GStreamer” multimedia codec, search for “gstreamer.”
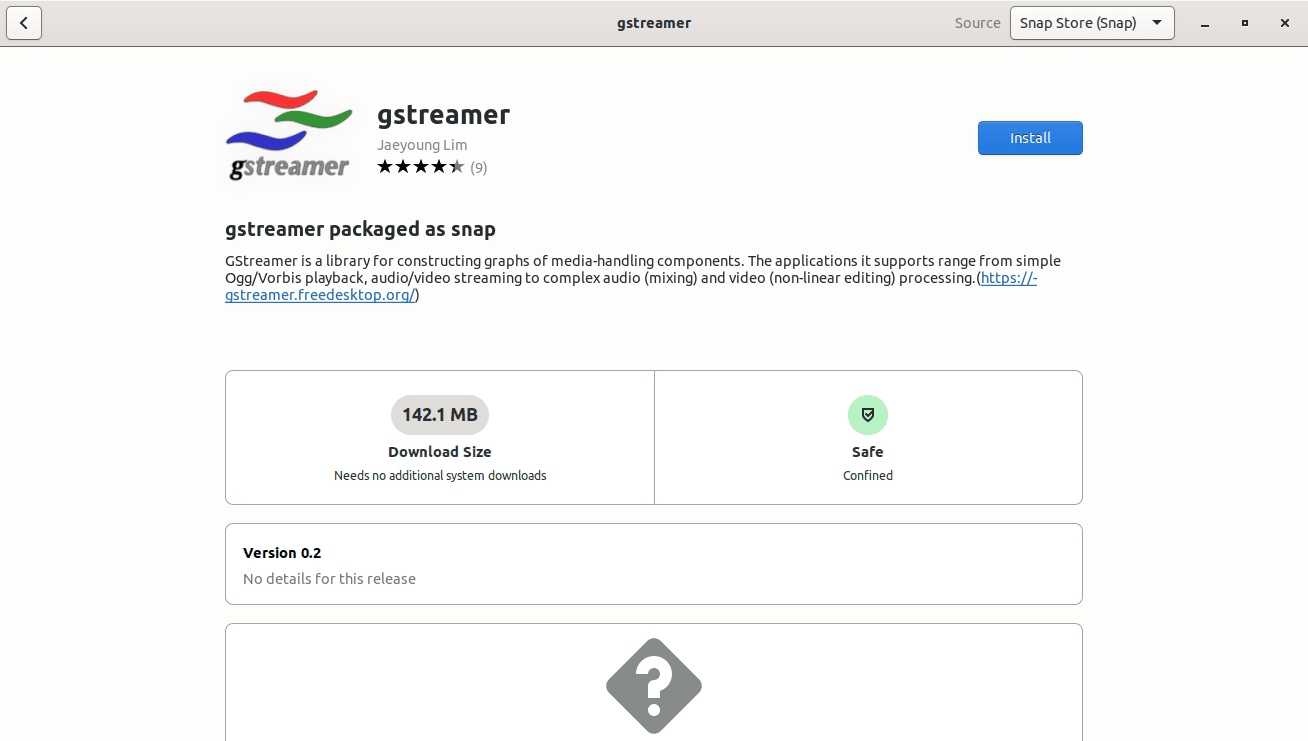
Install Gstreamer
7. Click on the corresponding package in the search results to view more information about it.
8. If you wish to install the package, click the “Install” button. You may be prompted to input your system password to authorize the installation.
9. Repeat steps 6-8 for any additional multimedia codecs you wish to install.
Once the installation is complete, you should be able to use the installed multimedia codecs to play various multimedia files on your Ubuntu 22.04 system.
Note that not all multimedia codecs are available through the Ubuntu Software Center, and some may need to be installed through the command line or from third-party repositories. Before proceeding, research the specific codecs you need and their installation methods.
Method 4: Using the VLC Media Player to install Multimedia codecs
VLC Media Player is a popular open-source multimedia player that can play almost any multimedia file format. VLC also supports several multimedia codecs, making it a convenient option for Ubuntu users. Here are the steps to install VLC Media Player:
Step 1: Open the Terminal on your Ubuntu machine.
Step 2: Type the following command and press Enter:
sudo apt-get install vlc
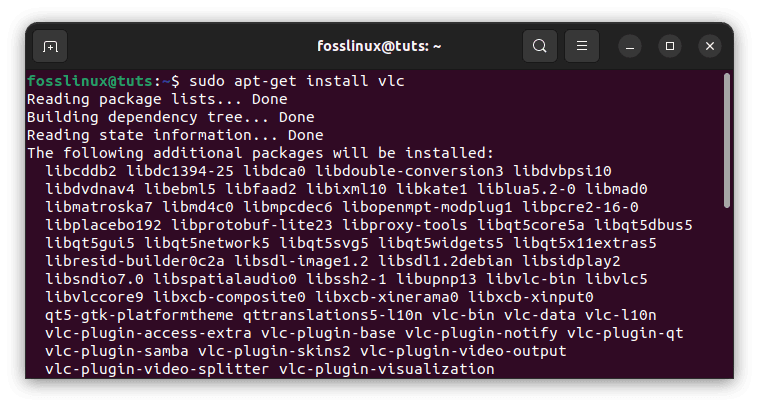
Install vlc
Step 3: The Terminal will ask you to confirm the installation. Type “Y” and press Enter.
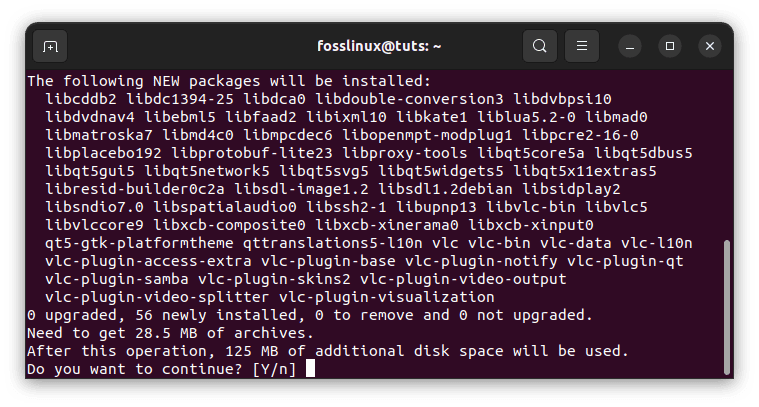
Press Y
Step 4: The installation process will begin and may take a few minutes to complete. Once the installation is complete, you will be able to play and stream your favorite multimedia files using VLC Media Player.
Pros:
- Includes support for almost any multimedia file format.
- Includes support for several multimedia codecs.
- User-friendly and easy to use.
Cons:
- The installation process may take longer than other methods.
- The player may not include all necessary multimedia codecs.
Method 5: Using the FFmpeg Library to install multimedia codecs
FFmpeg is a popular open-source library for recording, converting, and streaming audio and video files. It includes support for several multimedia codecs, making it a convenient option for Ubuntu users who need to work with multimedia files. Here are the steps to install the FFmpeg library:
Step 1: Open the Terminal on your Ubuntu machine.
Step 2: Type the following command and press Enter:
sudo apt-get install ffmpeg
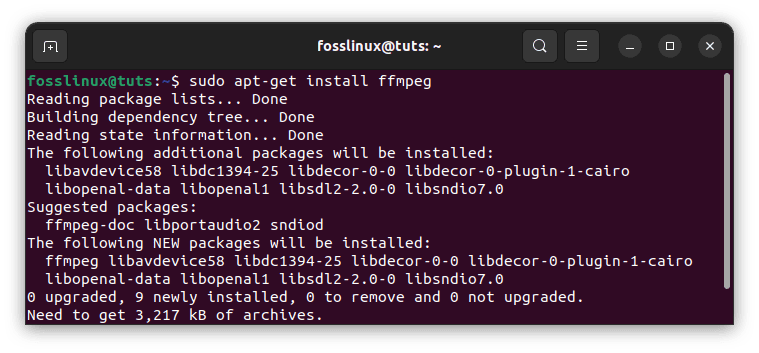
Install ffmpeg library
Step 3: The Terminal will ask you to confirm the installation. Type “Y” and press Enter.
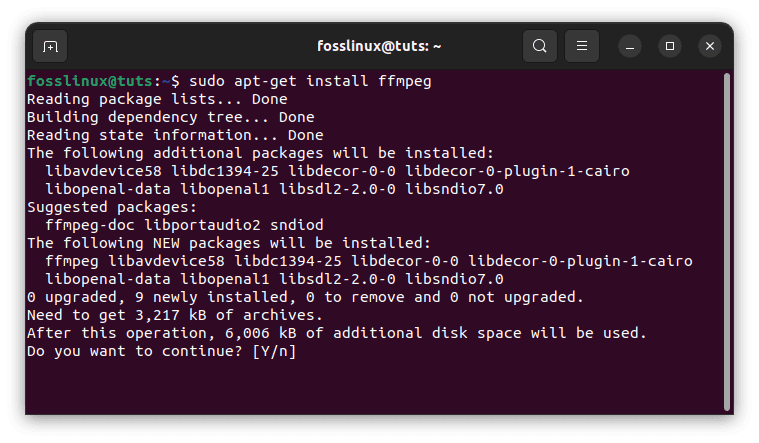
Press Y to proceed
Step 4: The installation process will begin and may take a few minutes to complete. Once the installation is complete, you will be able to work with multimedia files using the FFmpeg library.
Pros:
- Includes support for several multimedia codecs.
- Useful for advanced users who need to work with multimedia files.
- Open-source and free to use.
Cons:
- The installation process may be more complex than other methods.
- Requires some knowledge of the command line interface.
Method 6: Using the MPV Media Player to install multimedia codecs
MPV Media Player is an open-source multimedia player with support for several multimedia codecs. It is lightweight and fast, making it a convenient option for Ubuntu users who want to play and stream multimedia files without using too many system resources. Here are the steps to install MPV Media Player:
Step 1: Open the Terminal on your Ubuntu machine.
Step 2: Type the following command and press Enter:
sudo apt-get install mpv
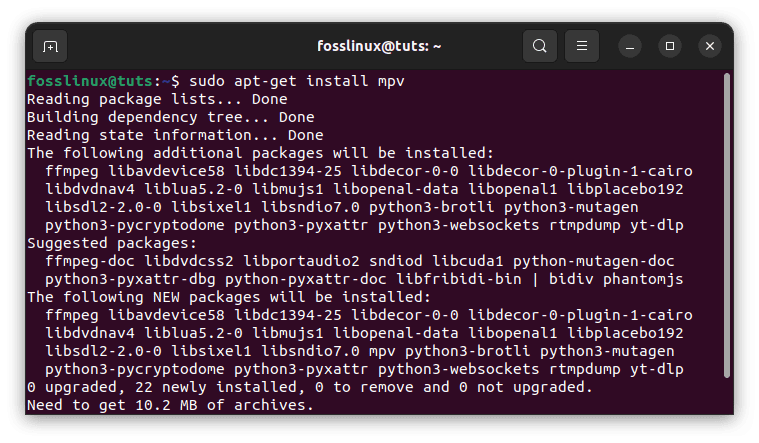
Install MPV
Step 3: The Terminal will ask you to confirm the installation. Type “Y” and press Enter.
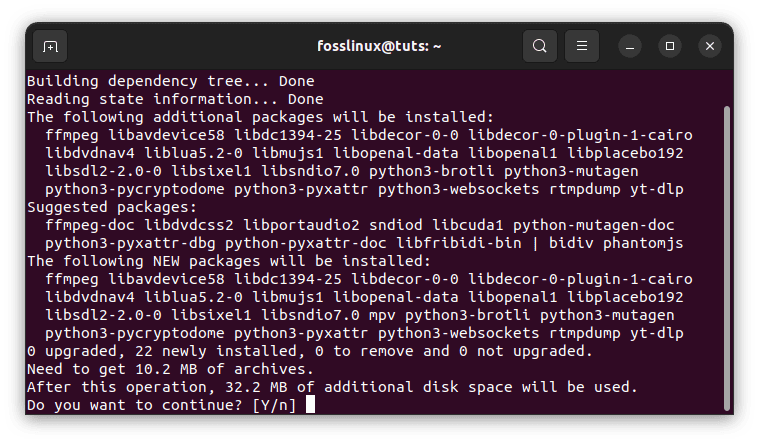
Press Y to confirm
Step 4: The installation process will begin and may take a few minutes to complete. Once the installation is complete, you will be able to play and stream your favorite multimedia files using MPV Media Player.
Pros:
- Lightweight and fast.
- Includes support for several multimedia codecs.
- User-friendly and easy to use.
Cons:
- The player may not include all necessary multimedia codecs.
- Has limited customization options.
One important thing to note is that some multimedia codecs may be proprietary and require additional installation steps. For example, due to licensing issues, the popular multimedia codec package called “Win32 Codecs” is not included in Ubuntu’s official repositories. To install it, you must add a third-party repository that provides the package. Similarly, other proprietary codecs, like the DVD playback codec, may require additional steps to install.
It is important to research the specific multimedia codecs, their compatibility, and any potential legal issues before installing them on your system. This can typically be done through the official documentation or support forums for the specific codec.
In summary, while installing multimedia codecs on Ubuntu 22.04 can greatly enhance the system’s multimedia capabilities, it is important to be aware of any potential legal or compatibility issues and to research the specific codecs being installed.
To install the “Win32 Codecs” package, a proprietary multimedia codec, you must add a third-party repository that provides the package. Here are the steps to add the Medibuntu repository and install the “Win32 Codecs” package:
1. Open the terminal by pressing Ctrl+Alt+T on your keyboard.
2. Add the Medibuntu repository to your system by entering the following command:
sudo add-apt-repository "deb http://packages.medibuntu.org/$(lsb_release -cs) free non-free"
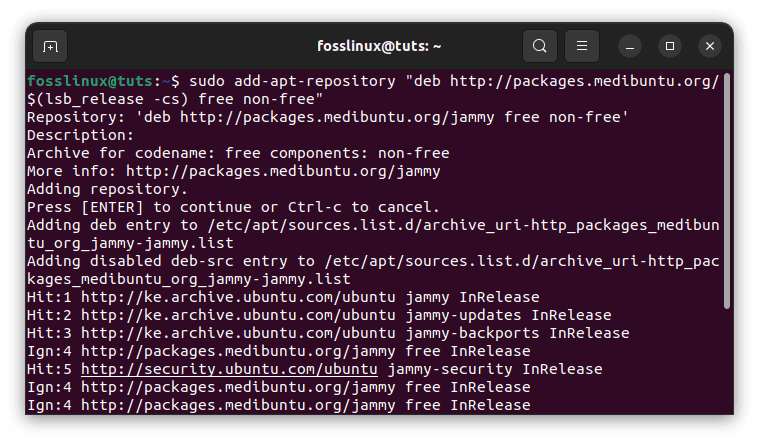
Add Medibuntu repository
This command adds the Medibuntu repository to your system’s software sources.
3. Import the Medibuntu GPG key with the following command:
sudo apt-get update && sudo apt-get install medibuntu-keyring && sudo apt-get update
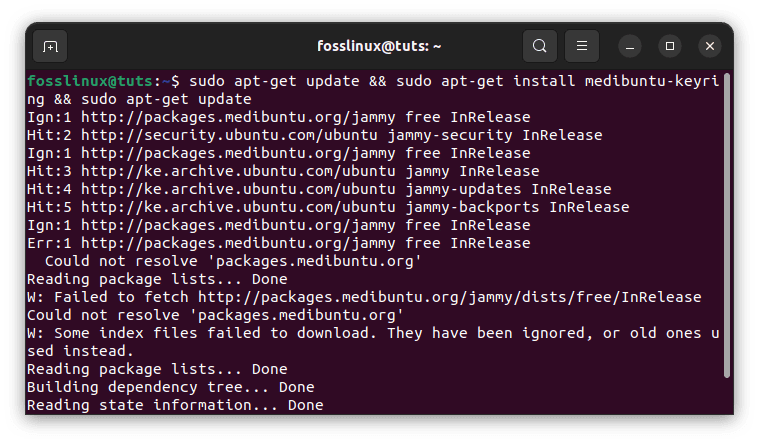
Import Medibuntu GPG key
This command downloads and installs the Medibuntu GPG key, which is used to authenticate the packages in the repository.
4. Update your system’s package lists with the following command:
sudo apt-get update
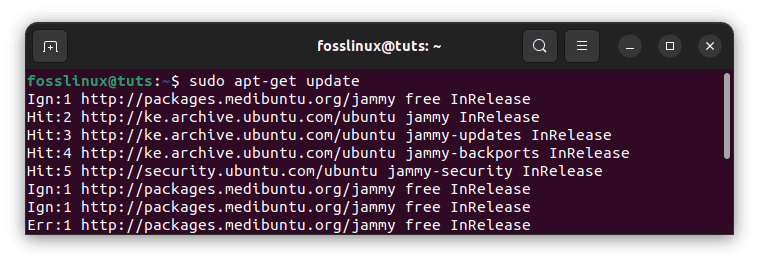
Update Ubuntu Repo
This command updates the list of available packages on your system, including the packages in the Medibuntu repository.
5. Install the “Win32 Codecs” package by entering the following command:
sudo apt-get install w32codecs
This command installs the “Win32 Codecs” package, which includes a variety of proprietary multimedia codecs for use on Ubuntu.
Once the installation is complete, you should be able to play multimedia files that require the “Win32 Codecs” package on your Ubuntu 22.04 system. However, as with any proprietary software, it is important to research and understand the licensing and legal implications of using the “Win32 Codecs” package before installing it on your system.
It is also important to note that some multimedia codecs may be illegal to use in certain jurisdictions. It is the user’s responsibility to ensure they are not violating laws or regulations by using certain codecs or multimedia files.
Additionally, some multimedia codecs may have compatibility issues with certain software or hardware configurations. Researching the specific multimedia codecs and their compatibility is important before installing them on your Ubuntu system.
By considering these additional factors, Ubuntu users can ensure a smooth and legal experience when working with multimedia files on their systems.
Conclusion
Installing multimedia codecs on Ubuntu 22.04 is essential for users who rely heavily on multimedia files. There are several methods for installing these codecs, each with its own features, pros, and cons. The Ubuntu Restricted Extras package is convenient for users who want to install all necessary codecs in one step. On the other hand, VLC Media Player is a popular option for users who want a reliable and user-friendly multimedia player. The FFmpeg library is a useful option for advanced users who need to work with multimedia files. Finally, the MPV Media Player is a lightweight and fast option for users who want a simple and efficient player. By following the steps outlined in this article, you will be able to install the necessary multimedia codecs and enjoy all your favorite multimedia files on your Ubuntu 22.04 machine.
Thank you for reading this article; we hope you found it useful. If you have any questions or feedback, please feel free to leave a comment below.

