One of the most unique things about Linux systems is the ability to change the Desktop Environment. Other operating systems like Windows and macOS have a preset Desktop Environment that you cannot change. The two most popular Desktop Environments in the Linux world are GNOME and KDE Plasma. Of course, there are many others like XFCE, MATE, Deepin, etc., but these two have a vast user base.
If you’re looking for a desktop environment that combines beauty and speed with a wealth of features, then KDE Plasma might be just what you need. Plasma is one of the most popular desktop environments with its sleek and customizable interface. In addition, it’s known for its stunning visual effects, lightning-fast performance, and a vast array of tools and applications. And the best part? It’s completely open-source and free to use.
In this article, we’ll guide you through installing KDE Plasma on your Ubuntu system so you can experience the power of this unique desktop environment for yourself.
KDE vs. KDE Plasma – Understanding the differences
If you’ve been exploring the world of Linux desktop environments, you might have encountered the terms KDE and KDE Plasma. Although both terms refer to the same thing – a desktop environment – there are some differences that you should be aware of. First, KDE is the abbreviation for K Desktop Environment, the original desktop environment created over two decades ago.
However, over the years, the KDE project has grown to include a wide range of applications and tools, like the popular Kdenlive video editor. As a result, the project was eventually split into two:
- KDE is the overarching organization overseeing the development of various applications.
- KDE Plasma is the specific desktop environment that the organization develops.
While it’s still common to refer to the desktop environment as KDE, it’s essential to understand that the actual name of the environment is KDE Plasma.
Understanding KDE editions
As you prepare to install KDE on your system, it’s important to know that several editions of KDE are available for installation. Each edition has different features and options, allowing you to customize your desktop environment to suit your needs.
- KDE full: This is the ultimate package, encompassing all default applications and features. This edition has many tools and functionalities, making it the perfect choice for power users requiring advanced features and capabilities. With KDE full, you’ll have access to an extensive range of options and features to take your computing experience to the next level.
- KDE standard: This edition is a trimmed-down version of KDE full and only comes with selected applications. This can help reduce the amount of clutter on your desktop, making it easier to navigate and use.
- KDE Plasma Desktop: This is the most minimal version of KDE available. This edition only includes the bare essentials, such as the file manager, a browser, and a text editor. While it may not have all the bells and whistles of the full and standard editions, KDE Plasma is an excellent choice if you’re looking for a lightweight, fast, and customizable desktop environment.
This post will show you how to install KDE Plasma Desktop. It is a much smaller package compared to the other editions and comes with all the necessary applications you might need for an OS.
Installing KDE Plasma on Ubuntu
Below is a step-by-step guide on how to install KDE Plasma on Ubuntu.
Step 1. Update the system.
It is essential to update your Ubuntu system before installing a new program for several reasons. First, updating your system ensures you have installed the latest security patches, fixes, and libraries, reducing the risk of vulnerabilities and attacks. It also improves system stability and performance, preventing errors and crashes during installation or while running the program.
It can also help fix any bugs or issues affecting your system and potentially impacting the installation or performance of the program you want to install.
Execute the commands below on the terminal.
sudo apt update
Step 2. Install the KDE Plasma Desktop package
After successfully updating your system, execute the command below to install KDE Plasma on your Ubuntu system.
sudo apt install kde-plasma-desktop
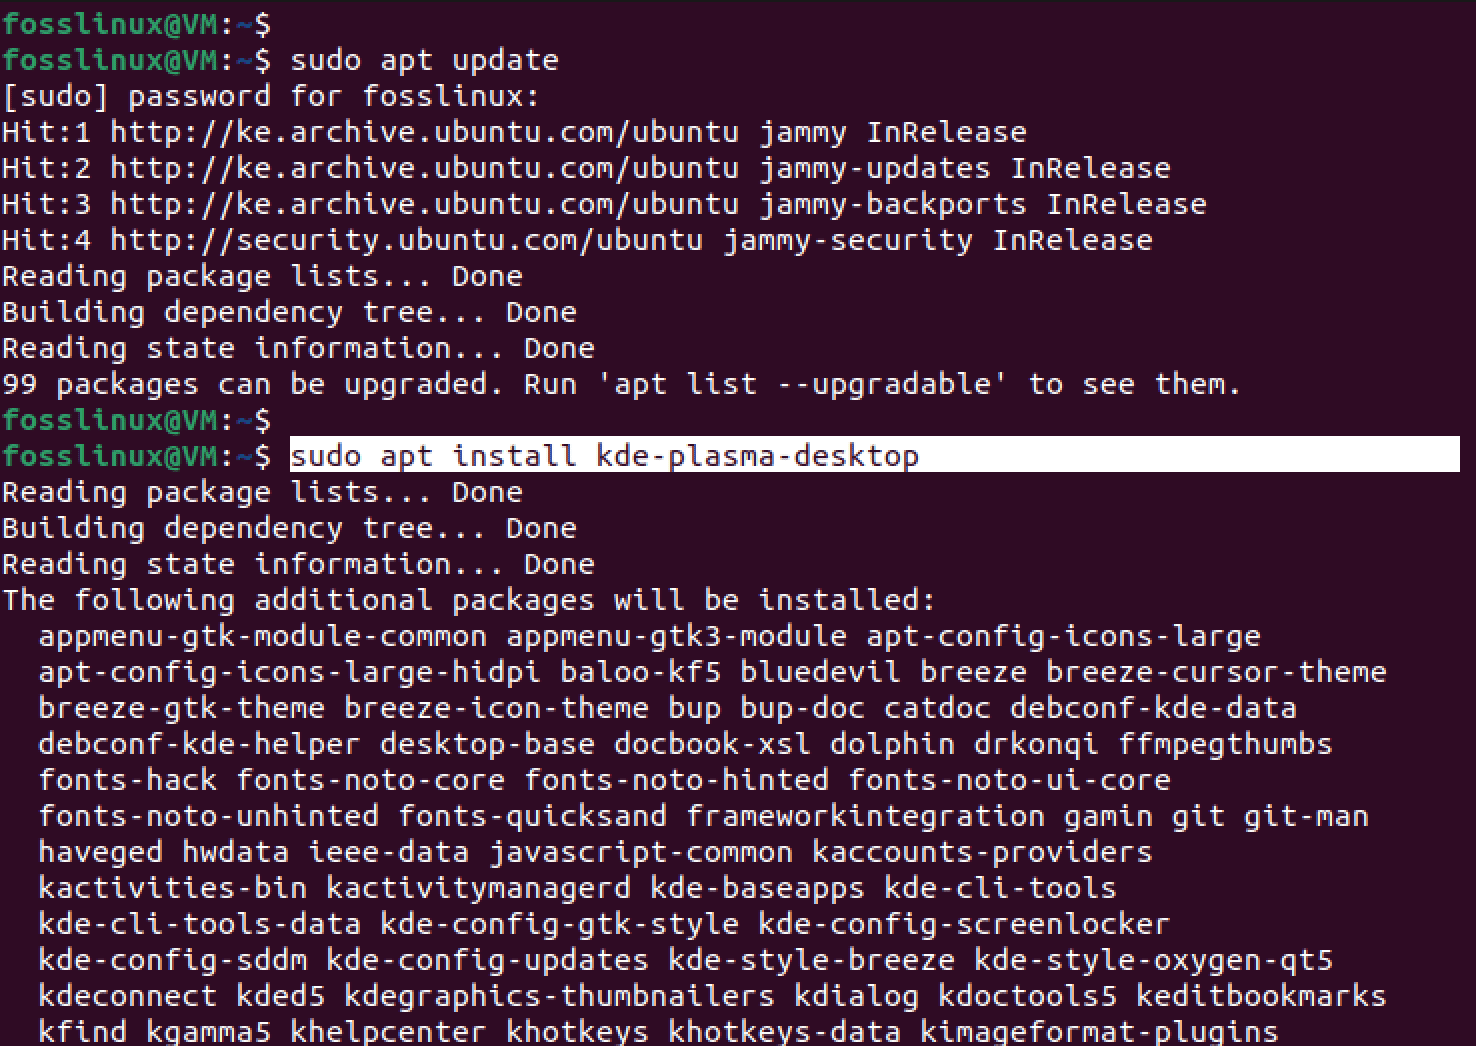
Install KDE Plasma Desktop
This might take a while, depending on your internet connection. Please be patient.
Step 2. Configure the display manager
A display manager is a graphical user interface (GUI) that provides login screens, session management, and graphical desktop environments on Linux and other Unix-like operating systems. It is the first program that runs when a Linux system boots up and is responsible for presenting a graphical login screen to the user.
There are two options available for KDE Plasma on Ubuntu.
- SDDM (Simple Desktop Display Manager): This display manager was introduced in KDE Plasma 5. It is designed to be simple, lightweight, and highly customizable, with support for theming and multiple desktop environments. SDDM is written in the Qt framework and uses the X Window System or Wayland display server protocols.
- GDM3 (GNOME Display Manager 3): This display manager is used in the GNOME desktop environment. It is designed to be simple and user-friendly, supporting themes and accessibility features. GDM3 is written in the C programming language and uses the X Window System or Wayland display server protocols.
Select SDDM and hit Enter to finalize installing KDE Plasma on Ubuntu.
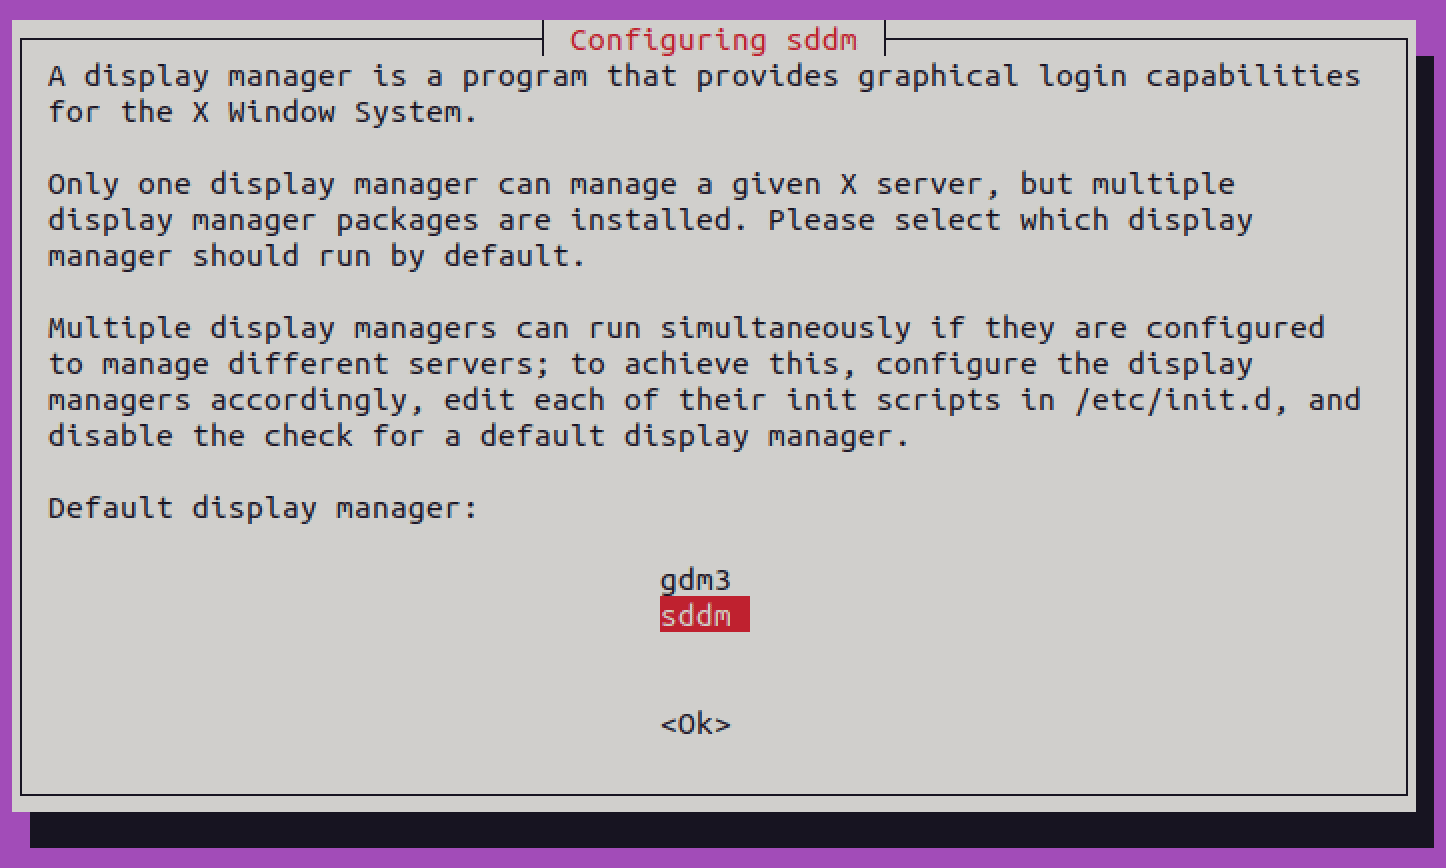
Configure the SDDM display manager
Step 3. Reboot your system
After successfully installing KDE Plasma on your Ubuntu, execute the command below to reboot your system and apply the necessary changes and configurations.
sudo reboot now
Step 4. Login using KDE Plasma
After rebooting your system, you will get to the login screen. Select the Plasma desktop environment from the top-left corner, then type your password to log in.
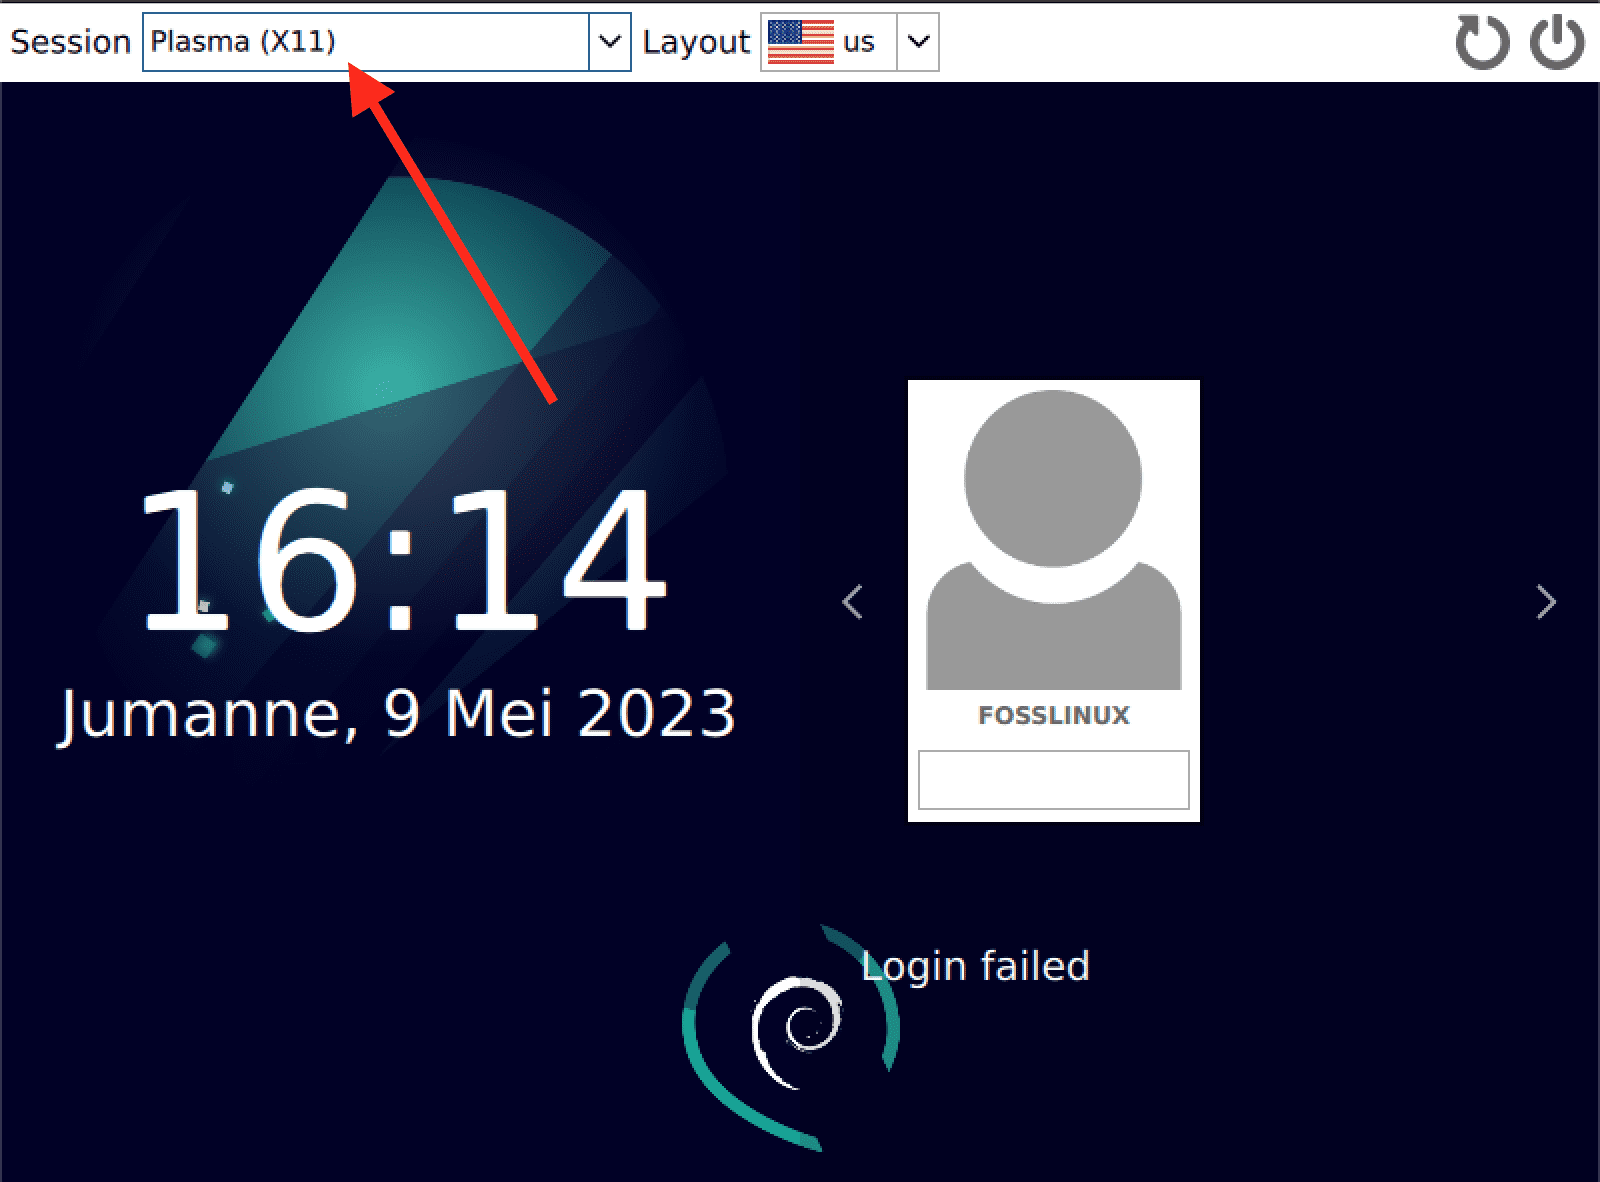
KDE Plasma desktop
A brief tour of KDE Plasma
KDE Plasma is a feature-rich and visually stunning desktop environment that is highly customizable to suit your needs. Here’s a brief tour of some of its key features and functionalities:
Desktop Customization: With KDE Plasma, you can easily customize your desktop with widgets, panels, and themes. You can choose from a wide range of pre-installed themes or create your own to make your desktop unique.
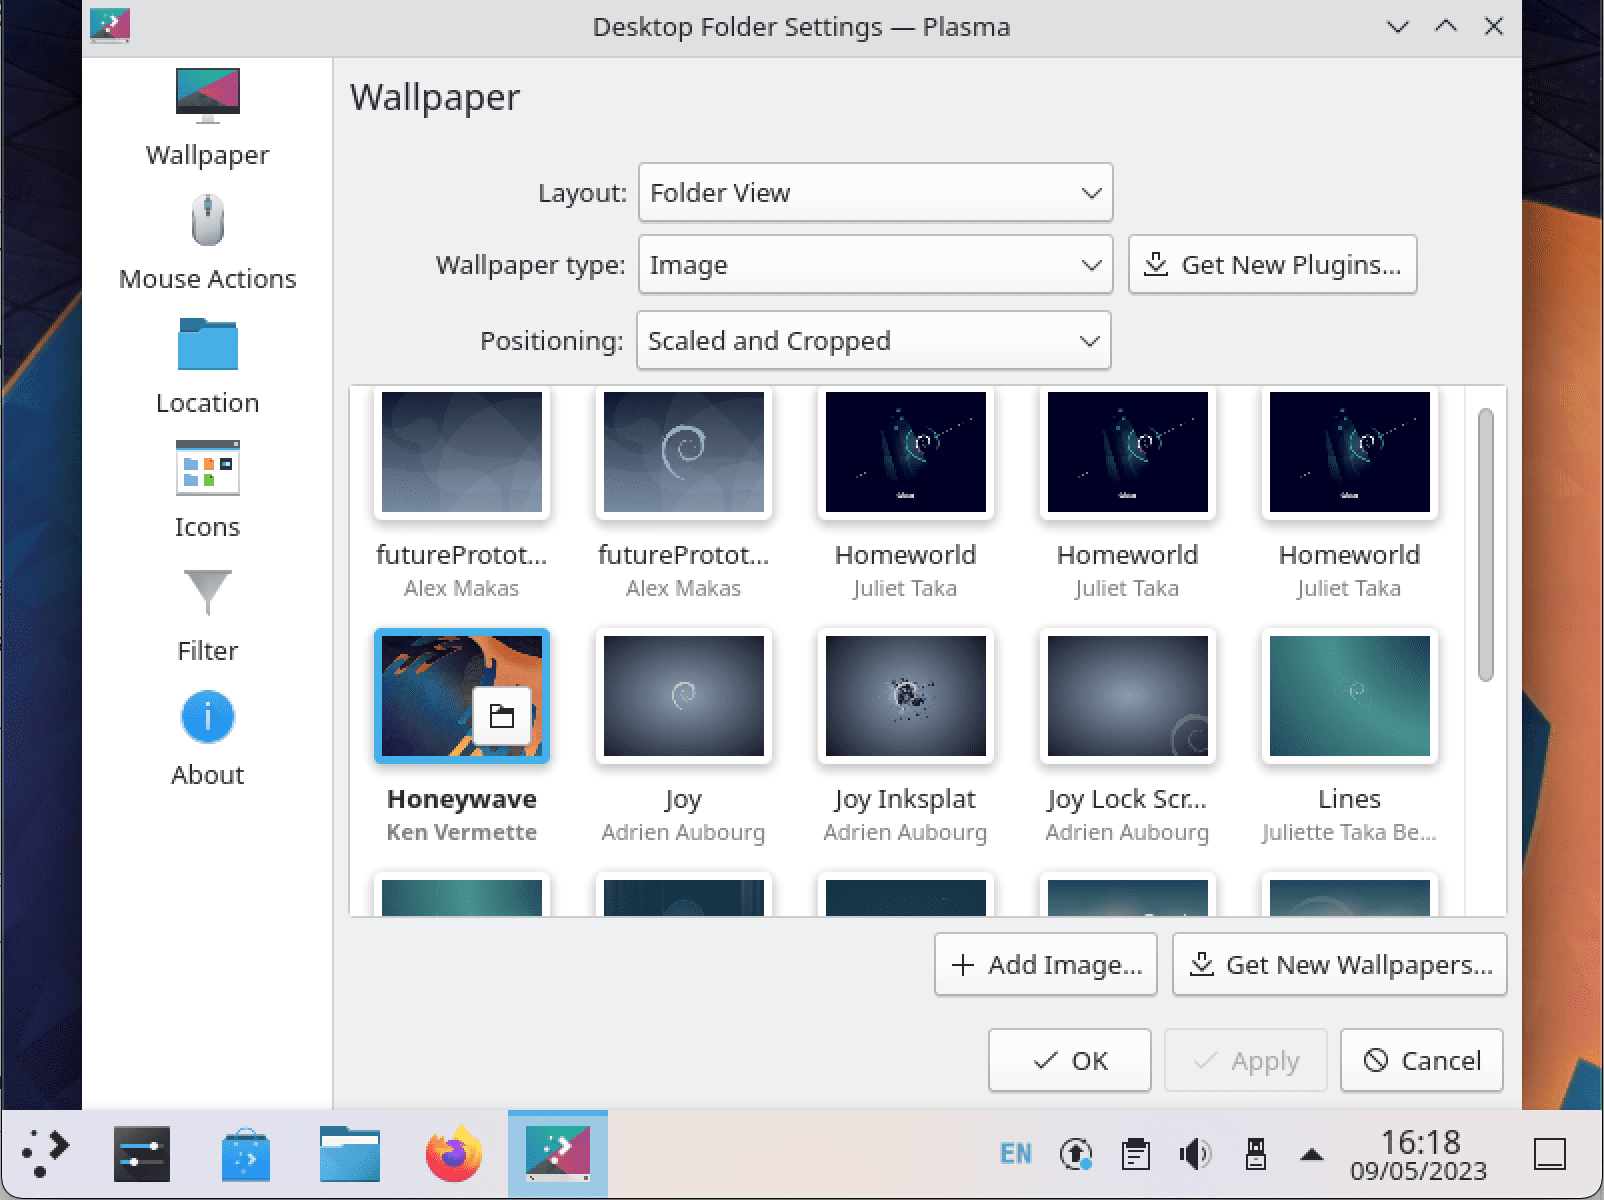
Desktop Customization
Application Launcher: The application launcher in KDE Plasma is a powerful tool that lets you quickly access your favorite applications, files, and folders. You can also easily search for files and applications using the launcher.
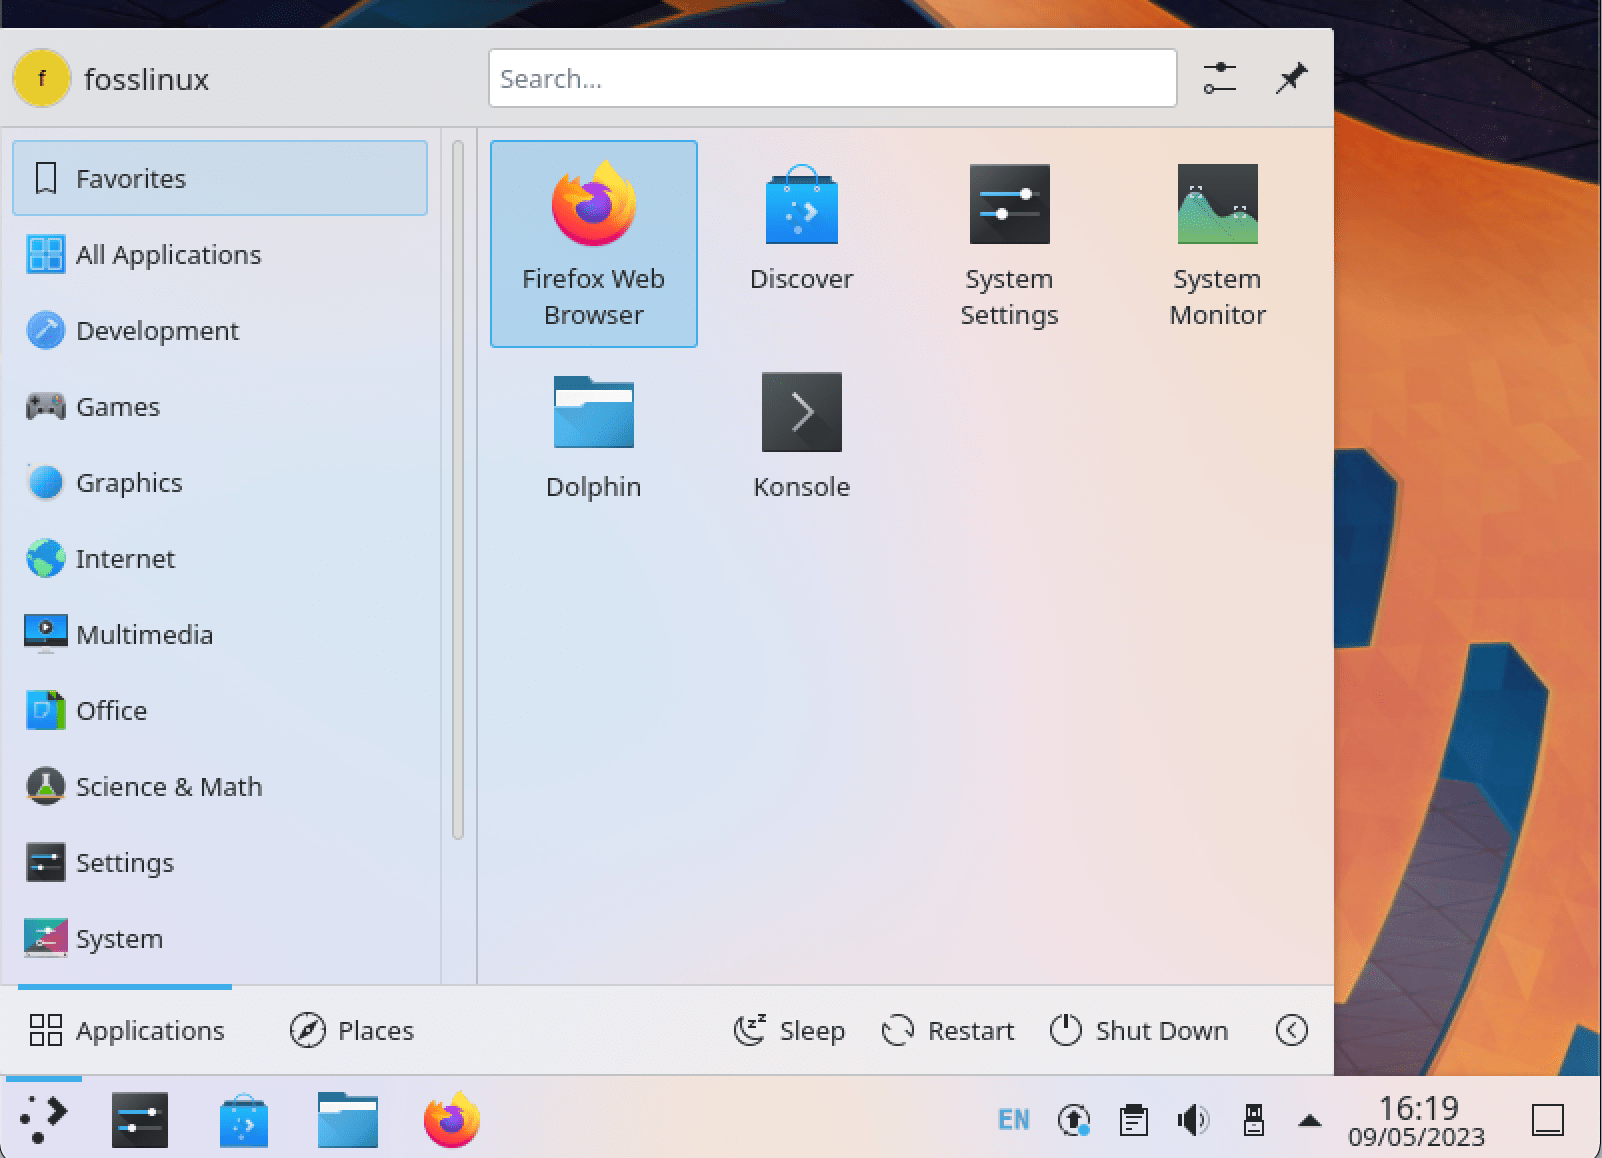
Application Launcher
Window Management: KDE Plasma offers a variety of window management options, including snap windows to edges, tiling, and virtual desktops. These features help you manage your open windows efficiently and increase your productivity.

Window Management
System Settings: KDE Plasma offers a robust system settings tool that allows you to customize virtually every aspect of your desktop environment. You can configure everything from display settings to keyboard shortcuts and even set up advanced network and privacy settings.
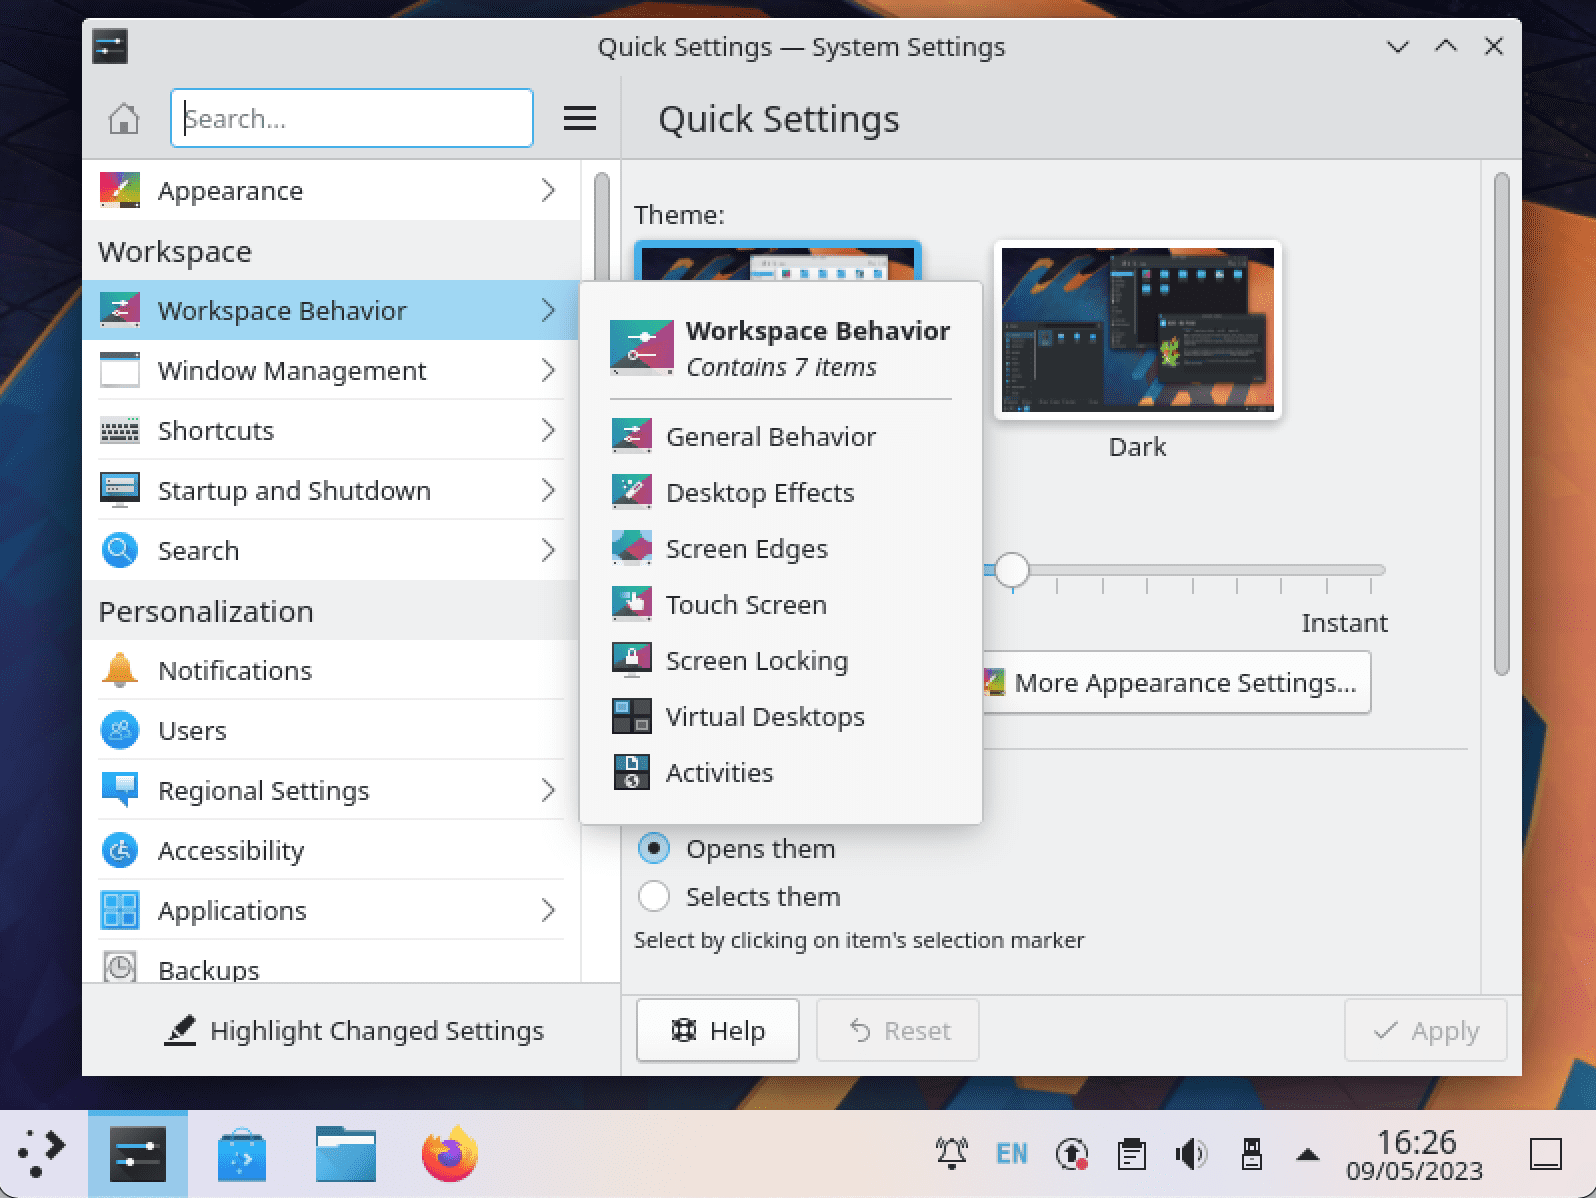
System Settings
Wrapping up
We hope this guide has given you a comprehensive understanding of installing KDE on Ubuntu. With the step-by-step instructions and tips provided, you should be able to install KDE easily and begin exploring this robust desktop environment’s many features and functionalities.
Remember that if you’re unsure which desktop environment to use, you can install and test multiple DEs. That way, you can find the one that best suits your needs and preferences.

5 comments
Why install KDE on Ubuntu when you can just install Kubuntu?
Maybe they already have ubuntu installed? Maybe they dont want some of what ships with Kubuntu? There’s a decent amount of reasons.
I install KDE Plasma on Linux Mint, cuz ubuntu on my device is like “trash”
can we go back to ubuntu again
yes