If you have ever used Linux systems before, you would know that one of the best features of Pop!_OS is its ability to be customized according to user preferences. Themes and icons are essential to this customization process, allowing us to personalize our desktop environments and make them look unique.
This article will guide you through customizing your Pop!_OS system with themes and icons, providing step-by-step instructions and helpful tips. Want to take your system customization skills to the next level? Learn how to customize the look and feel of Pop!_OS with GNOME Tweaks.
Pop!_OS themes and icons
Themes and icons are essential aspects of customizing the appearance of any operating system or software. In simple terms, these are graphical elements that change the look and feel of the system, making it more visually appealing and personalized.
Pop!_OS themes and icons
In Pop!_OS, themes and icons are controlled by two different types: GTK and Icon themes. GTK themes are responsible for the overall appearance of the operating system, including the window borders, buttons, and text boxes. They determine the color scheme, font styles, and other visual elements that make up the user interface. On the other hand, Icon themes are responsible for the graphical representation of various system components, such as folders, files, applications, and other items that appear on the desktop or in the system tray.
Pop!_OS supports various GTK and icon themes, and users can easily switch between them to change the look and feel of their system. GTK and icon themes can be downloaded from various sources and installed in Pop!_OS through the GNOME Tweaks tool or the command line interface.
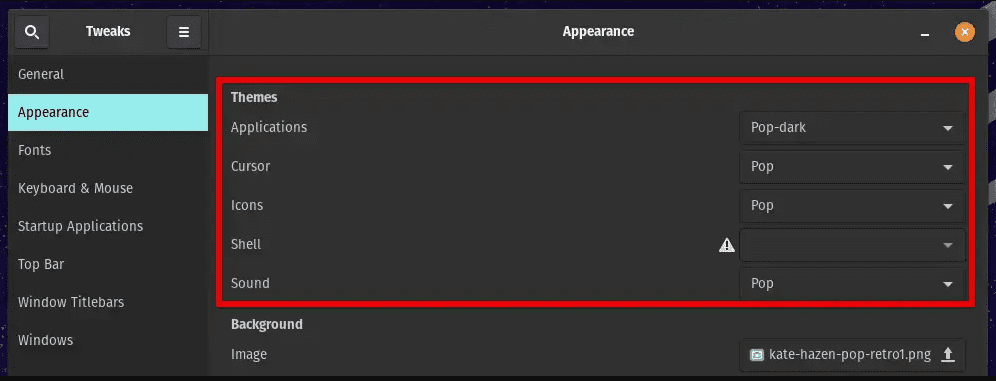
Installing GTK themes through GNOME Tweaks
Their role in Pop!_OS is crucial as they determine your desktop’s overall appearance and feel. They allow users to customize the look of their system according to their preferences, making it more personalized and visually appealing. GTK and icon themes can be modified or created from scratch, allowing individuals to fully customize their environments and make them as unique as they want.
Installing and using Pop!_OS themes & icons
This section will provide detailed instructions on installing and using themes and icons in Pop!_OS. We will also discuss different installation methods and how to switch between different themes once installed.
Installing themes and icons: There are two methods to install themes and icons in Pop!_OS: using the terminal or the GNOME Tweaks tool. Let us cover both of these methods one by one.
Using the terminal: To install themes and icons, open the terminal window by pressing “Ctrl + Alt + T” or searching for “Terminal” in the Applications menu. You may also open the terminal by clicking on its icon in the dock or system tray.
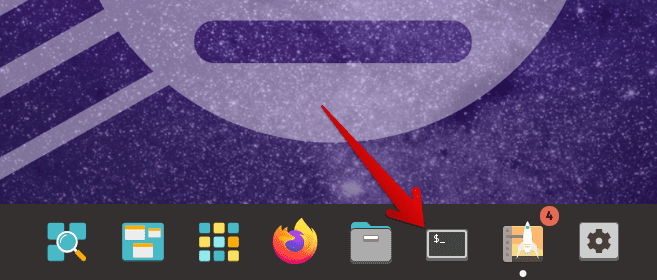
Opening the Pop!_OS terminal
Once the terminal has been opened, run the following command to install the necessary packages:
sudo apt install gnome-tweaks gnome-shell-extensions
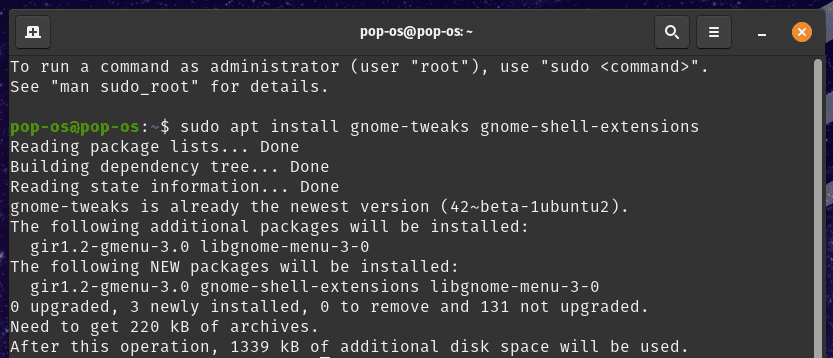
Installing GNOME shell extensions
Next, download the theme or icon package you want to install from a reliable source such as Gnome Look or DeviantArt. Save the downloaded package in the ~/.themes or ~/.icons folder.
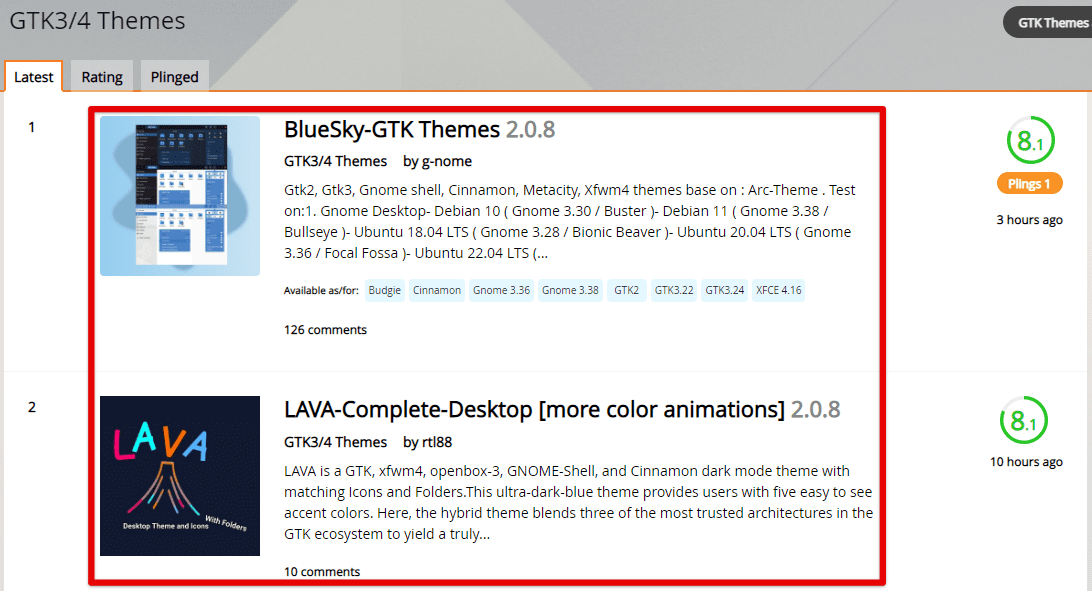
Downloading themes from Gnome Look
Extract the downloaded package to the same folder where you saved it. You can do this by right-clicking the downloaded file and selecting “Extract Here.” Open the GNOME Tweaks tool by searching for it in the applications menu or typing gnome-tweaks in the terminal.
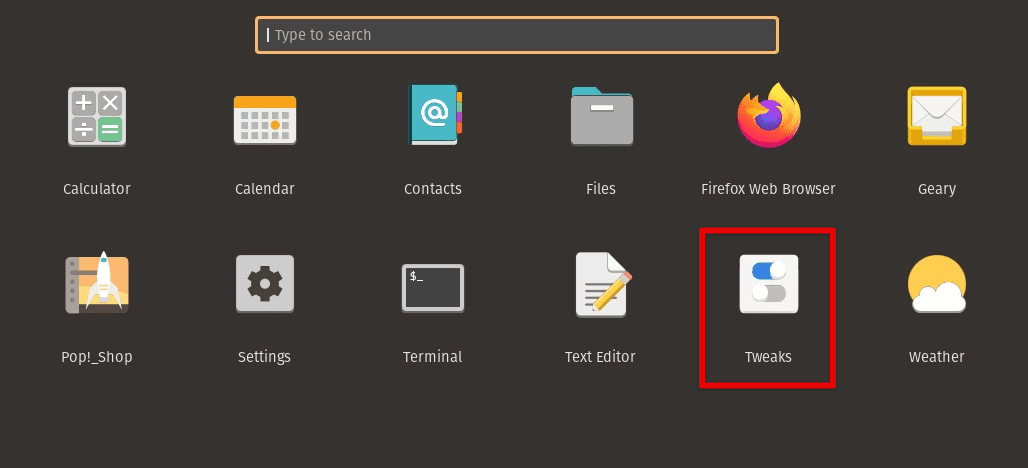
Opening the GNOME Tweaks Tool
In the “Appearance” tab, click on the “Applications,” “Icons,” or “Shell” option and select the theme or icon pack you want to use from the dropdown menu. These packs will be present where you downloaded them in the previous step.
Using the GNOME Tweaks tool: To install themes and icons using the GNOME Tweaks tool, open the tool by searching for it in the applications menu or by typing gnome-tweaks in the terminal. In the “Appearance” tab, click on the “Applications,” “Icons,” or “Shell” option.
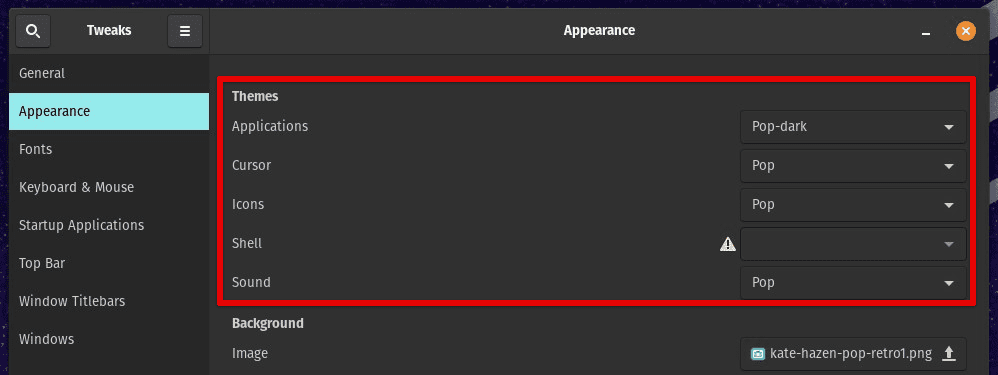
Using the GNOME Tweaks tool
Click the “+” button to browse and select the theme or icon pack you want to install. Once you choose the package, click “Install” to finish the process.
Applying themes and icons: Open the GNOME Tweaks tool by searching for it in the applications menu or typing gnome-tweaks in the terminal. In the “Appearance” tab, select the theme or icon pack you want to use from the dropdown menu.
Applying themes and icons
The selected theme or icon pack will be applied immediately. You can customize it further by adjusting other settings in GNOME Tweaks.
Finding and downloading themes & icons
Finding and downloading themes and icons is not as simple as you think. There are a lot of different options to choose from. Besides, you must assess whether a particular source for these themes is reliable.
This section will provide tips and resources for finding and downloading themes and icons for Pop!_OS. We will discuss popular repositories, such as GNOME Look, and explain how to search for and download themes and icon sets from these sources.
GNOME Look: GNOME Look is a famous repository for themes and icons for the GNOME desktop environments, which is also the foundation of Pop!_OS. GNOME Look offers a vast collection of GTK themes, icon sets, and other customization options. To browse themes and icons, go to https://www.gnome-look.org/ and select the “GTK” or “Icons” category from the top menu.
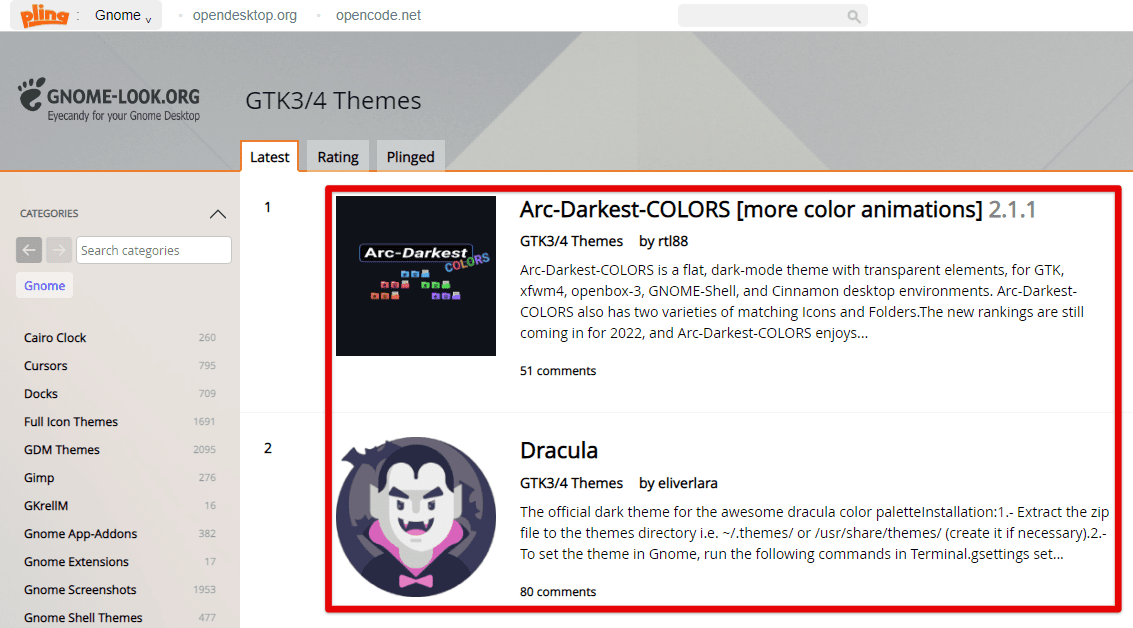
Gnome Look
You can sort themes and icons by the most popular, most recent, and highest rated by using the dropdown menu on the right side of the screen. Click on the theme or icon you want to download to go to its download page.
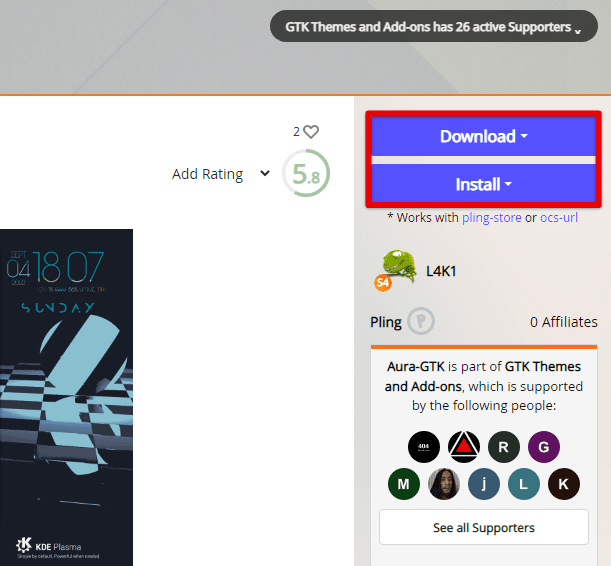
GTK theme download page
Click on the “Files” tab on the download page to see available options. Choose the version compatible with your system and click the download link to start downloading. Once the download finishes, follow the on-screen instructions to finish the installation.
Other repositories: Apart from GNOME Look, several repositories offer themes and icons for Pop!_OS. Following are some of the most popular ones:
DeviantArt: DeviantArt is a widely famous online community for artists and designers. You can find a vast collection of themes for Pop!_OS by searching for “Pop!_OS themes” or “Pop!_OS icons” on DeviantArt.
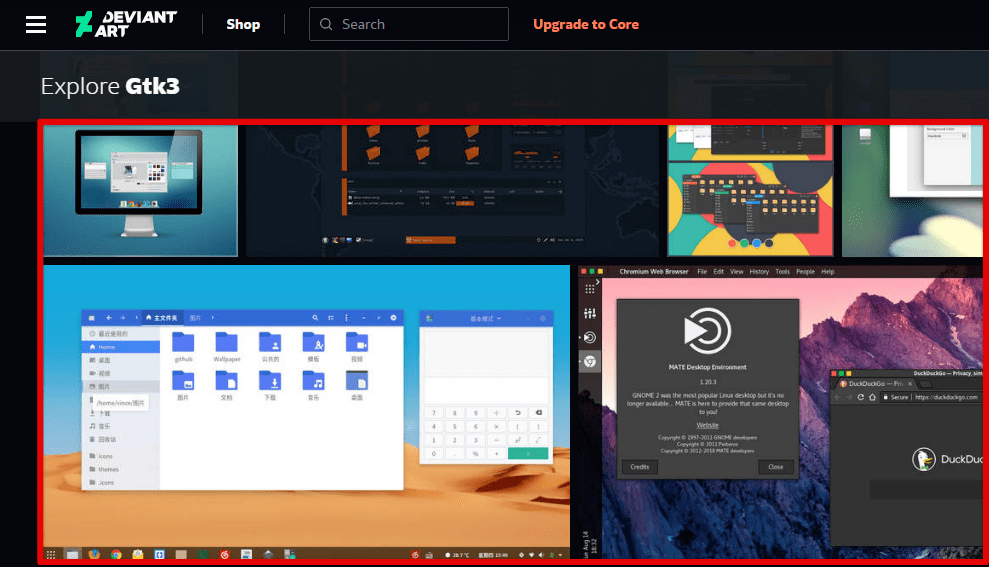
DeviantArt
GitHub: GitHub is a code-sharing platform that hosts numerous Pop!_OS projects. There are several themes and icon sets whose source code can be found through GitHub directly.
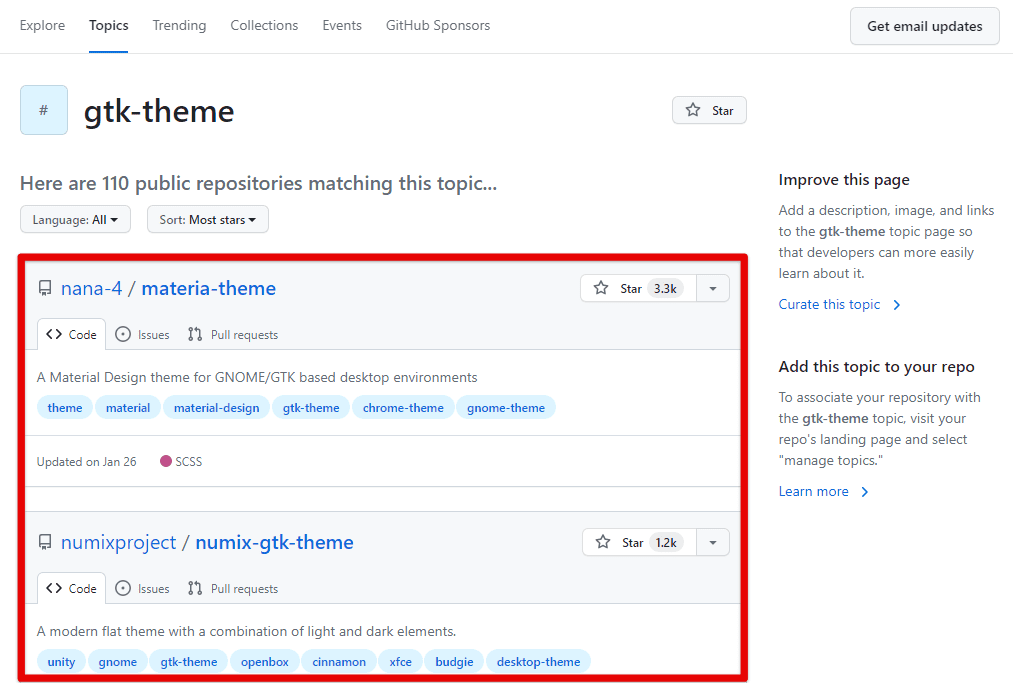
GitHub
Pling: Pling is another repository that offers themes and icons for various Linux distributions, including Pop!_OS. On Pling, you can browse and download themes from a vast collection of managed catalogs.
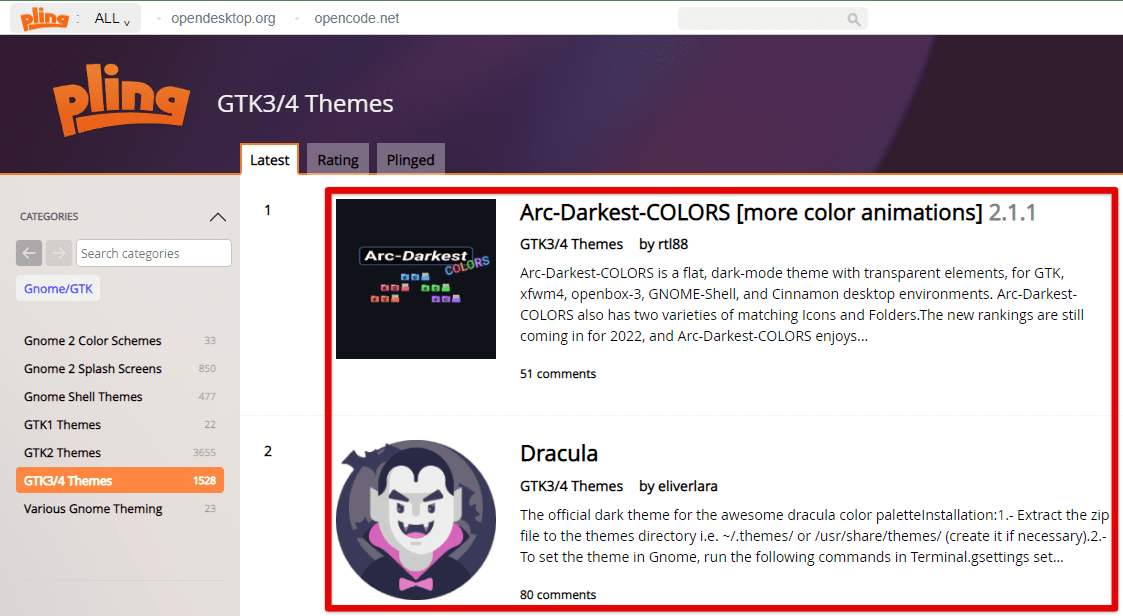
Pling
Tips for finding themes and icons: Following are some tips for finding themes and icons for Pop!_OS:
Check out the Pop!_OS subreddit: The Pop!_OS subreddit is an excellent resource for finding these resources. You can search for posts related to themes and icons or create a new post asking for recommendations.
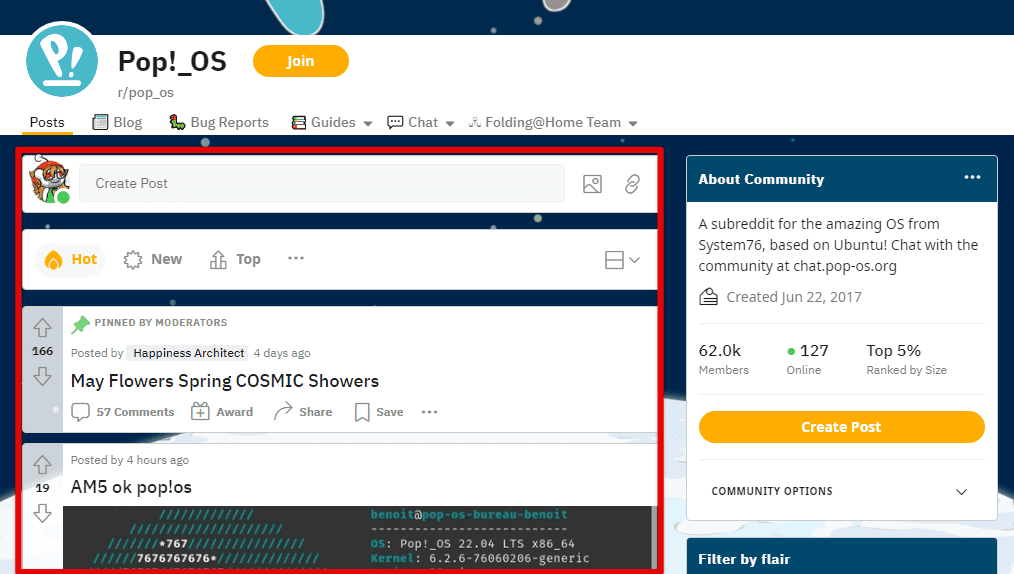
Pop!_OS subreddit
Follow Pop!_OS customization blogs: Several blogs and websites are dedicated to Pop!_OS customization. These can be found through official forums or by searching them on Google. These blogs are to be followed to get updates on the latest Pop!_OS themes and icon sets being developed at any given time.
Customizing your desktop environment
Now that you have seen how to find, download, and install icons and themes, let’s see how to customize your desktop environment beyond these fundamentals. In this section, we will provide instructions on how to change the wallpaper, add widgets and extensions, and adjust the layout of your desktop.
Changing the wallpaper: The wallpaper is the background image behind your icons and windows. Changing the wallpaper can help give your desktop a fresh look. Right-click on the desktop and select “Change Background” from the context menu. On the “Background” tab, you can choose a pre-installed wallpaper or select an image from your computer by clicking the “Add Picture” button.
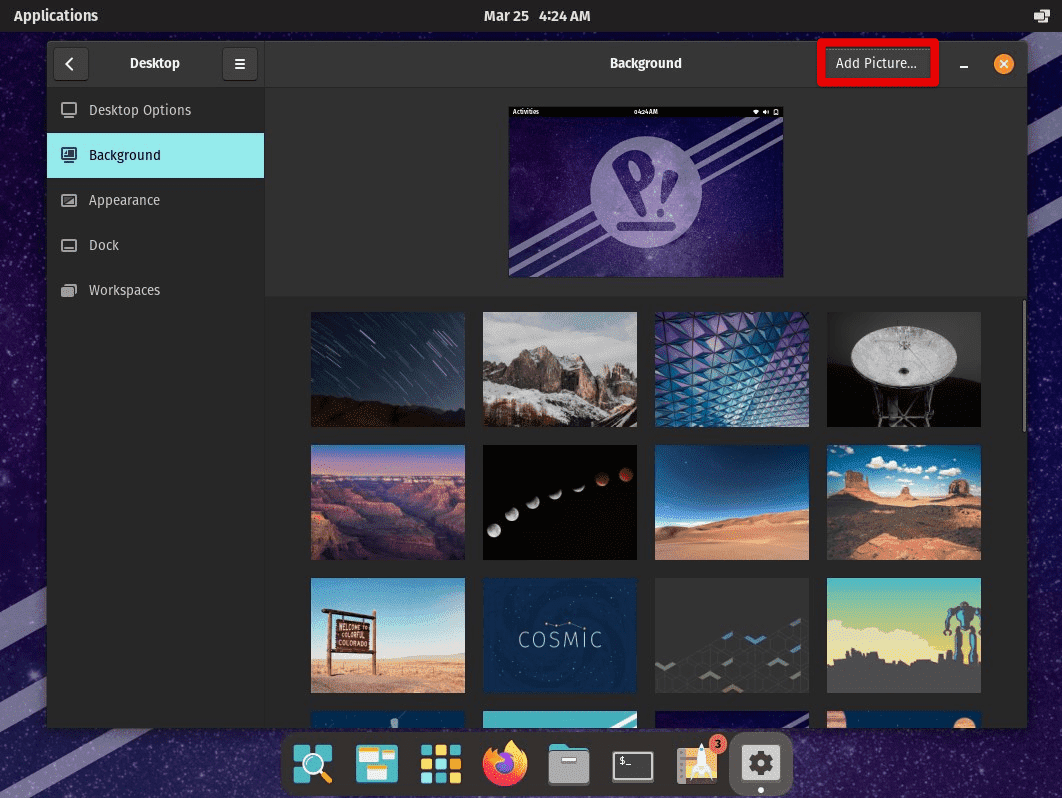
Changing the wallpaper
You can also adjust the wallpaper’s position, zoom, and aspect ratio using the options on the right side of your screen. Once you’ve selected the wallpaper, click “Set Wallpaper” to apply.
Adding widgets and extensions: Widgets and extensions are small applications that can add functionality to your desktop environment. Open the GNOME Extensions website in your web browser. Search for the widget or extension you want to add and click the “Download” button.
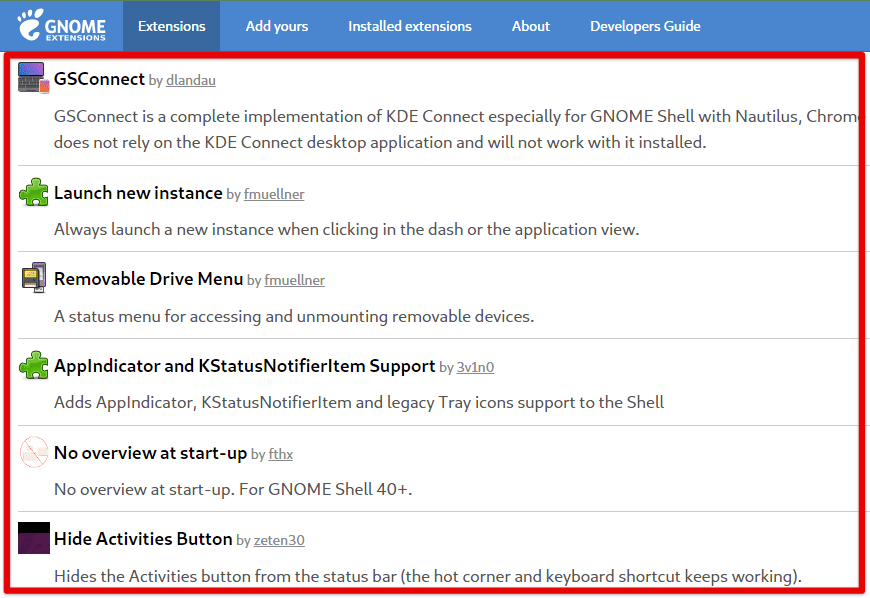
Adding widgets and extensions
If you haven’t installed the GNOME Shell Integration browser extension, follow the prompts to complete this installation first. Once it finishes, you can install the widget or extension by clicking the toggle switch on its download page.
Afterward, you may access its settings by clicking the “Settings” button on the GNOME Extensions website.
Adjusting the desktop layout: Adjusting the desktop layout helps you organize your icons and windows in a way that works best for you. Right-click on the desktop and select “Display Settings” from the context menu.
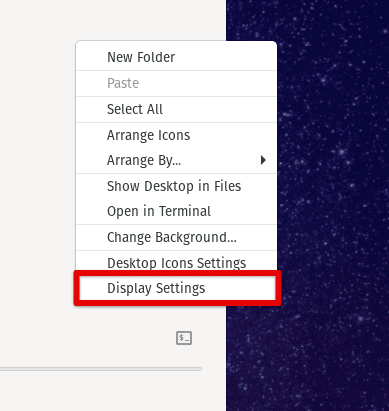
Opening display settings in Pop!_OS
On the “Layout” tab, select whether to have a single desktop or multiple desktops. You can also adjust the size and position of the dock, which is the panel that appears on the left side of the screen or at the bottom.
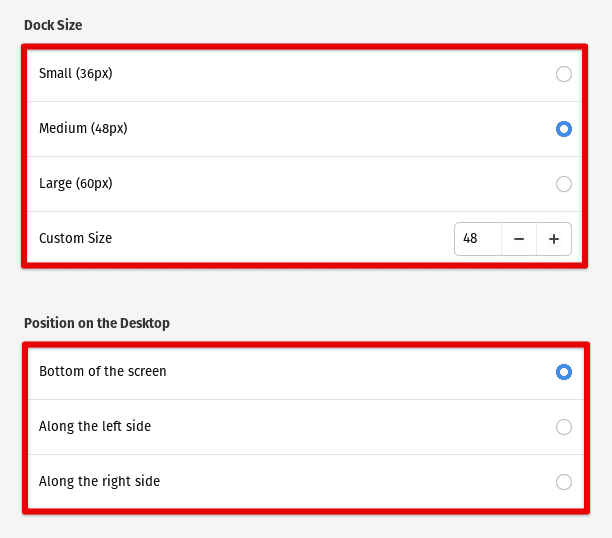
Adjusting dock size and position
You may also enable or disable the “Activities Overview” feature, a full-screen view of all your open windows and workspaces. Once you’ve made the changes you want, click on “Apply” to save them and finish the process.
Creating your themes and icons
Creating your own themes and icons is a great way to personalize and make your system your own. This section will discuss creating your own themes for Pop!_OS. We will provide instructions and resources for the tools and software needed and examples of modifying existing themes.
Tools and software: To create your own themes and icons for Pop!_OS, you will need the following tools and software:
- A text editor, such as Atom or Sublime Text, for editing configuration files.
- An image editor, like GIMP or Inkscape, for creating and editing icons and other graphical elements.
- The GTK theme engine allows you to create custom themes for the GNOME desktop environment.
- A good understanding of CSS, which is used to style the interface elements in GTK themes.
Modifying existing themes and icons: One way to create your own themes and icons is to change existing ones. This can be a good starting point if you are new to design. Open the GNOME Tweaks tool by searching for it in the Activities Overview.
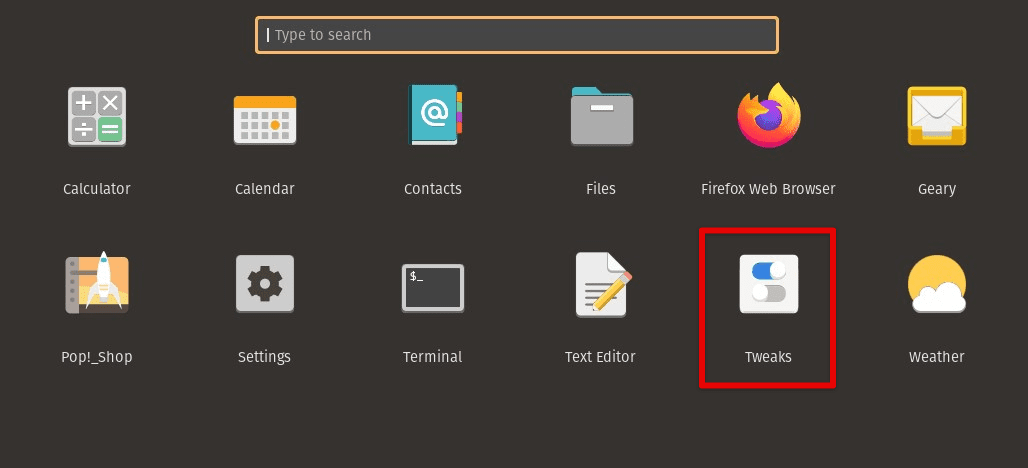
Opening GNOME Tweaks in Pop!_OS
Go to the “Appearance” tab. Click on the gear icon next to the theme or icon you want to modify and select “Customize”. Use the options provided to make changes in that set or resource. Once you’ve made the changes you want, click on “Save As” to save the modified theme with a new name.
Creating your themes and icons: In case you want to create your own themes and icons from scratch, here are some resources to help you get started:
GNOME Developer Center provides extensive documentation on creating themes and icons for its desktop environment. Similarly, the GNOME Look website has a section dedicated to GTK and icon themes, where you can find examples of existing themes and icons and get inspiration for your own designs.
Examples of existing themes and icons
Pop!_OS GitHub repository contains the source code for default themes that come with the distribution, which you can use as a reference for setting up new sets. Moreover, the GIMP website will provide a massive collection of tutorials on creating and editing icons and other graphical elements through its user-friendly interface.
Troubleshooting theming issues
Customizing your Pop!_OS system with themes and icons is a great way to personalize your experience. However, sometimes things don’t go as planned, and you may encounter issues when applying or using these themes. This section will discuss common theming problems and provide troubleshooting steps to resolve them.
Icons not appearing: One common issue when applying icons is that they don’t appear as expected. Here are some potential solutions to this.
Make sure that the icon theme is installed correctly. You can check this by opening the GNOME Tweaks tool and looking under the “Appearance” tab. The icon theme may not be properly installed if it is not listed. In that case, you will have to reinstall it from the start.
Checking icon themes list
If the icon theme is installed correctly, but the icons are still not appearing, try resetting the icon cache. You can do this by opening the terminal and running the following command:
sudo gtk-update-icon-cache -f /usr/share/icons/*
Resetting the icon cache
Themes are not applying correctly: Another possible issue is that themes don’t apply correctly or some theme elements are missing. Following are some potential solutions to this:
Make sure that the theme is installed correctly. Check this by opening the GNOME Tweaks tool and looking under the “Appearance” tab. If the theme is not listed, it may not be properly installed. In that case, you will have to reinstall it from the start.
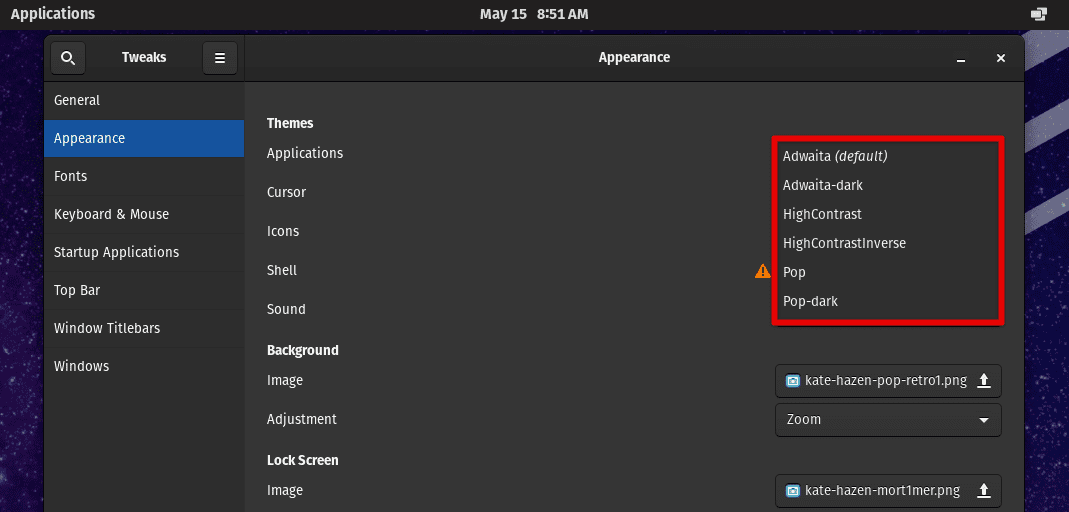
Checking applications themes list
If the theme is installed correctly but is still not applying, try resetting the GNOME shell theme. Open the terminal and run the following command to do so:
gsettings reset org.gnome.shell.extensions.user-theme name

Resetting the GNOME shell theme
If the issue persists, disable any extensions that may conflict with the theme. Open the GNOME Tweaks tool and navigate to the “Extensions” tab. You can also disable extensions from system settings as well. Using a Linux distribution can sometimes be overwhelming on its own. In those cases, you are better off making the most of online forums and platforms. Here is our comprehensive article on exploring the Pop!_OS community and support resources.
Other issues: Besides the abovementioned issues, there may be other problems when customizing a Pop!_OS system with themes and icons. If the system becomes unresponsive or crashes, try restarting the system and applying the same theme again.
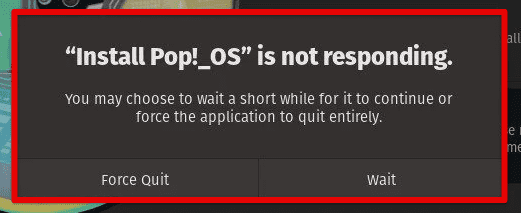
Pop!_OS crashing or not responding
In case you encounter any errors or warnings when installing or applying a theme, read the error message carefully and try to resolve all issues as mentioned. If you use a custom theme or icon set you created, try validating the theme with the GTK theme engine or another validation tool. This will make sure that your design is formatted correctly.
Best themes and icon sets for Pop!_OS
Customizing the appearance of a Pop!_OS system can be a fun and rewarding experience, but with so many options available, it is pretty overwhelming to know where to start. In this section, we will provide recommendations for the best themes and icon sets to use with Pop!_OS, along with examples of how they will be used to create a unique desktop environment.
Adwaita GTK: The Adwaita GTK Theme and Adwaita Icon Theme are the default themes that ship with Pop!_OS. These provide a clean, modern look and feel that fits well with the overall design of your system. These themes may be the perfect choice if you prefer a more minimalistic look.
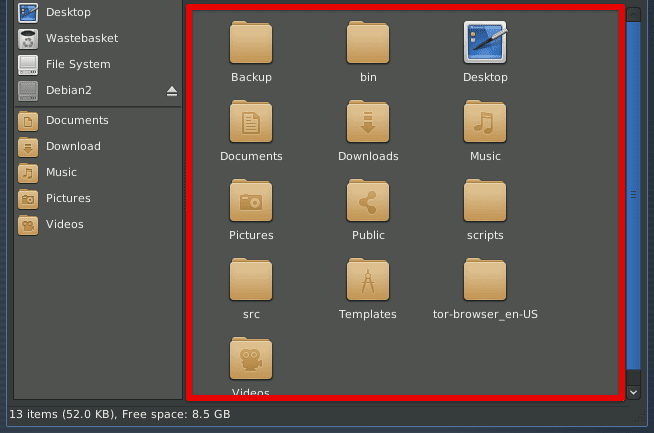
Adwaita GTK
Arc and Papirus: The Arc GTK Theme and Papirus Icons are famous. The Arc GTK provides a sleek, modern look that is inspired by the design of Google’s Material Design, while Papirus Icons give a colorful and vibrant set that fits well with the overall design of Arc.
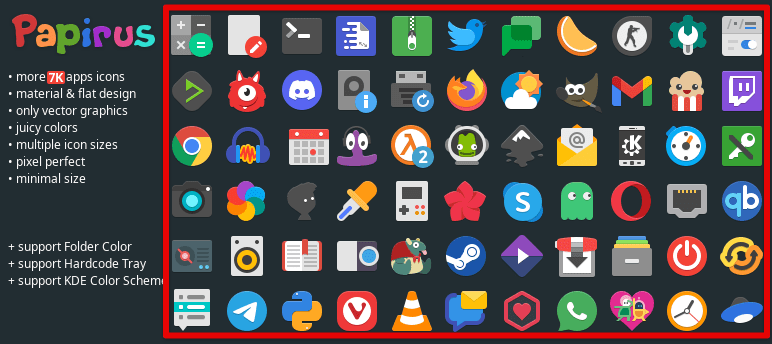
Arc and Papirus
Numix: The Numix GTK Theme and Numix Circle Icons have a unique and stylish look that will make your Pop!_OS desktop stand out. The Numix GTK provides a flat, minimalistic look that is inspired by the design of modern smartphones, while the Numix Circle Icons serve as a colorful add-on to fit well with the entire design.
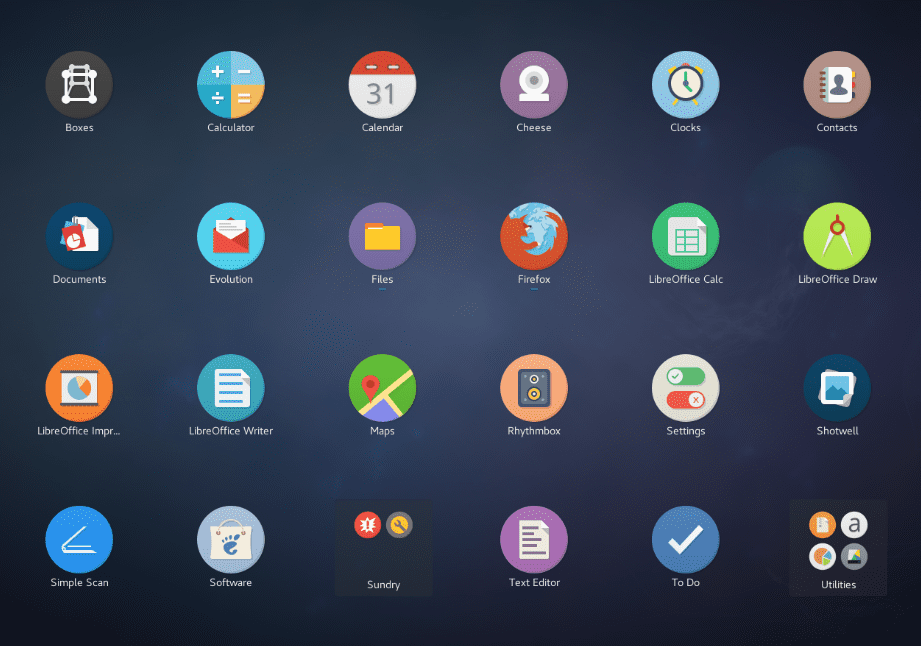
Numix
Vertex: The Vertex gives a professional and polished look perfect for those who want a more sophisticated desktop environment. It provides a flat look like modern web applications, while its icons are also quite shiny.
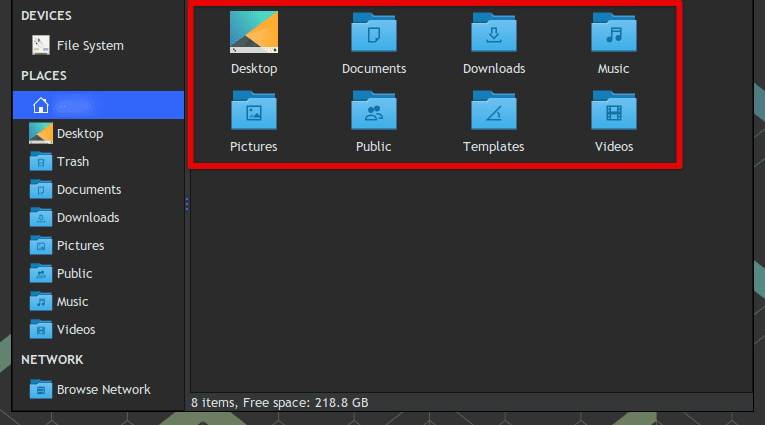
Vertex
Conclusion
Customizing your Pop!_OS system with themes and icons is a great way to personalize the desktop environment and make it your own. With the variety of options available, you can create a look that reflects your personality and style. From changing the wallpaper to installing new themes, the process is relatively simple and can be finished in just a few steps.
In this article, we have covered everything you need to know about customization with themes and icons. We discussed different types of sets and resources, where to find them, and how to install them in your system. You also got to read some of the best themes and icon sets to use with Pop!_OS, but the options are virtually endless. The key is to have fun and experiment until you find one you love. Do you want to set up your OS for development and programming? Here is our detailed guide on building the perfect development workspace in Pop!_OS.

1 comment
NIce guide , however you forgot 1 important thing the ~/.themes or ~/.icons folders have only root permissions by default, a person new to linux, would not know what to do with it. Or maybe it’s just me?