Efficiency is key, which applies to everything from our personal lives to our work. One area where we can all benefit from increased efficiency is our use of technology. We spend significant time on our computers, whether for work or leisure, and anything we can do to streamline our workflow can make a big difference. One way to boost productivity on your computer is by using a tiling window manager. Tiling window managers automatically organize and resize windows on your screen, which can help you work more efficiently and with fewer distractions.
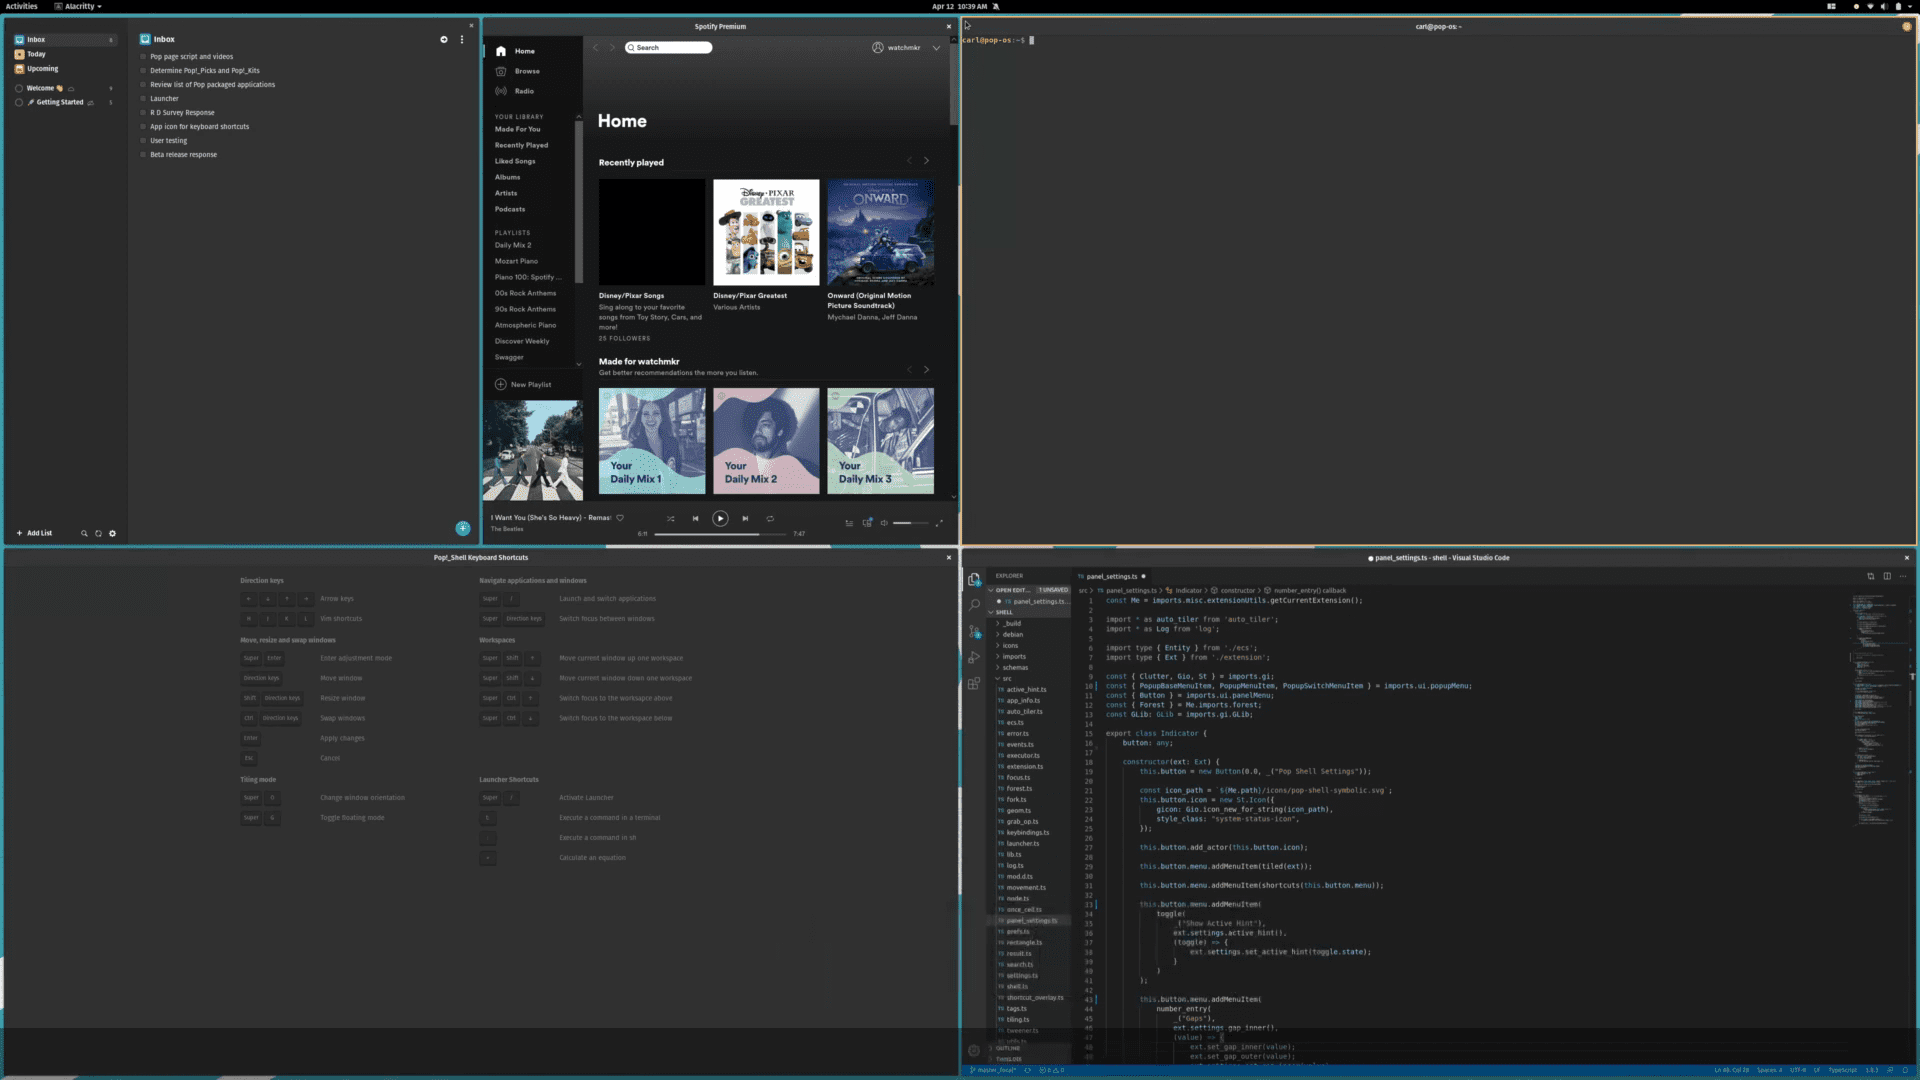
Pop!_OS Auto Tiling
Pop!_OS, an Ubuntu-based operating system, has a built-in Auto-Tiling feature that makes it easy to manage windows with minimal effort. In this article, we’ll explore the Pop!_OS Auto-Tiling feature and how to use it to maximize your productivity. We’ll walk you through how to enable and configure Auto-Tiling, discuss its benefits, and provide tips on customization and troubleshooting. By the end of this article, you’ll have a solid understanding of how to use the Pop!_OS Auto-Tiling feature to make your computing experience more efficient and enjoyable.
Pop!_OS and auto-tiling
Pop!_OS is an Ubuntu-based Linux operating system developed by System76, a computer hardware manufacturer. It is known for its user-friendly interface, performance, and reliability. It comes with a built-in tiling window manager called Auto-Tiling, which automatically manages the position and size of windows on the screen.
Auto Tiling with Pop!_OS
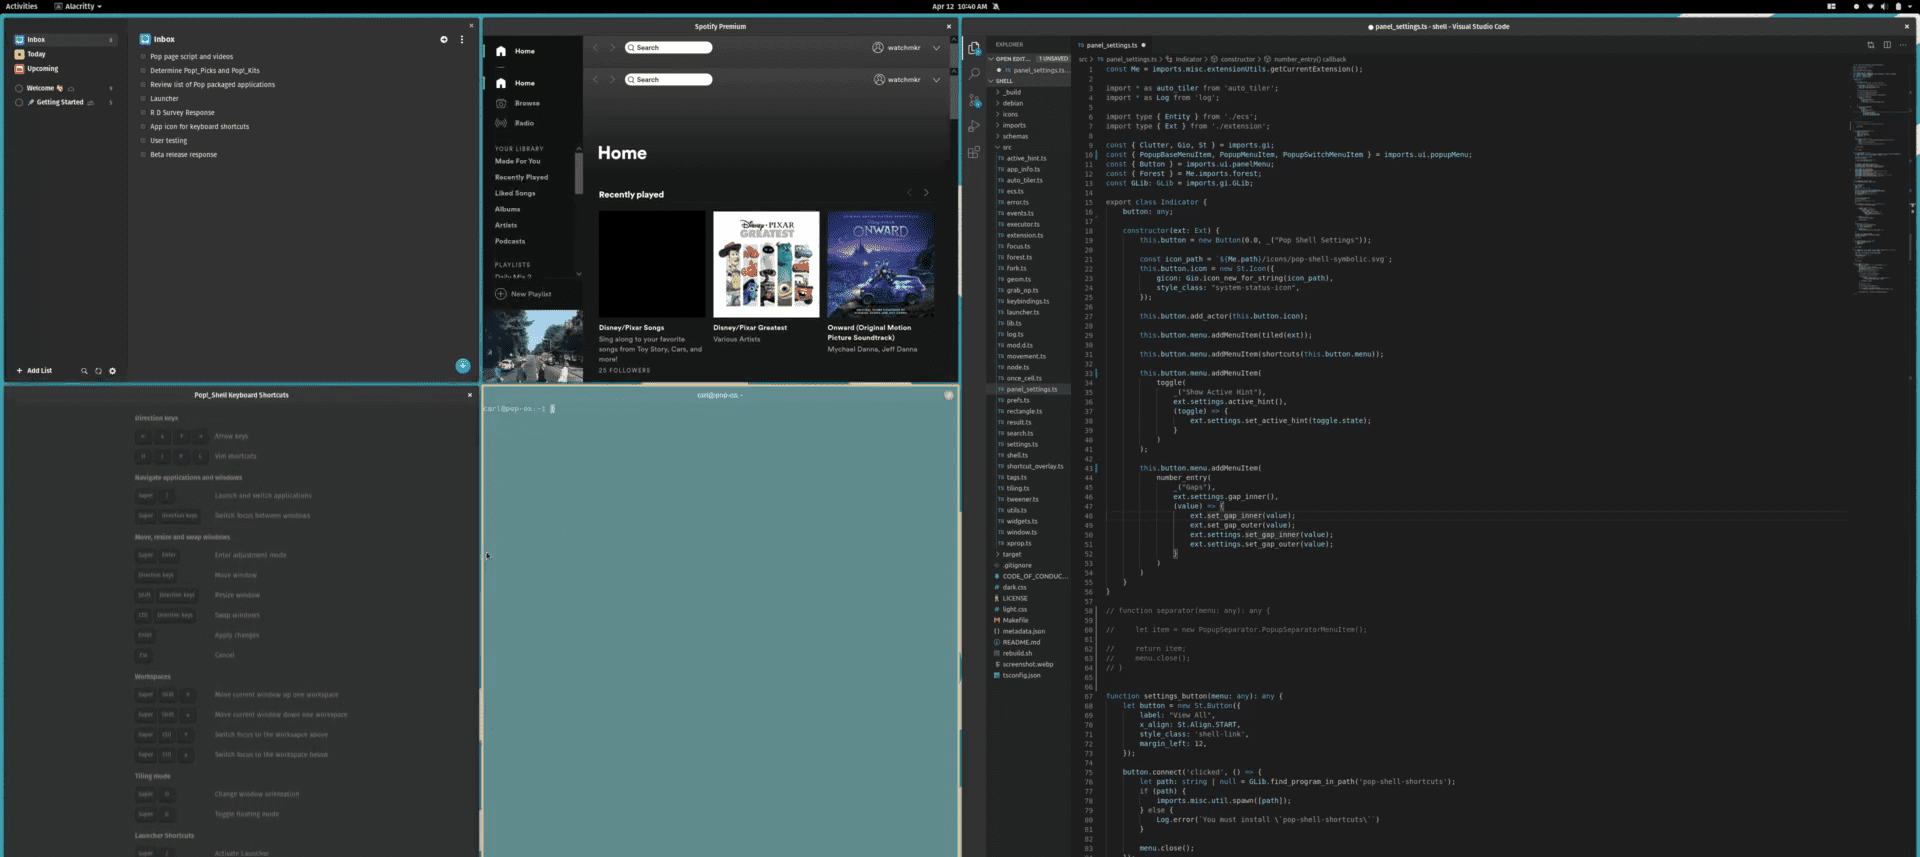
A tiling window manager is a type of manager that automatically arranges windows in a non-overlapping, tile-based layout. Unlike traditional window managers that allow windows to overlap, tiling divides the screen into non-overlapping rectangles and automatically positions windows within those rectangles. This allows for efficient use of screen real estate and helps users work more efficiently by minimizing distractions.
Pop!_OS Auto-Tiling is a default feature that enables the tiling window manager. When Auto-Tiling is enabled, windows are automatically resized and positioned on the screen according to predefined rules. The windows can be resized and moved manually, but they will automatically return to their original position when the user closes or minimizes them.
Tile Windows
The Auto-Tiling feature in Pop!_OS is based on the i3 tiling window manager. However, it has been customized to work seamlessly with Pop!_OS and the GNOME desktop environment. It is designed to be user-friendly and intuitive, so even those new to tiling managers can use it without any difficulties.
Enabling and configuring auto-tiling
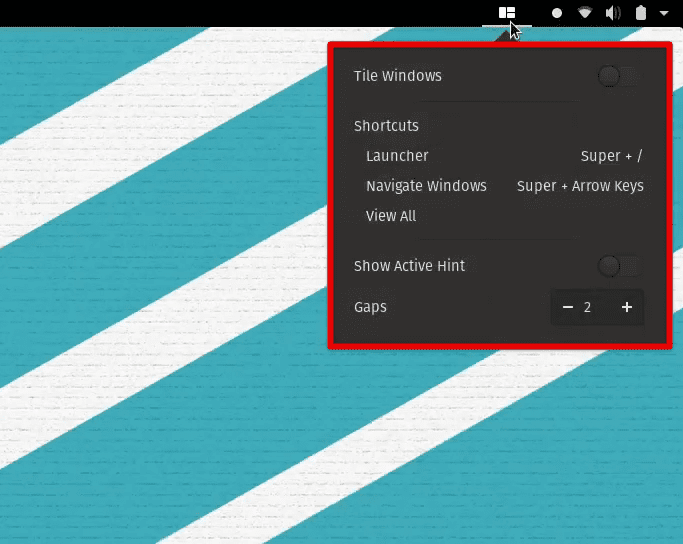
Enabling and configuring the Auto-Tiling feature in Pop!_OS is not that difficult either. Following are the step-by-step instructions to do so:
Click on the Pop!_OS icon in the top left corner of the screen, and select “Settings” from the dropdown menu. In the Settings window, click on the “Workspaces” tab.
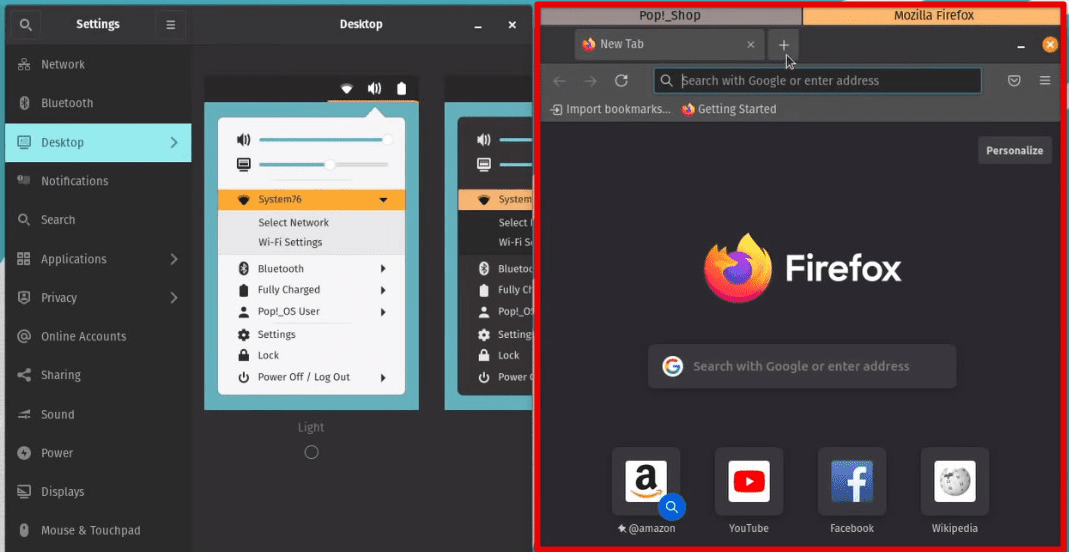
In the Workspaces tab, toggle the switch next to “Auto-Tiling” to the “On” position. Three Auto-Tiling modes are available in Pop!_OS: Stacked, Tiled, and Tabbed. Choose the mode that best suits your needs.
Stacked mode: In Stacked mode, windows are stacked on each other, with the most recently used window at the top.
Stacked mode
Tiled mode: In Tiled mode, windows are arranged in a non-overlapping, tile-based layout.
Tiled mode
Tabbed mode: In Tabbed mode, windows are arranged in tabs within a single frame.
Tabbed mode
In Pop!_OS, you can configure Auto-Tiling to suit individual preferences and requirements. Click on the “Auto-Tiling” dropdown menu to access these configuration options.
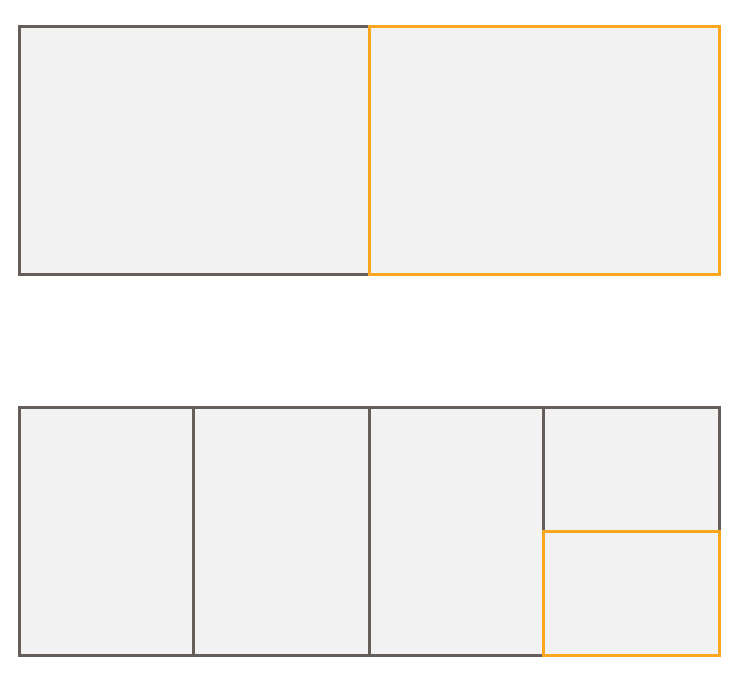
Tile Split Direction: It allows you to select the direction in which new windows will be split when tiled.
Tile split direction
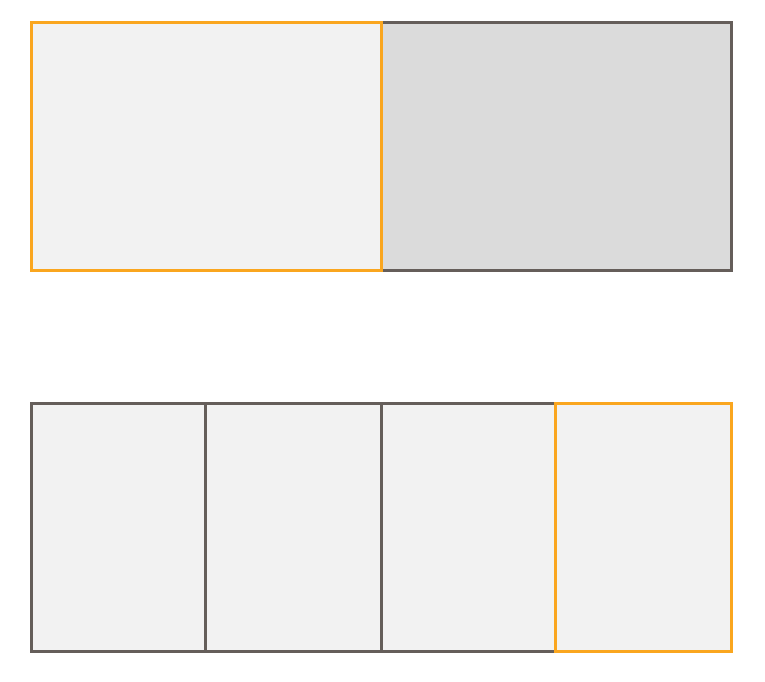
Tile Split Ratio: This lets you adjust the ratio of the window sizes in a tiled layout.
Tile split ratio
Gap Size: It enables you to reconfigure the size of the gap between windows in a tiled layout.
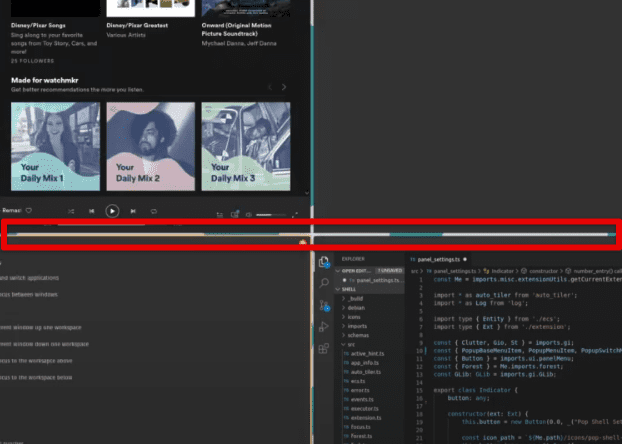
Gap size
Maximum Tiling Windows: This option allows you to set the maximum number of tiled windows simultaneously.
Once you have enabled and configured Auto-Tiling, open some applications to test them. You should see windows automatically resized and positioned according to the rules you set in the abovementioned steps.
Using auto-tiling to maximize productivity
The Auto-Tiling feature in Pop!_OS can help users maximize productivity by automatically managing the position and size of windows. Following are some of the ways that using Auto-Tiling can boost productivity while working on your system:
Minimizing distraction: Auto-Tiling can help reduce distractions by automatically arranging windows in a non-overlapping, tile-based layout. This allows users to focus on one task at a time without being distracted by other open applications. Additionally, the Stacked and Tabbed modes let users switch between applications without searching for them, minimizing interruptions.
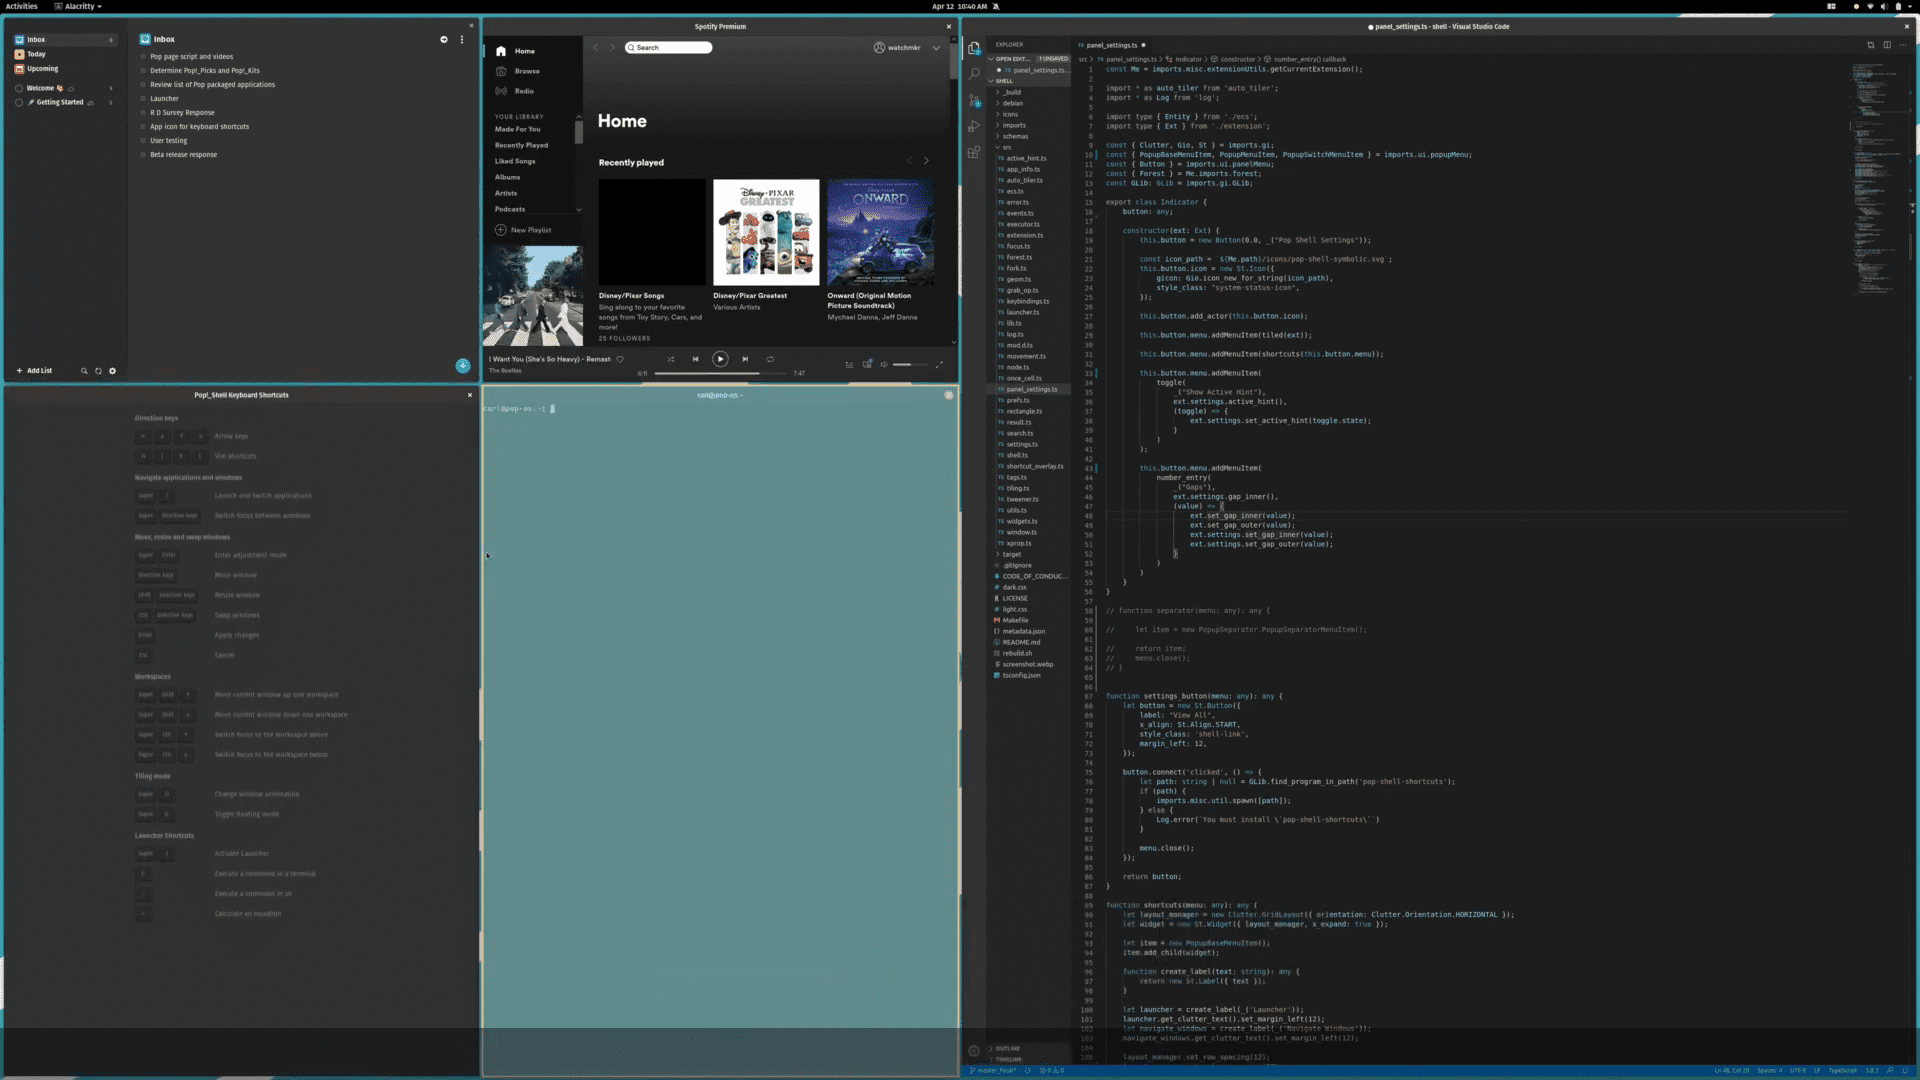
Minimizing distraction
Reducing mouse usage: With Auto-Tiling, users can reduce their mouse usage by automatically resizing and positioning windows through keyboard shortcuts. This can save considerable time and reduce strain on the hands and wrists, especially if you are working for more extended periods.
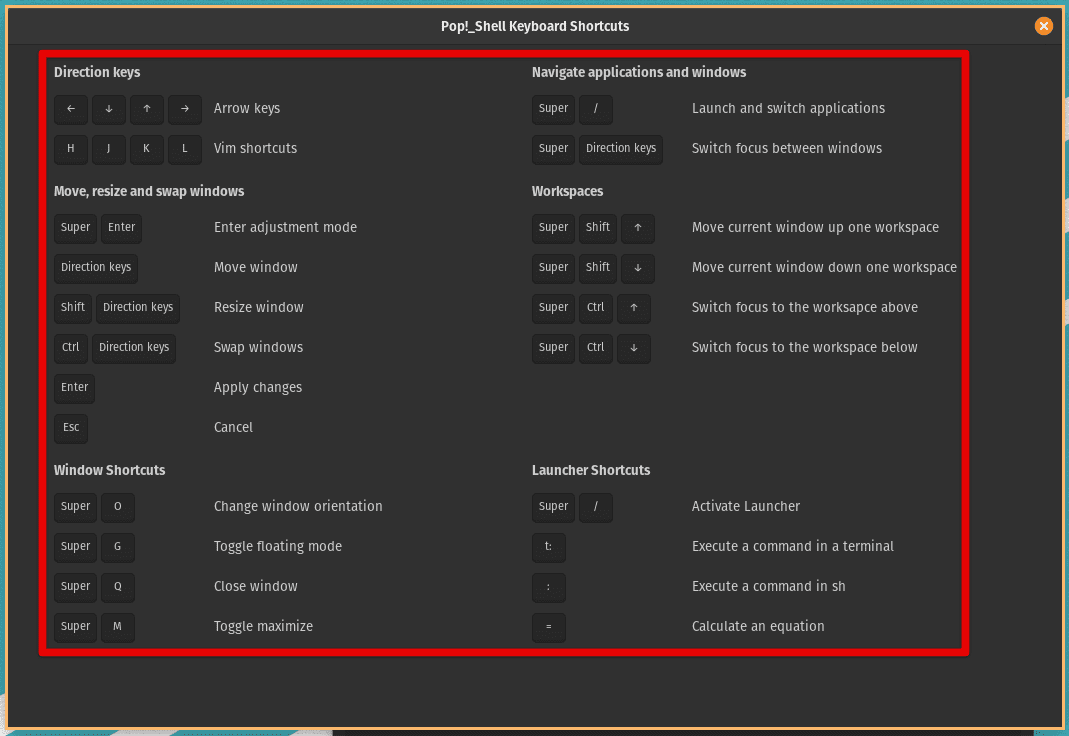
Reducing mouse usage
Efficient use of screen real estate: Auto-Tiling can help make the most of your real estate by automatically arranging windows to maximize the available space. This can be particularly useful for devices with smaller screens or those needing to work with multiple applications simultaneously.
Customizable layouts: Pop!_OS allows users to customize the Auto-Tiling layout to suit their preferences and requirements. Users can choose from three Auto-Tiling modes (Stacked, Tiled, and Tabbed) and adjust configuration options such as Tile Split Direction, Tile Split Ratio, Gap Size, and Maximum Tiling Windows.
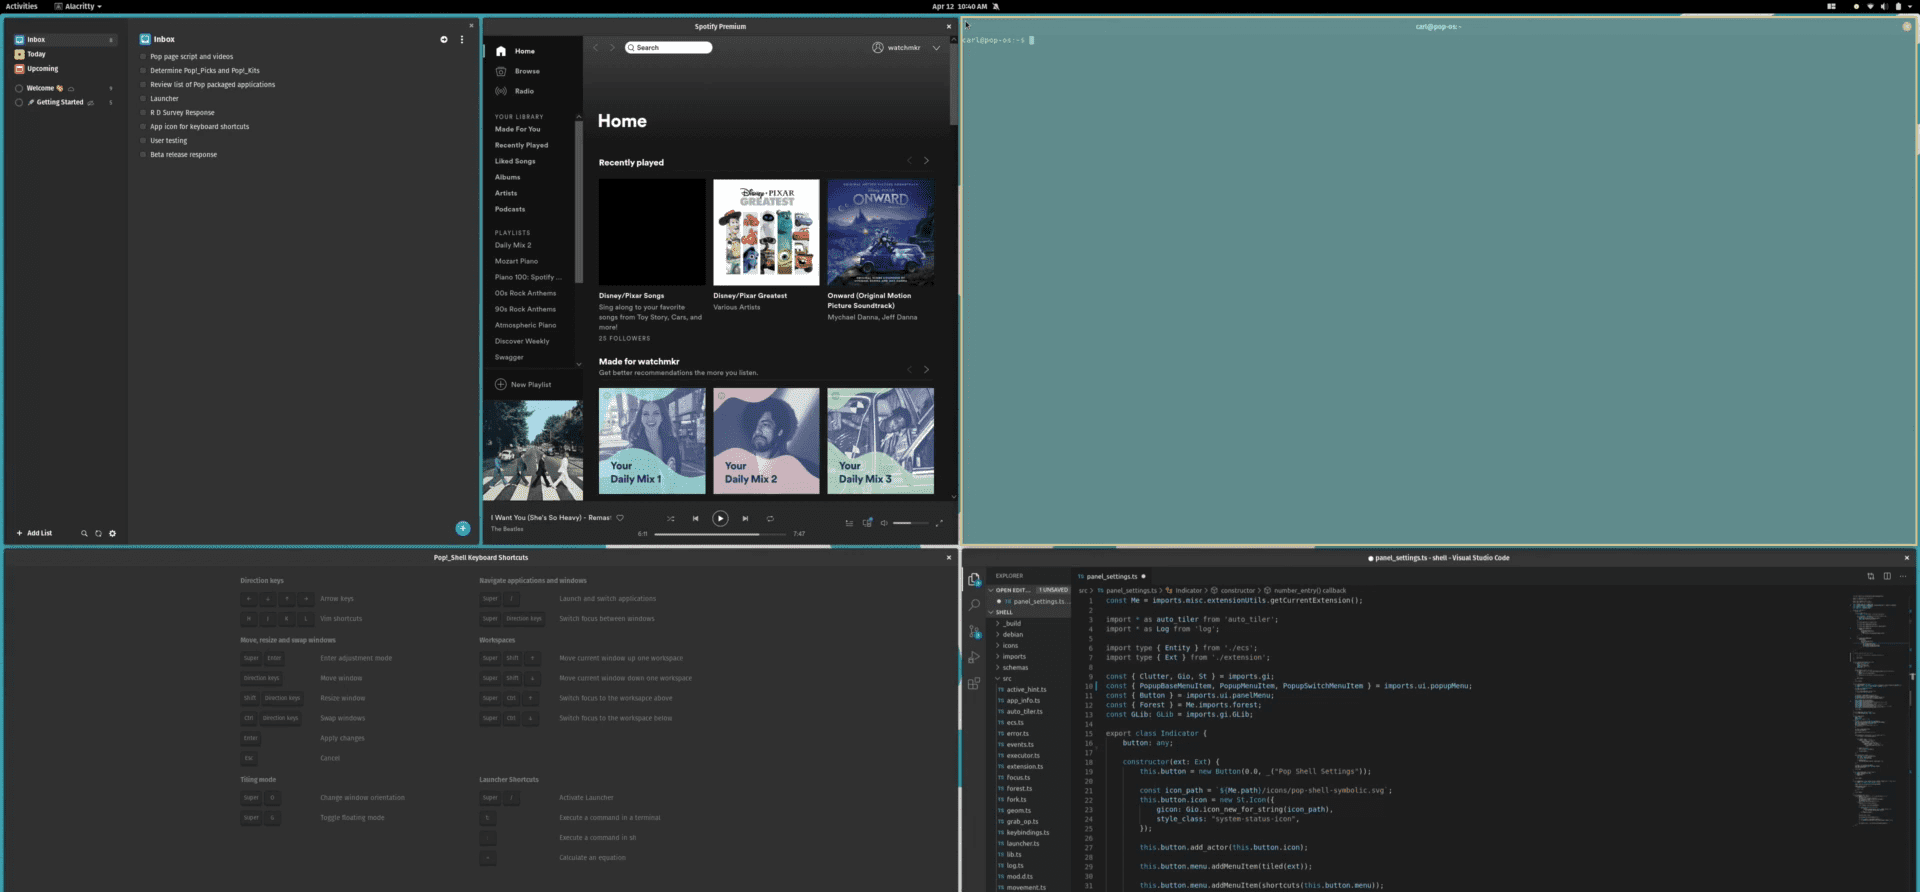
Customizable layouts
Quick access to applications: With Auto-Tiling, you can quickly access applications using keyboard shortcuts without searching for them in the system menu. This increases the overall productivity and helps you work more efficiently.
Multitasking: Auto-Tiling can be especially useful when you have to multitask. With this, you can let yourself work with multiple applications at once without having to resize and position windows all the time manually. This helps in switching between tasks faster than ever before.
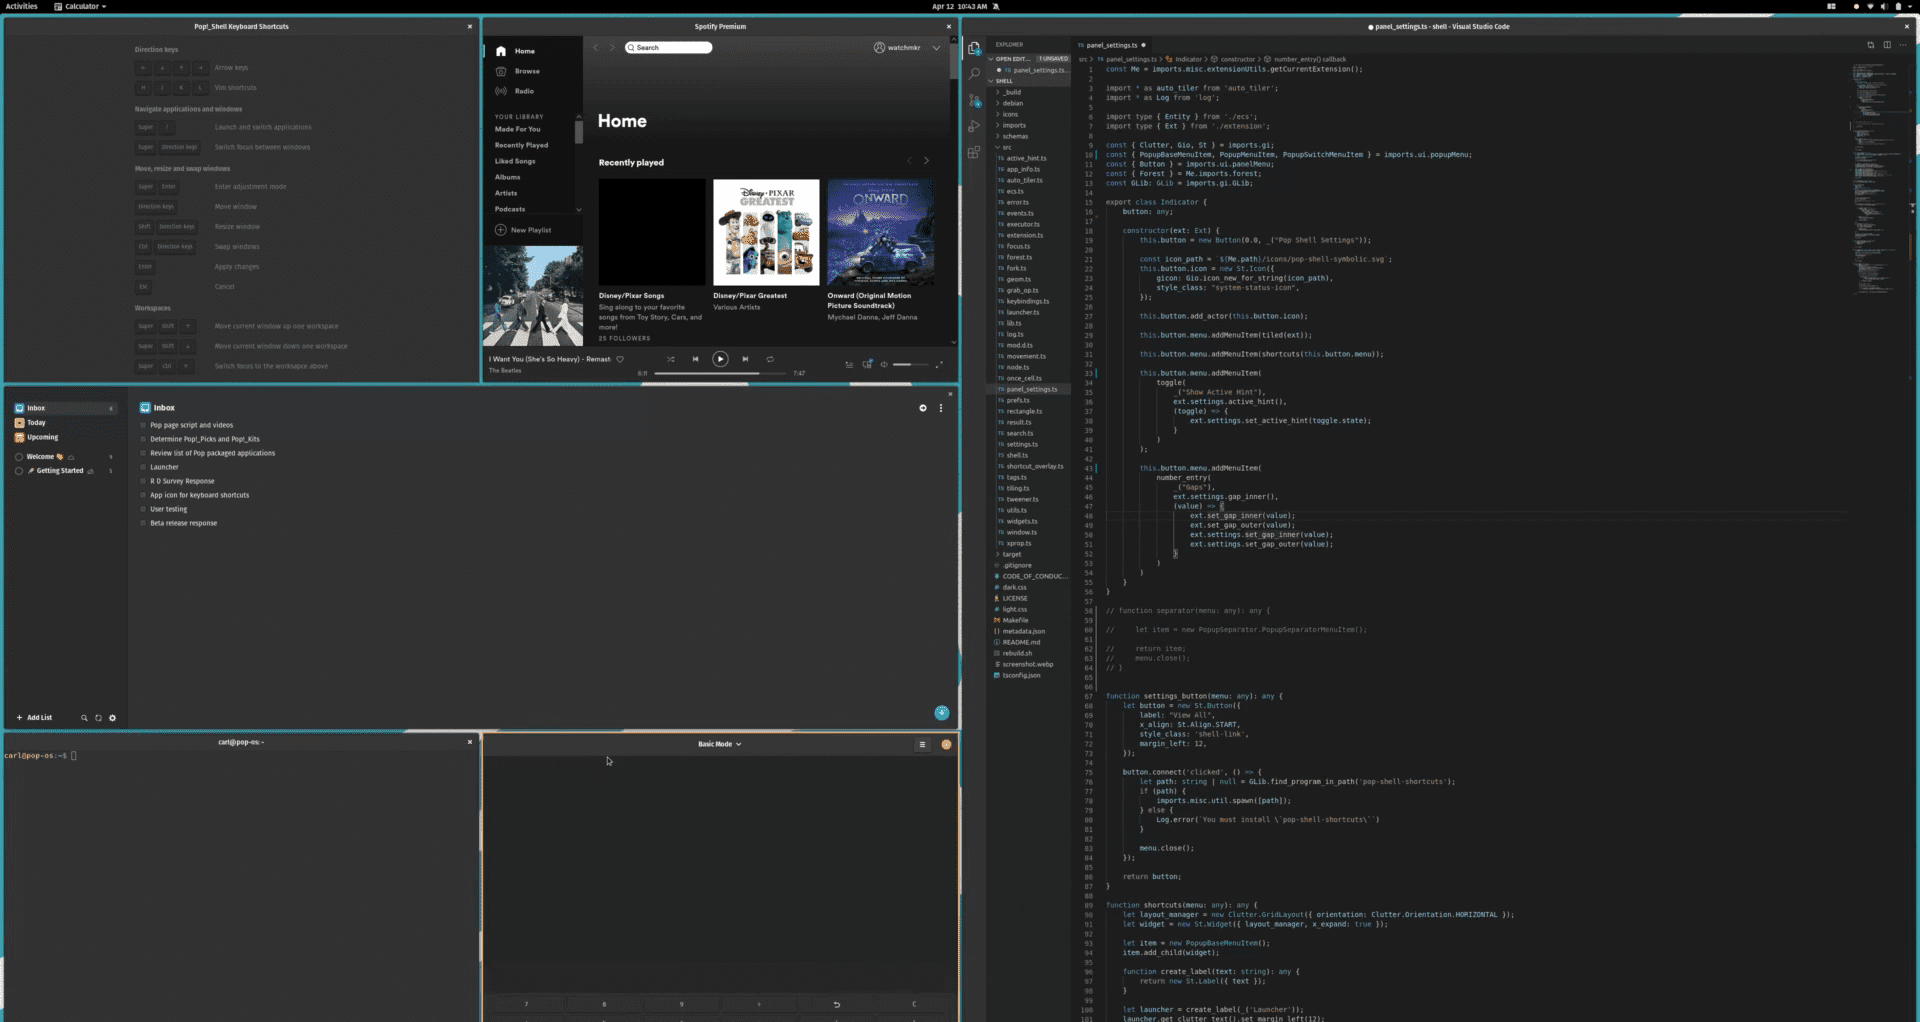
Multitasking
Over the years, Pop!_OS has become a favorite among Linux enthusiasts and professionals with its modern design and performance-oriented features. Here is our detailed article exploring the Pop!_OS desktop environment.
Customizing auto-tiling
As described earlier, one of the advantages of using the Auto-Tiling feature in Pop!_OS is the ability to customize it according to your needs. Following are some ways you can customize Auto-Tiling in Pop!_OS:
Window resizing: You may adjust the size of windows that are automatically tiled. This can be done by changing the default Tile Split Ratio, which determines the screen proportion each window takes up. The default value is 0.5, which means that each window is split equally between the left and right halves of the screen. This value may be adjusted to increase or decrease the size of each window.
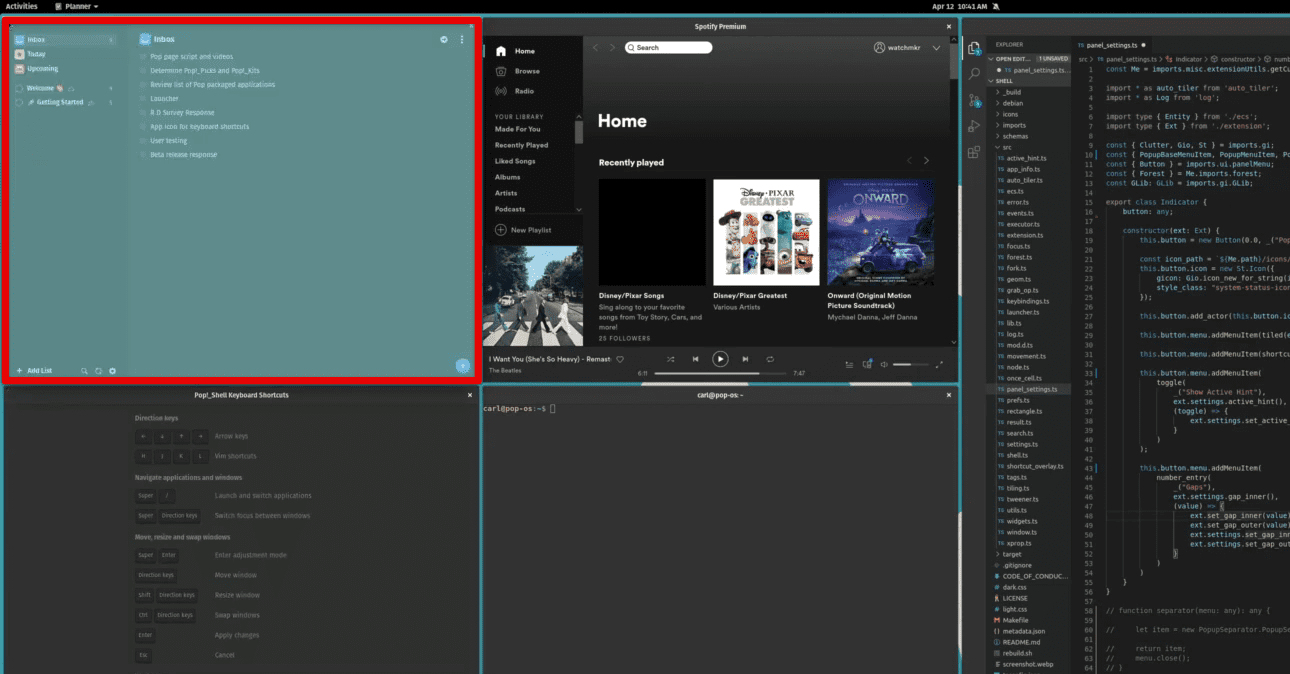
Window resizing
Application grouping: Users can group multiple applications in a single tile. This can be useful for applications that are related or that are used together frequently. To group applications, select the applications you want to group, right-click on them, and choose “Group.” Grouped applications will be tiled together in the same tile. However, remember that this grouping will not be maintained in the next session.
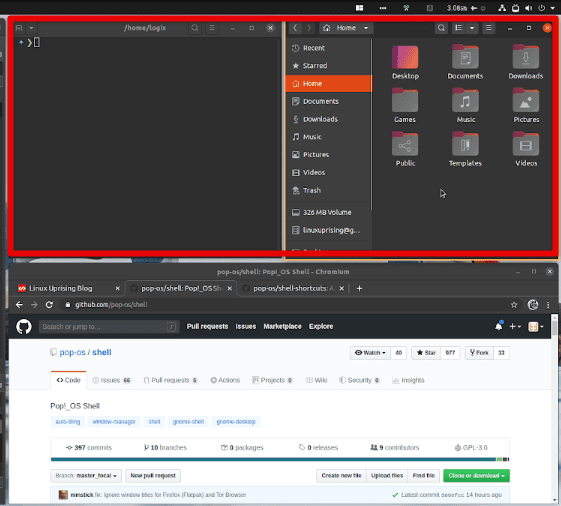
Application grouping
Window snapping: You can enable Window Snapping to make it easier to position and resize system windows. When Window Snapping is enabled, windows will snap to the edges of the screen or other windows when moved or resized. This is rather useful for precise window positioning on the screen.
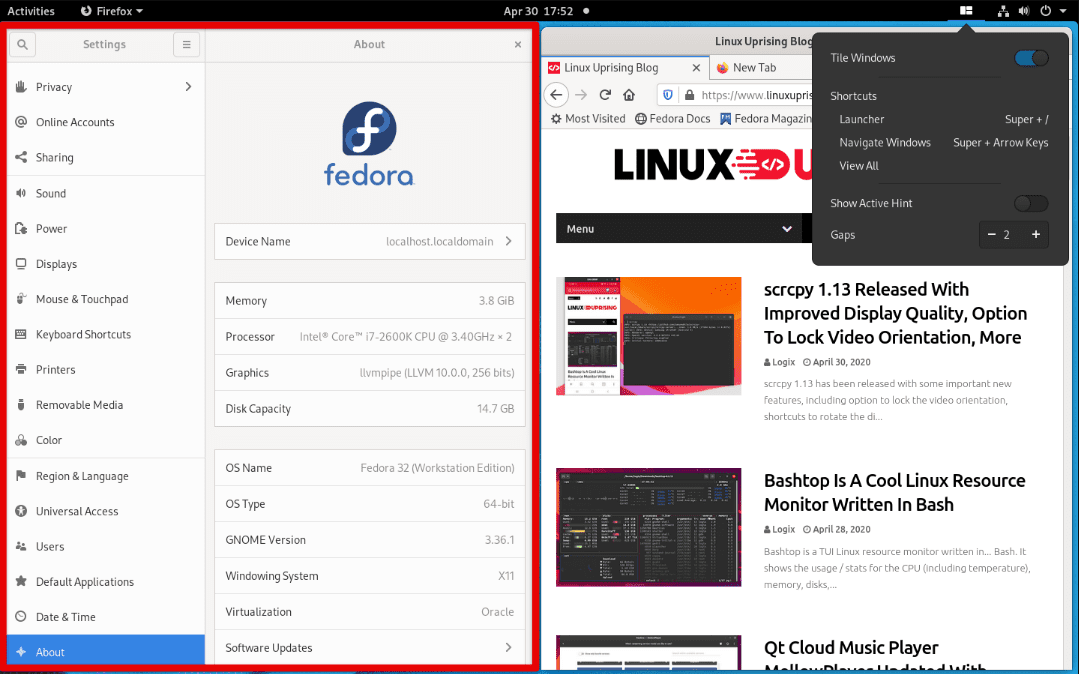
Window snapping
Customizable layouts: Pop!_OS allows users to customize the Auto-Tiling layout as needed. Users can choose from three Auto-Tiling modes described in the previous section and adjust the configuration options for tile split direction, gap size, and a maximum number of tiled windows at any given time.
Window decorations: You can customize the appearance of tiled windows by changing the window decorations. Window decorations are the title bars, borders, and buttons around windows. Pop!_OS allows users to select from several window decoration themes. Besides, similar themes can always be installed from other online repositories.
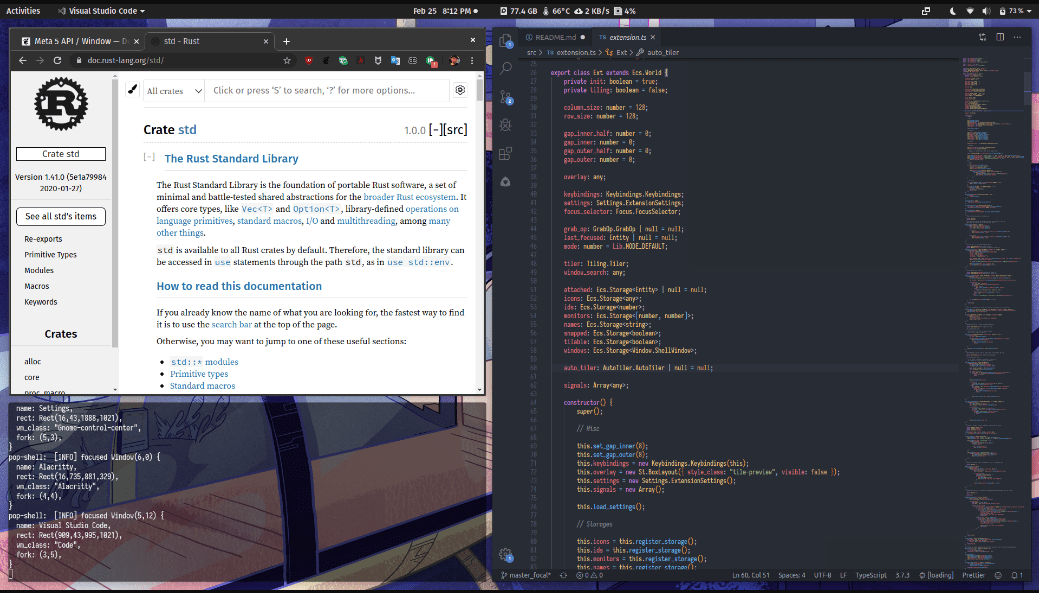
Window decorations
Keyboard shortcuts: Users can customize keyboard shortcuts to perform Auto-Tiling actions. These include tiling, un-tiling, cycling through windows, and changing the Tile Split Ratio. This can make it easier to use Auto-Tiling without having to use the mouse at all.
Advanced features
While the basic Auto-Tiling features in Pop!_OS are powerful enough to improve window management, the advanced features take it to the next level. The following are some advanced auto-tiling features in Pop!_OS:
Custom layouts: Auto-Tiling in Pop!_OS provides three pre-defined layouts: Tiled, Stacked, and Tabbed. However, advanced users can create custom layouts that suit their specific needs. With Custom Layouts, you get to specify the number of columns and rows and the size and position of each tile. Users can save these custom layouts and apply them whenever required.
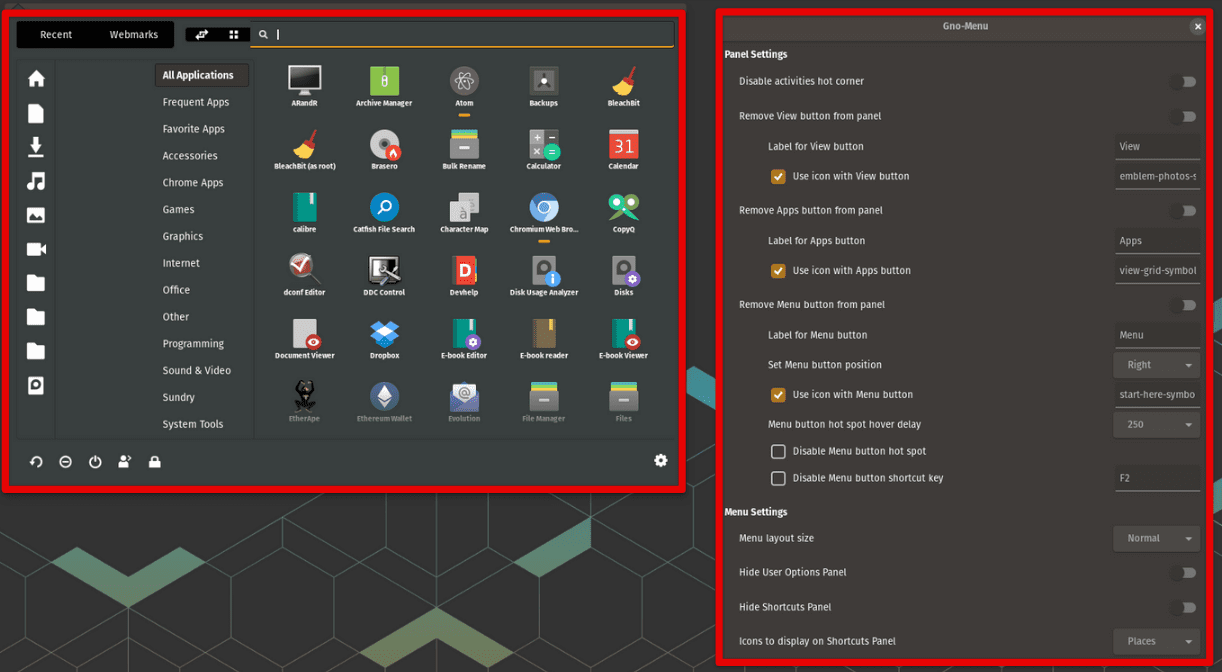
Custom layouts
Multiple display management: Pop!_OS provides several window management options across various displays. You may have windows tiled across all displays or only on a specific display. Users can also define custom layouts for each display and save them as presets. Pop!_OS supports docking and unlocking laptops with multiple displays, ensuring the windows are properly arranged and scaled.
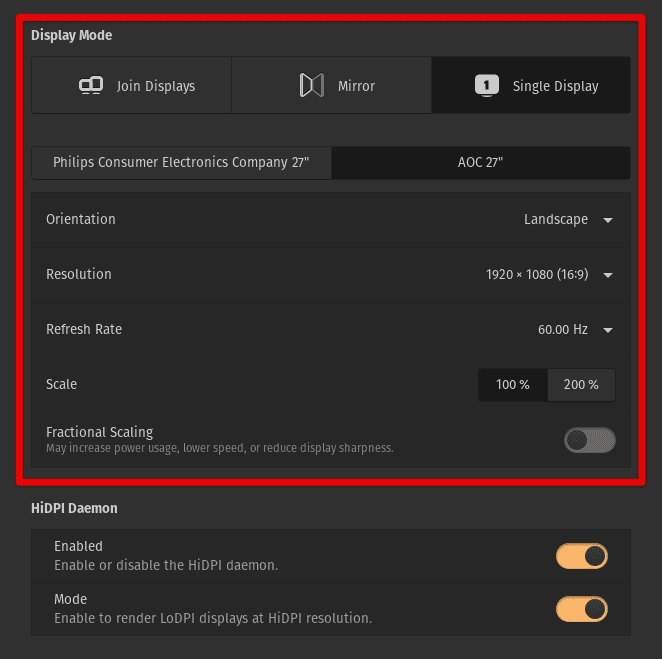
Multiple display management
Smart window placement: The system provides Smart Window Placement, which automatically arranges windows based on their type or application. All browser windows can be tiled on the left side of the screen, while all terminal windows can be tiled on the right. This helps keep all of your workspaces organized.
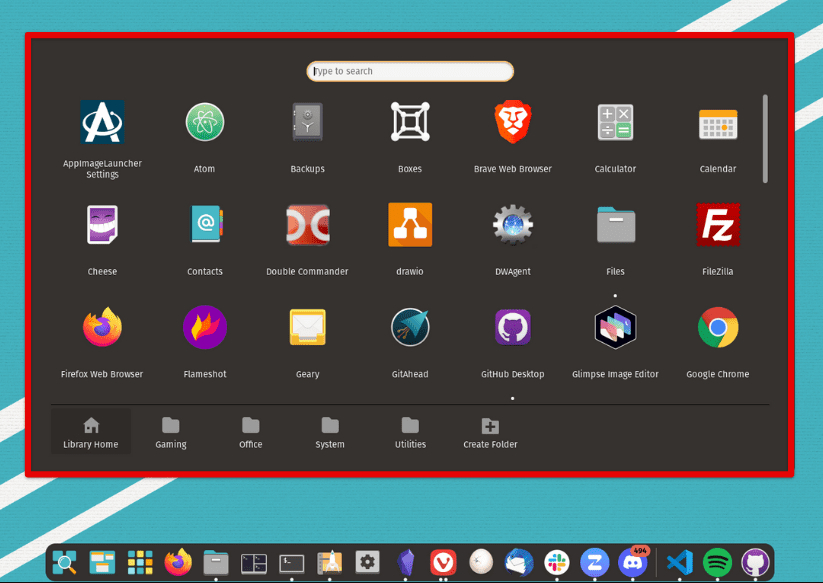
Smart window placement
External monitor support: Pop!_OS allows configuring external monitors separately from the laptop’s built-in display. You can specify the position of the external monitor relative to the laptop’s display and the resolution and refresh rate. It also supports different scaling factors for each display, ensuring the windows are correctly sized and arranged according to the screen size.
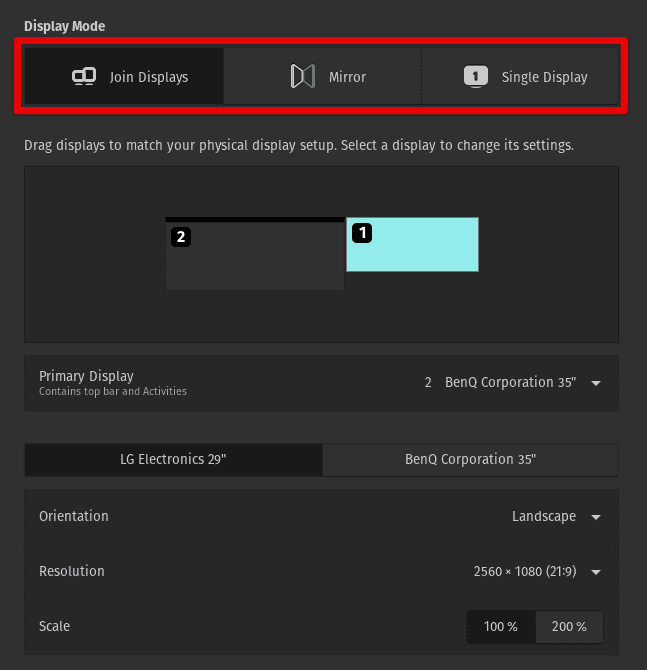
External monitor support
Integration with workspaces: The operating system offers integration with Workspaces, allowing you to switch between different workspaces and have the windows automatically tiled according to the preset layout. You can save different layouts for different workspaces and switch between them with a single keyboard shortcut.
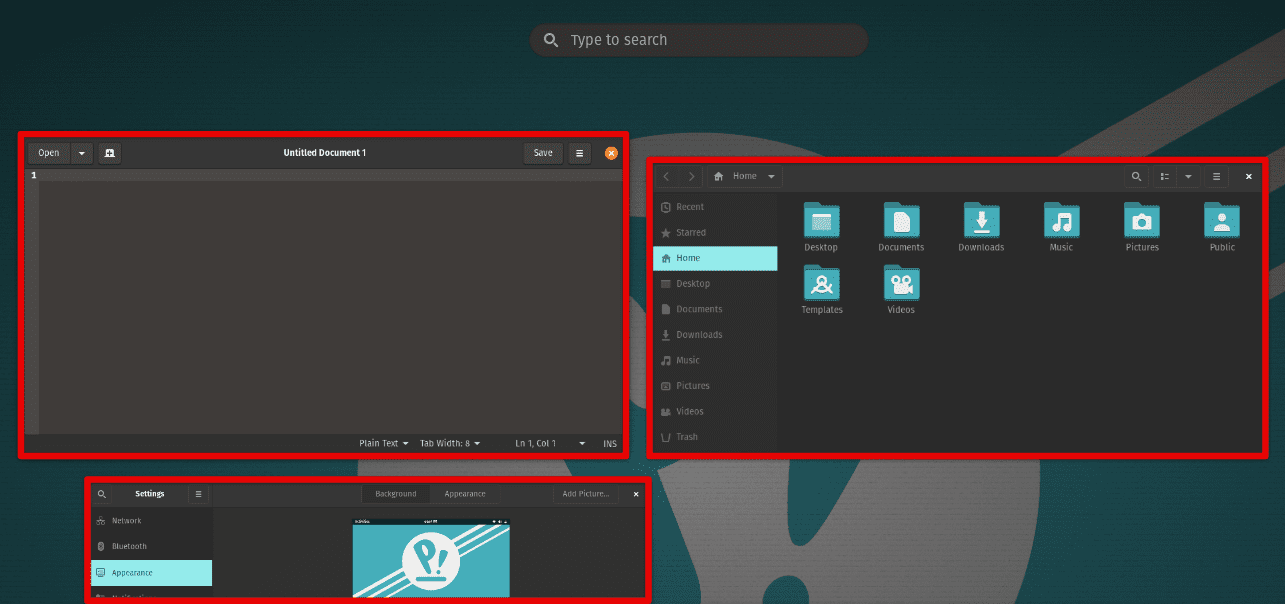
Integration with workspaces
Manual tiling: While Auto-Tiling automatically arranges windows, there may be times when you want to arrange the windows manually. This is where manual tiling comes in, which allows you to drag and drop windows to any position on the screen. This can be useful for fine-tuning the window layout or arranging them in a non-standard configuration.
Resolving auto-tiling problems
While Auto-Tiling in Pop!_OS is a great feature, you may encounter some common issues when using it. Following are some problems and their possible solutions:
Auto-Tiling not working: If Auto-Tiling is not working as expected, it could be due to a misconfiguration or a bug in the system. First, check if Auto-Tiling is enabled in the Pop!_OS settings. If it is enabled, try disabling and then re-enabling it. If that doesn’t work, try restarting the shell, logging out, and logging back in. If the issue persists, it may be worth filing a bug report with the development team.
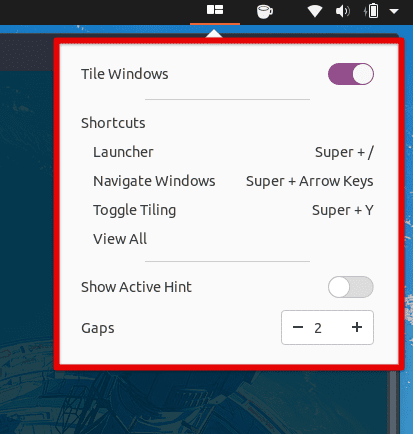
Auto Tiling not working
Windows not resizing correctly: Sometimes, windows may not resize correctly when using Auto-Tiling. This can happen if the windows are not designed to work with tiling window managers or are set to a fixed size somewhere else in the settings. To fix this issue, try changing the settings of the affected windows to allow resizing. If you cannot find this option, use manual tiling to adjust the window size instead.
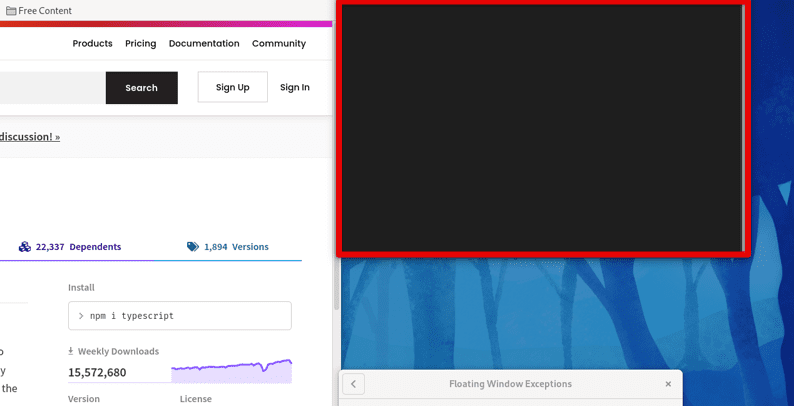
Windows is not resizing correctly.
Windows not snapping correctly: Occasionally, windows may not snap correctly when using the snap feature in Auto-Tiling. This happens if the windows are too large or other windows block the snap location. To fix this issue, resize the windows first to make them smaller or moving other windows out of the way. If that doesn’t work, disable the Snap feature and manually position the windows to the desired snap location.
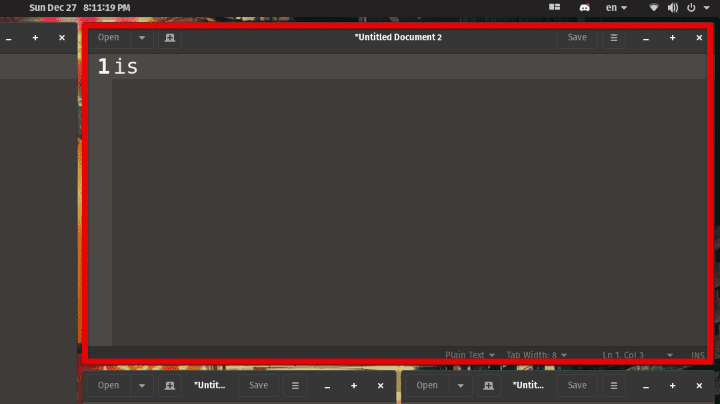
Windows not snapping correctly
Interfering with specific applications: Auto-Tiling can sometimes interfere with applications unsuitable for tiling window managers. This can cause issues such as windows overlapping or becoming unresponsive. In such cases, disable Auto-Tiling for the affected applications by adding them to the Pop!_OS settings exclusion list.
Interfering with certain applications
Conflicts with other window managers: If users have installed other window managers or desktop environments, there may be specific conflicts. Try uninstalling other window managers or desktop environments and start using Pop!_OS with the default settings. Alternatively, you may use a different window manager altogether or configure a separate desktop environment compatible with all auto-tiling forms.
Other tiling window managers
While the built-in auto-tiling in Pop!_OS is a fantastic feature for managing windows efficiently, other options are available for those who want more control over their window management. One alternative is manual window management. With this approach, you manually resize and position the windows on your screen as needed. While this method can be time-consuming, it offers complete control over window placement and size, which can be beneficial in specific scenarios.
Another method is to use a different tiling window manager. Tiling window managers are designed to automatically manage the placement and size of windows, similar to Auto-Tiling. However, they often offer more customization options and may be more suitable for power users. Some popular ones include:
i3: i3 is a popular tiling window manager known for its simplicity and lightweight design. It is highly customizable and can be configured to work with multiple monitors and different keyboard layouts.
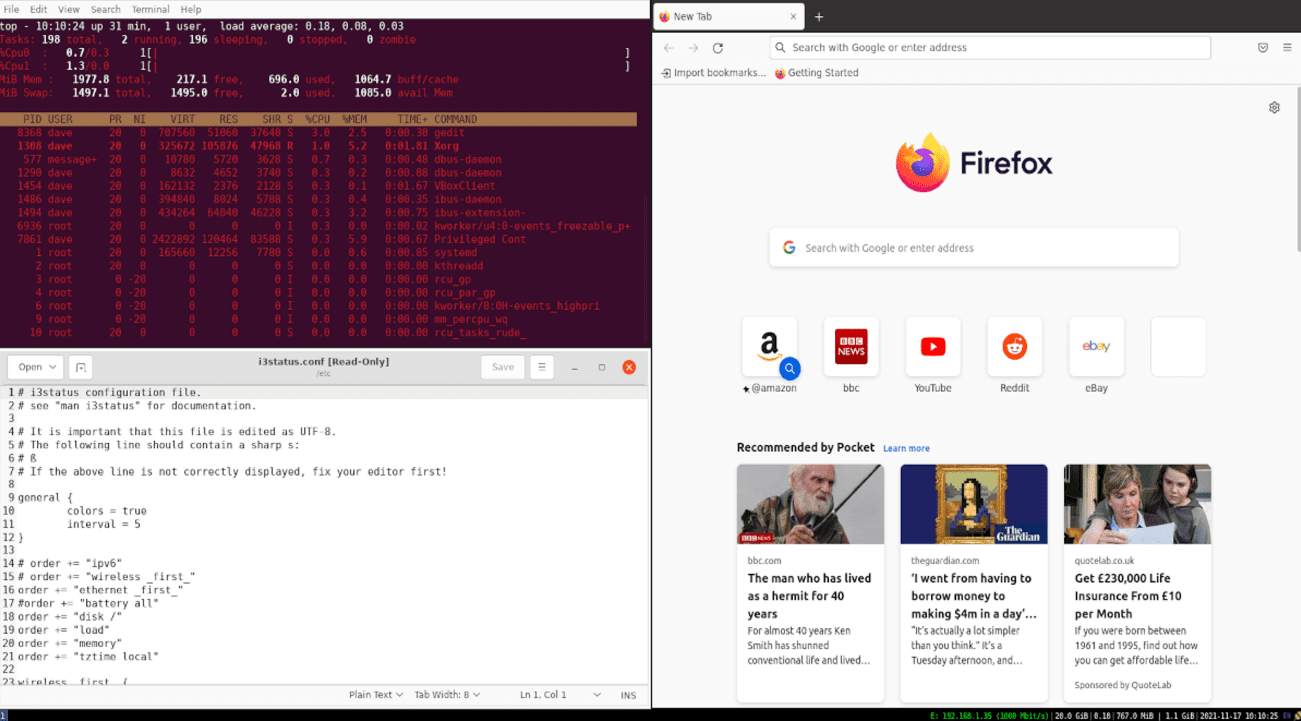
i3
Xmonad: Xmonad is designed to be highly customizable. It is written in Haskell and uses a configuration file to set up its layout and keybindings.
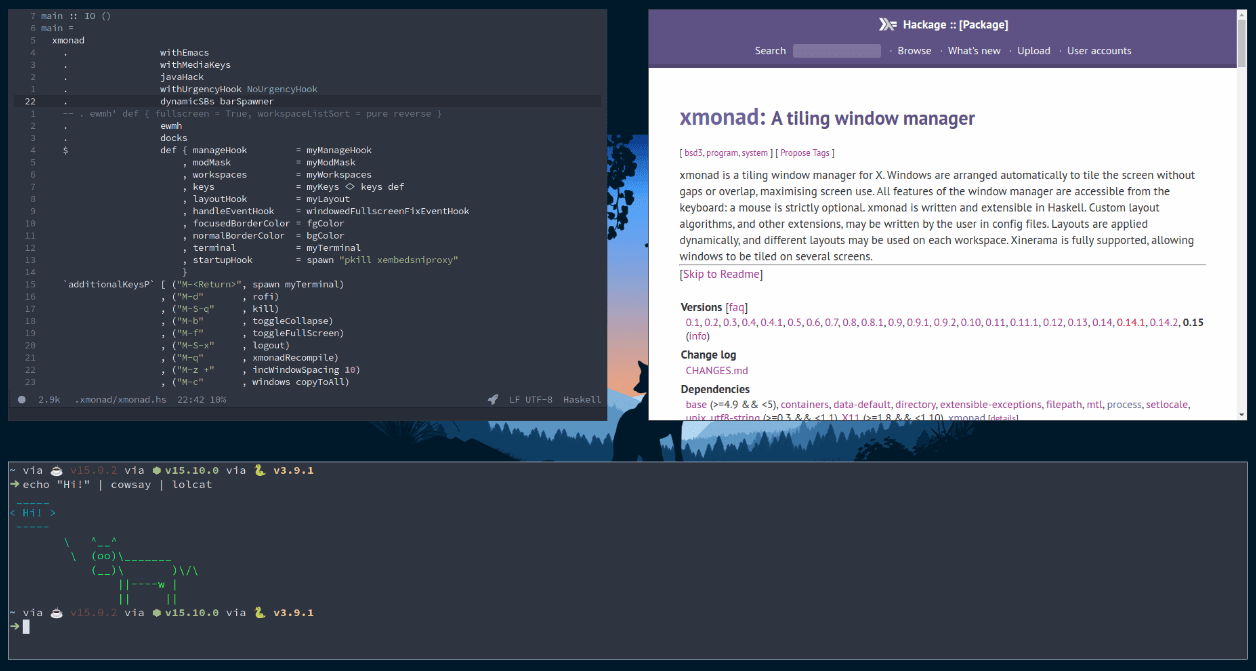
Xmonad
Awesome: Awesome is a tiling window manager based on the Lua programming language. It is known for its flexibility and can be customized extensively using Lua scripts.
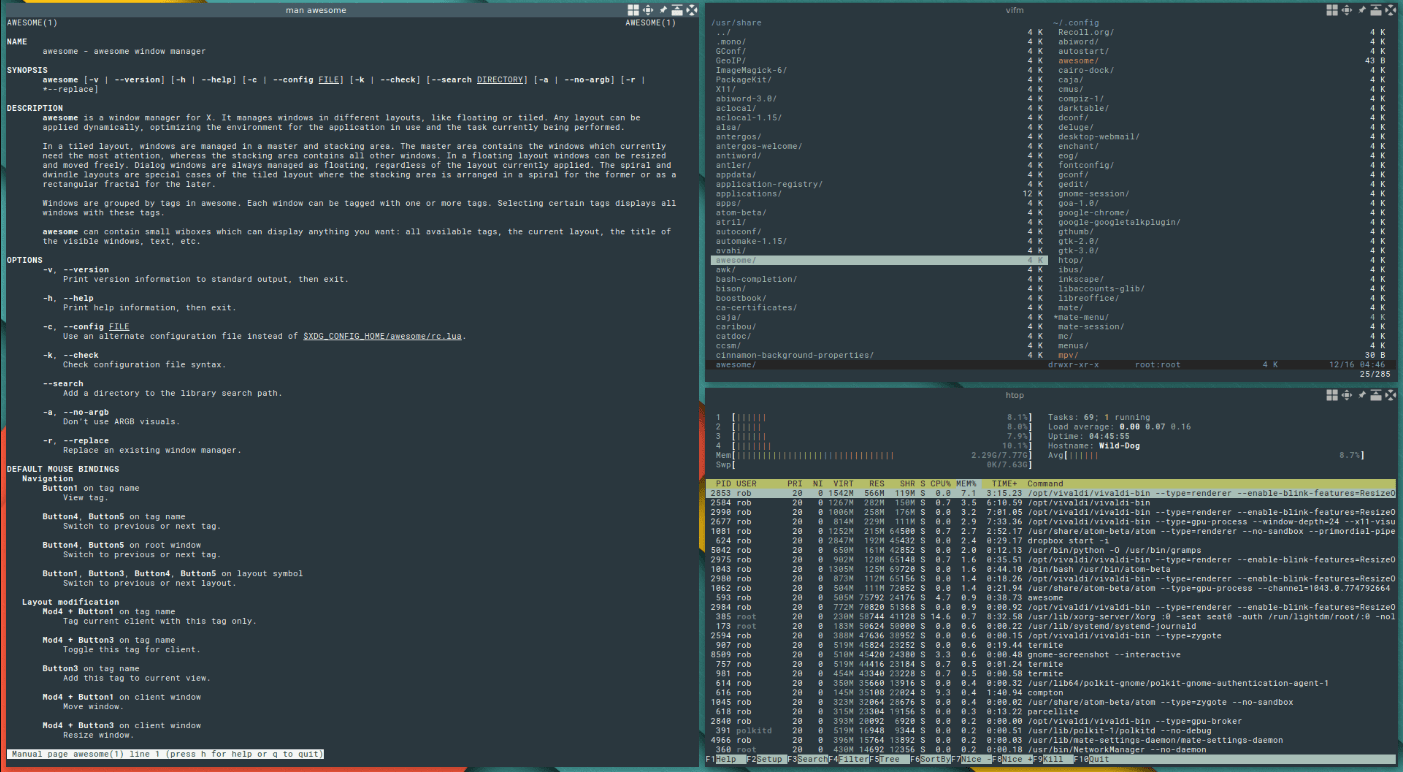
Awesome
Sway: Sway is a tiling Wayland compositor compatible with the i3 configuration file format. It offers a modern, user-friendly interface and can be used with traditional and touch-based input devices.
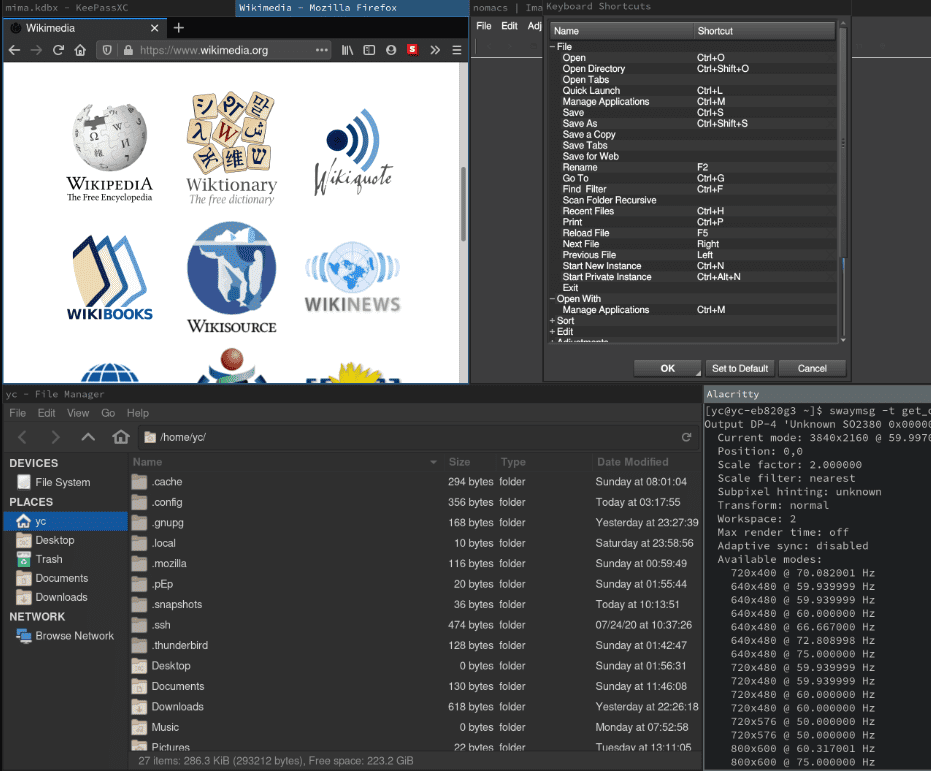
Sway
dwm: dwm is a minimalist tiling manager that is highly efficient and lightweight. It is written in C and uses much fewer system resources than others on this list, making it suitable for older or lower-end hardware.
The compatibility and performance of Pop!_OS on various setups remain a question mark for many. Learn more about it in our review of this system on different hardware configurations.
Conclusion
The Auto-Tiling feature in Pop!_OS lets you manage system windows efficiently. It can help users maximize productivity, reduce distractions, and minimize mouse usage. With its customizable options and advanced features, users can tailor the Auto-Tiling feature to their preferences and requirements. However, it’s important to note that auto-tiling may not suit everyone. Some may prefer manual or other window managers offering more customization options.
Whether you choose Auto-Tiling or another window management approach, the key is finding a solution that works best for you and helps you achieve your goals. By understanding the benefits and limitations of different window management methods, you can make an informed decision and improve your workflow and productivity like never before. System76 has released a new version of their flagship Pop!_OS, an Ubuntu-based Linux distro. Pop!_OS 20.04 release launches a new Pop!_Shell auto-tiling feature, new shortcuts for its workspaces, and Flatpak support via the Flathub repository. Go through our article to learn all about these new features and how to upgrade.

