Hello FOSSLinux readers! Today, we’ll delve into the realm of slideshow makers available for Fedora Linux. We’re not just talking about any slideshow makers, though; we’re talking about 100% free, fully open-source tools.
And here’s a little spoiler: We’re not limiting ourselves to the usual graphical user interface (GUI) applications. Oh no, we’re also going to delve into the powerful world of command-line tools. So, buckle up and get ready for an exciting journey!
5 Outstanding completely free slideshow makers for Fedora Linux
Having experimented with numerous such tools throughout my journey, I’ve narrowed down the list to the top six slideshow makers that have stood out to me, namely Shotcut, Pitivi, Kdenlive, and OpenShot. We’ll also take a quick detour into the command-line realm with ImageMagick.
1. Shotcut: The Robust Choice
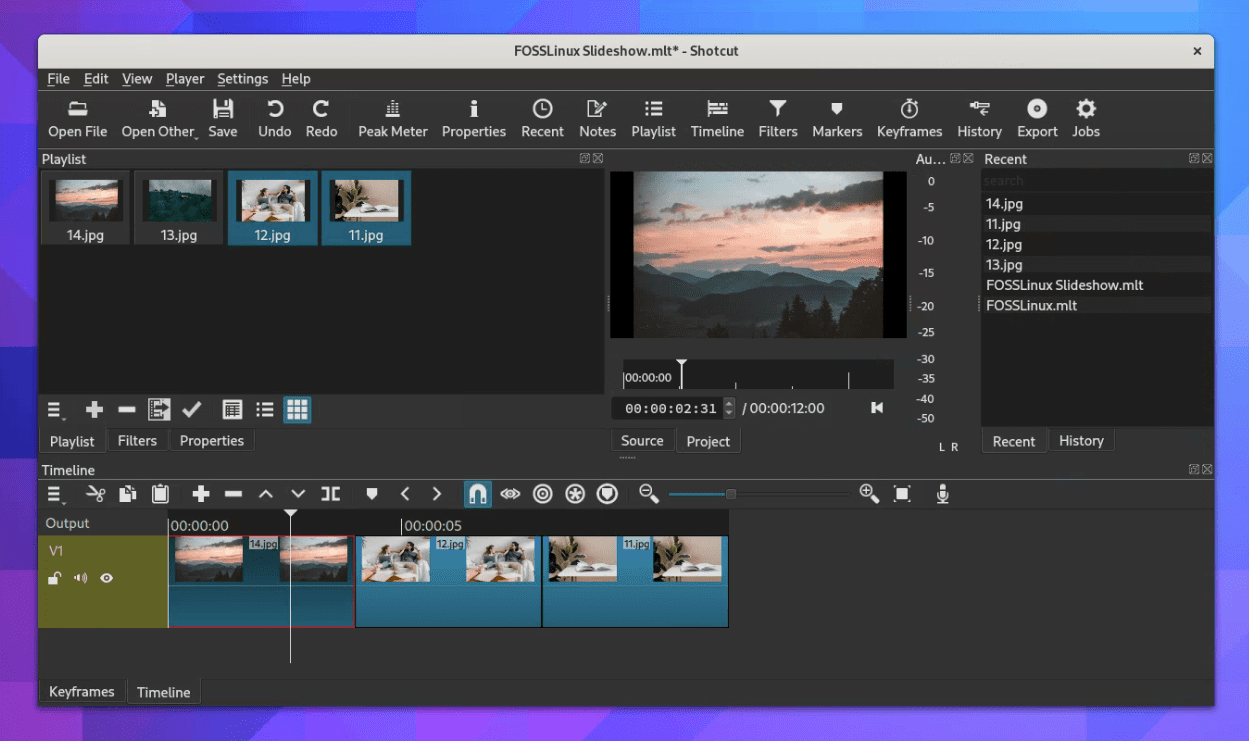
Running Shotcut on Fedora Linux 38
Starting with Shotcut, an open-source cross-platform video editor. I must admit, my initial encounter with Shotcut was challenging; its interface isn’t as intuitive as some other options. But, over time, I found its advanced features worth the steep learning curve.
Creating slideshows in Shotcut is relatively straightforward once you get the hang of it. First, import your images and audio (if any) into the playlist. Then, drag them onto the timeline in your desired sequence. You can adjust the duration of each slide in the Properties tab. Once you’re satisfied with the basic slideshow, you can start adding transitions, filters, and other effects.
Installing Shotcut:
Shotcut is available from Flathub, which makes it relatively easy to install on Fedora.
Open the Terminal.
Make sure flatpak is installed in your system by using the command:
sudo dnf install flatpak
Next, add the Flathub repository:
flatpak remote-add --if-not-exists flathub https://flathub.org/repo/flathub.flatpakrepo
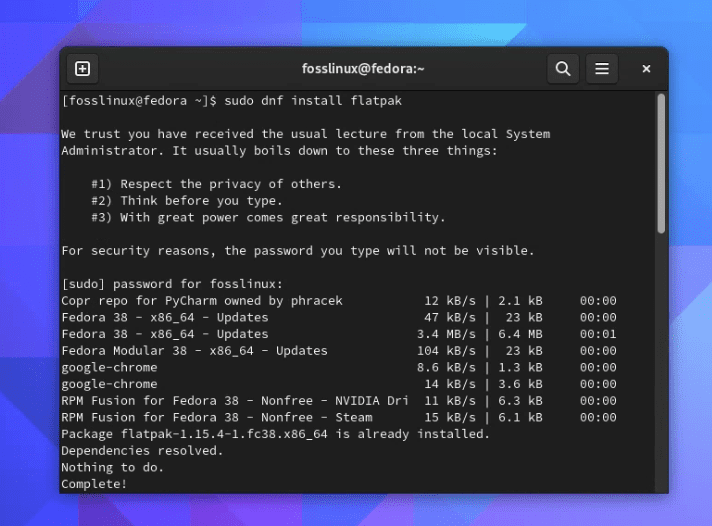
Installing flatpak on Fedora Linux 38
Install Shotcut using the command:
flatpak install flathub org.shotcut.Shotcut
Finally, you can launch Shotcut by using the command:
flatpak run org.shotcut.Shotcut
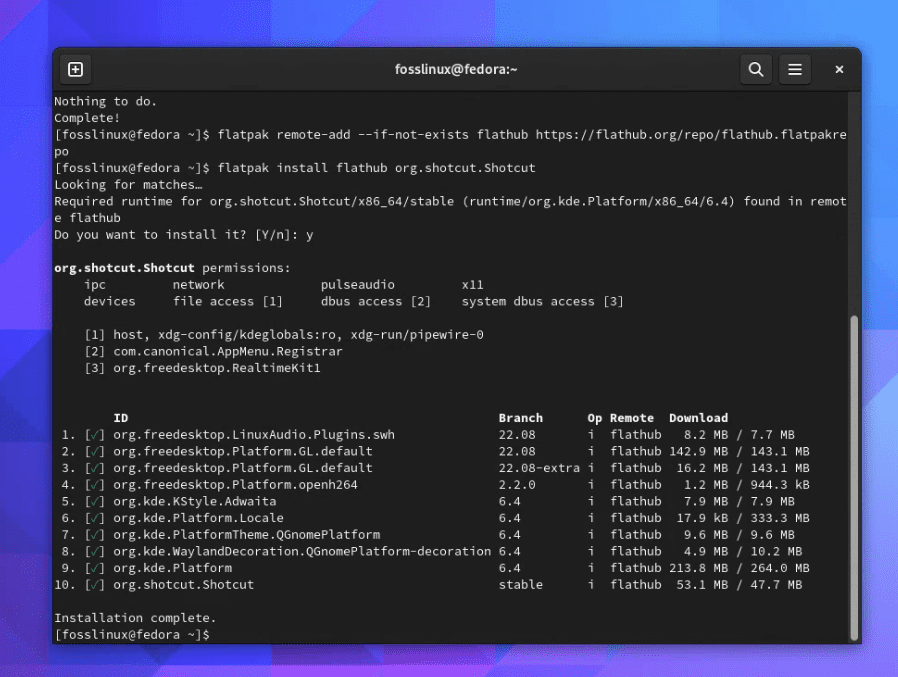
Installing Shotcut on Fedora Linux 38
Pro Tip : Use the ‘Preview Scaling’ feature, which allows you to preview your slideshow in lower resolution, resulting in smoother playback when editing.
2. Pitivi: The Beginner-friendly Option
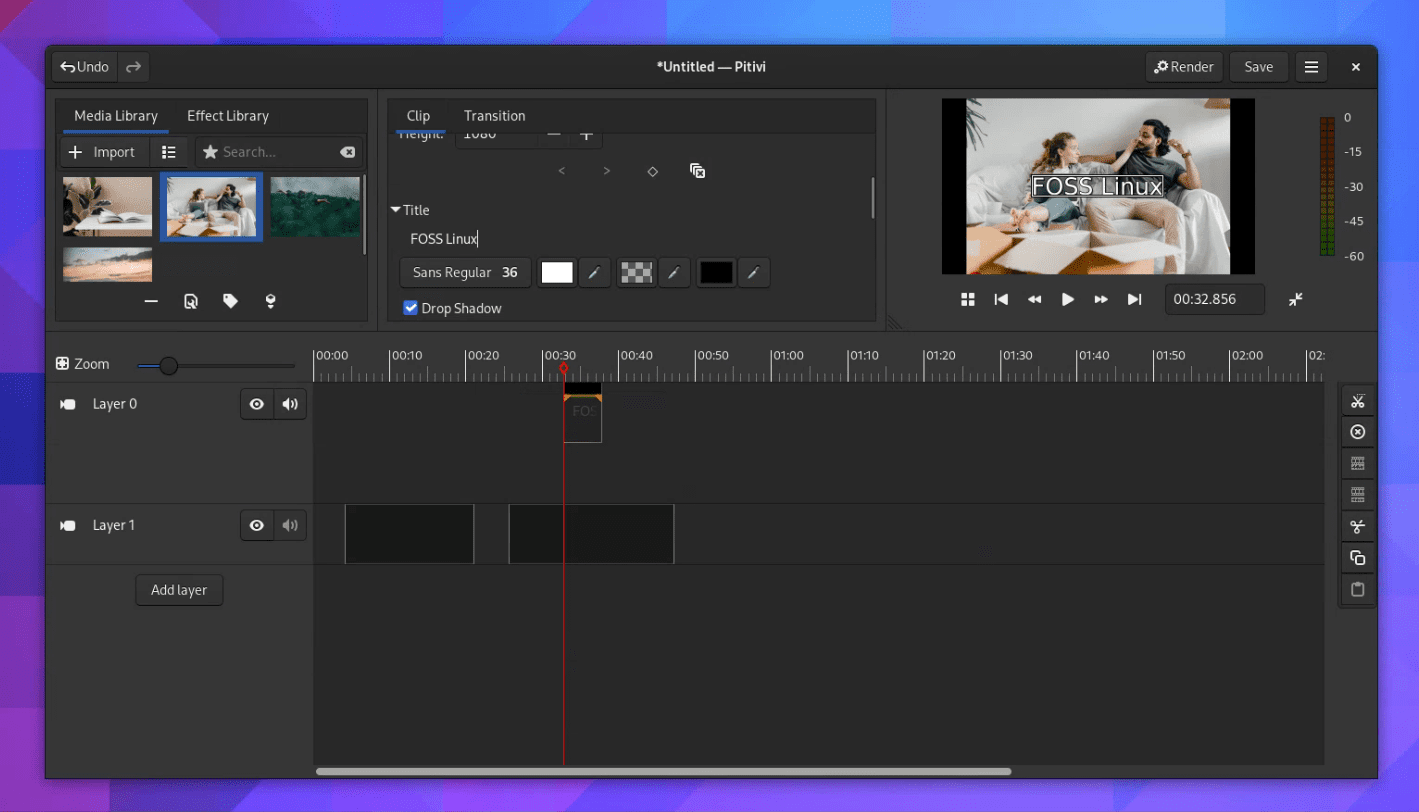
Running Pitivi on Fedora Linux 38
Next up is Pitivi, a user-friendly video editor, perfect for Linux newbies. In fact, I’ve found that Pitivi’s intuitive interface invites users in and keeps them coming back.
Creating a slideshow in Pitivi involves importing your images, arranging them on the timeline, and adding transitions between the slides. You can then add any music or voiceover, and adjust the duration of each slide to match your audio.
Installing Pitivi:
Pitivi is also available on Flathub.
To install Pitivi, simply use the following command:
flatpak install flathub org.pitivi.Pitivi
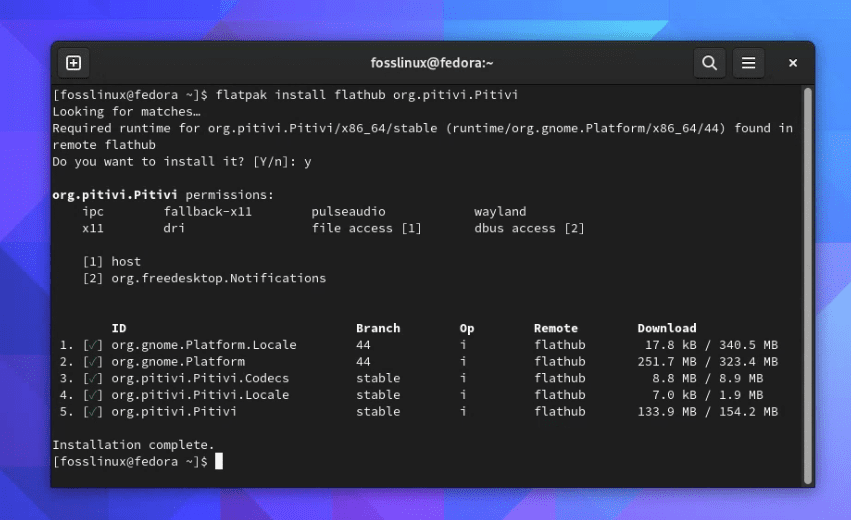
Installing Pitivi on Fedora Linux 38
Run Pitivi using:
flatpak run org.pitivi.Pitivi
Pro Tip : Leverage its ‘Undo History’ feature. It keeps a log of every action you perform, which means you can quickly revert any change you’re not happy with.
3. Kdenlive: The Versatile Tool
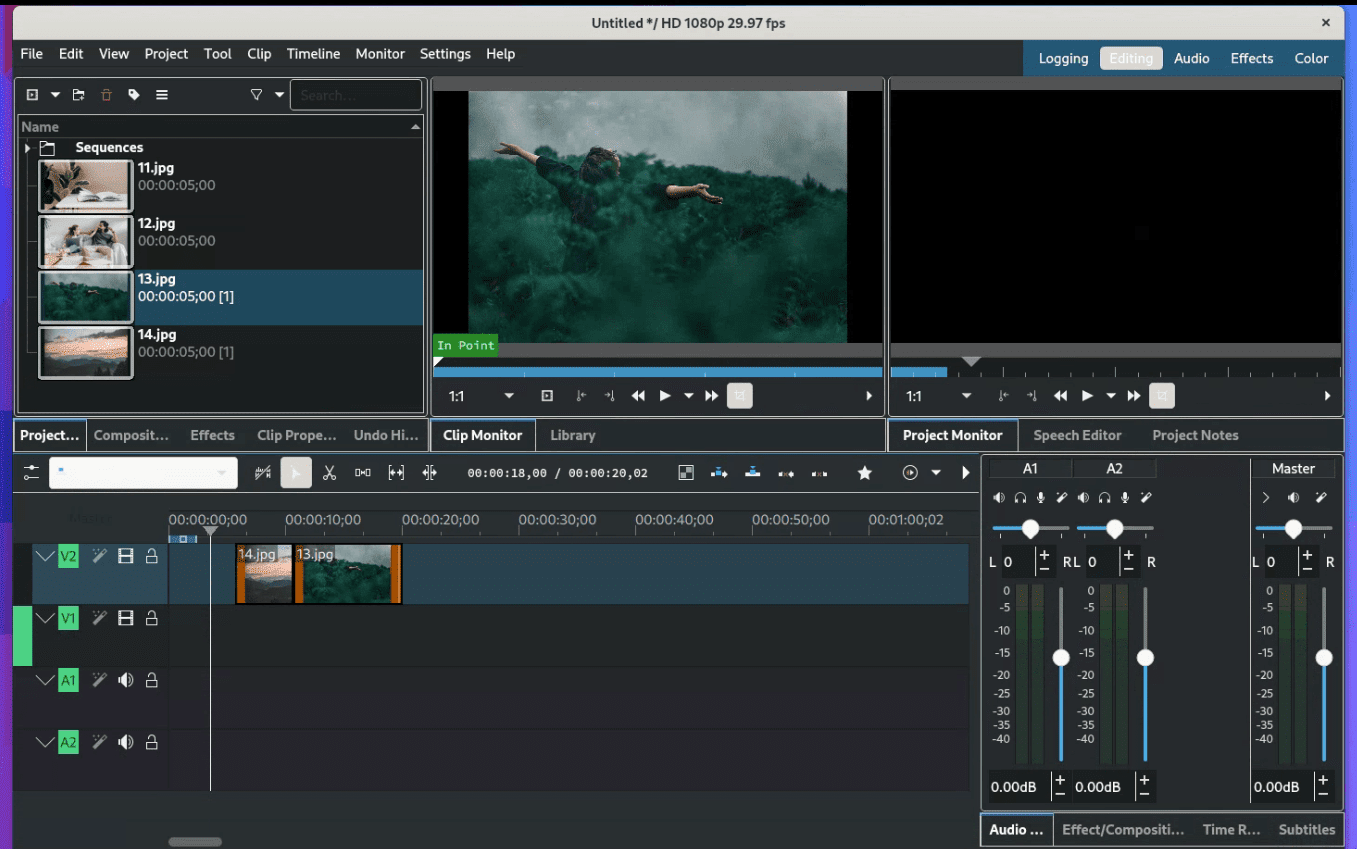
Running Kdenlive on Fedora Linux 38
Kdenlive, short for KDE Non-Linear Video Editor, is a powerful video editing software that provides a multitude of features. This one may seem a bit overwhelming at first, but once you delve into it, you’ll find it to be highly customizable, making it one of my favorites.
To create a slideshow in Kdenlive, you’ll first create a new project and import your images. Once imported, you can arrange them in the timeline, then add transitions and effects as per your liking. The software also provides the option to add text and other elements to your slideshow.
Installing Kdenlive:
For Kdenlive, you can use the dnf package manager:
Open Terminal.
Install Kdenlive by entering the command:
sudo dnf install kdenlive
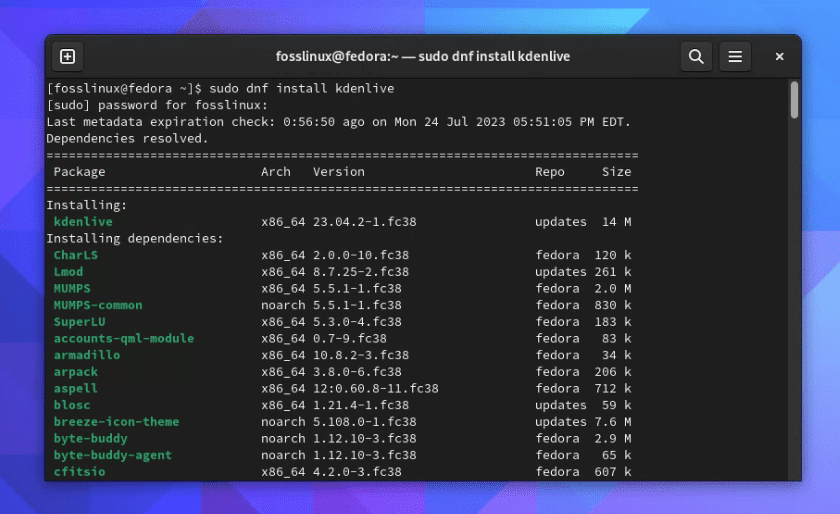
Installing kdenlive on Fedora Linux 38
You can start Kdenlive with the following command:
kdenlive
Pro Tip : Utilize its ‘Online Resources’ section, which allows you to import free-to-use media files directly into your project.
4. OpenShot: The Easy-to-use Tool
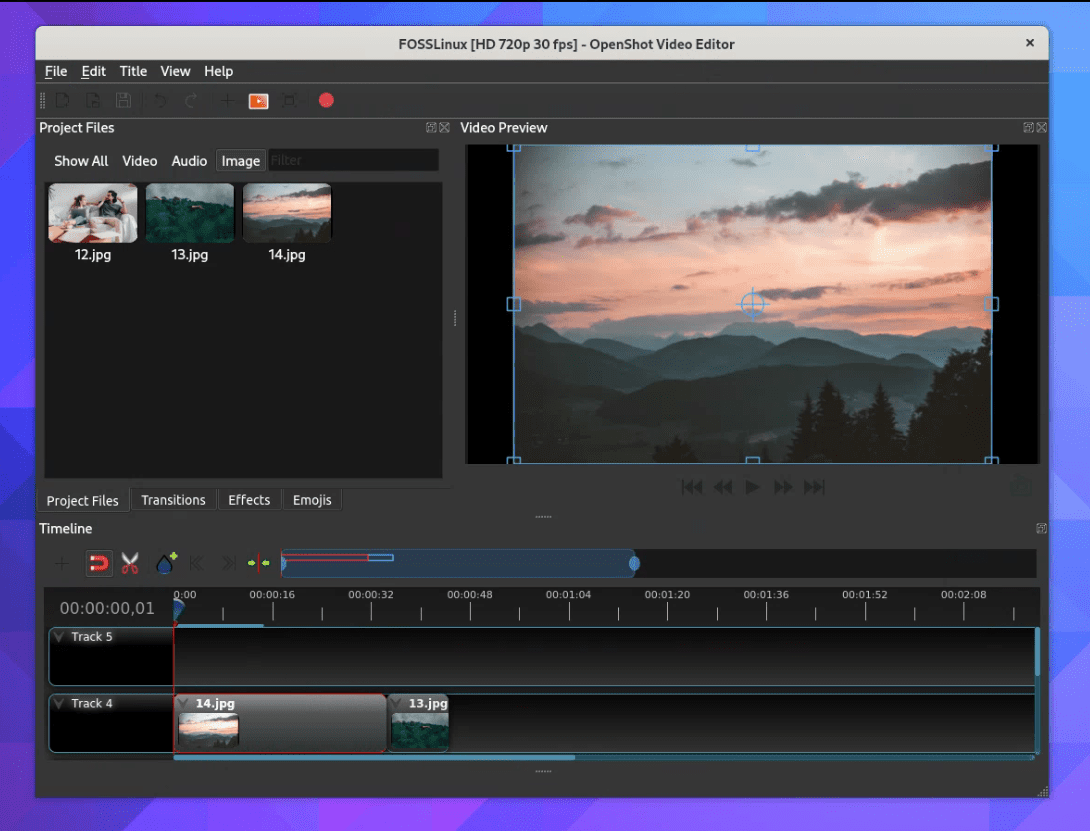
Running OpenShot Video Editor on Fedora Linux 38
OpenShot’s user-friendly interface has a charm of its own. This video editing software is an excellent choice for those who want to create simple slideshows without much fuss.
Making a slideshow in OpenShot involves importing images and audio into the project files, arranging them in the timeline, and then adjusting the duration of each slide. You can add transitions between the slides from the ‘Transitions’ tab and tweak them as per your need.
Installing OpenShot:
OpenShot can be installed from the RPM Fusion Repo.
Open the Terminal.
Run the following command to add the RPM Fusion repository to your system:
su -c 'dnf install https://download0.rpmfusion.org/free/fedora/rpmfusion-free-release-$(rpm -E %fedora).noarch.rpm https://download0.rpmfusion.org/nonfree/fedora/rpmfusion-nonfree-release-$(rpm -E %fedora).noarch.rpm'
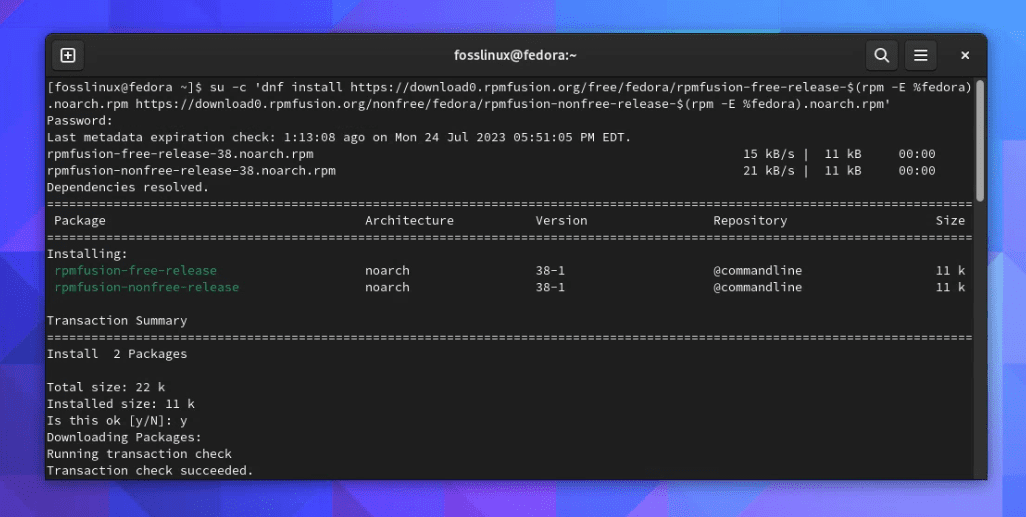
Adding RPM Fusion Repo to Fedora Linux 38
Optional Section: For those who haven’t setup su on their Fedora yet: Note that you need su previlages to run the above command. Administrator password is not same as root password! To set root password, enter:
sudo passwd root
Set a new password. After that you should be able to run the su command shown above.
Once the RPM fusion repos are added into your system, install OpenShot using the command:
sudo dnf install openshot
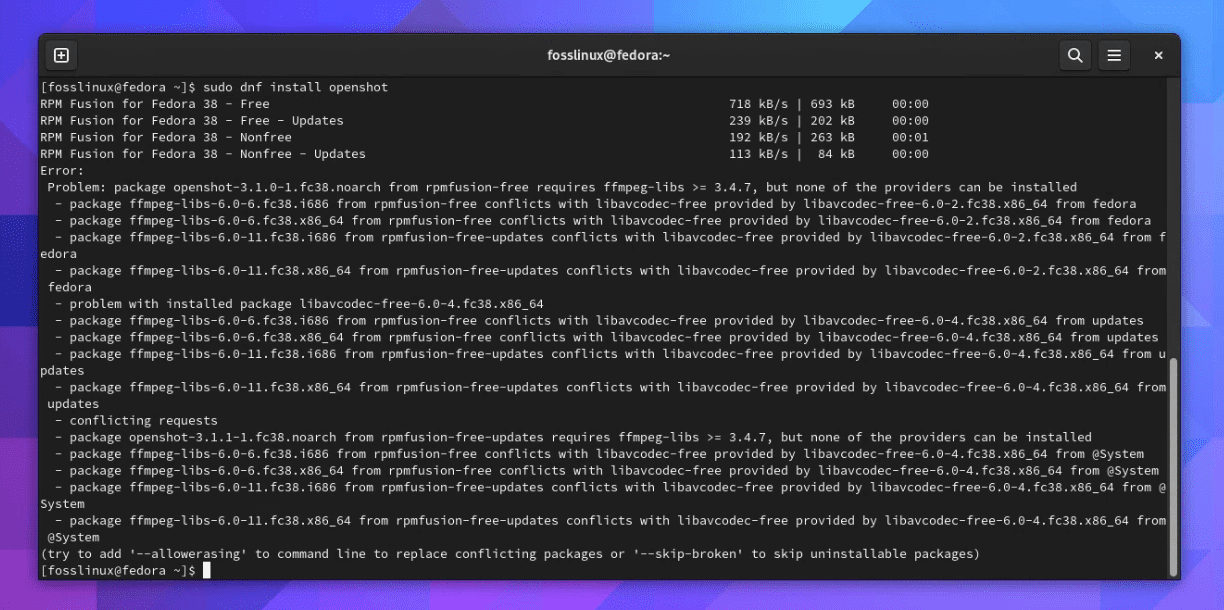
Installing Openshot on Fedora Linux 38
Run OpenShot with the following command:
openshot-qt
Pro Tip : Explore its ‘Animated Titles’ feature. It comes with numerous prebuilt animated title templates that can add a professional touch to your slideshow.
5. ImageMagick: The Command-line Powerhouse
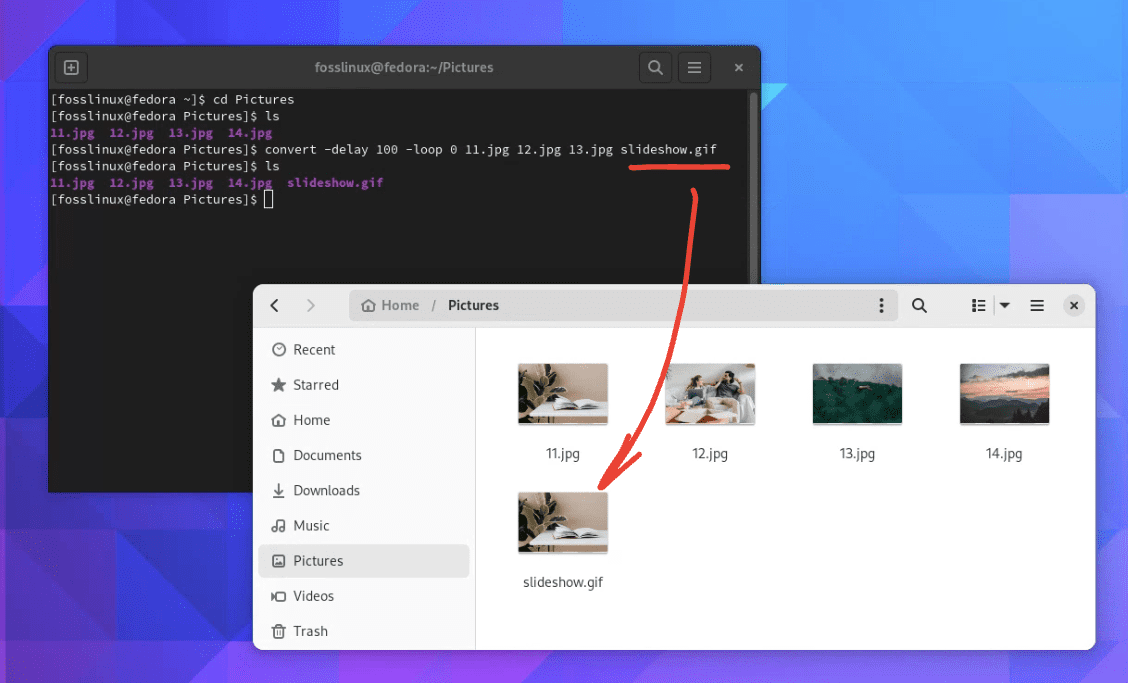
Creating Slideshow in Fedora Linux 38 Terminal using ImageMagick
It’s not fair to end the list without including a command-line tool for making slideshows. ImageMagick is not your typical slideshow maker. This command-line tool is capable of displaying, converting, and editing raster image and vector image files. While it may seem a bit daunting at first, especially if you’re not familiar with the command line, the level of control it offers is unparalleled.
Creating a slideshow with ImageMagick involves using the ‘convert’ command to stitch together your images into a single file. The command could look something like this:
convert -delay 100 -loop 0 11.jpg 12.jpg 13.jpg slideshow.gif
In the above command, ‘-delay’ sets the time between frames (in this case, 100/100 seconds), ‘-loop 0’ makes the slideshow loop indefinitely, and the final argument is the output file.
If you want each slide to display for 3 seconds and to disable the looping, you can adjust the ImageMagick command accordingly.
Here’s the adjusted command:
convert -delay 300 -loop 1 image1.jpg image2.jpg image3.jpg slideshow.gif
The -delay option sets the amount of time each image will show. The value you provide is in hundredths of a second, so a value of 300 will make each image display for 3 seconds (300/100 = 3 seconds).
The -loop option sets how many times the animation will loop. By setting it to 1, the slideshow will play once and then stop.
Pro Tip: Take full advantage of its extensive documentation and user community. Almost any effect or transformation you can imagine can be achieved with ImageMagick, so if you’re unsure how to do something, a quick web search will likely yield the answer.
Installing ImageMagick:
ImageMagick can be installed directly from the Fedora repositories.
- Open the Terminal.
- Install ImageMagick using the command:
sudo dnf install ImageMagick
- To verify the installation, you can check the version of ImageMagick with the following command:
magick -version
While ImageMagick may not offer a GUI, and it has a bit of a learning curve, it’s an incredibly powerful tool that offers flexibility and precision that few other tools can match. For users comfortable with the command line, or those willing to learn, it’s a fantastic option.
Wrapping it up
In the end, it all comes down to what you need and how you work. Each of these five free slideshow makers for Fedora Linux offers a unique combination of features and user experiences. Kdenlive for its versatility, your preference may differ depending on your needs and level of comfort with these tools.
Just remember, the best tool is the one you’re most comfortable using. So, take your time and experiment with these tools. After all, the learning process is where the real fun lies!
Are you all about simplicity? Or perhaps you’re a customization enthusiast? Maybe you need the power and functionality of a full-fledged video editor? Whatever your needs, there’s likely a tool on this list that checks your boxes.

