Shotwell is a popular photo management application that allows you to import, organize, and edit your photos. It is a free and open-source software, which makes it a great choice for users who prefer to have more control over their software. Shotwell can help you manage your photo collection with ease. In this guide, we will walk you through the steps to install Shotwell on your Fedora system.
Why Shotwell?
Prior to diving into the installation process, it’s essential to understand why Shotwell is a valuable tool for managing your photo collection. From my perspective, Shotwell stands out for its ability to simplify photo management. It automatically categorizes your photos based on date, supports a wide range of formats, and enables you to tag and rate your images. Furthermore, its editing tools are both user-friendly and powerful, allowing you to make quick modifications, such as cropping or adjusting exposure. By using Shotwell, you can efficiently organize and enhance your photo collection.
Top features of Shotwell
- Easy import from your camera and computer: Shotwell automatically imports and organizes your photos by date.
- Basic photo editing tools: Perfect for quick edits without opening another program.
- Tagging and rating system: Makes finding and organizing your photos easier.
- Publish photos to popular web services: Share your memories on social media or cloud storage with just a few clicks.
Installing Shotwell on Fedora
Installing Shotwell on Fedora is a smooth process, thanks to Fedora’s robust package management system. Here’s how you can do it using the command line, which, if you ask me, always adds an extra layer of satisfaction to the process.
Step 1: Open the terminal
You can do this by searching for “Terminal” in your applications menu or by pressing Ctrl + Alt + T.
Step 2: Update your system (optional but recommended)
It’s always a good idea to start with an up-to-date system. This ensures that you’re installing the latest version of the software and that all dependencies are current. Run the following command:
sudo dnf update
Step 3: Install Shotwell
With your system updated, installing Shotwell is as easy as executing the following command:
sudo dnf install shotwell
Sample output from my Fedora 38 system:
[fosslinux@fedora ~]$ sudo dnf install shotwell
[sudo] password for fosslinux:
Last metadata expiration check: 0:30:37 ago on Wed 13 Mar 2024 09:27:34 AM EDT.
Dependencies resolved.
================================================================================
Package Architecture Version Repository Size
================================================================================
Installing:
shotwell x86_64 0.32.6-1.fc38 updates 3.4 M

Transaction Summary
================================================================================
Install 1 Package

Total download size: 3.4 M
Installed size: 14 M
Is this ok [y/N]: y
Downloading Packages:
shotwell-0.32.6-1.fc38.x86_64.rpm 3.4 MB/s | 3.4 MB 00:00
--------------------------------------------------------------------------------
Total 2.6 MB/s | 3.4 MB 00:01
Running transaction check
Transaction check succeeded.
Running transaction test
Transaction test succeeded.
Running transaction
Preparing : 1/1
Installing : shotwell-0.32.6-1.fc38.x86_64 1/1
Running scriptlet: shotwell-0.32.6-1.fc38.x86_64 1/1
Verifying : shotwell-0.32.6-1.fc38.x86_64 1/1

Installed:
shotwell-0.32.6-1.fc38.x86_64

Complete!
[fosslinux@fedora ~]$
This command tells Fedora to download and install Shotwell and any necessary dependencies. I love watching the installation progress—ensure you enter ‘y’ when you see the prompt.
Step 4: Launch Shotwell
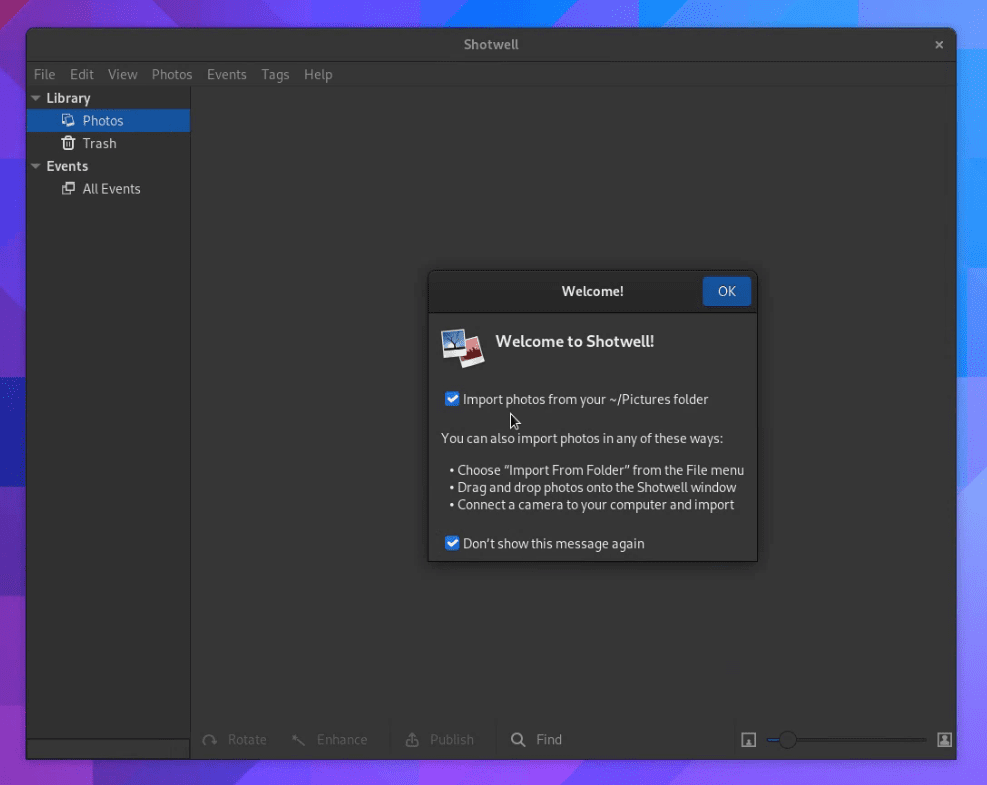
Once the installation completes, you can start Shotwell from your applications menu or by running shotwell in the terminal. Prepare to get your photos organized like never before!

Shotwell on Fedora 38
My helpful tips you can use
Backup your photo library
While not a Shotwell-specific tip, backing up your photo library is crucial. Shotwell stores its database and configuration files in your home directory (~/.local/share/shotwell and ~/.config/shotwell), so make sure these are included in your backup routine. This will save you a lot of heartache in case of hardware failure or if you’re migrating to a new computer.
Shotwell is running slow
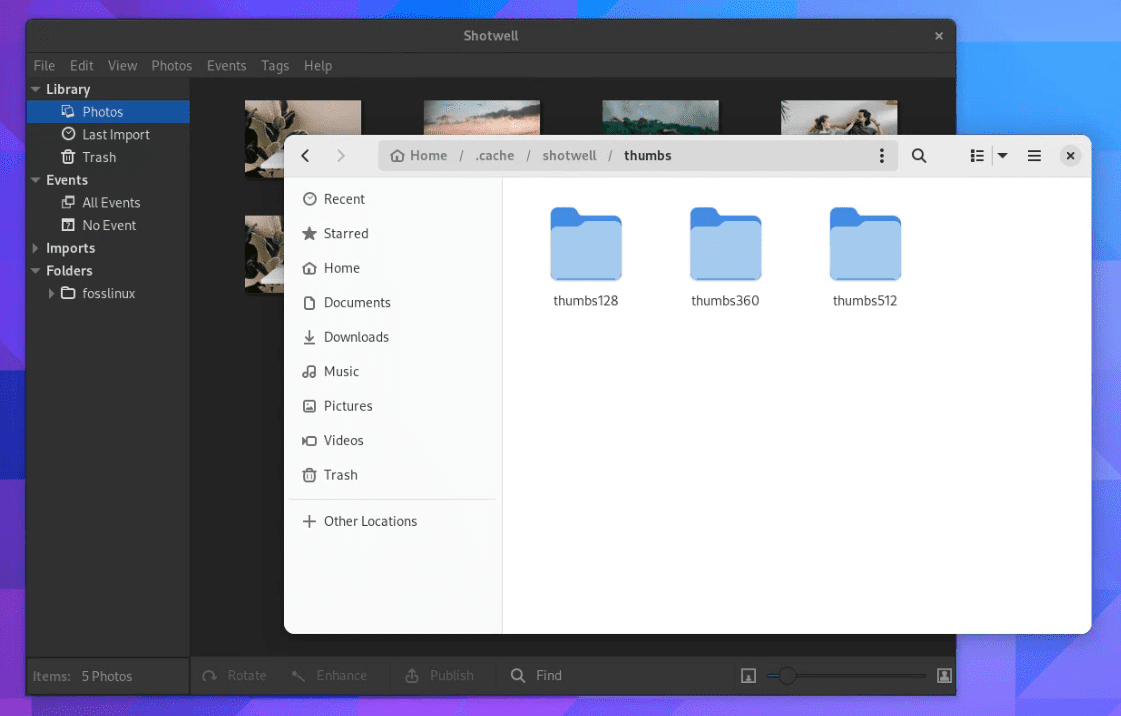
If Shotwell starts to feel sluggish, especially with large photo libraries, consider clearing the thumbnail cache. Over time, this cache can grow quite large. You can clear it by deleting the thumbnails directory located in ~/.cache/shotwell. Don’t worry—Shotwell will regenerate these thumbnails as needed, but with a fresh start, it might run a bit smoother.

Shotwell Thumbs Cache
Plugins and extensions
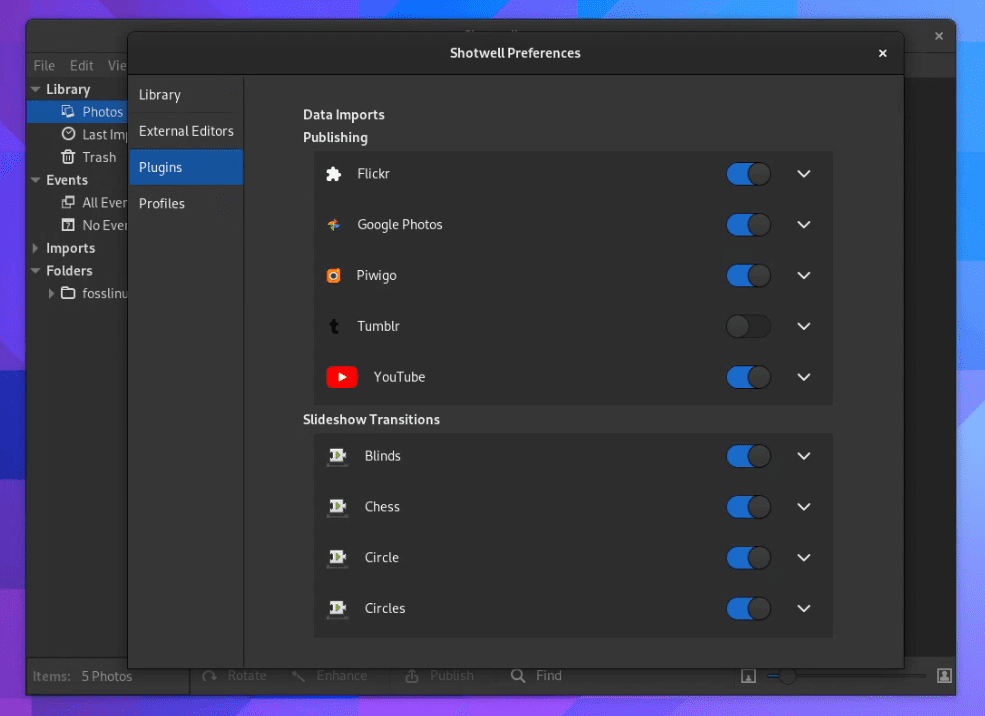
Keep an eye out for plugins and extensions that can add new functionality to Shotwell. While the core experience is solid, you might find tools that integrate with other services or add new editing capabilities.

Shotwell Plugins
Uninstalling Shotwell
While I find it hard to believe anyone would want to part ways with such a handy tool, I understand that everyone’s preferences differ. If you decide Shotwell isn’t for you, uninstalling is just as simple as the installation process.
Run the following command in your terminal:
sudo dnf remove shotwell
This command will remove Shotwell from your system. If you’re like me, though, you’ll reinstall it after a week of missing its convenience.
Conclusion
Congratulations! You have successfully installed Shotwell on your Fedora system. You can now start importing, organizing, and editing your photos. Shotwell is a powerful tool that can help you manage your photo collection with ease. With its intuitive interface and advanced features, you can easily find, sort, and edit your photos. We hope this guide has been helpful in getting you started with Shotwell.

