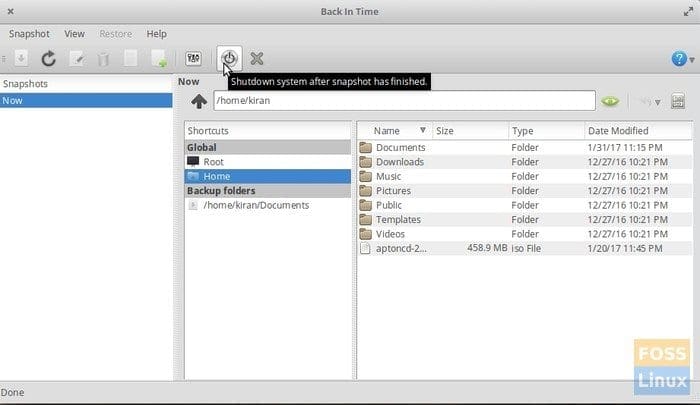
‘Back in Time’ is a free utility for Linux that lets you perform a system wide level backup and then can restore your PC when needed. This application is similar to Windows System Restore or Apple’s TimeMachine, except that you get more control with Back In Time.
RSync Engine
Back-in-TIme is a great backup and restore utility. It is actually just a GUI. Under the hood is the powerful rsync engine that does all the work like taking snapshots and restore. You might have heard about TimeValut and FlyBack. They are immensely popular among Linux community. I feel Back in Time gives you more control and a simple user interface.

Back In Time GNOME running in elementary OS
Backup Only when Needed
One of the best features of this utility is the “Places” or the Bookmarks column. It makes a snapshot only when something has changed in the PC, just like Windows creates System Restore point when a new program or an important update is applied to the computer. This is a neat feature which will help you save hard disk space by not creating meaning less backups of same thing over and over again.
User Mode Backup System
Another important feature is the ‘user mode’ backup system. You can set which folders you want to backup, and it includes read-only folders too, but you can’t restore the read-only ones.
Installing Back-In-Time in Ubuntu, Linux Mint, and elementary OS
Elementary OS Loki and above users may need to first enable PPA before going to instructions below.
STEP 1: Launch ‘Terminal’ from ‘Applications’.
STEP 2: Run the following command to install the utility’s PPA repository.
sudo add-apt-repository ppa:bit-team/stable
STEP 3: Perform an update.
sudo apt-get update
STEP 4: Finally install Back-In-Time
sudo apt-get install backintime-gnome
That’s it! You can launch the utility from ‘Applications’.
Installing Back-In-Time in Fedora and Mandriva
Back In Time is already included in the official repository. You can simply search the program in the ‘Software Center’ and install it right away. Follow below instructions if you are looking for command-line way.
STEP 1: Launch Terminal.
STEP 2: Login as root.
su
STEP 3: You can install the non-free RPM Fusion repository source. Copy and paste this into command-line and hit enter.
su -c 'dnf install https://download0.rpmfusion.org/free/fedora/rpmfusion-free-release-$(rpm -E %fedora).noarch.rpm https://download0.rpmfusion.org/nonfree/fedora/rpmfusion-nonfree-release-$(rpm -E %fedora).noarch.rpm'
STEP 4: Use dnf command to install Back In Time.
sudo dnf install backintime-gnome
That’s it.


2 comments
Step 4 missing apt-get command ‘install’
Hi Tim, Thanks for highlighting the typo! It’s fixed now.