
Parental control is one of the crucial things to be done to a computer before it goes in the hands of kids. Parental Control can be classified into two things to do.
Firstly, setting the computer usage time so that kids won’t end up killing the valuable sleep and active play hours, and secondly, the control over the adult content and sites that you don’t want your kids to browse.
Elementary OS comes with a Parental Control feature that can be enabled to any account. Let’s go through what set of features it has to offer and how to configure it for a user account.
Enable Parental Control Settings in elementary OS
Parental Control cannot be applied to the Administrator account. Therefore, to enable Parental Control, you should have a new user account with Standard rights created. If you haven’t done it already, let’s create one.
Create a Kids User account
Step 1. Open the ‘Applications’ menu from the elementary OS desktop.
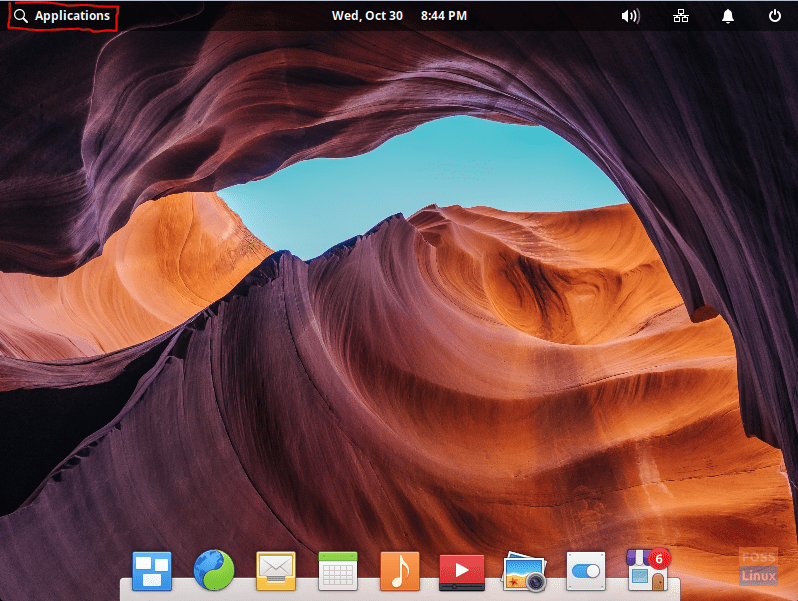
Open Applications From The Elementary Desktop
Step 2. In the search bar, search for the ‘System Settings’ and launch it.
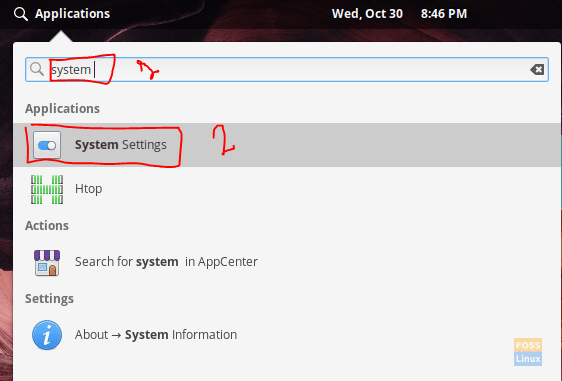
Open System Settings
Step 3. In the ‘System Settings’ app, click the ‘User Accounts’ option located at the bottom in the ‘Administration’ section.
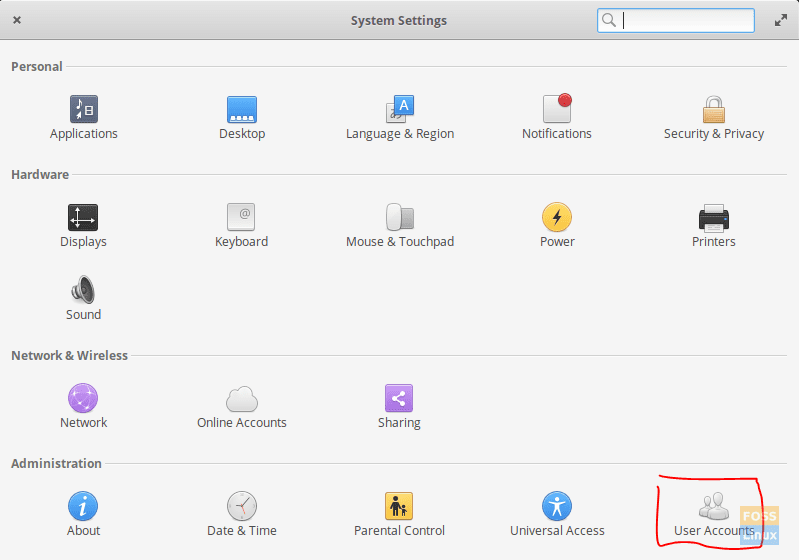
Open User Accounts Under Administration Tab
Step 4. In the User Accounts dialog box, click on the ‘Unlock’ option to open all the advanced options.
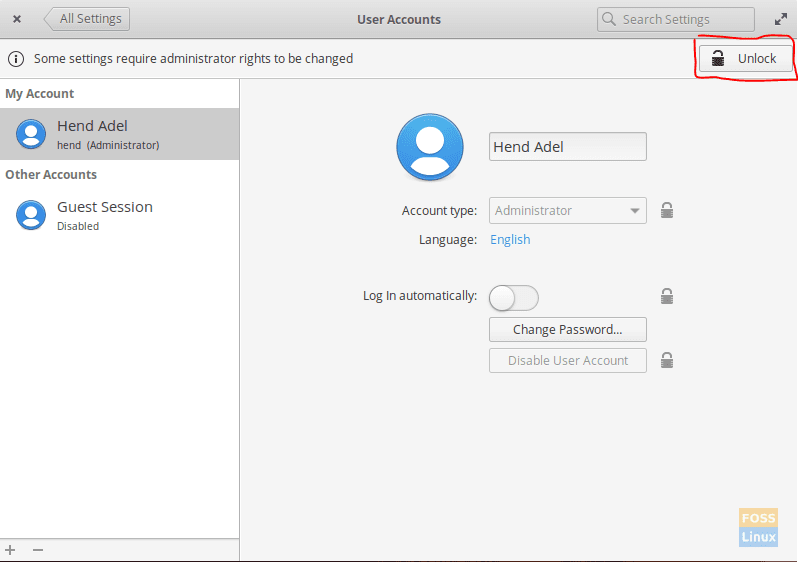
Press The Unlock Button
Step 5. In the Authentication required window, enter the root password.
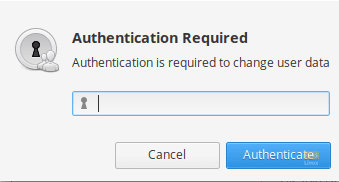
Enter Your Sudo Password
Step 6. Click the ‘+’ sign located at the left bottom corner to add a new user account.
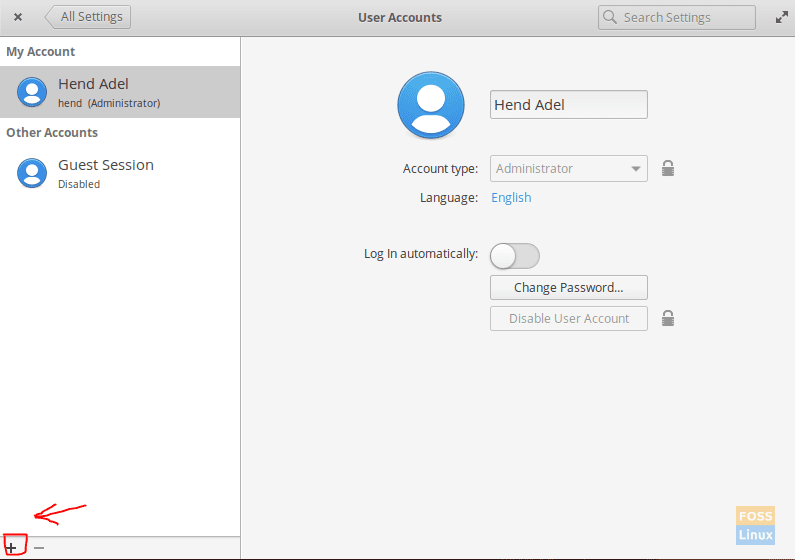
Press the Add New User Button
Step 7. In the add new user window, enter the new user name, and give it a password. Also, keep the account type as a standard user. Finally, press the ‘Create User’ button.
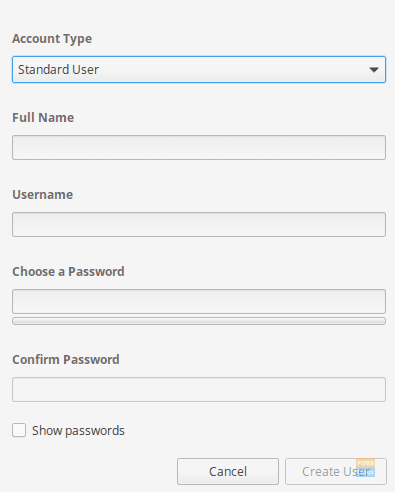
Add New User Window
As you will see, a new user is created successfully.
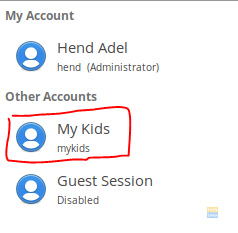
New User Created Successfully
That’s it. Now let’s go back to ‘All Settings’ window.
Parental Control
Step 1. In the ‘System Settings’ app, click ‘Parental Control,’ which you can find it under the Administration tab.
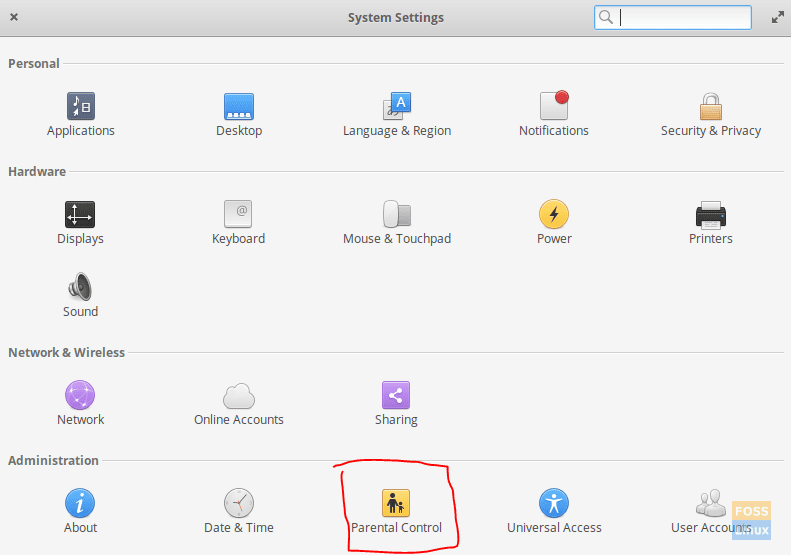
Open The Parental Control Option Under The Administration Tab
Step 2. If you have only one standard user account, you will directly head into the Parental Control app, else select the account for which you want to enable Parental Control.
Step 3. Click the ‘Unlock’ button to unlock all the advanced options.
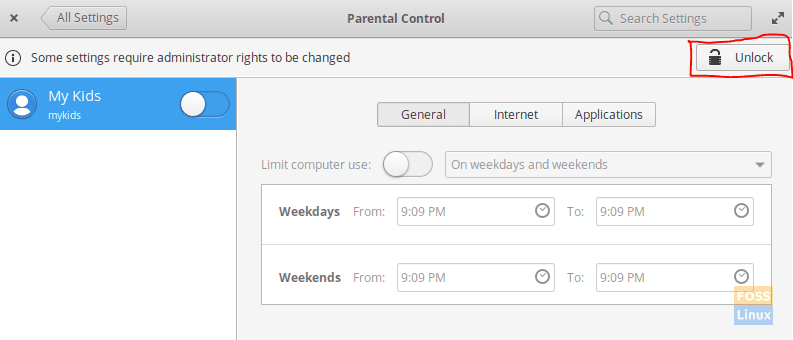
Press The Unlock Button Under The Parental Control Settings
Step 4. In the Authentication Required window, enter the admin password.
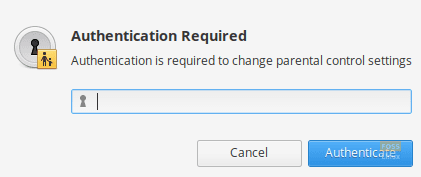
Enter Your Sudo Password For Authentication
Step 5. Now you can open the parental control for the selected user. In the General tab, you can control the time that the selected user is allowed to use the computer.
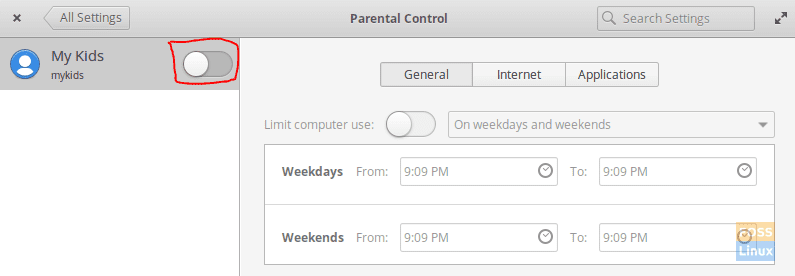
Enable Parental Control For The Selected User Account
Step 6. In the Internet tab, you can control URLs accessed by the selected user. You can add URLs to this list to prevent the selected user from visiting these URLs.

Prevent User From Visiting Mentioned Websites
Step 7. In the Applications tab, you can prevent the selected user account from using specific applications by adding these applications in this list.
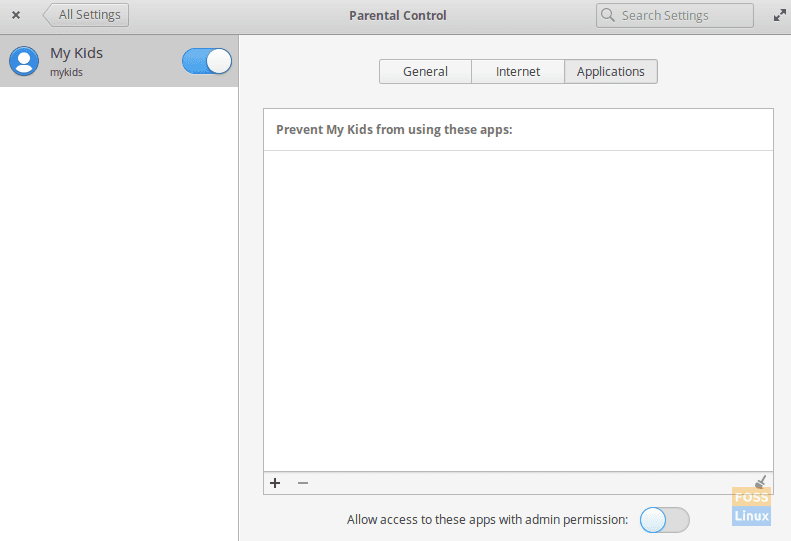
Restrict Applications For Selected User Account
Congratulations, you have now enabled the parental control settings in your elementary OS. Remember to keep your kids safe.
3 comments
it doesn’t work
These controls have no effect on the intended account… feedback submitted on Github.
This is so frustrating. Elementary OS has included Parental Controls for years, and they’ve never made it work. Come on, developers, either make it functional or stop including it.