Minecraft is one of the most popular and classic computer-based games of all time. About eight years ago, its boxy graphics managed to survive and thrive throughout the years. It has now become a classic and a very desired and respected game in the industry.
In this article, we are going to show how to install Minecraft on Ubuntu, Linux Mint, or any other Debian based distribution. The installation procedure is pretty simple and requires the installation of some additional packages.
Installing Minecraft on Ubuntu and derivatives
Download the Package
First of all, visit the official website. Select the .DEB package, among others, and let it download.
NOTE: Make no mistake; this is not the full version of the game. As most of you probably already know, the full version is to be paid for. This ‘trial’ version lasts only five days, after which users will have to purchase the full version of the game.
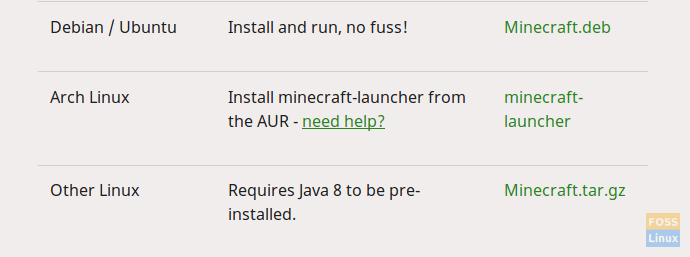
Packages of Minecraft available
Installation
There are a couple of dependencies to be cleared before installation. One of the significant dependencies is Oracle Java8 Installer, which does not have a clear package for Linux. There is a repository provided, and we will add it. This repository has displayed issues on a lot of systems, so there is no promise of installation, but follow this article, and you can make it work.
Add the repositories with the following command:
sudo add-apt-repository ppa:webupd8team/java
sudo apt-get update
sudo apt-get install oracle-java8-installer
After running these commands, if Java Runtime is installed on your system, then okay, it works! But if not, fret not, follow the rest of the tutorial.
Now that the package is downloaded, we can install it. To install the package, assuming it is in the Downloads directory, use the following commands:
cd Downloads/
sudo dpkg -i Minecraft.deb
Replace ‘Minecraft.deb’ with the actual name of the package, if it is anything else. At the time of writing this article, that’s what it was.
Now this will prompt up a couple of errors, running the first time. These are just unmet dependencies. Happily, Linux has an easy way of handling these. Run the following command:
sudo apt-get -f install
It will fix all the ‘broken’ packages (In this case broken package is the Minecraft Installer, which could not be installed appropriately, due to unmet dependencies. How to fix it? But resolving dependencies. So that is what Linux will do).
It will install the Minecraft Installer on your system. To start it up, search and open it from the application launcher.
Registration
Now this will go to a registration/login screen, where you’ll have to enter the credentials of an existing account or create a new one. You can enable automatic login on launching the program (recommended).
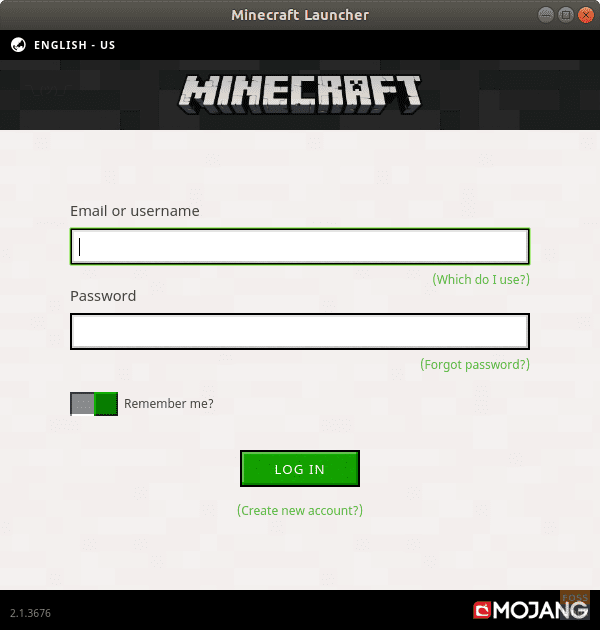
Mojang registration/login page
After the login process, the installer will begin to download all necessary files for the game.
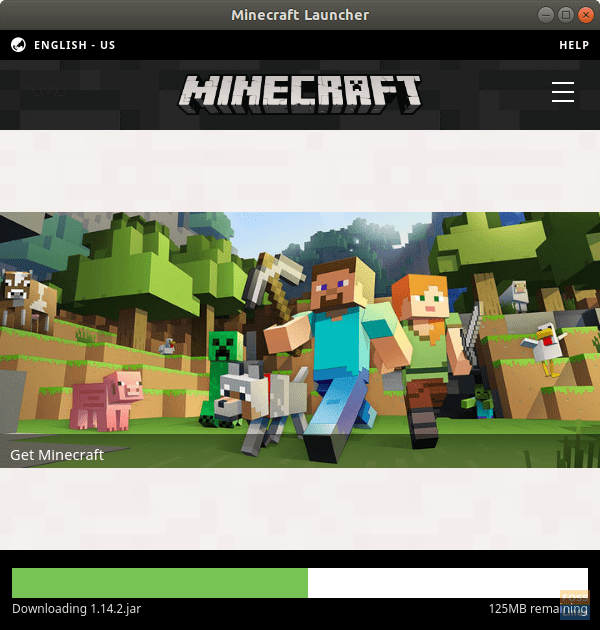
Minecraft Installer downloading files
Once this happens, the game will be launched automatically.
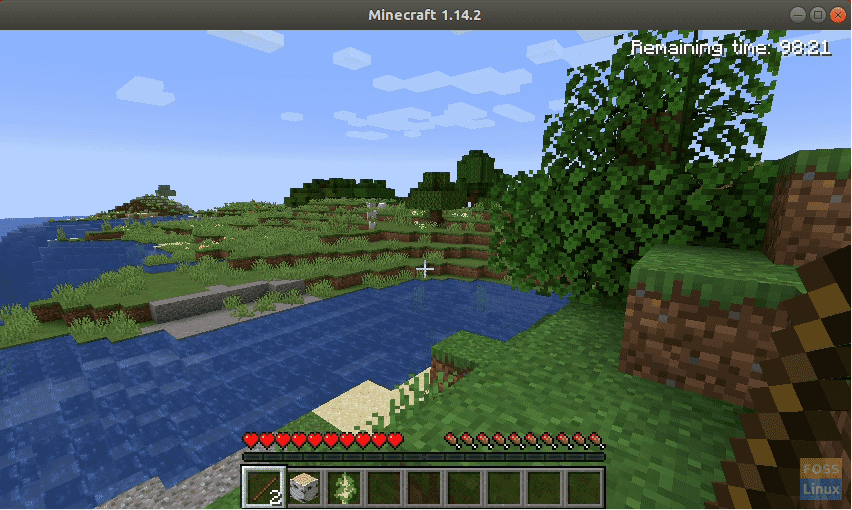
Minecraft!
Conclusion
Mojang only provides with a 5-day trial version of Minecraft, but you can purchase the full version from this program itself. For every time that you want to open the game, you will have to launch the package named ‘Minecraft Installer,’ which in turn, will start the actual game.
Out of the context of this article, but if you want to play Minecraft in a better way, you can use Raspbian on a Raspberry Pi board, which has Minecraft natively installed. On the Raspberry Pi 3, it runs terrifically smooth, and since the RPi supports full HD displays, you can play Minecraft in its full glory!

2 comments
Thanks very much!
I keep getting add-apt-repository command not found
How do I fix this?