Installing a few downloaded fonts is a no-brainer in Linux. You can download fonts from various online sources for free and install them right away by double-clicking on the font file. This method works well for installing few fonts.
But, if you want to install many font-family, for example, the Google Fonts pack, it becomes practically inconvenient to download and install each font individually.
In this guide, you will know how to install Google Fonts the easiest way using TypeCatcher App.
Install Google Fonts in Ubuntu, Linux Mint, and elementary OS
Elementary OS users must first enable PPA to use the apt-get command before following this guide.
STEP 1: Launch ‘Terminal.’ You can use the CTRL+ALT+T shortcut to launch it.
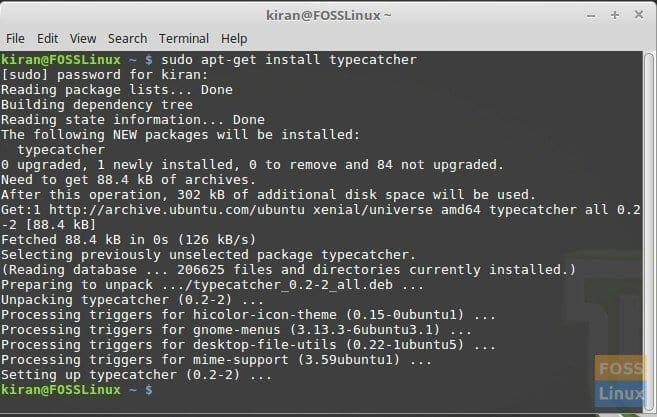
STEP 2: Use the apt-get command to download and install TypeCatcher. It is a free application that lets you install fonts in a jiffy.
sudo apt-get install typecatcher
Enter root password to complete installation.

Installing TypeCatcher
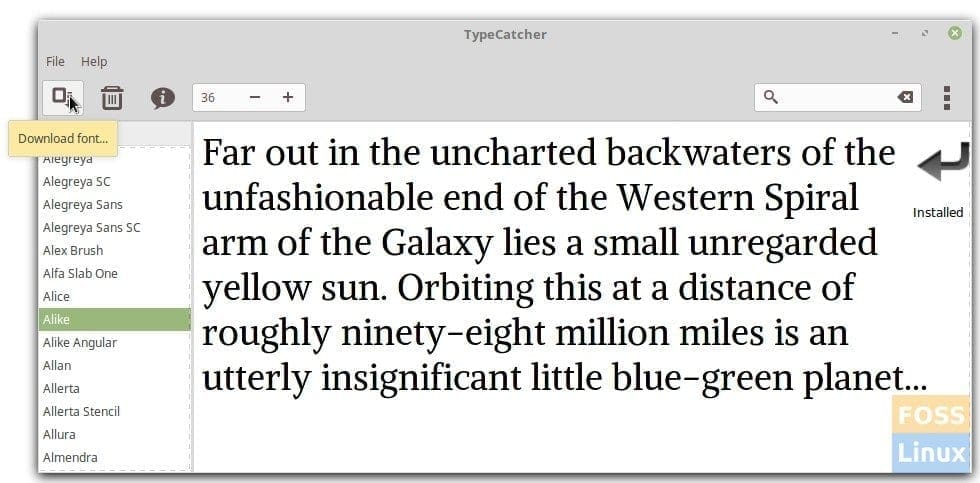
STEP 3: Launch ‘TypeCatcher’ from the ‘Applications’ menu, or you can use typecatcher in the command line.
STEP 4: Select the font from the left pane and click on ‘Download.’ The font will be downloaded and installed for you. Unfortunately, there are no multiple selections, you have to install one by one, but at least you have one single interface that downloads the font and installs it in a single click—also no need to search for online sources of fonts.

Install Google Fonts – TypeCatcher


4 comments
Thank you very much for the information. Was looking to install Google fonts in my Ubuntu desktop and your explanation came in very handy.
You can also use gfinstall, a script which installs fonts in seconds, best thing about it is it auto completes font name when you double tab. Its good go check it once (https://github.com/realpvn/gfinstall)
thanks
Thanks a lot. I didn’t even know this was a “thing”. I’m very happy so far. 🙂