
The LAMP stack is one of the most popular web server configurations in use today. Comprised of Linux, Apache, MySQL, and PHP, the LAMP stack is a versatile platform on which you can build your website.
For this tutorial, we will be using CentOS, a free version of Red Hat Enterprise Linux, to provide the Linux aspect of the stack. We will be installing and configuring Apache, MySQL, and PHP on CentOS 7.
Creating LAMP server on CentOS 7
Prerequisites
You will need:
- A computer or VM with CentOS installed
- A working network connection
Configure CentOS
1. Install firewalld
It is recommended that you install a firewall on your server for added protection. In this case, we will be using firewalld, a simple firewall daemon.
To begin, we will install the firewalld package:
# yum install firewalld
Next, we will enable firewalld, so that it starts on boot:
# systemctl enable firewalld
And restart the system to finalize changes:
# reboot
2. Set the Servers Hostname
NOTE: This step is optional depending on how your server is set up and your use case
To set the server’s hostname, run:
# hostnamectl set-hostname HOSTNAME
Where HOSTNAME is the hostname, you want to use.
Install Apache, MySQL, and PHP
3. Install Apache
Now, we will install the Apache HTTP server. To do this, run:
# yum install httpd
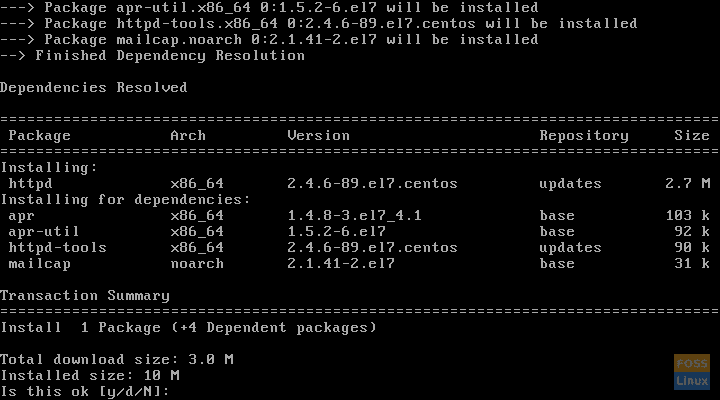
Installing httpd
It will install the httpd package. Now, add the HTTP service to firewalld with:
# firewall-cmd --add-service=http
Now, reload firewalld:
# firewall-cmd --reload
Next, restart the httpd service:
# systemctl restart httpd.service
Then, enable the service, so it starts on boot:
# systemctl enable httpd.service
4. Install MySQL
Once Apache is installed, we can install the MySQL database software. CentOS replaced MySQL with MariaDB in its repositories; however it is still possible to install MySQL.
To do this, first add the MySQL 8.0 repositories:
# yum localinstall https://dev.mysql.com/get/mysql80-community-release-el7-1.noarch.rpm
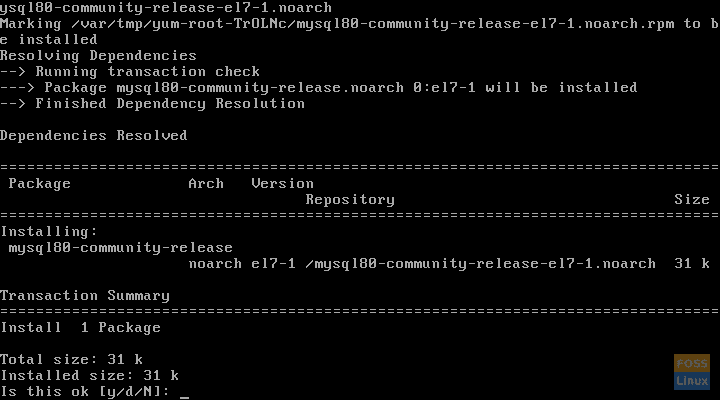
Adding the MySQL repo
Once the repository is added, install MySQL:
# yum install mysql-community-server
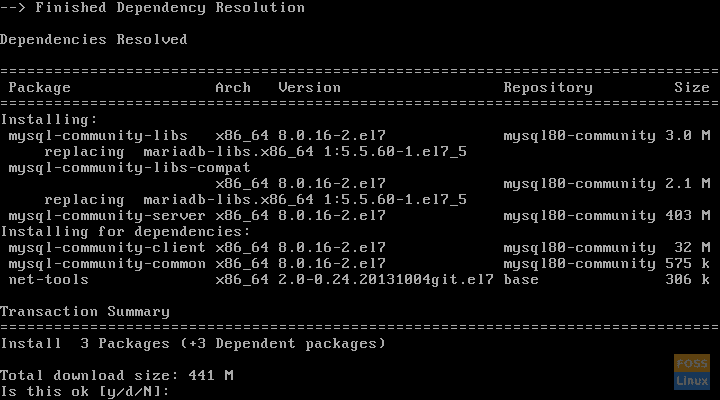
Installing MySQL
Once the MySQL package is installed, we must enable it:
# systemctl enable mysqld
And start it:
# systemctl start mysqld
5. Install PHP
Now we will install the PHP programming language onto the system. First, enable the EPEL repository:
# yum install epel-release
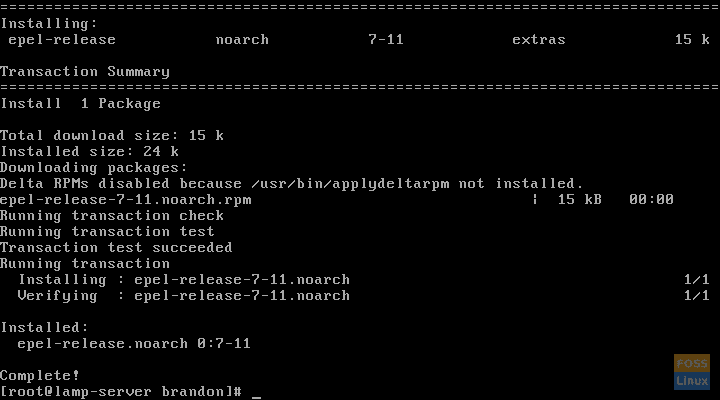
Enabling the epel repo
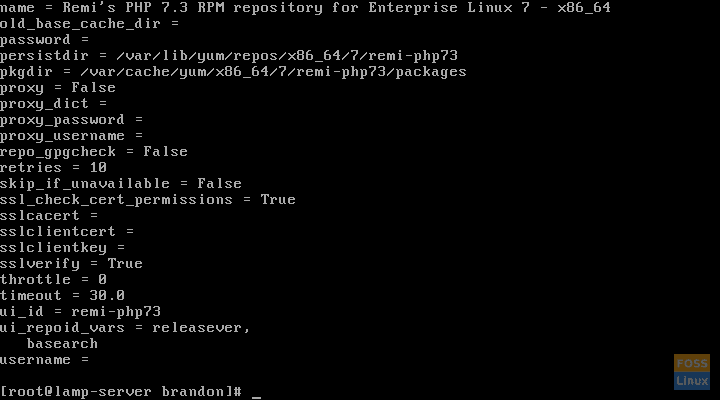
After you have done this, enable the remi-php73 repository:
# yum install http://rpms.remirepo.net/enterprise/remi-release-7.rpm
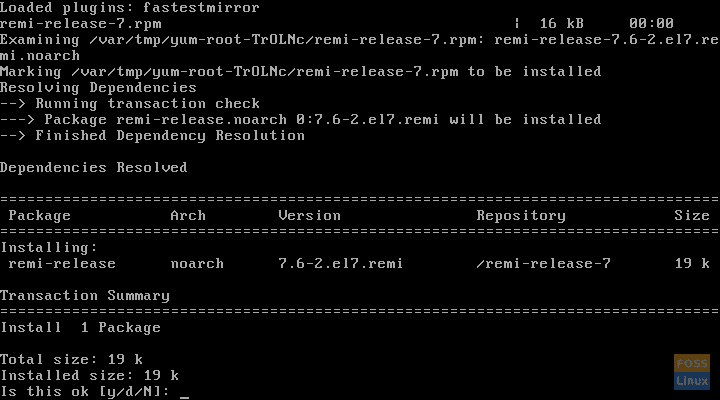
Adding the remi repo
Next, enable the repository:
# yum-config-manager --enable remi-php73
Enabling the remi repo
Finally, install PHP:
# yum install php
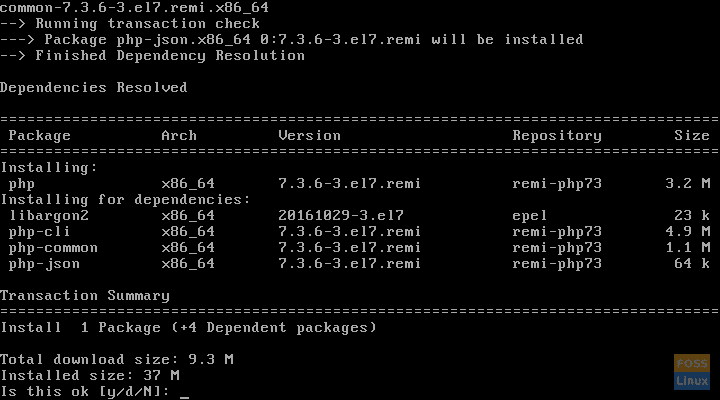
Installing PHP
Conclusion
Now you have a fully functioning LAMP server on which you can build whatever you want.