
Virtual Network Computing or VNC is a graphical-based tool that can help you to control a computer remotely. The computer being controlled is termed as VNC Server, and the machine that’s controlled from is called a VNC Client.
In this tutorial, we are going to cover how to install and configure a VNC Server on CentOS machine. Also, at the end of this tutorial, we will show you how to connect to a VNC Server.
Installing VNC Server on CentOS
Step 1. Before starting in the installation of the VNC Server, we need first to make sure you have a graphical Desktop installed on your CentOS machine.
To get your currently installed graphical Desktop name use the next command:
echo $XDG_CURRENT_DESKTOP

Check Currently Installed Desktop
In case you have no graphical Desktop installed, use the following command to install the Gnome Desktop:
sudo yum groupinstall "GNOME Desktop"
Step 2. To install a VNC Server, we will install the “tigervnc-server” package. Also, we will install some other dependency package.
sudo yum install tigervnc-server xorg-x11-fonts-Type1
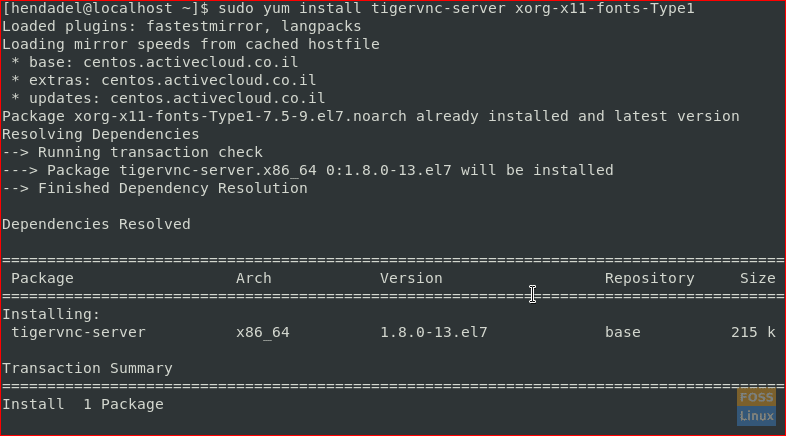
Install Tigervnc Package
Step 3. To configure the VNC Server, we will copy the VNC configuration file that is located in “/lib/systemd/system/vncserver@.service” to the new location “/etc/systemd/system/vncserver@:<Port_Number>.service”. Where the <Port_Number> is the port number that we need the VNC service to listen on. We can specify the port number using one of the next methods:
/etc/systemd/system/vncserver@:5903.service
OR
/etc/systemd/system/vncserver@:3.service
Next, we will copy the VNC configuration file using the next command:
sudo cp /lib/systemd/system/vncserver@.service /etc/systemd/system/vncserver@:3.service

Copy The VNC Server Configuration File
Step 4. Edit the VNC configuration file using your favorite editor.
sudo vi /etc/systemd/system/vncserver@:3.service
Open The VNC Server Configuration File
Then replace the user tag with the user that will be able to remotely control the desktop via the VNC client like the below screenshot.
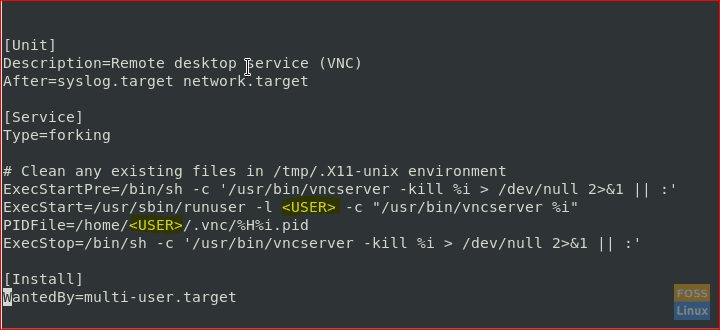
Edit The VNC Server Configuration File
Step 5. Add a new firewall rule using the next command.
sudo firewall-cmd --permanent --zone=public --add-port=5903/tcp

Add Firewall Rules
Then reload the firewall using the following command.
sudo firewall-cmd --reload

Reload New Firewall Rules
Step 6. Now switch to the user whom you set in the VNC configuration file. Then execute the next command to set the password for VNC client authentication.
vncserver
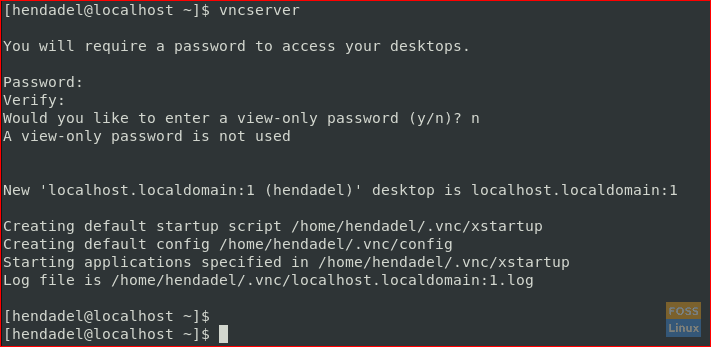
Set A VNC Password
Step 7. Next, start the VNC service and enable it at the boot.
sudo systemctl daemon-reload
sudo systemctl start vncserver@:3.service
sudo systemctl enable vncserver@:3.service

Enable VNC Server At Boot
Step 8. Finally, get the machine IP using the next command.
ifconfig

VNC Server IP
Step 9. Now to test VNC Server, from your Windows machine and using the VNC viewer. Enter your VNC Server IP and port like the below screenshot.
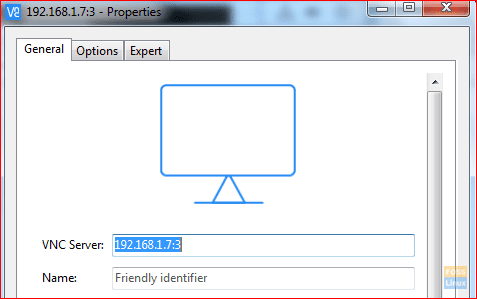
Connecting To VNC Server
Press continue button to skip the unencrypted connection warning.
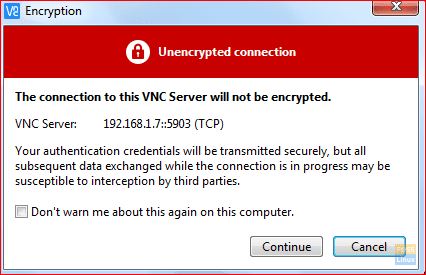
VNC Encryption
Next, enter the VNC password and press OK.
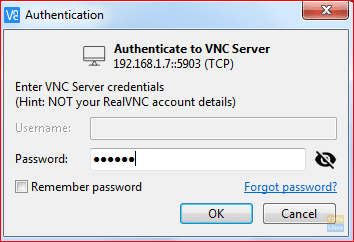
Password Authentication For VNC
Finally, you will be able to access the VNC Server.

Connected To VNC Server
Congratulations you have installed and configured the VNC Server on your CentOS machine. Now you can start exploring your CentOS remotely.
1 comment
Hi,
I keep getting this error:
[remoteuser@localhost tmp]$ vncserver
WARNING: The first attempt to start Xvnc failed, possibly because the font
catalog is not properly configured. Attempting to determine an appropriate
font path for this system and restart Xvnc using that font path …
Could not start Xvnc.
_XSERVTransSocketUNIXCreateListener: …SocketCreateListener() failed
_XSERVTransMakeAllCOTSServerListeners: server already running
(EE)
Fatal server error:
(EE) Cannot establish any listening sockets – Make sure an X server isn’t already running(EE)
_XSERVTransSocketUNIXCreateListener: …SocketCreateListener() failed
_XSERVTransMakeAllCOTSServerListeners: server already running
(EE)
Fatal server error:
(EE) Cannot establish any listening sockets – Make sure an X server isn’t already running(EE)