
Previously, we have shown you how to install the VNC Server on CentOS (Click Here). Today we are going to cover the installation and configuration of the VNC Server on your Ubuntu machine.
Since VNC uses the client/server model, we need to deploy the VNC Server on an Ubuntu machine. To test the connection, we will use the VNC Client on a Windows machine.
Before starting the VNC Server installation, first you need to make sure that your Ubuntu is up-to-date using the following commands:
sudo apt update
sudo apt upgrade
Installing VNC Server on Ubuntu
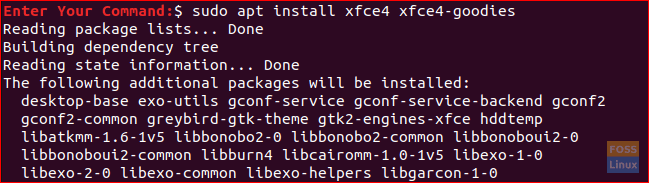
Step 1. For the VNC Server work correctly on your Ubuntu machine, we need to install a graphical desktop such as KDE, Gnome, XFCE, etc. For this tutorial, we will be using the XFCE desktop.
Use the following command to install the XFCE desktop package and other dependencies packages.
sudo apt install xfce4 xfce4-goodies
Install XFCE Graphical Desktop and Other Dependencies
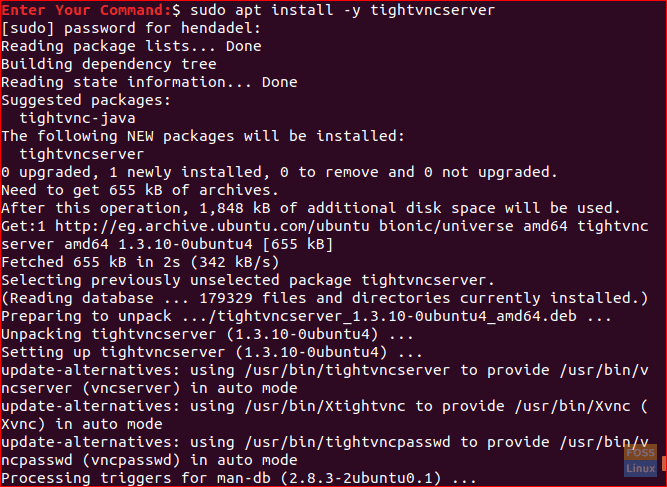
Step 2. Install the VNC Server package, there are many VNC Server packages, and we will be using the ‘tightvncserver’ one.
Use the following command to install the ‘tightvncserver’ package.
sudo apt install -y tightvncserver
Install The VNC Server tightvncserver Package
Step 3. Now, let’s start the VNC server using the following command.
vncserver
You will be asked to create a VNC server password, type and verify the password as you can see in the below screenshot.

Generate The VNC Server Configuration File
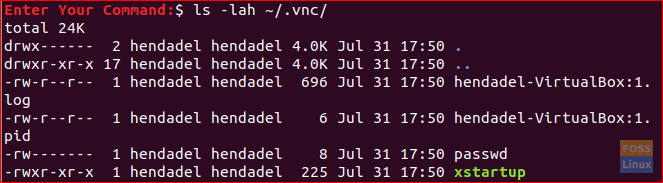
Step 4. Once you run the VNC server command, it will generate a VNC configuration directory located in your home directory. This VNC directory contains a VNC configuration file called ‘xstartup’ for the user who executed the command.
You can list the contents of the VNC configuration directory using the following command.
ls -lah ~/.vnc/
Check Created VNC Server Configuration File
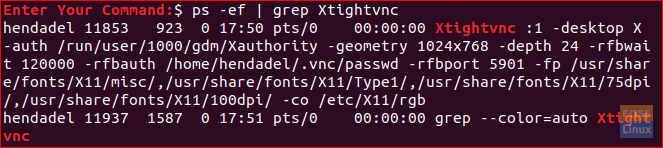
Step 5. To check if the VNC server process is running.
ps -ef | grep Xtightvnc
VNC Server Running Successfully
Configure VNC Server On Ubuntu
Step 1. Before starting in configuring the VNC server, we need first to stop the currently running session.
vncserver -kill :1
Stop The VNC Server Session
Step 2. Backup the default VNC server configuration file.
mv ~/.vnc/xstartup ~/.vnc/xstartup.backup_file
Backup The VNC Server Configuration File
Step 3. Create a new VNC server configuration file.
vi ~/.vnc/xstartup
Create New VNC Configuration File
Step 4. Edit the new configuration file and add the below lines:
#!/bin/bash
xrdb $HOME/.Xresources
startxfce4 &

The VNC Configuration File
Step 5. Set permissions on the new configuration file to be executable.
chmod +x ~/.vnc/xstartup
Step 6. Run the VNC server command.
vncserver

Run The VNC Server Command
Configure VNC Server Service
Next, we are going to configure the VNC server to run as a system service. And to do so, we need to create a new VNC server service file.
Step 1. Create a VNC service file.
sudo vi /etc/systemd/system/vncserver@.service
Create The VNC Server Service File
Step 2. Add the below lines to the VNC service file.
[Unit]
 Description=Remote desktop service (VNC)
 After=syslog.target network.target

[Service]
  Type=forking
  User=<user_name>
  PIDFile=/home/<user_name>/.vnc/%H:%i.pid
  ExecStartPre=-/usr/bin/vncserver -kill :%i > /dev/null 2>&1
  ExecStart=/usr/bin/vncserver -depth 24 -geometry 1280x800 :%i
  ExecStop=/usr/bin/vncserver -kill :%i

[Install]
  WantedBy=multi-user.target
But do not forget to replace each <user_name> tag with your username like the below screenshot.
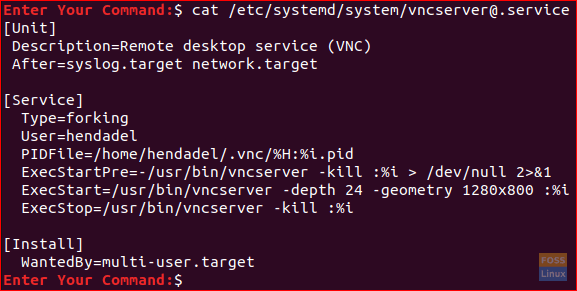
Edit The VNC Server Service File
Step 3. Reload the systemd services daemon for changes to take effect.
sudo systemctl daemon-reload
Reload Systemd Daemon
Step 4. Start the VNC server service.
sudo systemctl start vncserver@1.service
Start The VNC Server Service
Step 5. Enable the VNC server service to start automatically with the system startup.
sudo systemctl enable vncserver@1.service

Enable The VNC Server Service
Step 6. Finally, check the VNC server service status to make sure that everything is running normally with no errors.
sudo systemctl status vncserver@1.service

Check The VNC Server Service Status
Now you have the VNC server installed, and its session is up and running.
Step 7. Get your VNC Server IP that will be used in the next section.
ifconfig
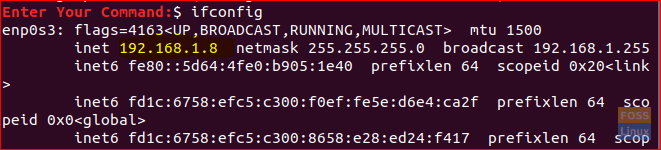
The VNC Server IP
If the previous command did not work, you could download the net-tools first then use the ifconfig command.
sudo apt install net-tools
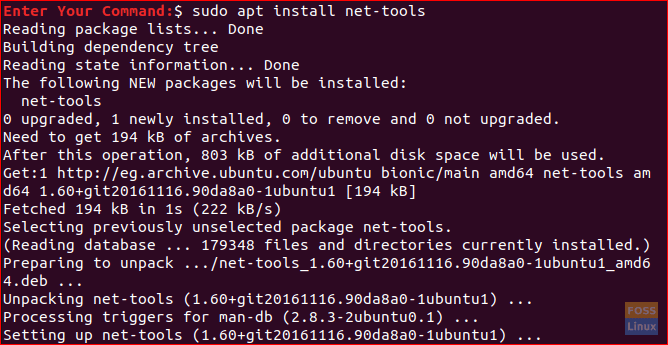
Install The Net Tools Package
Test The VNC Server Connection From Windows
In this part of the tutorial, we will test the VNC server by trying to connect from a VNC client on a windows machine.
Since the VNC protocol is not encrypted, it will be exposed to packet sniffing. So it is highly recommended to create an SSH tunnel that will safely and securely forwards all your local machine. In this case, is the VNC client machine traffic on port 5901 to the VNC server on the same 5901 port.
Step 1. To set up the SSH tunneling on Windows, you need to have the PUTTY client. Open Putty and enter your VNC server IP in the hostname filed like the below screenshot.
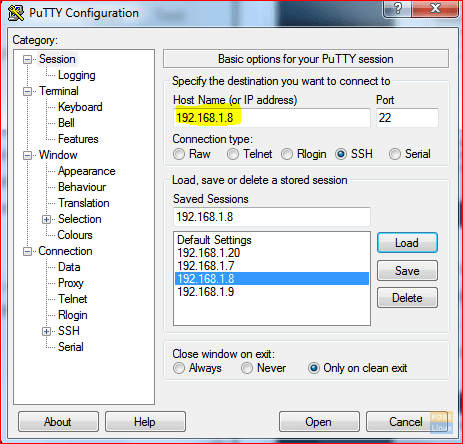
Open Putty and Set Your VNC Server IP
Step 2. From the left panel –> Under Connection Menu–> Open SSH –> Press Tunnels.
Enter the port number in the Source port field and vnc_server_ip:port_number in the Destination field. Then press the Add button as the below screenshot.
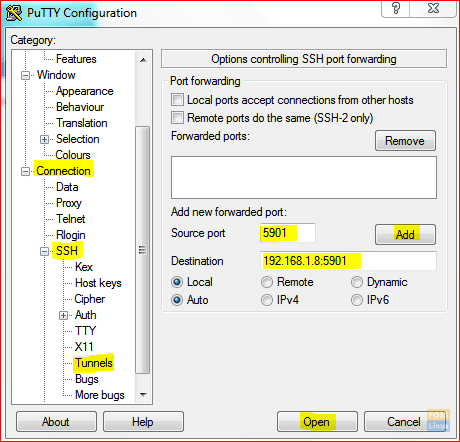
Open Putty
Next, you can go back to the session page to save the previous settings. You will not need to perform the previous steps every time you will open the VNC server. Finally, press Open to establish a connection to the VNC server.
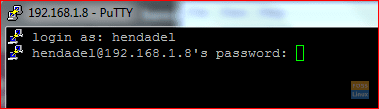
Step 3. Putty will ask you for the username and password of your Ubuntu machine.
Enter Your Ubuntu Username And Password
After you login you will get a screen like the below one:
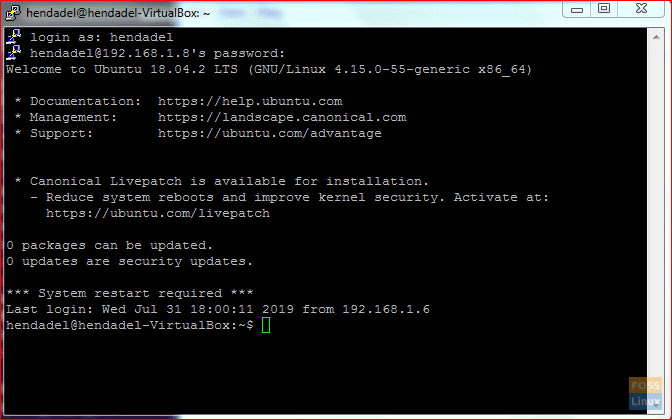
SSH Tunnel Created
By that, you have established an SSH tunnel now move on to the next step.
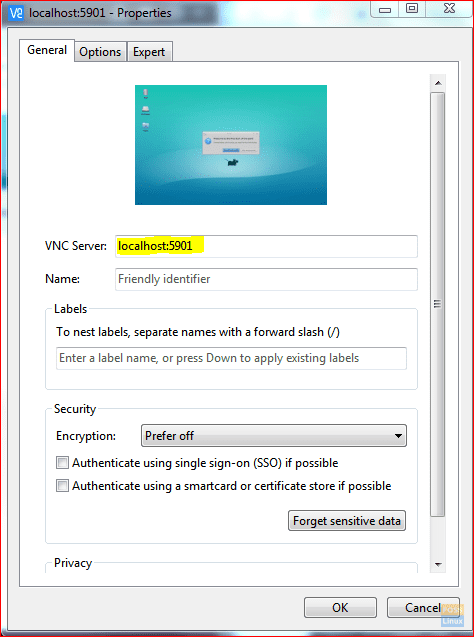
Step 4. Now open your VNC viewer and connect to the VNC server at localhost:5901.
Open VNC Viewer
You can skip the encryption warning.
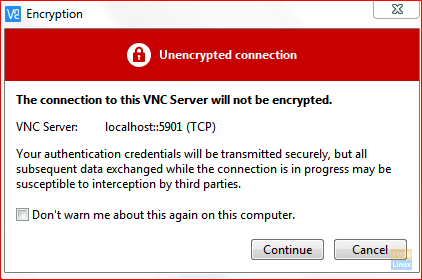
Skip The Encryption Warning
You will be required to enter your VNC server password.
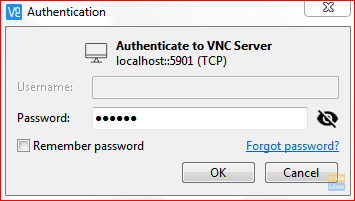
Enter The VNC Server Password
Finally, you will be able to see your Ubuntu desktop.

The VNC Server Screen
Congratulations you have just connected to your Ubuntu machine remotely.
2 comments
A great guide!
However it does not work with Ubuntu 19.10 on a Raspberry Pi4.
Maybe I cannot expect it to but it would be great it it did.
I am having an issue with 19.10 trying to run “sudo systemctl start vncserver@1.service“. I get an error message stating “The HOME environment variable is not set”. I don’t understand why I am getting this because when I run “sudo $HOME” it prints the expected path.