Entangle is an opensource Linux based application that makes the idea of “Tethered shooting” a reality. That means you can take photos with a digital camera completely controlled from your computer via USB. You can as well automatically download and display the photos as you shoot.
It is available for Fedora, FreeBSD, and most Debian based distributions like Ubuntu. However, like most Linux applications, you can download the source code and compile it to run on your distribution. Entangle supports Canon and Nikon cameras.
Features
- Trigger the shutter from the computer.
- Automatic download and display of photos as they are shot
- Live preview of a scene before shooting.
- Control of all camera settings from the computer
- Ability to view statistics and details of photos taken from the Entangle screen
Installing Entangle on Ubuntu
Step 1. Update your system packages.
sudo apt update -y
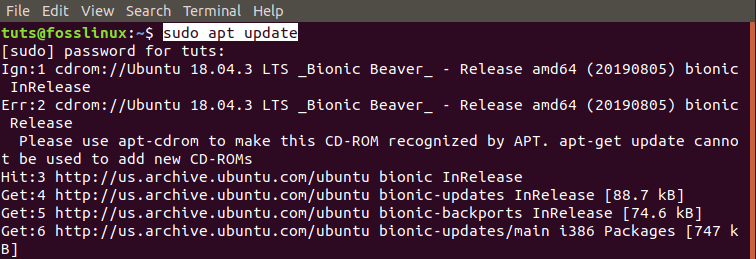
Update Ubuntu
Step 2. Install Entangle
sudo apt install -y entangle

Install Entangle on Ubuntu
Step 3. Launch Entangle from the applications menu.
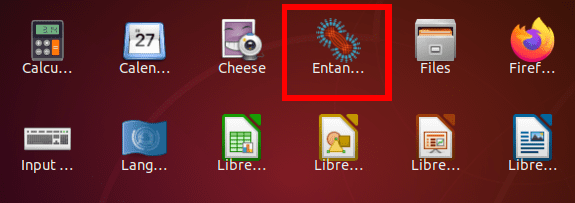
Launch Entangle
Installing Entangle on Fedora
Step 1. Open the Terminal. You can use the keyboard combination Ctrl + Alt + T.
Step 2. Update the system.
sudo dnf update

Update Fedora
Step 3. Install the Entangle Fedora package.
sudo dnf install entangle
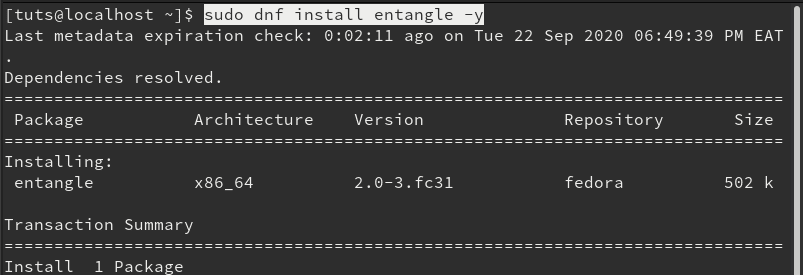
Install Entangle Fedora
Step 4. Launch Entangle from the applications menu.
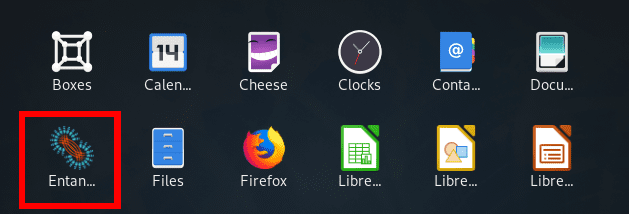
Launch Entangle on Fedora
Control your camera with Entangle
After you start Entangle, you should see the main window open. If you have no camera connected, you will see a blank window with the message ‘No camera connected.’
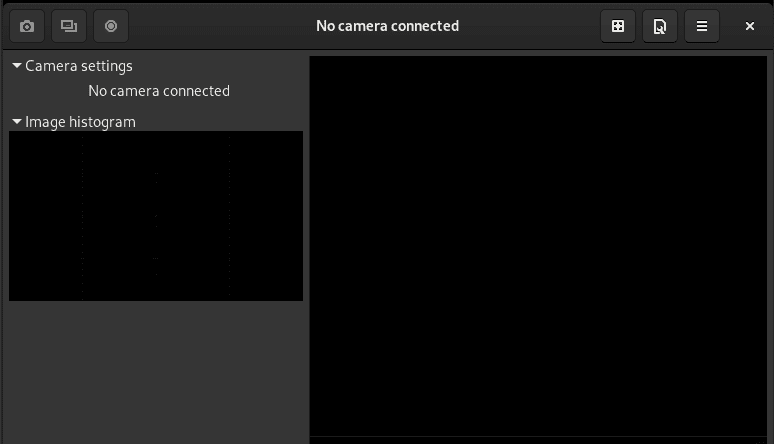
No camera detected
If you have a camera connected, the Entangle window will open, showing the camera model a the top. In my case am using a Nikon DSC D90 camera. At the top, there is a toolbar with a button with the following functionalities:
- Start a new shooting session.
- Open existing sessions.
- Show/hide panel settings.
- Take a photo.
- Enable full-screen.
- Control the Zoom level.
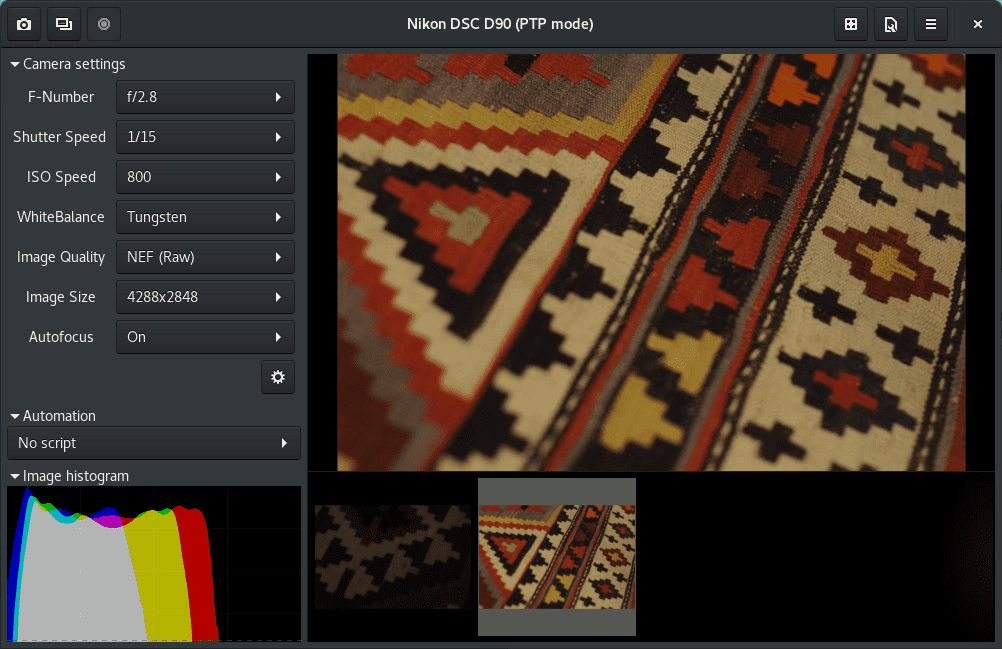
Entangle window
On the left pane, you will see the camera settings panel. It contains 100s of functionalities for controlling the camera. The main window at the center shows the image you are focusing on while the thumbnails at the bottom are photos you have already taken.
If you have multiple cameras connected, it will present you with a window to select the camera you want to use when you launch Entangle. It won’t automatically choose a camera for you.
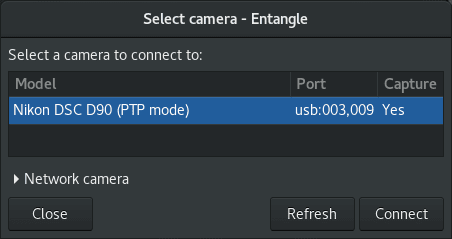
Choose a camera
Recent developments with Linux distributions running GNOME desktop environment have a plugin that automatically mounts any connected camera as a filesystem. Unfortunately, Entangle doesn’t read a camera mounted as a filesystem. You will see a window pop-up prompting you to unmount the camera as a filesystem.
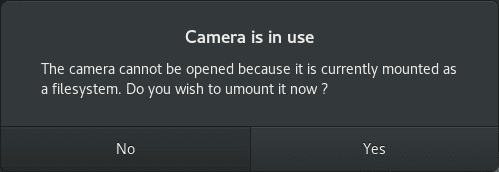
Unmount camera as a filesystem
With “Live view” mode enabled on camera (note: only for cameras that support live view), Entangle will display a continuous update preview of the scene. Preview mode will activate optional grid lines to focus your scene.
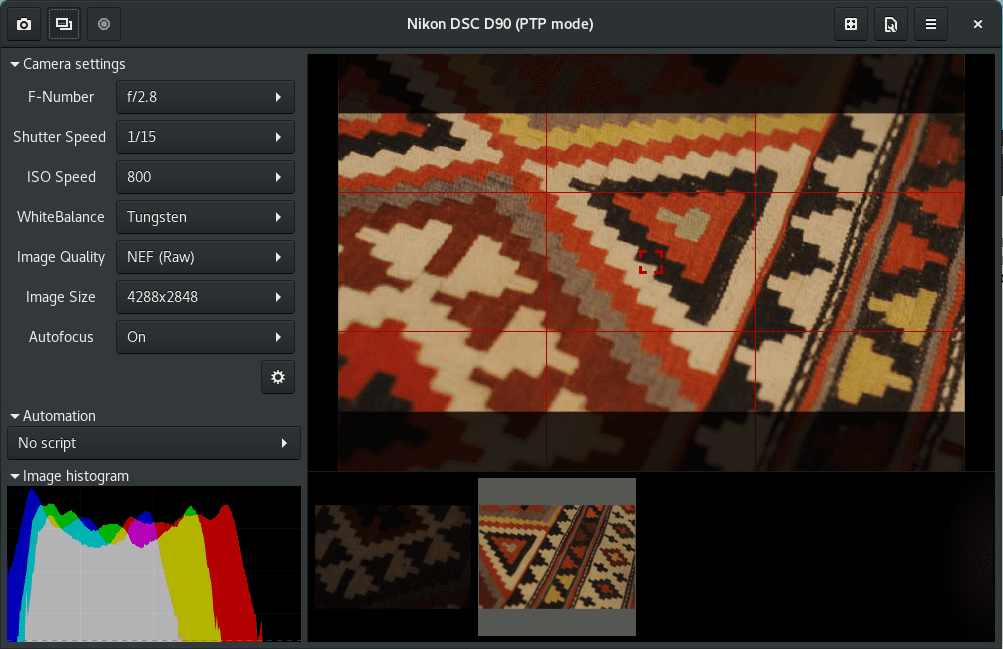
Entangle preview mode
When you activate the “shooter plugin,” the panel on the left-hand side will enable you to select an automation script. That allows you to capture a specific number of photos (shot count) with a specified interval (shot interval). The user presets both the shot count and the shot interval.
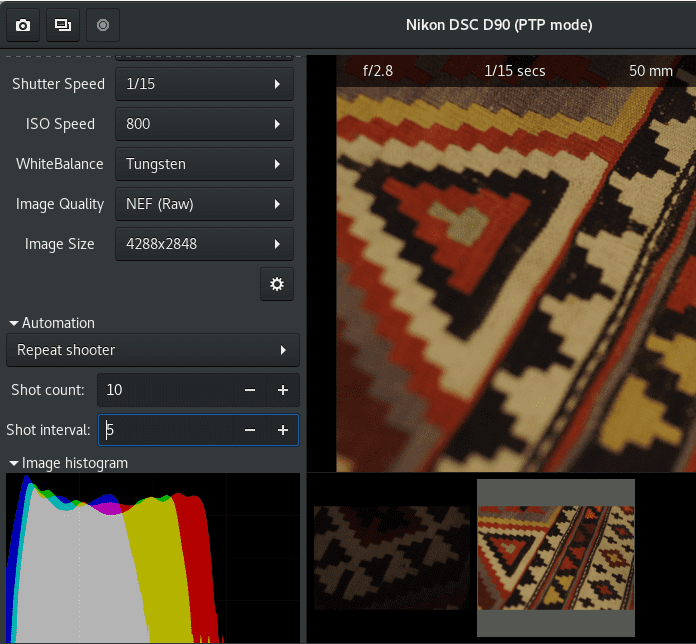
Automation script
The Entangle preferences window provides you with several options to manage your sessions.
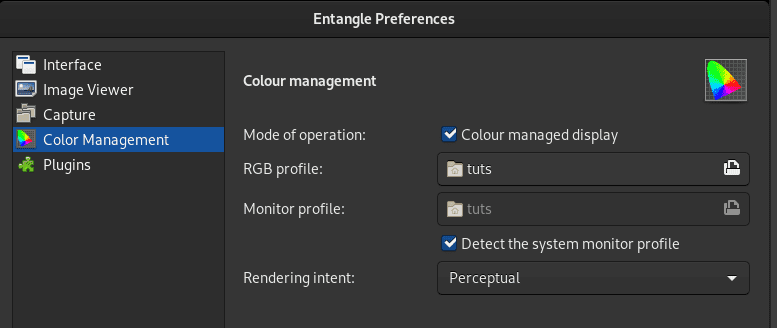
Entangle User Preferences
They include:
- Interface:
Here, you can choose whether Entangle should connect cameras on launch. Other options include a Blank screen when capturing images and displaying linear histogram.
- Image Viewer:
This feature enables you to select various options to use when viewing your photos. They include applying the mask to alter the aspect ratio, display focus point on preview, use embedded preview from raw files, and more.
- Capture:
This enables you to set the file name for your photos. The filename here is incremental and will be used as you will be taking more pictures.
- Color management:
When the monitor profile is auto-detected, the default application settings enable color management. However, you can override these settings by using your custom RGB profile and Monitor profile.
- Plugins:
If you are a developer or a user with coding skills, you can use custom Python plugins to modify the User Interface.
Uninstall Entangle in Ubuntu
To remove Entangle from Ubuntu, follow the steps below:
Step 1. Launch the Terminal. You can use the combination Ctrl + Alt + T.
Step 2. Execute the following command to uninstall/remove Entangle.
sudo apt remove entangle

Remove Entangle on Ubuntu
Uninstalling Entangle in Fedora
Follow the steps below to remove Entangle from your Fedora system.
Step 1. Launch the Terminal. (Ctrl + Alt + T).
Step 2. Remove/Uninstall Entangle with the following command.
sudo dnf remove entangle
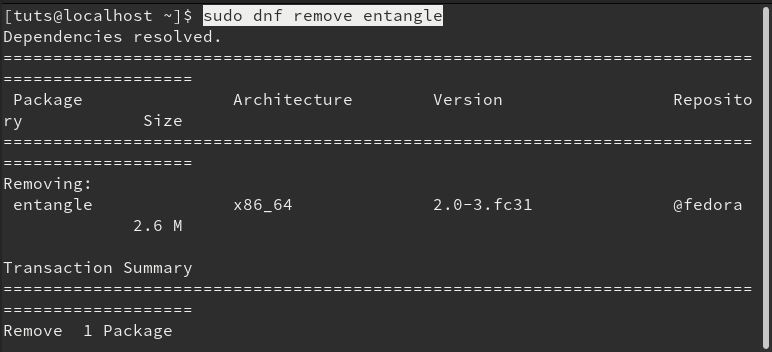
Remove Entangle on Fedora
That’s our complete guide on installing and getting started with Entangle on Linux systems.

1 comment
I have entangle 3.0 installed on a chromebook.
Nikon D7500 is a compatible camera.
When I connect cable, the file system is mounted.
I do not get a window which offers to unmount.
Camera not recognized 🙁