Oracle’s VM VirtualBox is a cross-platform desktop virtualization application that allows users to run multiple operating systems simultaneously. Portable and full-featured, Linux enthusiasts often use the app to test and try out new Linux distros without the hassle of fiddling with computer partitions.
Another great feature of VirtualBox is that it allows users to transport live virtual machines from one cloud or host to another without interrupting its operation.
In keeping with the spirit of the Linux community, VirtualBox is a free and open-source program for users for Mac OS X, Windows, and Linux users. It is a powerful virtualization application for both enterprise and home use. Users can implement it not only in small embedded systems or desktop-class machines but also in data center deployments and even Cloud environments.
VirtualBox is actively being developed and has a growing list of features, frequently released versions, and a vibrant, helpful, and friendly community of users.
For Linux users unaware of virtualization software, it is a software that you install on a Linux, Windows, or Mac OS X system that will allow you to run a multitude of operating systems simultaneously. Your computer’s disk and memory are the only limitations as to the number of operating systems you can run.
For our purposes, we are installing Oracle’s VirtualBox on an MX Linux laptop. It will allow me to install and test the various Linux flavors on which FOSSLinux.com reports, provides guides, how-to procedures, tips, and tricks to our readers.
There are three ways that we can install VirtualBox on our MX Linux laptop:
- Command-line installation
- Installation via the Synaptic Package Manager
- Download the .deb package from Oracle’s VirtualBox website and install it with the GDebi Package Installer.
We will perform all three installation methods.
Command Line VirtualBox Installation
Open a terminal window on your MX Linux system.
At the command prompt, enter:
# sudo apt-get install virtualbox
(if prompted, enter your root password)
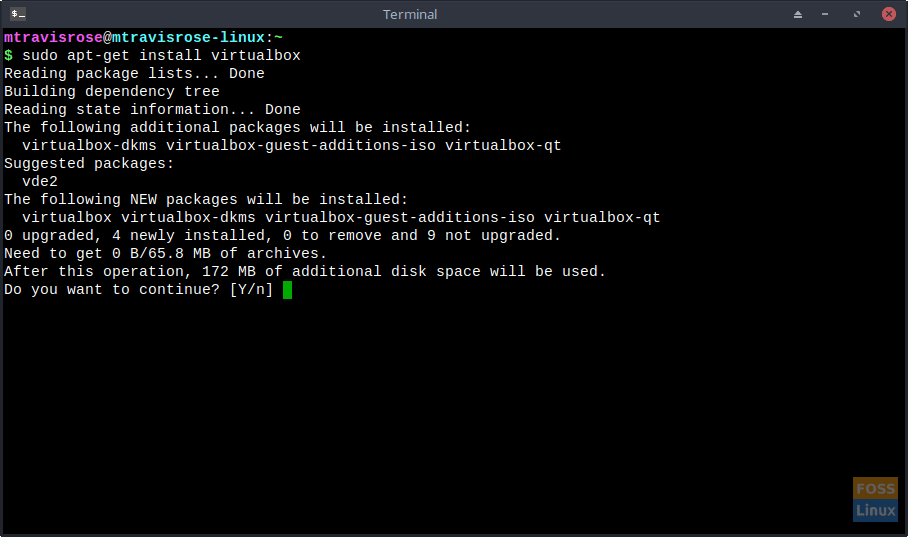
Installing VirtualBox via the CLI
When prompted Do you want to continue? [Y/n], press <Enter> for the default, or just type Y.
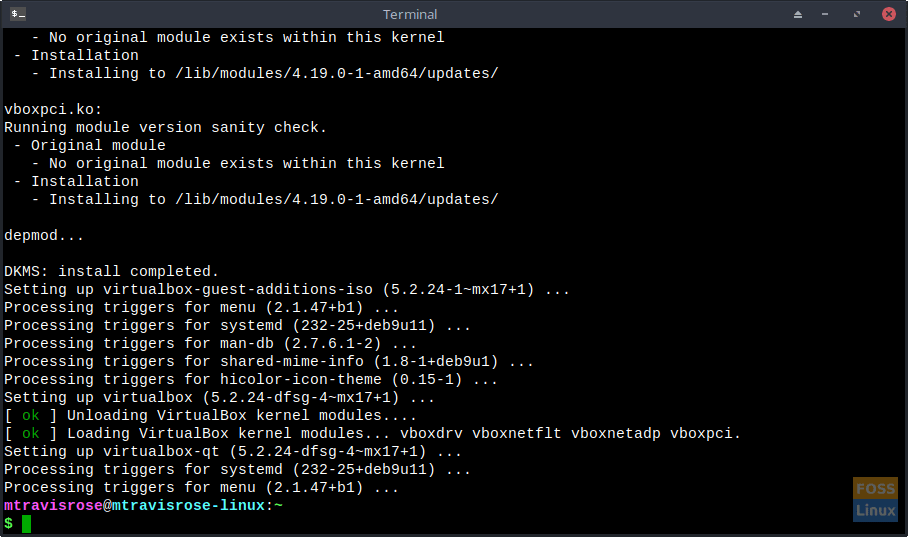
Installing VirtualBox via the CLI
Installation should proceed reasonably quickly. Once complete, you’ll return to the command prompt.
Synaptic Package Manager VirtualBox Installation
Launch the Synaptic Package Manager.
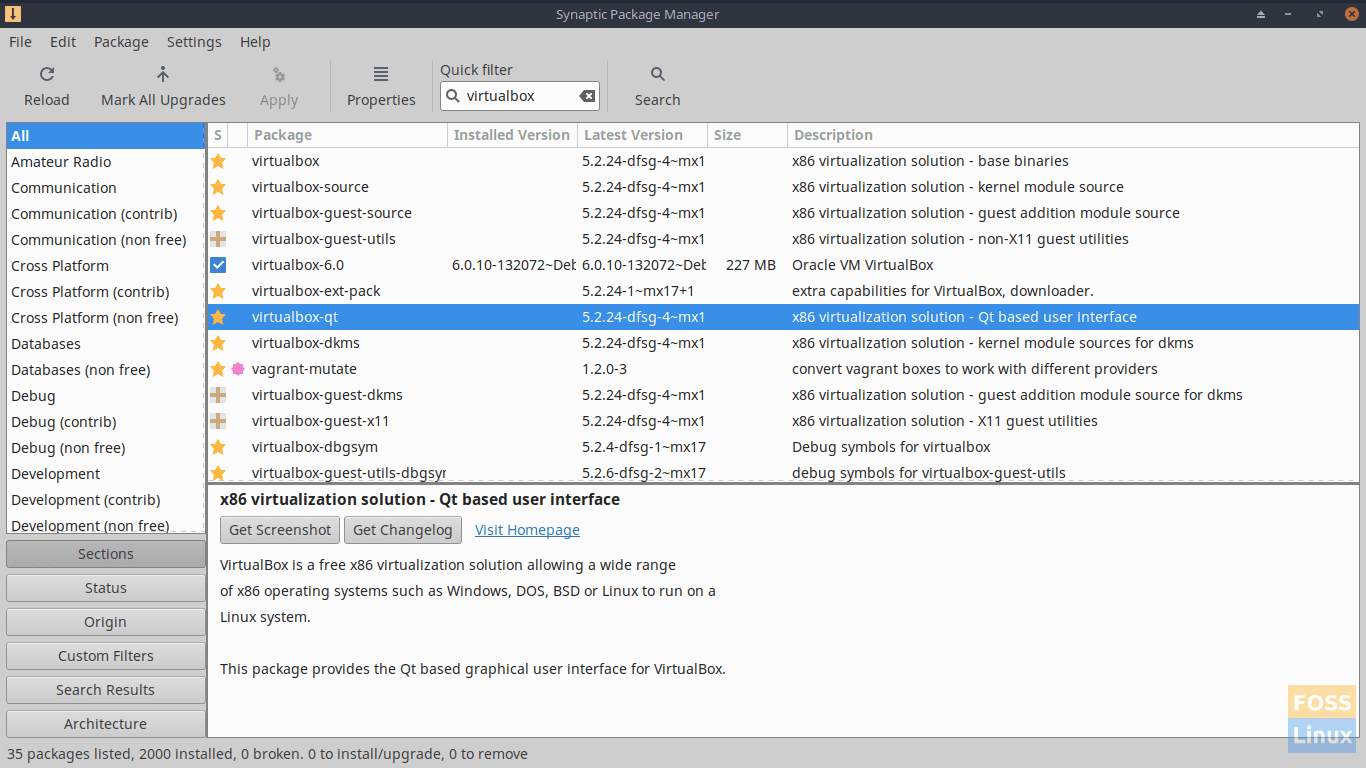
Search for ‘virtualbox’.
When presented the options, select VirtualBox.
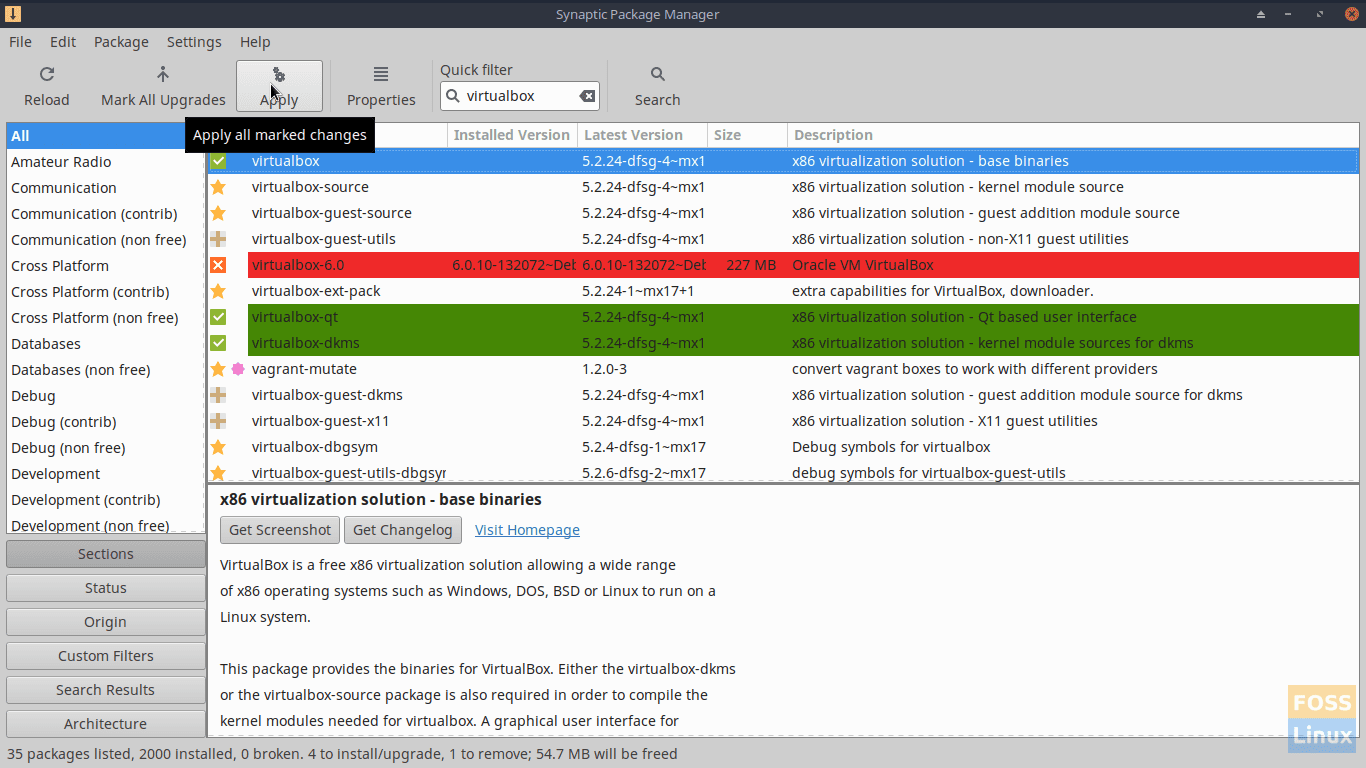
When prompted with the Mark additional required changes?, click Mark.
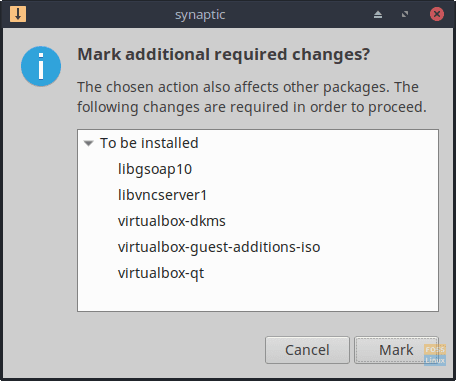
Confirm Changes
Back at the Synaptic Package Manager window, click Apply.
Click Apply when presented the Apply the following changes? prompt in the Summary window.
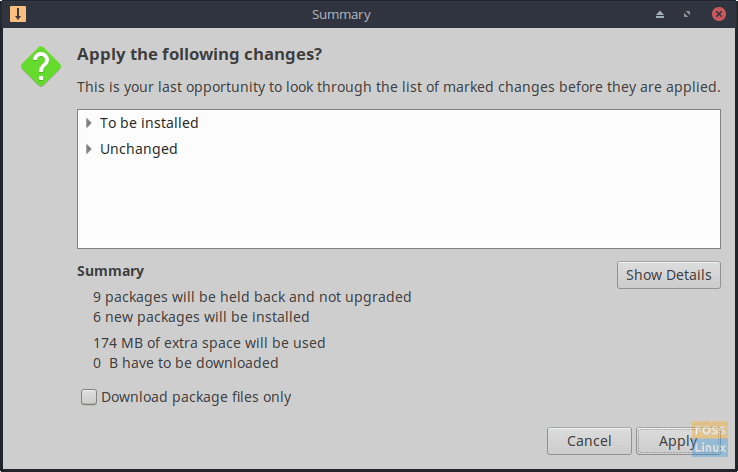
Apply the following changes when prompted
Please be patient as the application and dependent/associated applications are installed.
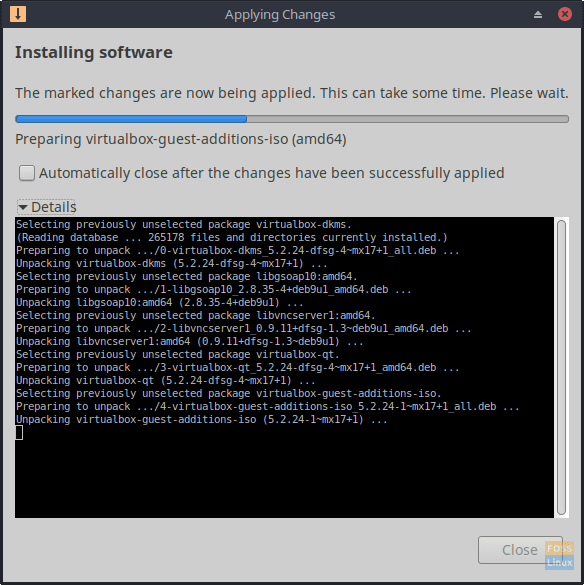
Please be patient as the application and dependent/associated applications are installed
Once the tool successfully installs, you will return to the Synaptic Package Manager main window which you can close.
The VirtualBox icon appears in the MX Linux Application Menu under Accessories.
VirtualBox Icon In MX Linux Menu
Manual VirtualBox Installation via the GDebi Package Installer
ark additional required changes? From your web browser, head to www.virtualbox.org/wiki/Linux_Downloads.
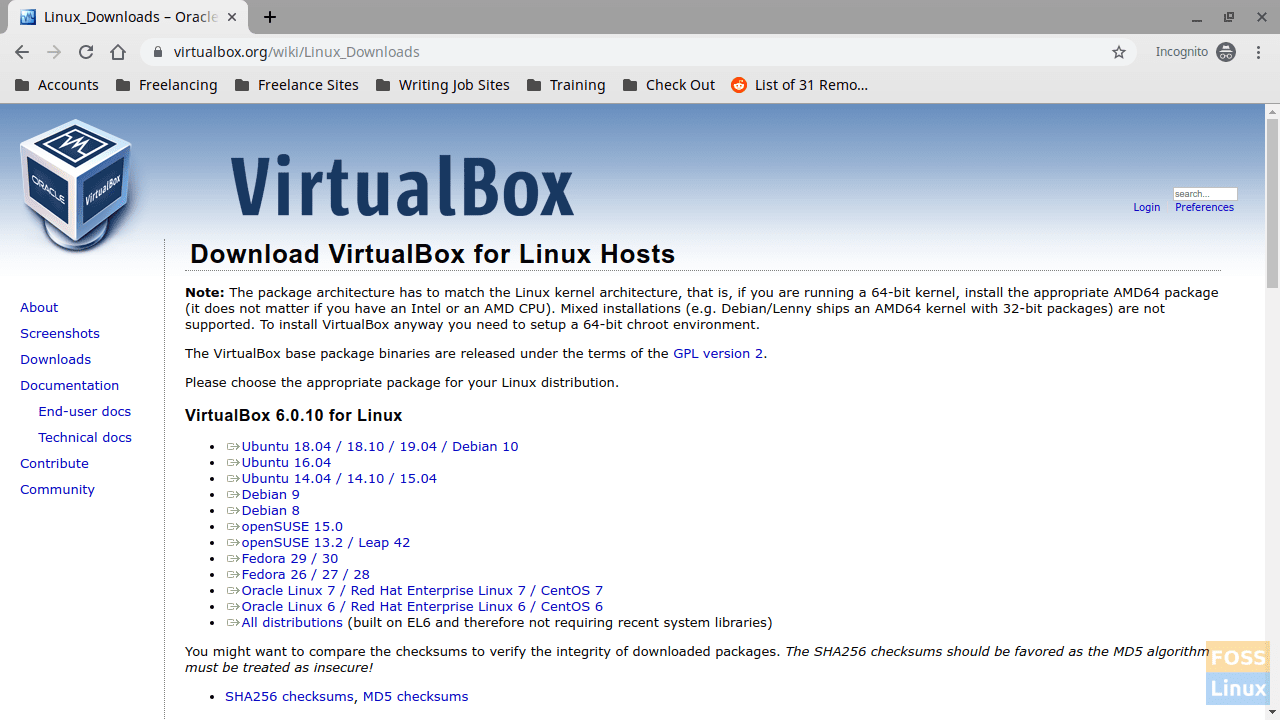
Official VirtualBox Linux Downloads Page
For MX Linux, we need to download the Debian 9 VirtualBox .deb file.
After the file successfully downloads, open your Downloads folder.
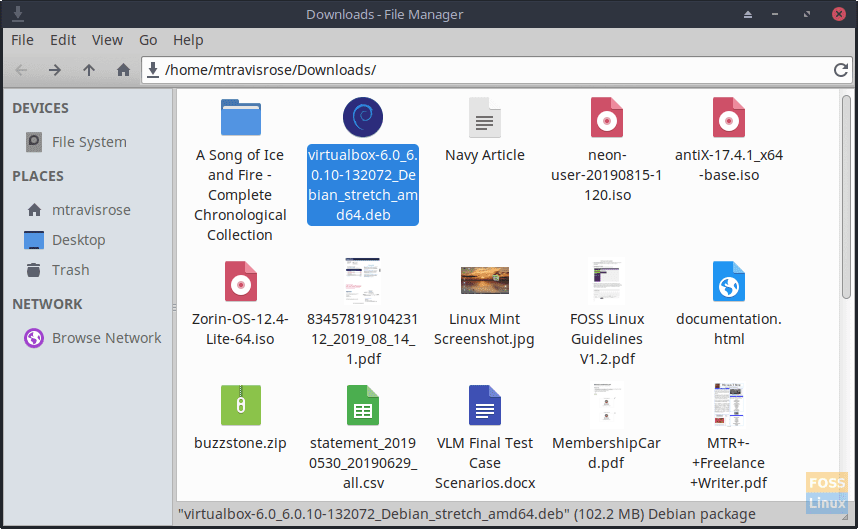
VirtualBox .deb icon in Downloads folder
Double-click on the newly-downloaded .deb file (virtualbox-6.0_6.0.10-132072_Debian_stretch_amd64.deb, in this case).
Click Install Package when presented with the GDebi Package Installer window.
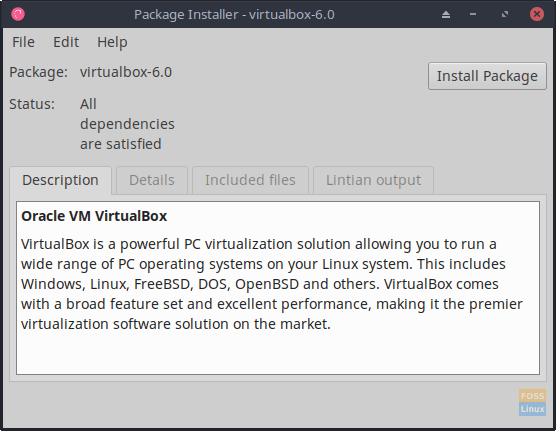
GDebi Package Installer window
If prompted to enter a keyring default password, enter and click Unlock.
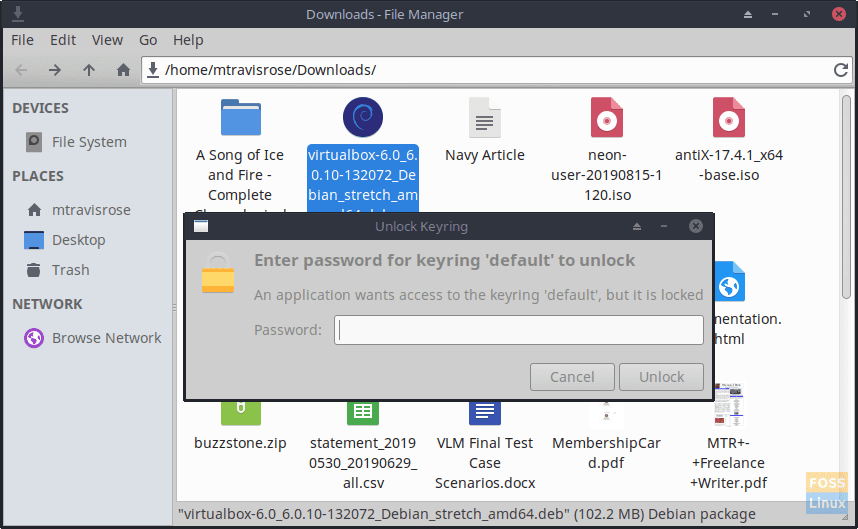
keyring default password
Please be patient as VirtualBox-6.0 installs.
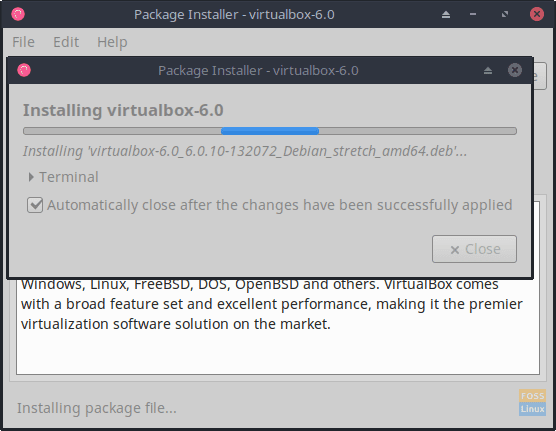
VirtualBox-6.0 installation
Exit out of the GDebi Package Installer window when the installation is complete.
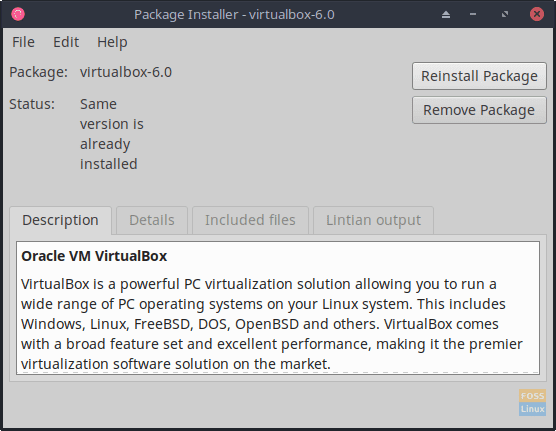
GDebi Package Installer
Please note that the GDebi Package Installer method does not always put the VirtualBox icon in the MX Linux menu nor on the desktop. Hence, you may have to launch it via the terminal:
virtualbox
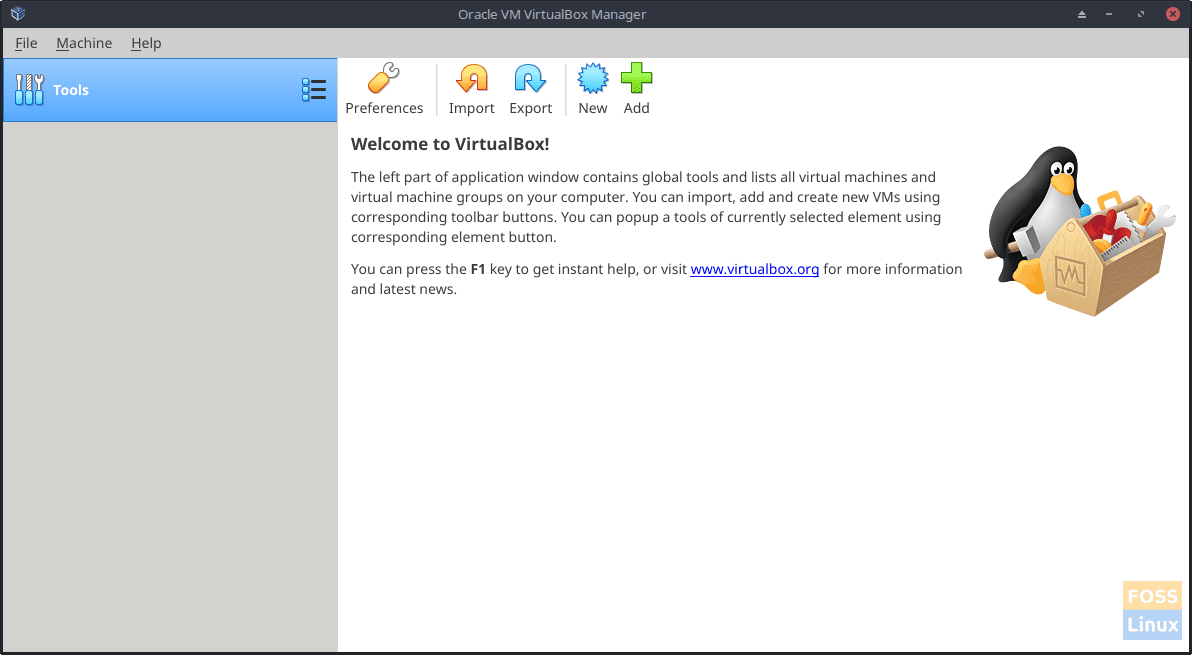
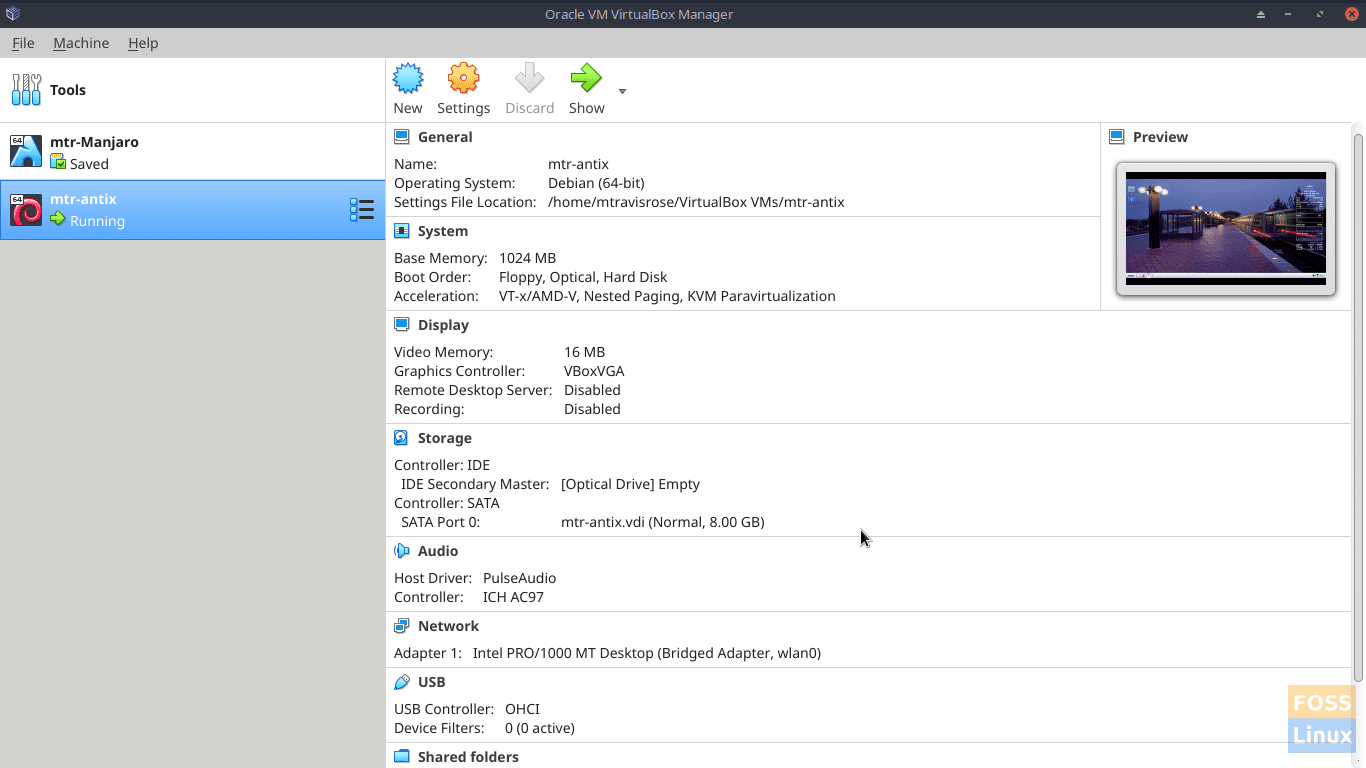
VirtualBox Initial Window
Which of these three methods you follow to install VirtualBox on your MX Linux system is entirely up to you. All have both advantages and drawbacks.
I prefer installation via the command line as is quicker. I feel the more a user works in the CLI, the stronger and more knowledgeable Linux user they are.
Most users, however, stick with the tried-and-true Synaptic Package Manager as it is the simplest, most comfortable, and quickest way to get the software installed without hassle.
Still, a few others much rather download the .deb file directly from www.virtualbox.org, as it ensures that they are using the latest and greatest version of the software.
There is something to this also, as the CLI and Synaptic Package Manager methods installed version 5.2 of the software, whereas the download/.deb method installed VirtualBox 6.0.
How you get VirtualBox on your MX Linux box is not essential. Of importance is that you can use the versatile and powerful VM tool to install and test all the new, updated, and exciting Linux distros that you read about on FOSSLinux.
In our next article about VirtualBox, we will install a Linux distro, install the VirtualBox Guest Additions, and look at some settings and options that the VM application affords us such as snapshots, network settings, shared folders, the shared clipboard, drag’n’ drop, and others.

2 comments
Virtualbox is available in Official Mx Package Installer, everyone can installer from there. No need to to use Terminal or Synaptic.
Still needs the guest additions iso