In today’s tutorial, we will help you install Google Fonts on Deepin Linux. The easiest way to install fonts on your Deepin is to by using TypeCatcher application.
TypeCatcher allows you to search, browse, and download Google Web fonts for offline use. You can preview fonts of adjustable size and text.
Before starting our installation, you need first to make sure that your Deepin system is up-to-date using the following commands in the Terminal. The first command updates the repository info, and the second command downloads and installs the updates.
sudo apt update
sudo apt upgrade
Installing Google Fonts on Deepin
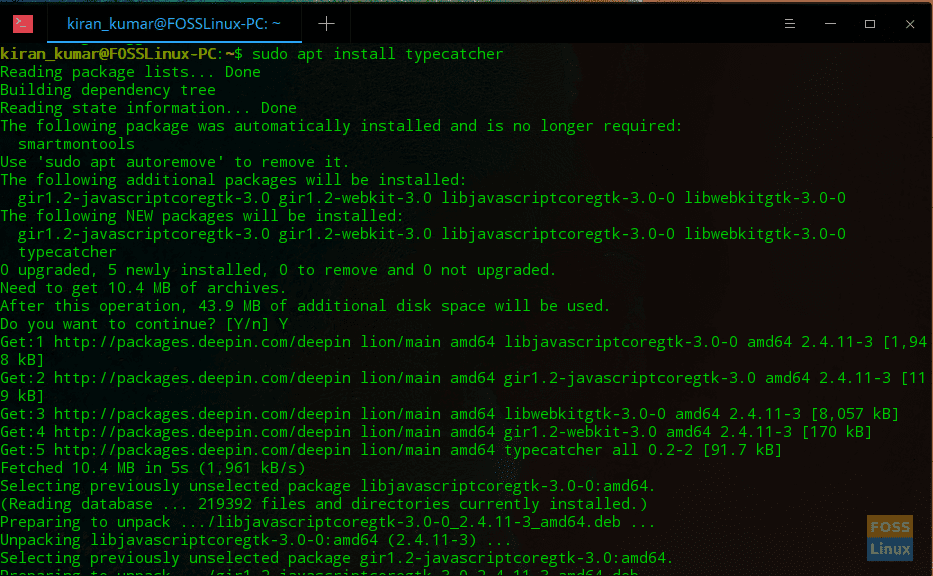
Step 1. It’s time now to install TypeCatcher application on your machine. Use the following command:
sudo apt install typecatcher

Installing Google Fonts on Deepin
Step 2. Pay attention to the terminal and enter “Y” when prompted. After the installation completes successfully, open the TypeCatcher app. To do that, look for “TypeCatcher” on your applications from the dock and open it.

Launch TypeCatcher
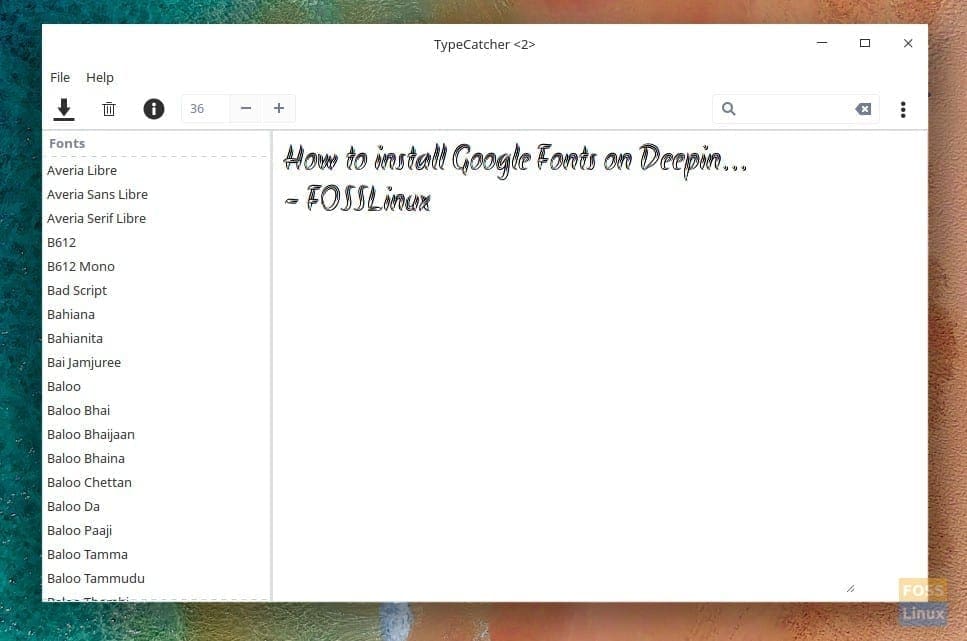
The TypeCatcher application interface should look like the below screenshot.

Select Font to download
As you can see, the left panel contains all the Google fonts. And in the top left bar, you will find buttons for the font download, font preview, and font information.
Step 3. If you need to preview any font before installing it, you will need to select the desired font from the left panel. To change the font size, you can adjust font size from the top bar. Also, you can display some information about the selected font.
Step 4. To install the font on your system, you will have to click the download button that is located at the top bar.

TypeCatcher Interface
Congratulations you have just installed and applied a new Google font on your Deepin Linux machine. I hope you found this tutorial useful.


1 comment
Thank you for this tutorial!