
Linux is one of the most popular operating systems that has been around since the mid-1990s. An operating system is a software that manages all the hardware resources in a computer or laptop. In simple terms, an operating system works the communication between your PC’s software and hardware. Therefore, if you do not have an operating system, the software would fail to function.
The Linux operating system is almost everywhere, from home desktops to organizational servers, smartphones to cars, supercomputers, and home appliances. Apart from being one of the most preferred platforms to run servers, desktops, and embedded systems throughout the globe, it is one of the highly reliable and secure operating systems.
Another significant reason why more and more people are using Linux (apart from the fact that it is free, of course) is the command line. But of course, no one is born knowing everything, and we learn as we grow and according to the needs that arise. So, worry not if you do not know where to start when using Linux commands, for this article is designed to show you the basic commands you need to know as a beginner.
Let’s acknowledge that using command lines for the first time may seem hard, but in reality, it only takes a day or two to get started with these basic commands. Understanding the command line usage is necessary for high-level coding.
Let’s start by explaining what a command line is. It is just a simple means of instructing your computer what to do. There are different ways of accessing the command line depending on the operating system in use. But of course, since we are talking about Linux commands, here is how to do so:
You can open Terminal by directly clicking “CTRL+ALT+T” or, you could choose to search it up by hitting the “Dash” icon and typing “terminal” in the search box. This will show the terminal application on the search results. Then, click on it to open.

terminal
When you launch the terminal application for the first time, an app with black background (on most occasions) will open. Once you see your username followed by a dollar sign, you are good to go, and you can now use the terminal application. If the application fails to respond, force it to shut down, restart your Linux operating system and relaunch the application.
25 basic Linux commands a beginner needs to know
Now that you are well versed about the application and how to open it on your Linux operating system, now let’s dive deep and get started with the 25 basic Linux commands that you should know:
1. pwd command
What this command does is print the location of the working directory that you are currently using. It is paramount that you know where exactly you are before heading to a parent or subdirectories.
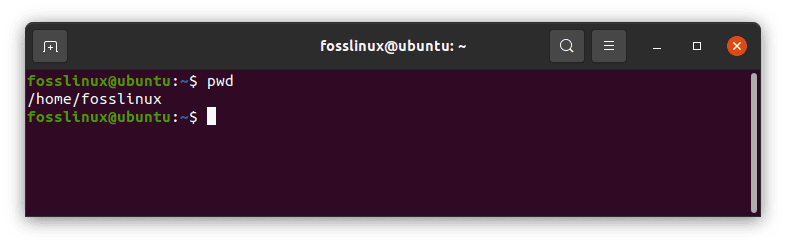
pwd command
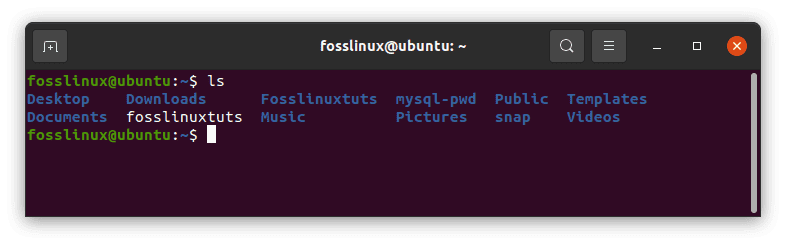
2. Is command
ls is one of the most commonly used basic Linux commands.

ls command
It is used to print the contents of a directory. It outlines the contents of the current working directory (pwd) by default. For example: use
ls /usr/bin
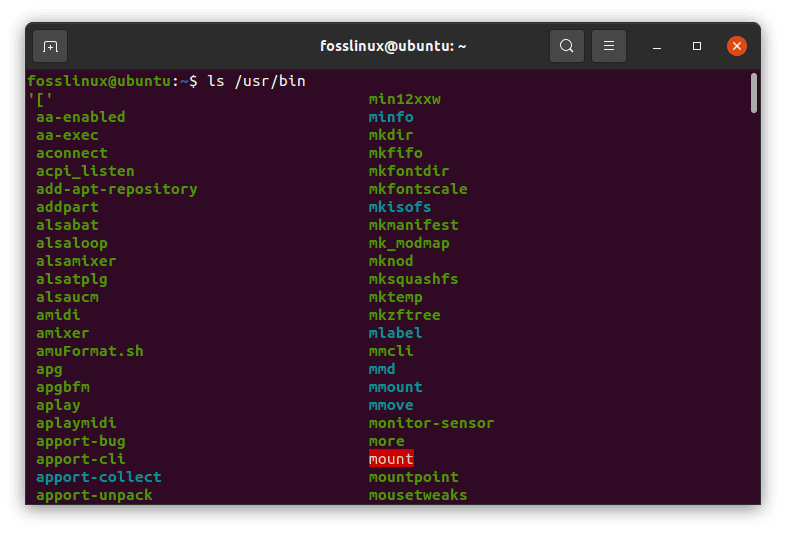
show content in the bin
This command will list the contents of the /usr/bin folder.
3. cd command
Now that we know of the pwd command and have already gotten an overview of the Is command, we shall proceed to the next, the cd command.
Example:
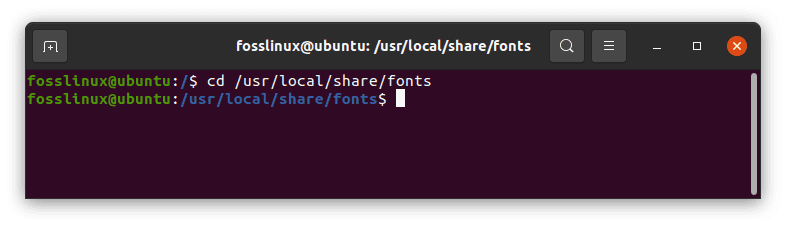
If you are on your home directory, to go to the /usr/local/share/fonts directory, use
cd /usr/local/share/fonts
We have three shortcuts that you could use if you want to move one directory back.
For instance, to move from the fonts directory to the share directory, run the command below:
cd ..
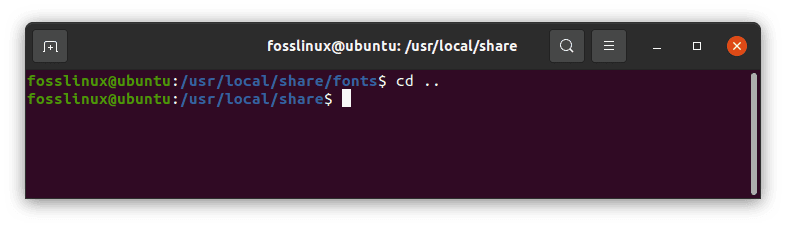
move back from the fonts to share directory
To head straight to your home folder from the share directory, run the following command:
cd

move from the share directory to the home directory
if you need to go back to your last working directory (the share directory), execute the following command:
cd -
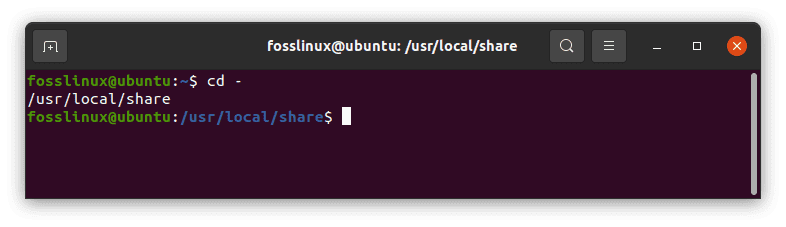
get back to the previous working directory
4. cat command
This command is used to print the contents of a file to the screen and create a new file.
Example:
Create a new file
create a new file called fosslinux using the command below:
cat> fosslinux

create a new file named fosslinux
Note: If you look at the output above, you might think the command has not been executed. However, that is not the case. To check if the file has been created, check your home directory using the ls command as shown below:
ls
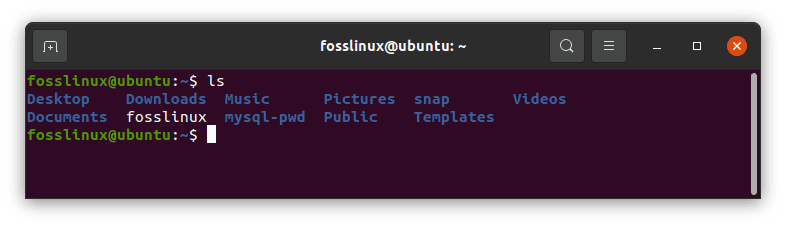
newly created fosslinux file
You can return to the home terminal window after running the cat command by clicking “CTRL+C,” as illustrated below
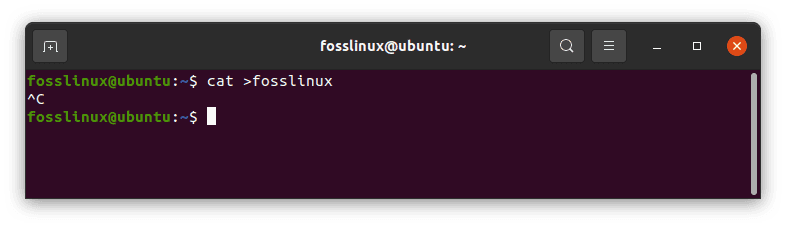
press ctrl+c to return to the terminal home windows
Check contents in a file
Since the file we created is empty, I will input the following text, “I LOVE FOSSLINUX,” and save it, then come back and check file contents using the cat command.
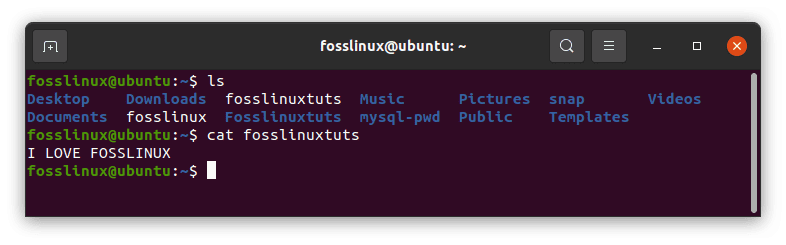
To check the files contained in our fosslinux file, run the following command:
cat fosslinux
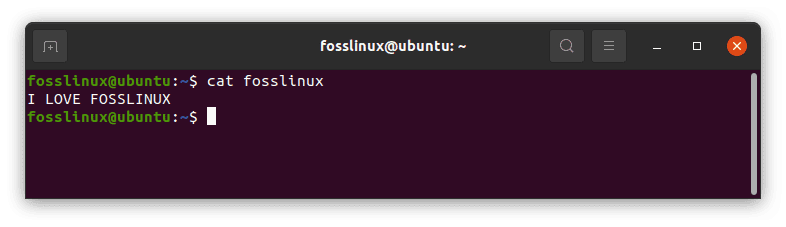
check files contained in the fosslinux file
Note: It is beneficial when you need to check the contents of a specific file quickly.
5. cp command
Next up, we have the cp command, which is used to copy files and directories.
Syntax:
- cp Source Directory
- cp Source Destination
- cp Source-1 Source-2 Source-3 Source-n Directory
Syntax 1 and 2 are used to copy Source file to  Directory or Destination file.
Syntax 3 is used to copy multiple Source files to Directory.
Example:
I will create a new destination named fosslinuxtuts and copy files from fosslinux to it using the command below:
cp fosslinux fosslinuxtuts

create a new file named fosslinuxtuts and transfer files from fosslinux
Let’s look at the newly created file and its content using the previously covered commands: ls and cat commands.
show the newly copied fosslinuxtuts files and their contents
Note: Remember to use the proper path when copying files and directories from one place to another on your Linux operating system to avoid causing errors.
6. mv command
This command is used to move or rename directories and files. If you need to rename a file, use mv old_name new_name
Example:
mv fosslinux foss_linux_tuts
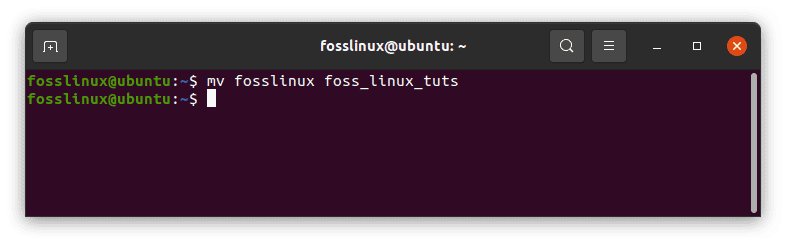
move fosslinux file to foss_linux_tuts file
Use the ls and cat command to check changes made to the file as shown:
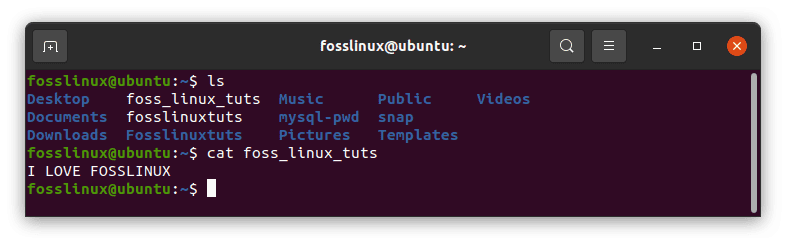
use the ls and cat commands to review changes made to the foss_linux_tuts file
7. rm command
The rm command is used to remove directories or files. You can use rm -r /foss_linux_tuts to remove the file.
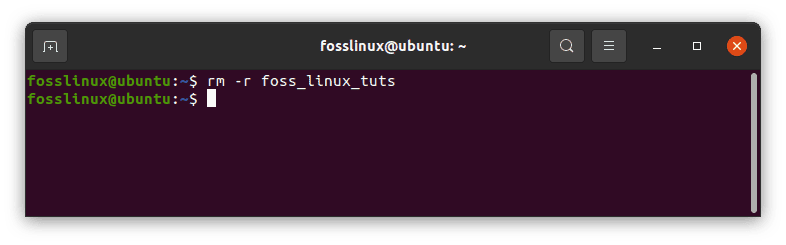
remove the foss Linux tuts file
Check if the file has been removed using the ls command
use the ls command to confirm if the foss _linux_tuts file has been removed
Note: You have to take caution before removing any file or directory since a slight mistake might cause you nightmares.
8. mkdir command
The mkdir command is used when you want to make a new directory in Linux. To create a new directory, run the command below:
mkdir fosslinux
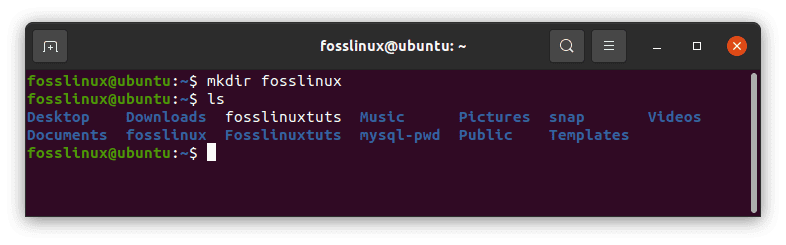
create a new directory named fosslinux and check using the ls command
The above command creates a new directory named fosslinux.
Note: You can also use the -p argument to avoid making the parent directories manually.
9. rmdir command
This command is used when you want to remove a directory. For example, use the following command to remove the fosslinux directory we created in the previous step using the mkdir command. Next, use the ls command to check if the directory has been removed
rmdir fosslinux
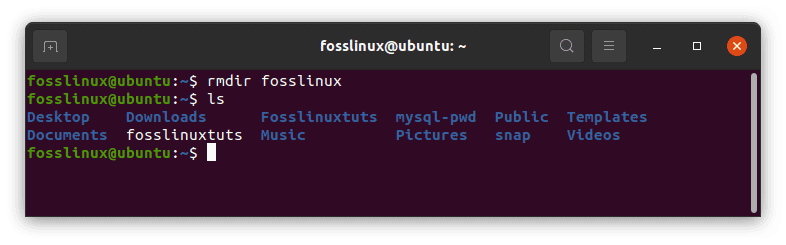
remove the fosslinux directory using the rmdir command and check using the ls command
10. touch command.
touch is a command that is somewhat similar to mkdir, but it is used for files. With the touch command, you can create a blank file. For example, use the following command to make a blank index.html file under the Foss directory.
touch ~/Foss/index.html
Note: ensure before running the above command, first create a directory. For instance, in our case, we shall make a directory named Foss by using the mkdir command covered previously.
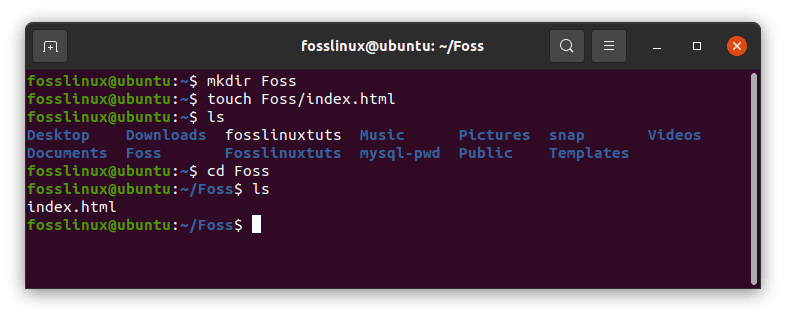
Create a directory named foss, then create a file using the touch command. lastly, use the ls and cd command to check if the directory and files have been created
11. ln command
Next up, we have the ln command, which can create links between files and directories. For example, let’s assume you want a symbolic link on the /var/www directory stored on the /tmp directory. Here is what you use:
ln -s /var/www/ /tmp/
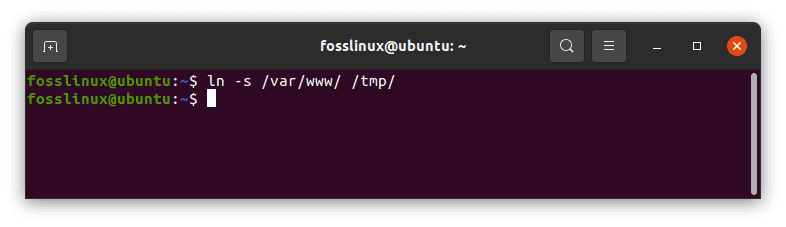
creating links using the ln command
Let’s now assume you now want to un-link that symlink. You should use:
unlink /tmp/www
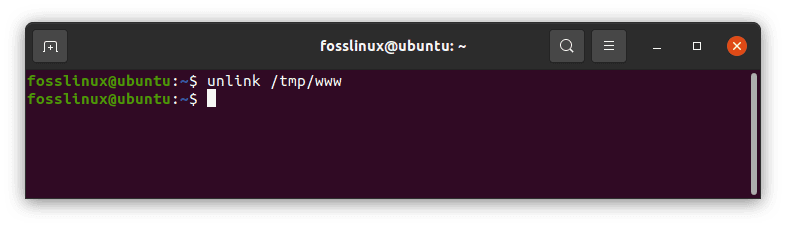
unlink the created link
Please note that you must be very careful when providing the complete path and trailing slashes during linking and unlinking processes.
12. sudo command
This command can be said to be an essential yet potentially dangerous command. It is used when you get a “permission denied,” “authorization failed,” or something that requires administrator privileges.
For instance, the /var/www cannot be written on by the usual user. Now, for you to create a blank index.html file under the /var/www directory, use:
sudo touch /var/www/index.html
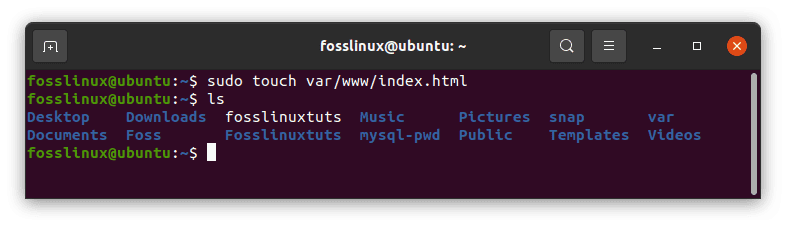
create a blank index file using the sudo command
13. head command
If you want to print the first couple of lines in any file, the head command comes into play. An excellent practical example would be:
head -15 /var/log/syslog
This will print the first 15 lines of the rsyslogd log.
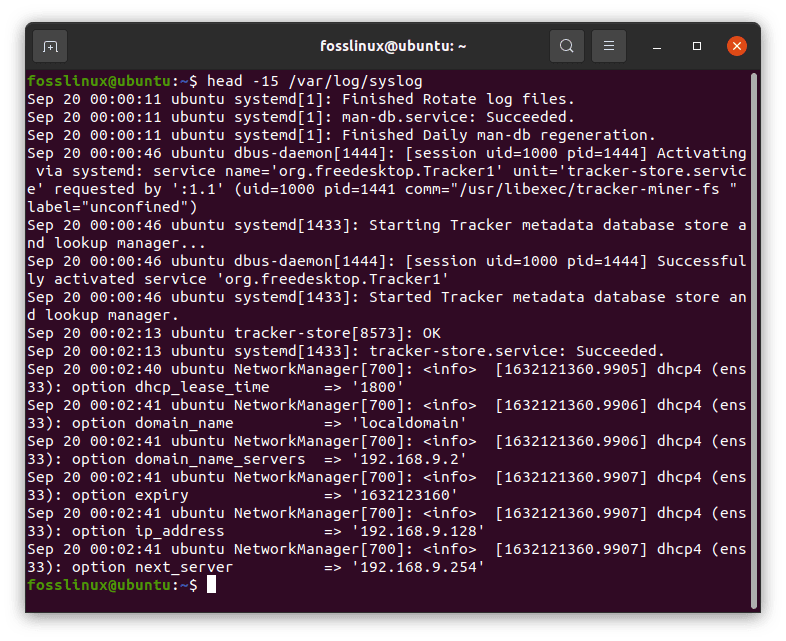
use the head command to print the first 15 lines of the rsyslogd
Note: By default, the Head command prints the first 10 lines.
14. tail command
This command is similar to the head command, but the difference is that it functions differently. This command prints the last lines of any file compared to the head command that prints the first line in a file. By default, it prints the last 10 lines of any file. The following is an example of how to print the last 25 lines of the kernel log:
tail -25 /var/log/kern.log
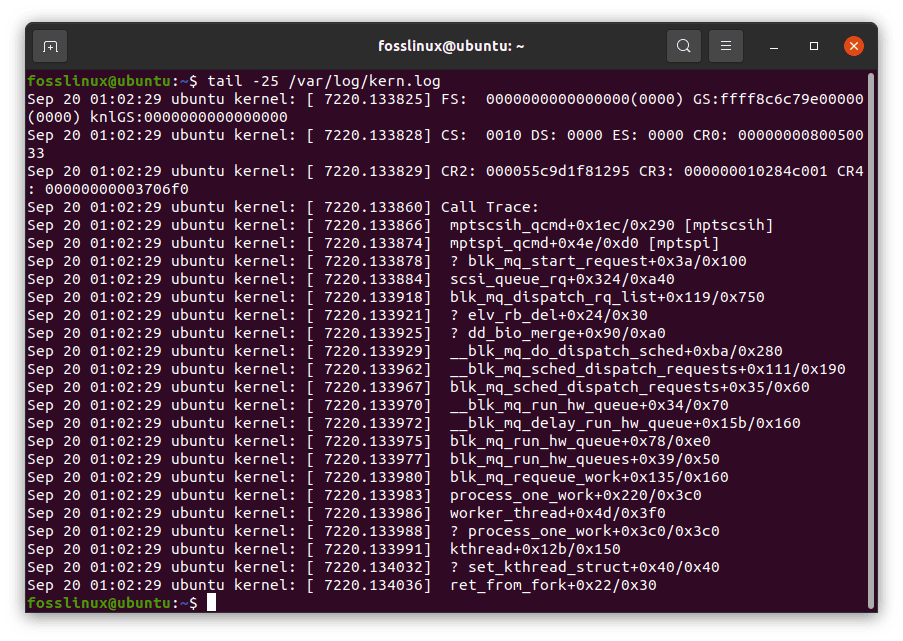
use the tail command to print the last 25 lines of the kernel log
15. chmod command
This is also an essential command that is used to change file and directory permission. There are three types of permission. These are; read, write and execute permissions, and a number denotes every single one of them
- 4 for read permission
- 1 for execute permission
- 2 for write permission
If you want to set universal read/write permission to a file, you can use:
chmod 666 fosslinux
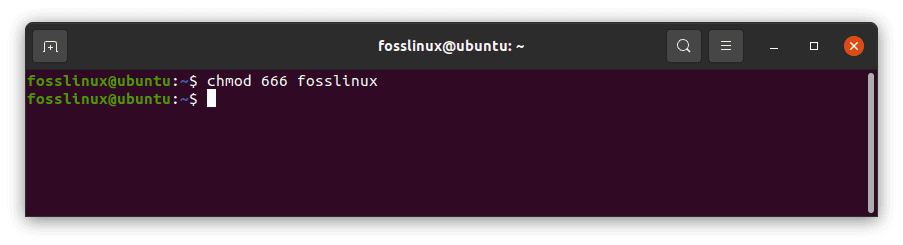
setting universal read and write permissions for a file
and if you want to make a script executable, you can use:
chmod +x fosslinux
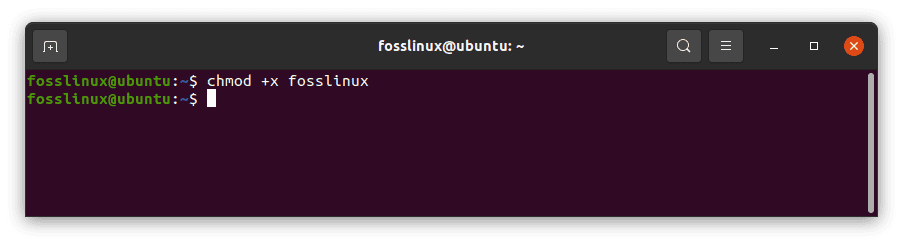
create a script executable using the chmod command
16. md5sum command
You may need to check whether a file is tampered with or not. In that case, you can use:
md5sum fosslinuxtuts
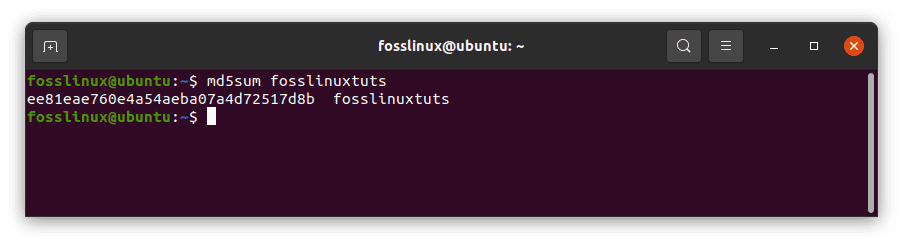
use the md5sum command to check whether the file has been tampered with or not
However, it is not very secure even though it is used a lot.
Note: the md5sum command cannot be used on a directory. Therefore, if you don’t have a file, refer to the previously covered commands to create a new file if you lack one.
17. locate command
This is the basic command to find directories and files in Linux. Given that it is a command-driven by the database, run sudo updatedb for the first time. Remember to build the database and wait for a few minutes.
Here is an example to locate an application:
locate -i *chrome*

use the locate command
It supports wildcards, and you can use the -i option to ignore the lower and upper case.
Note: In most Linux operating systems, the locate command has not been installed. therefore, to install it, run the following command:
sudo apt-get install locate
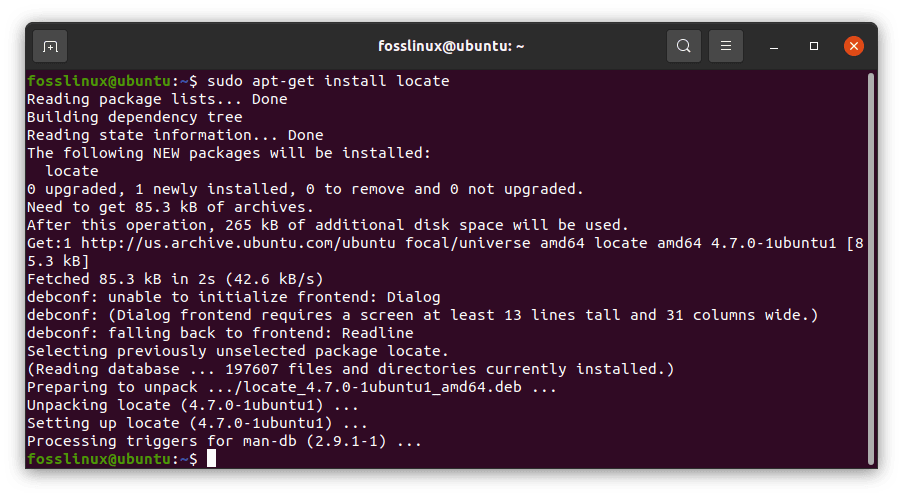
sudo install locate
18. df command
The df command is used to check the space used in a disk on a Linux system. The most common usage is as follows, used along with the -h flag:
df -h
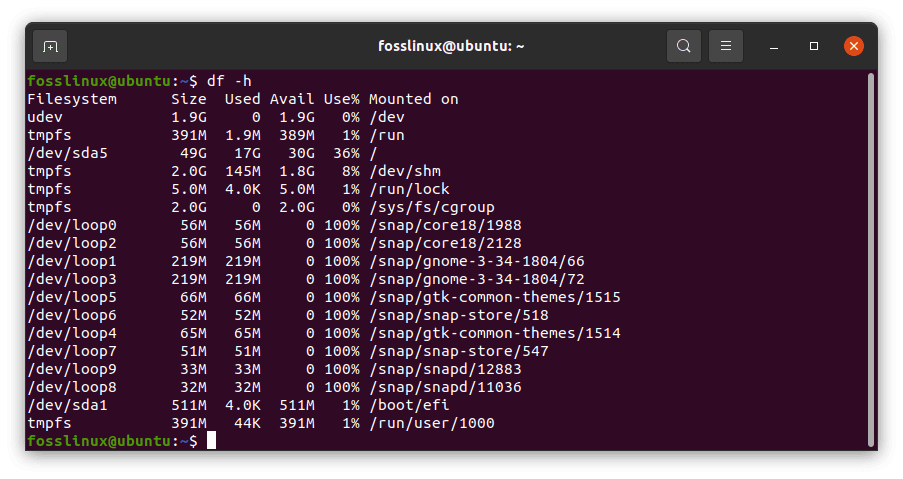
check space used in a disk by the Linux system using the df command
19. du command
The du command is handy when you need to have a quick look at the disk space usage of a directory or a file.
Here is an example for a single file:
sudo du -sh Foss
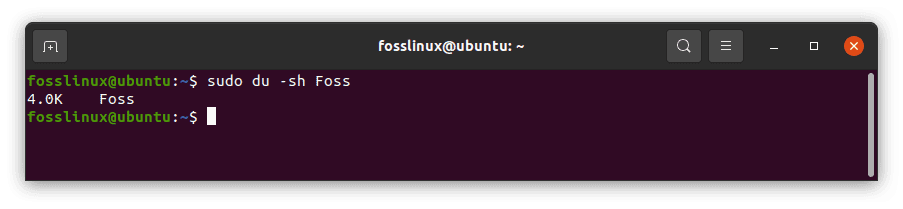
check the disk space of the foss file
And here is another one for an entire directory and its contents:
du -sh /opt/google/chrome/
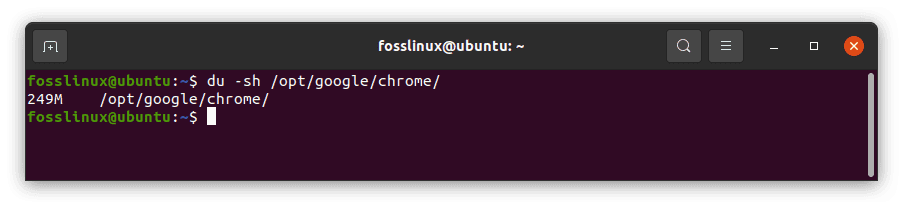
use the du command to check the disk space for the whole directory
The -s flag is used to repress unnecessary clutter, and the -h flag makes the output more understandable by the person using or running the command.
Note: if you run the du commands and find the “permission denied” error, use the “sudo” command.
20. free command
This command displays the amount of used and free RAM in the system. For example, to check the free RAM on our PC, run the following command:
free -h
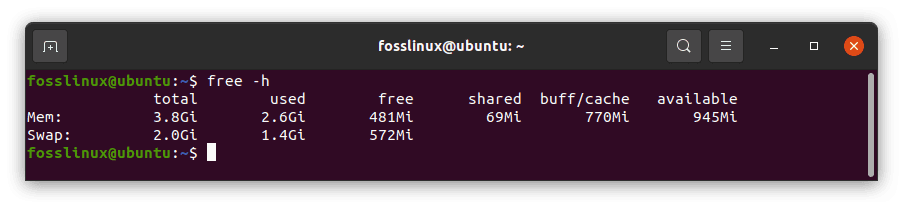
check free ram using the free command
Note: as we have seen in the above command, the -h flag here is also used to make the output more readable and understandable.
21. zip command
You will come across situations where you will need to create and extract zip archives. Below is the zip and unzip commands to do so:
sudo apt-get install zip unzip
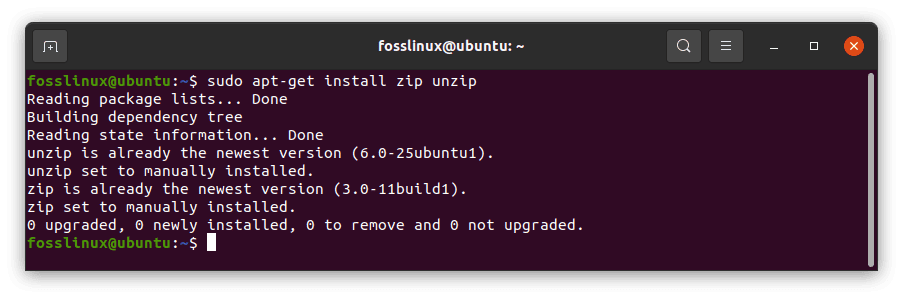
install zip and unzip
While here is the syntax to create a zip archive:
zip -9r my_archive.zip . -i file_1 file_2 folder_1 folder_2 folder_3
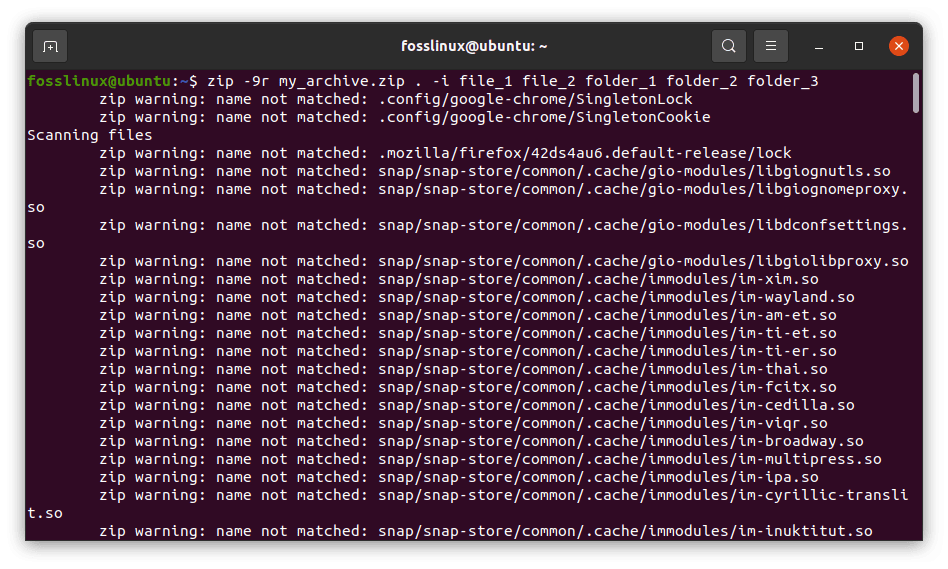
create a zip archive
The -9 option is used to attempt maximum compression on all files, and the -r option is for recursive archiving.
Now, the unzip command extracts archives to the current working directory
(pwd) by default. So, if you want to extract the contents to a specific folder, use: unzip my_archive.zip -d /path/to/my_directory
22. ifconfig command
ifconfig in complete means interface configuration, and it carries out a lot of networking-related tasks. As a beginner, you could check which network interfaces are connected and their respective IP address or use it to check the amount of data passed through a specific interface. This can all be executed by running the following command:
ifconfig -a

run the ifconfig command
Note: It is probable that these commands are not pre-installed, so you should install them with apt in Ubuntu. for instance, you can install the ifconfig command using the command below:
sudo apt install net-tools

install ifconfig command
23. uname command
uname command is used to print some basic information about the system such as; the hostname, kernel version, OS name, system time, OS architecture, and much more:
uname -a
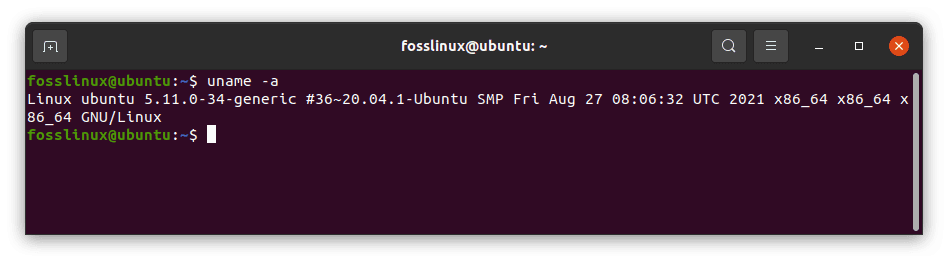
use the uname command to print some basic info about the system
24. history command
This command prints a list of previously typed commands by clicking on the CTRL+R key combination.
press ctrl+c to show the history
It is instrumental when you are trying to know the commands previously executed. to show the history, run the command below:
history
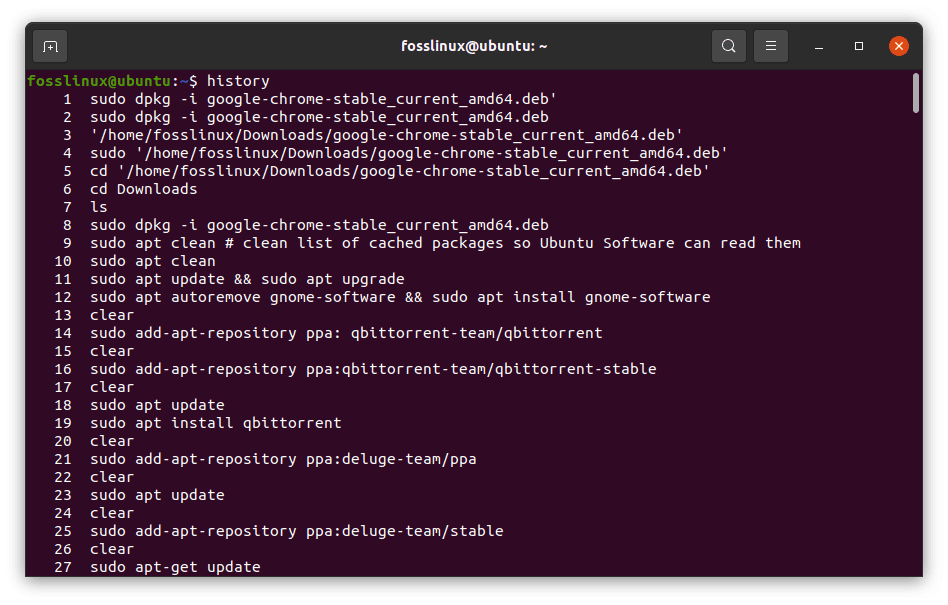
run the history command
25. man command
This is the command to use when you want to find details about other commands. Most commands have their respective man pages used to get a quick overview of an unknown command. Use it like this: man any_command
Example:
man ifconfig
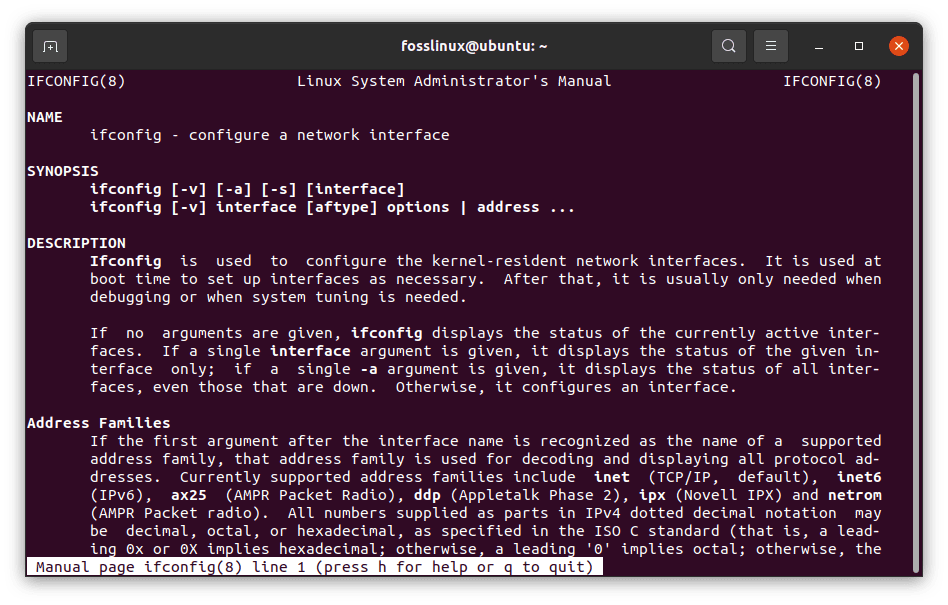
use the man command to check information about the ifconfig command
Conclusion
When working on Linux operating systems, you should familiarize yourself with the basic Linux commands that you will encounter while working with this operating system. Therefore, we hope we provided a factual background on basic Linux commands to kickstart your Linux journey. Please note that some of the mentioned commands are not pre-installed on your Linux operating system, and hence to use them, you will have to go an extra mile of installing them using the apt command.
We believe you can now run some basic commands and understand what it does on your computer. With the aid of examples, the article clearly explains the basic Linux commands any beginner should familiarize themselves with. We hope you find the article yes, and if yes, please don’t forget to give a thumbs up via the comments section. Thanks for reading.