Think of tmux, the terminal multiplexer, as the terminal on steroids. It is short for Terminal Multiplexer. It allows you to split screens, detach and re-attach sessions, split displays, and a host of other things.
If you’re a Linux user that spends significant time in the terminal (and you should), you’ll find tmux an invaluable tool.
Installing Tmux
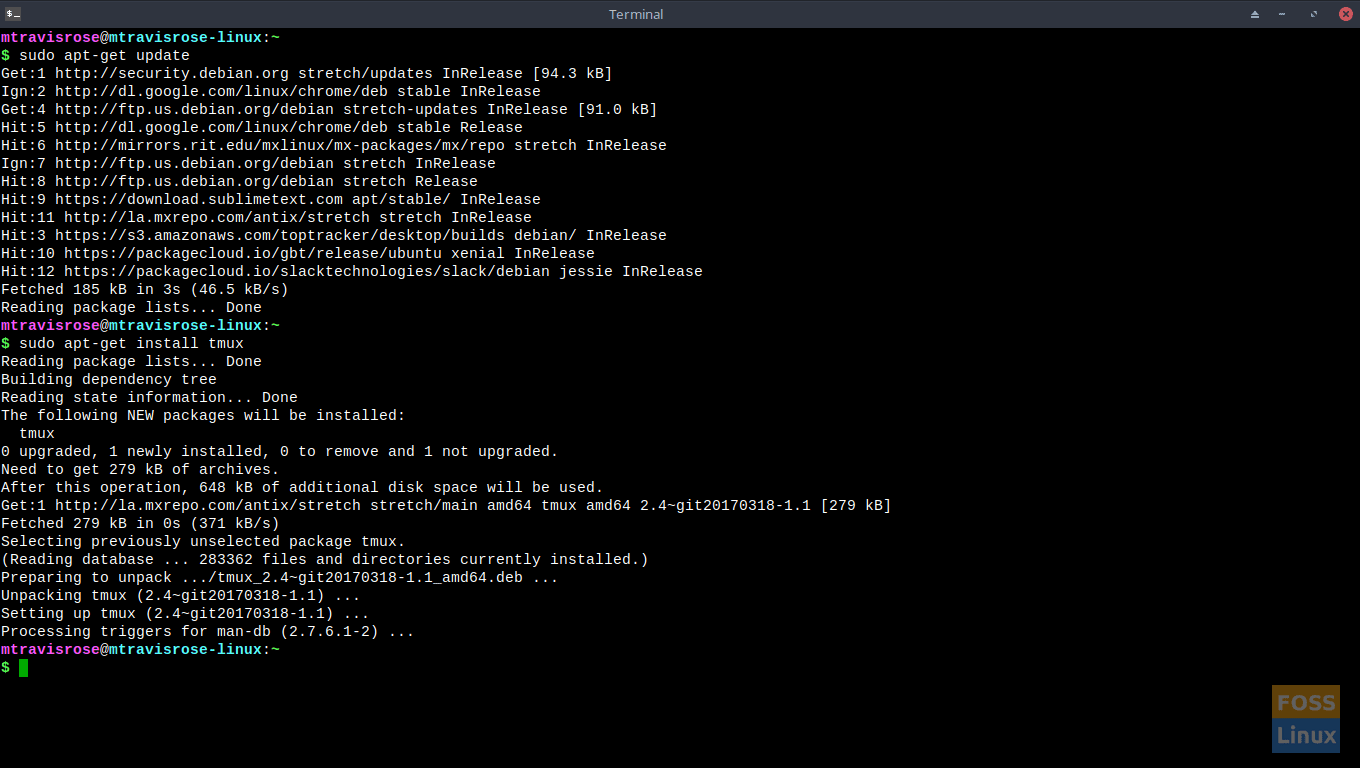
If your distro did not come with tmux installed, no worries, installation is a snap.
On Debian or Ubuntu-based distros:
# sudo apt-get update
# sudo apt-get install tmux
On Arch Linux distros:
# sudo pacman -S tmux --noconfirmOn Fedora:
# sudo dnf -y install tmux
On CentOS:
# sudo yum -y install tmux
Getting Started
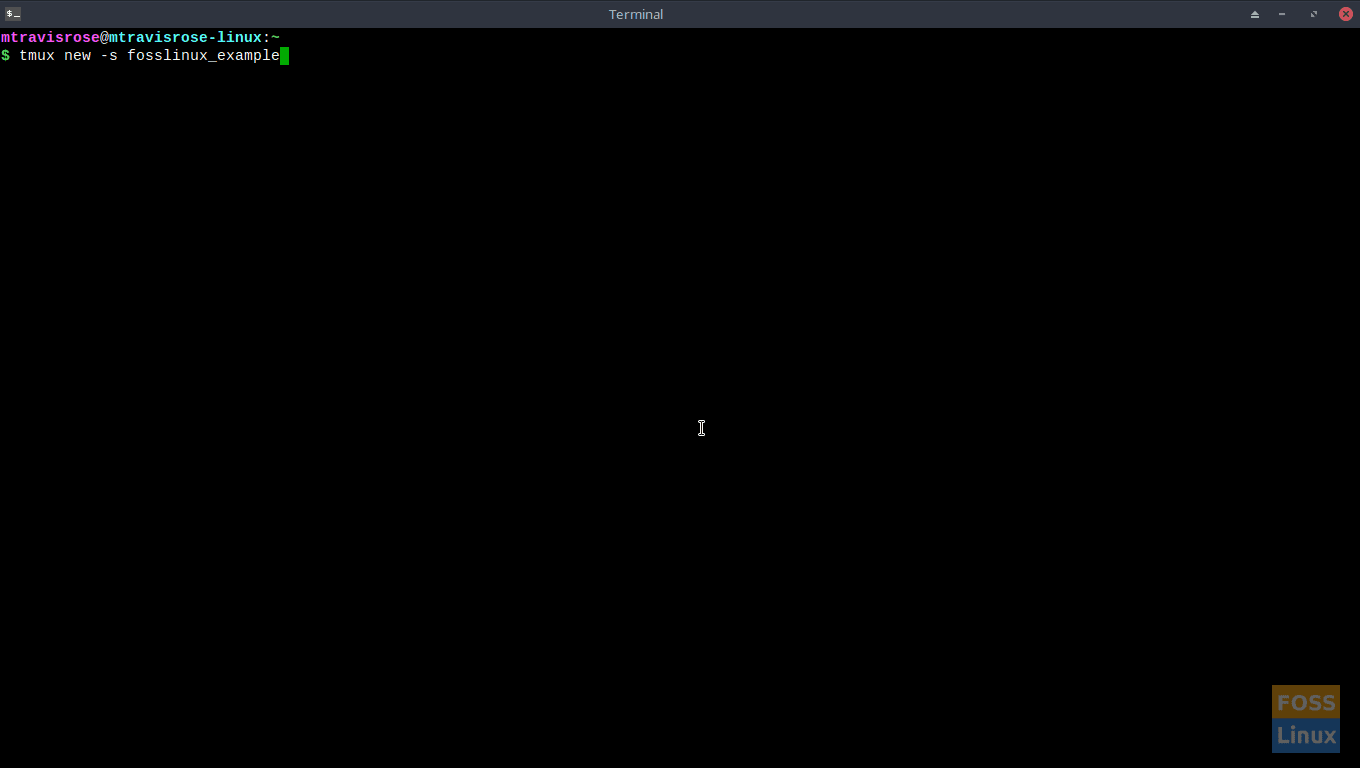
Starting tmux is simple. Merely enter tmux, or type tmux new -s session name in the terminal:
# tmux
# tmux new -s session name
I prefer using the tmux new -s option, as it allows me to give a meaningful name to my sessions, making it easier to identify what sessions are explicitly doing.
If you do not specify your session name, the session names default to numbers starting with 0 and increasing as new sessions are created/started.
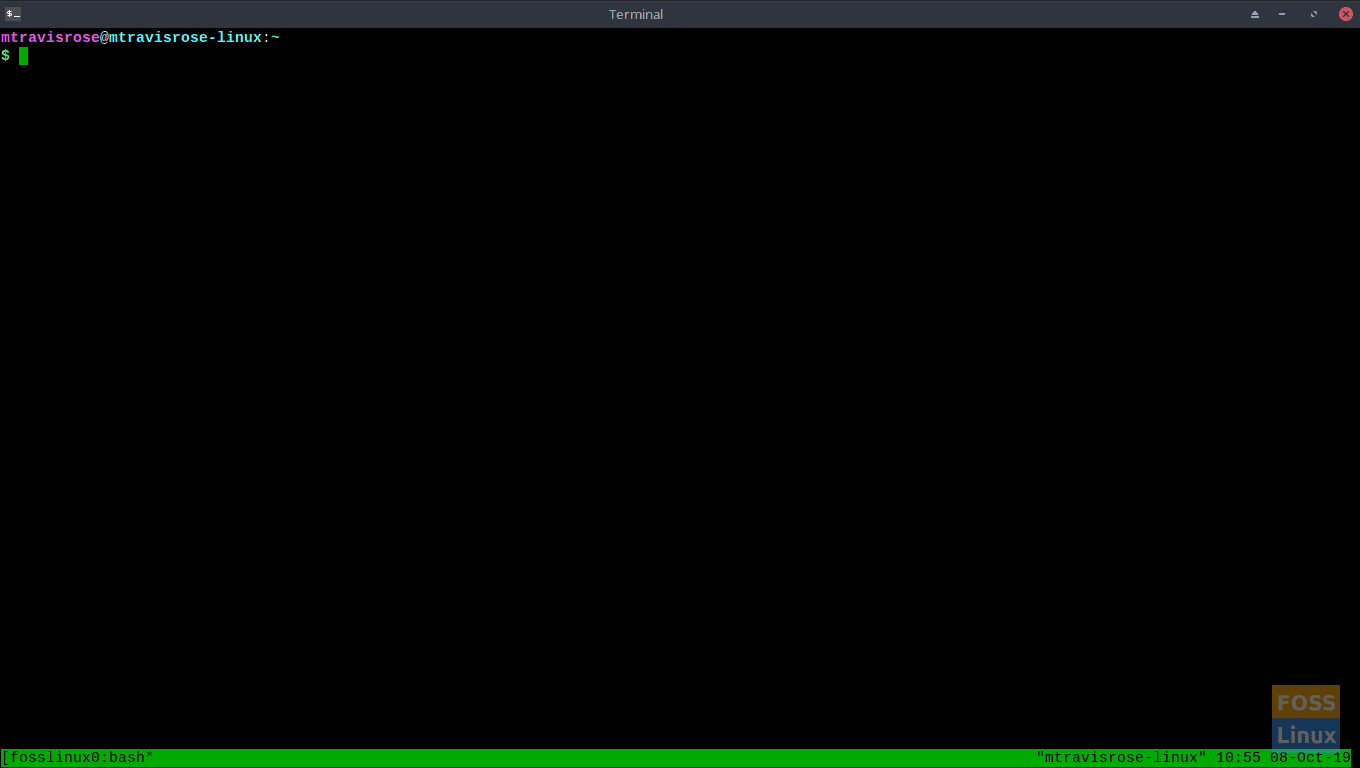
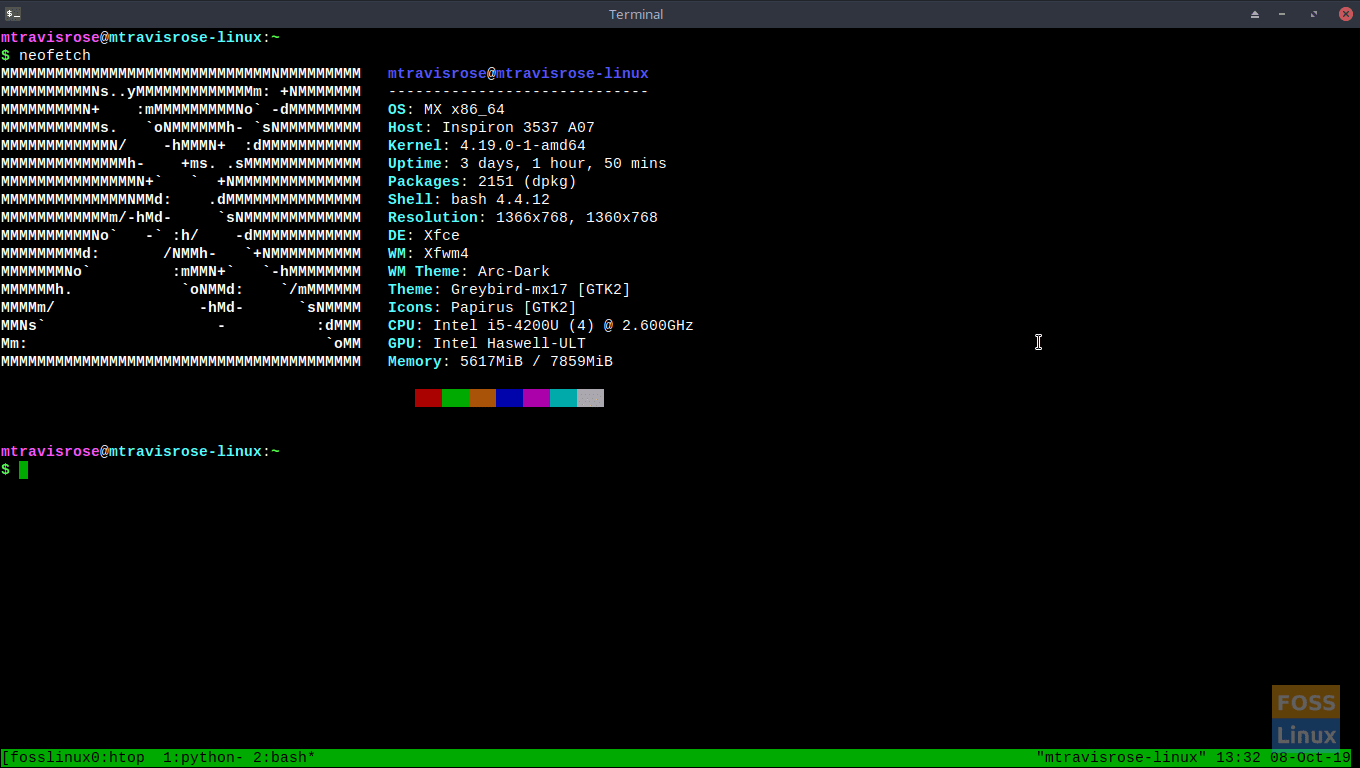
One of the first things that you’ll notice when you launch your tmux session is the green status bar at the bottom of the window.
Notice that to the left, we have our session name, and to the right, we have our system name along with the current time and date.
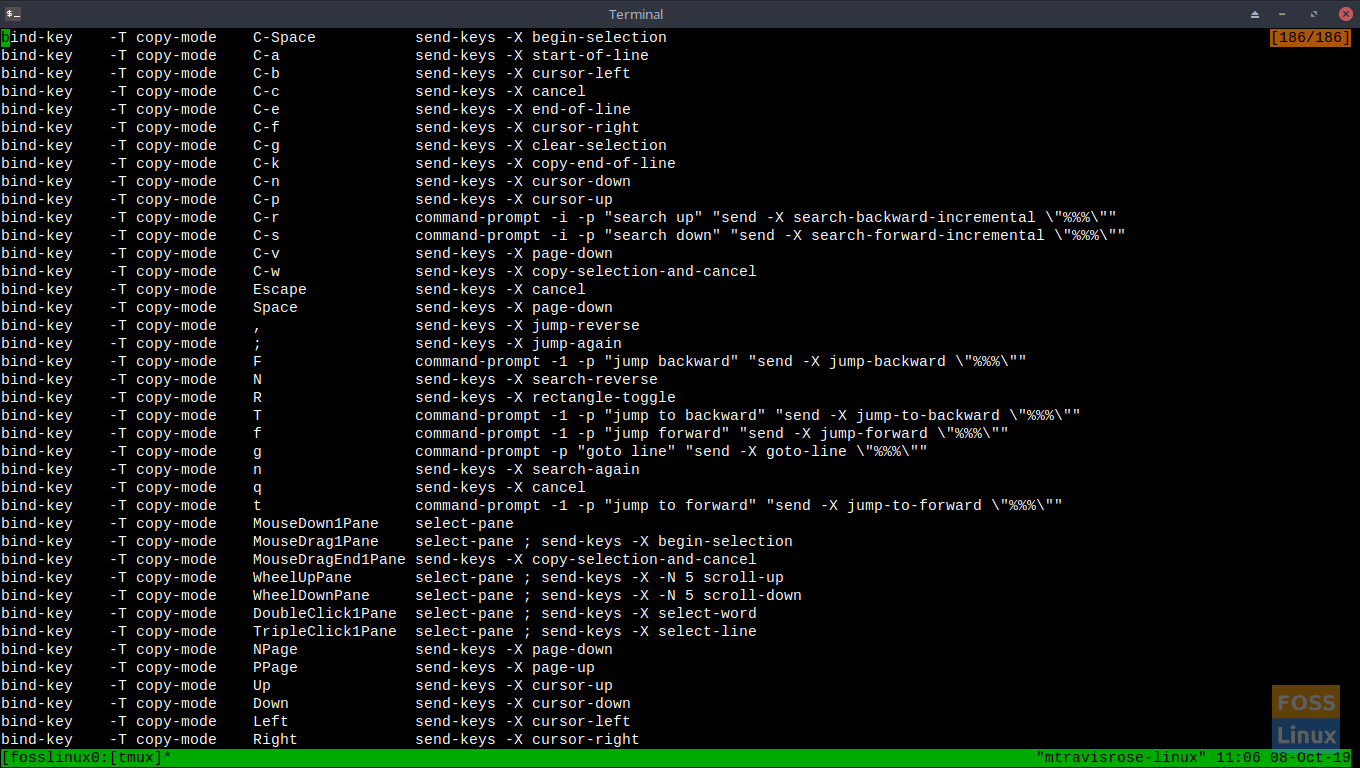
To enter commands to your tmux session, you must use what the tool refers to as the Prefix key (as well as bind-key), which is <Ctrl>b by default. After you enter the Prefix (<Ctrl>b), you must enter your shortcut (a single key or key combination), of which there are 186 in total.
For example, for a complete list of tmux shortcuts, enter <Prefix>?.
You can exit the tmux shortcuts list by typing q.
Tmux Sessions, Windows, and Panes
tmux sessions
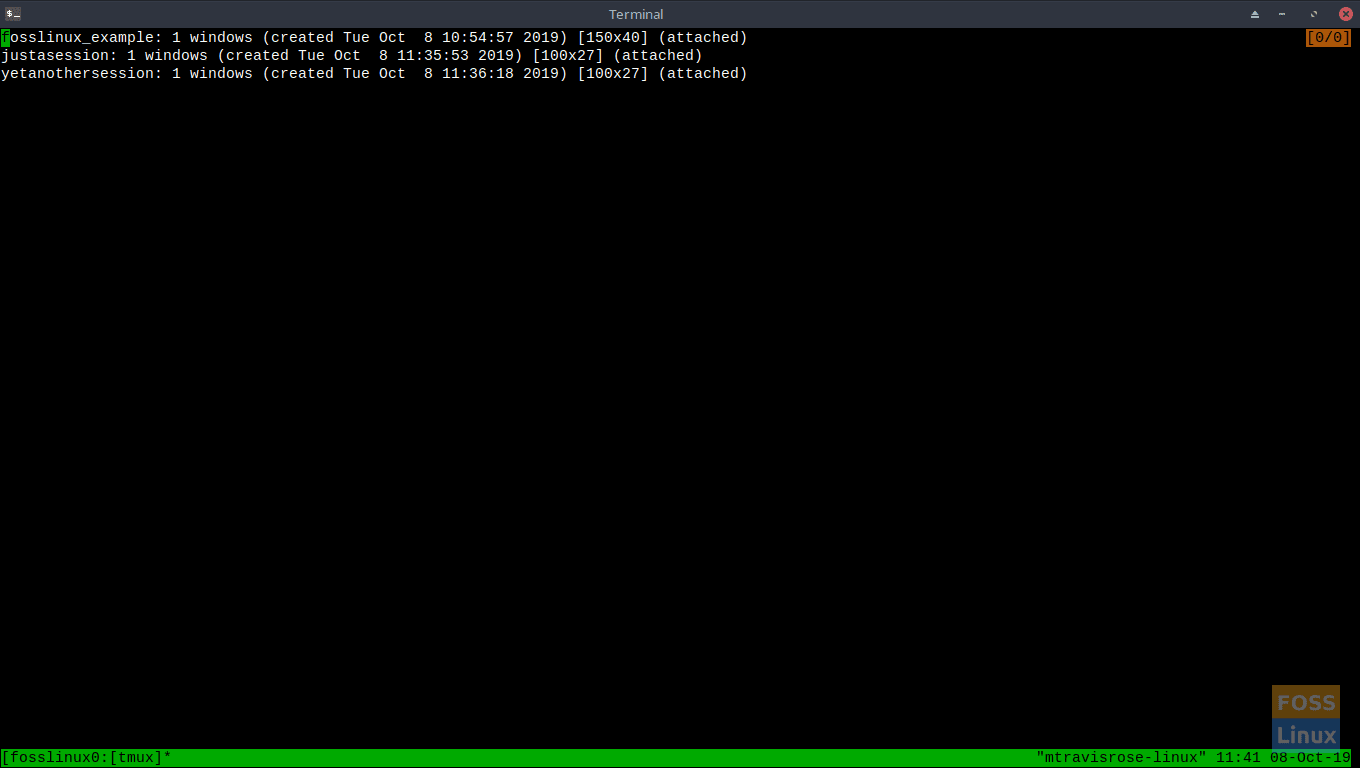
Besides shortcuts, another way to work in the session is via command mode. Enter the command mode by pressing Prefix:. You should notice a command prompt in your status bar where you can enter your command. In this case, we want a list of our tmux sessions (I created a few more for our article), so we use Prefix: and then enter
: list-sessions
Alternatively, I could have just entered ls.
Notice that I have three tmux sessions, (fosslinux_example, justasession, and yetanothersession) along with their creation date/time, window size, and status (attached/detached). You can exit the list by typing q.
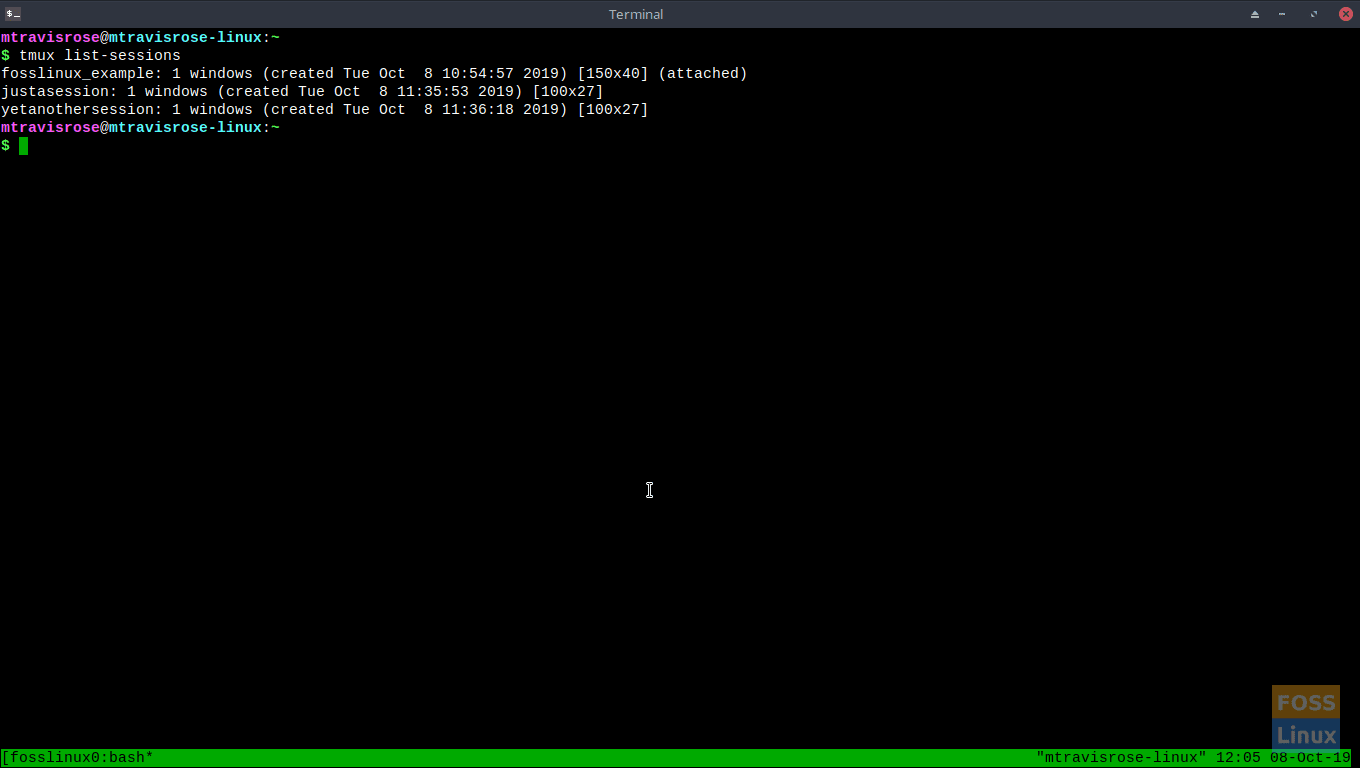
Alternately, we could have gotten a list of our sessions by entering:
# tmux list-sessions
tmux ls may also be used.
Notice that our three sessions are still active, but we’ve detached from justasession and yetanothersession. I detached from these sessions by using <Prefix> d.
I can easily reattach to both by entering tmux -t session name.
# tmux -t justasession
# tmux -t yetanothersession
I can also exit the sessions by typing exit from the active session window, or entering tmux kill-session -t session name.
# tmux kill-session -t justasession
You can also exist in the session from the active session window by <Prefix> x. When prompted whether to kill the session, type Y.
The following shortcuts are useful in navigating sessions:
- <Prefix> ( – switch to the previous session.
- <Prefix> ) – switch to the next session.
- <Prefix> s – display a session list (interactive).
- <Prefix> $ – rename the current session.
- <Prefix> d – detach from the current session.
You may also nest sessions within a session, but be careful as this often confuses some users, as it’s easy to lose track of how deeply or where you’re nested.
tmux windows
Another cool feature is the windows. They function must like tabs do in browsers. Each window is a different terminal that allows the user to run different commands at the same time. All windows created in a session are children of that session.
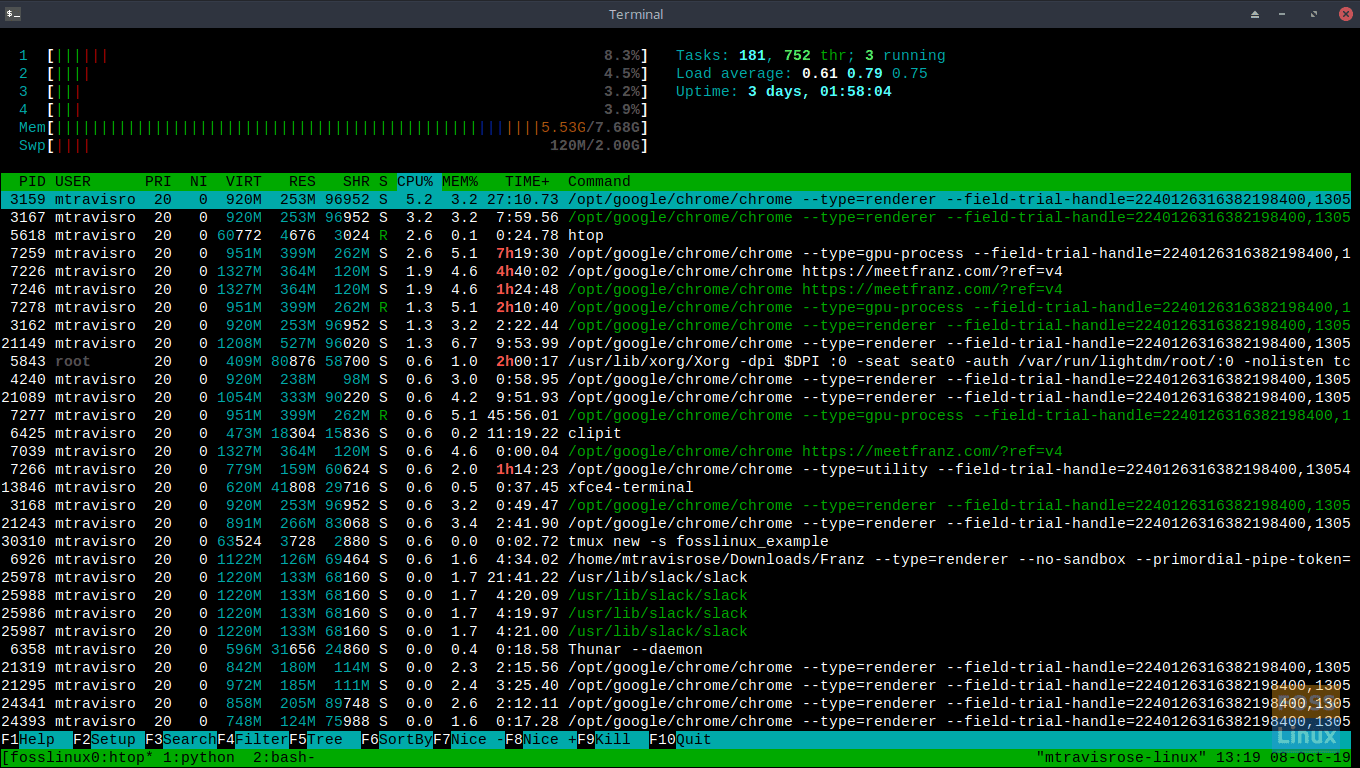
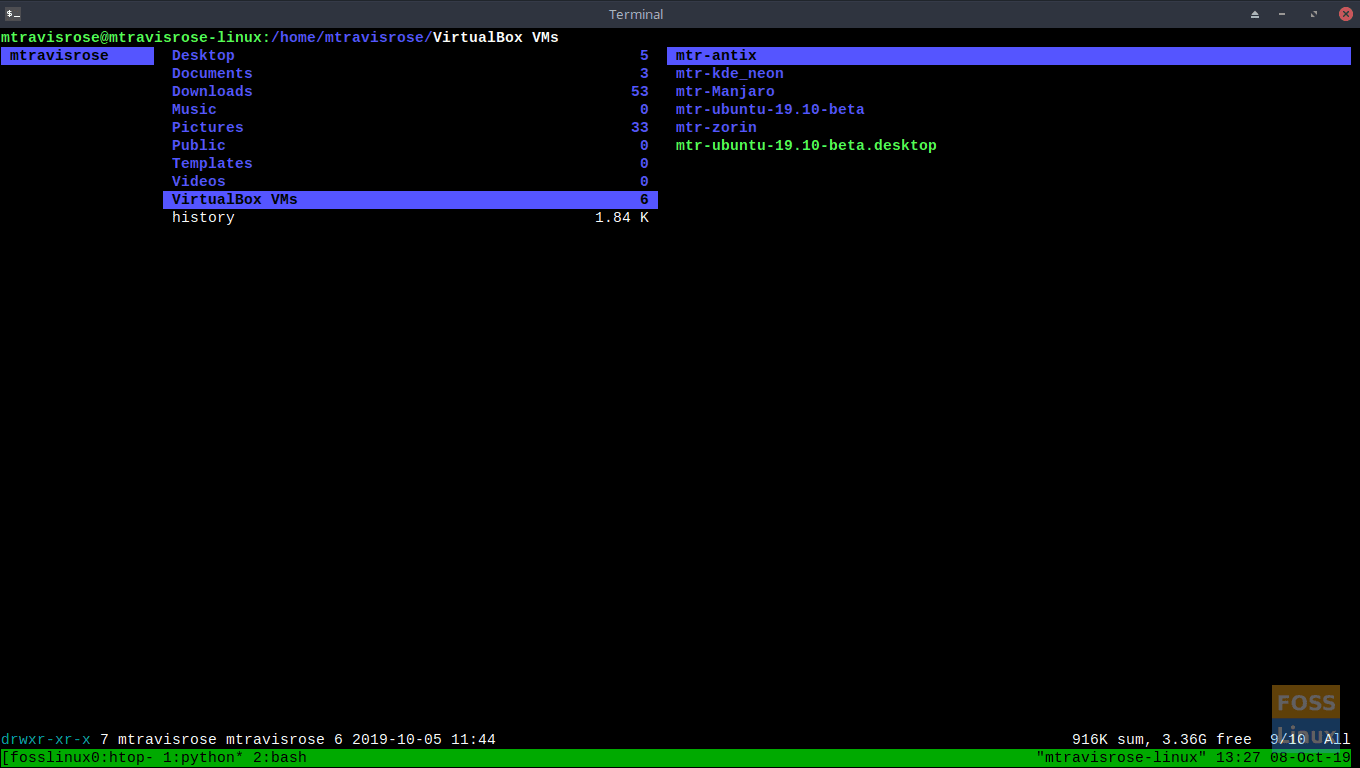
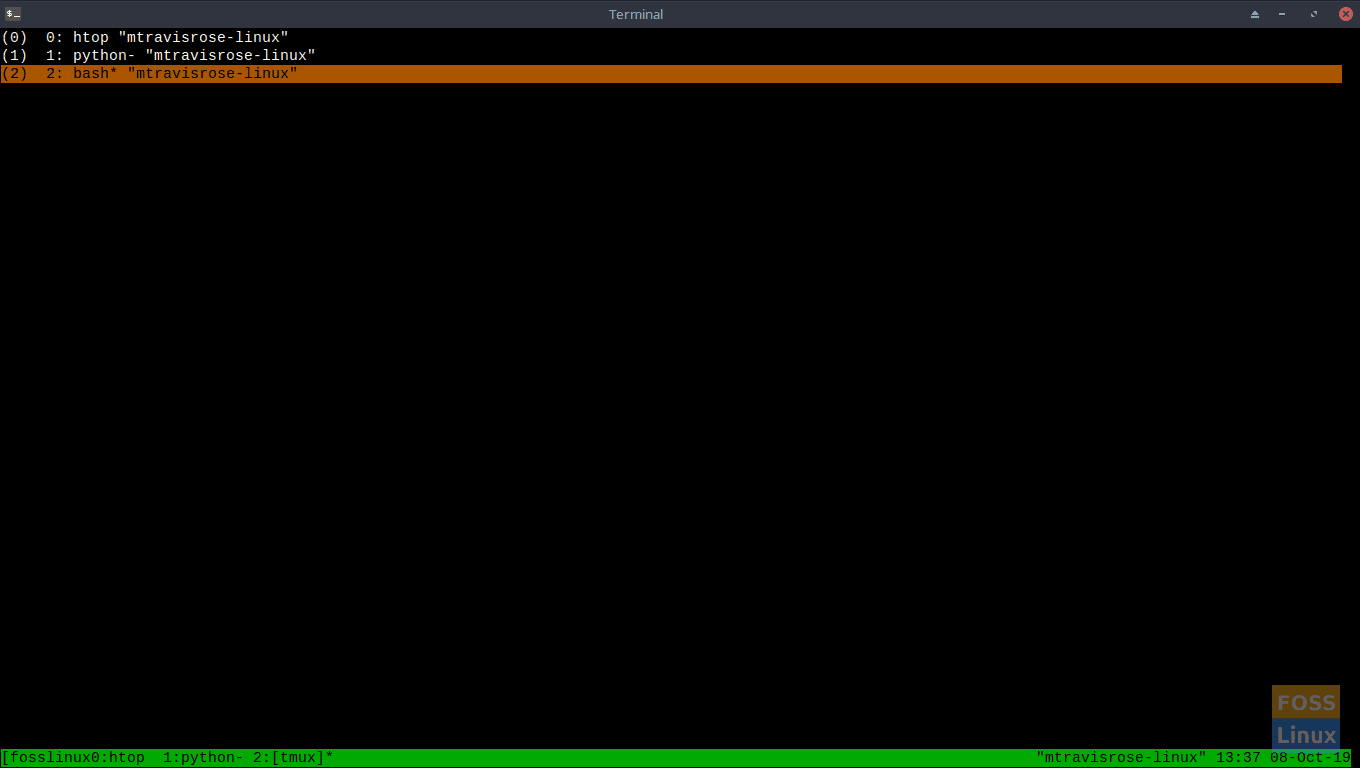
You can create a window by pressing <Prefix> c. For our article, I’ve created three separate windows in the fosslinux_example session. Note that tmux assigns each created window a number incrementally. fosslinux_example
Notice the status bar (to the left) of our session. It shows that we have three windows (0:htop, 1:python, and 2:bash).
We can transfer to the next window via <Prefix> n.
We can also transfer to windows using <Prefix> and the window number, for example, <Prefix> 2.
You can also list and interactively scroll through the windows via <Prefix> w. This option is my preference.
You can close one of your active windows by typing exit without exiting or losing your session.
# exit
One of the keen features of tmux is that if the window manager crashes, you won’t lose your terminals. The tool keeps them running in the background, and you can re-attach to them when you want to.
Use the following shortcuts to navigate your session’s windows:
- <Prefix> c – create a new window.
- <Prefix> , – rename current window.
- <Prefix> w – list all windows (interactive).
- <Prefix> n – switch to next window.
- <Prefix> p – switch to the previous window.
- <Prefix> 0-9 – switch to windows 0-9.
tmux panes
If you like the multiple windows that the utility provides you, you’ll love tmux panes. They are, by far, my favorite feature. Panes allow Linux users to use their entire screen real estate, negates the need for <Alt><Tab> or the mouse to switch between windows, and provides an aesthetically interface in which to work.
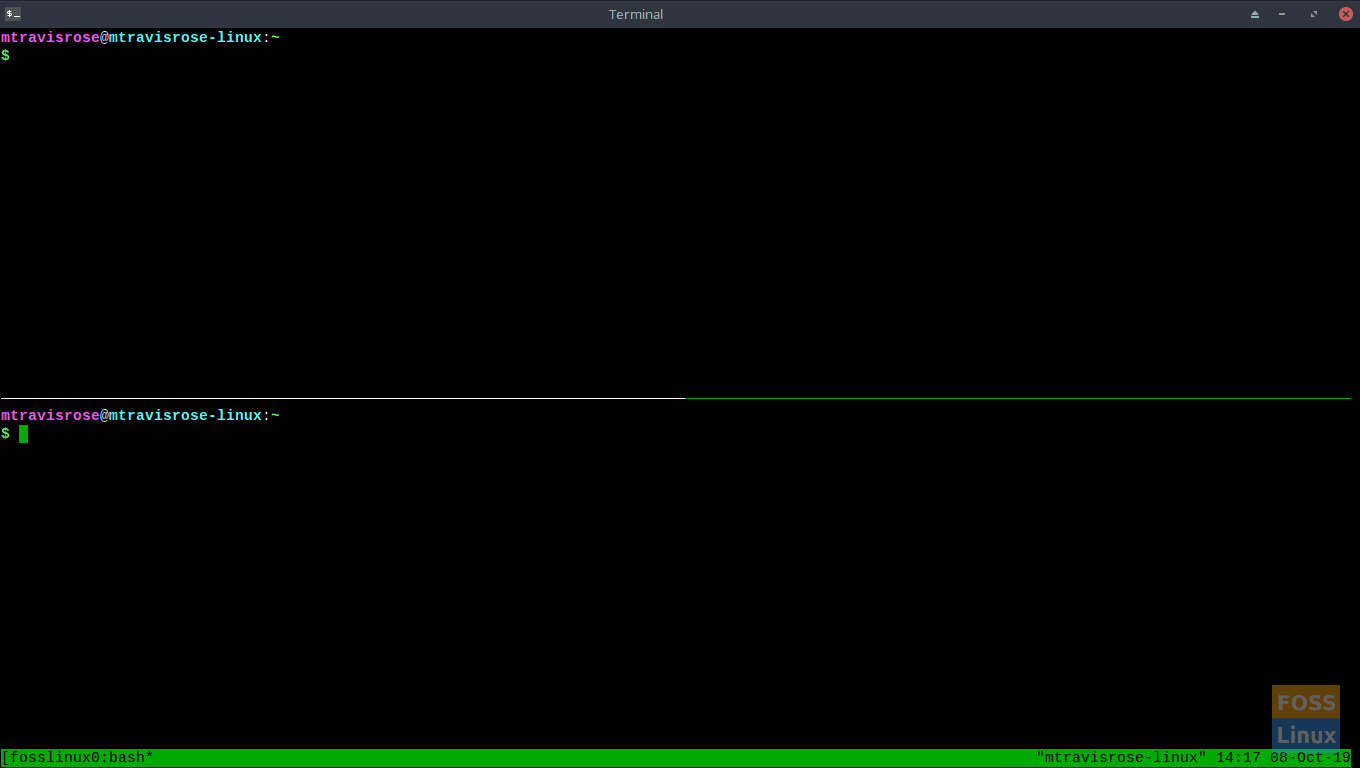
Let’s create a horizontal pane in our window using <Prefix> “.
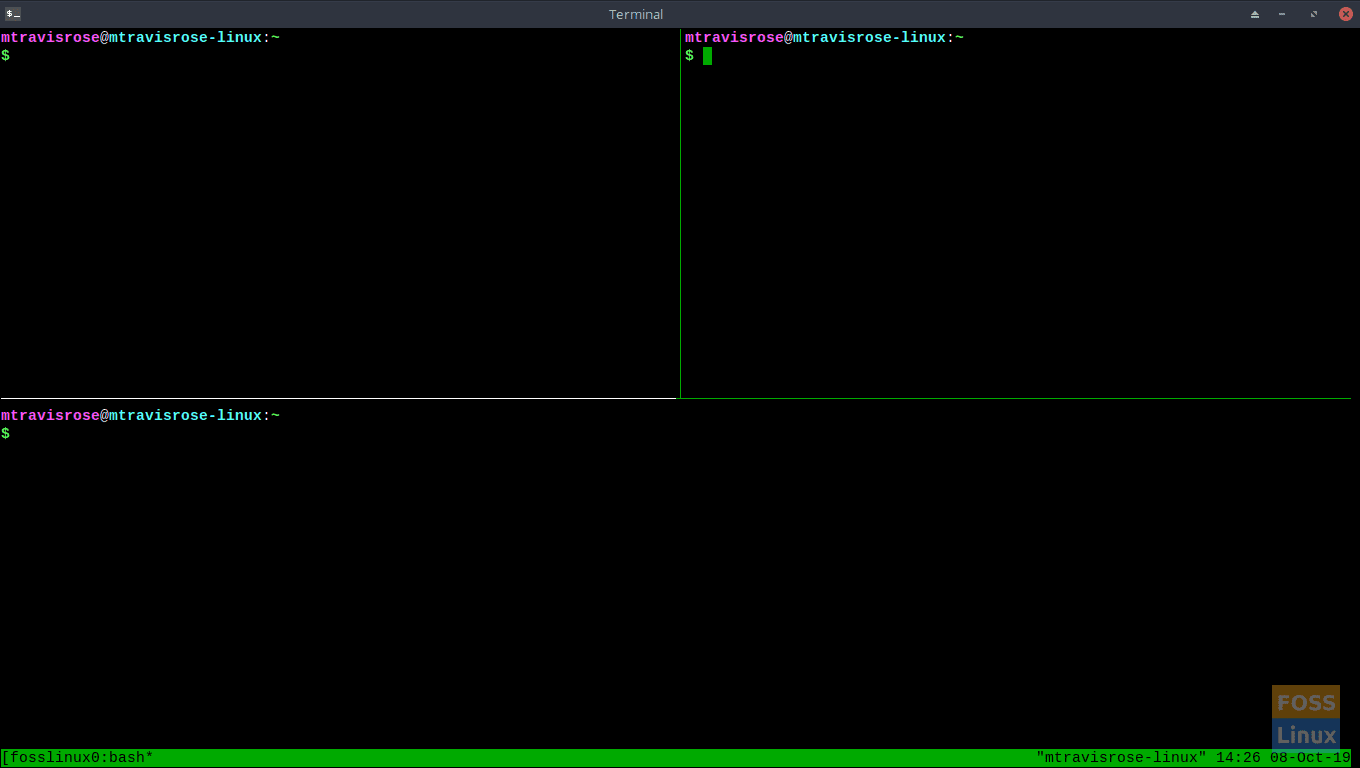
We can create another pane, this time vertically, with <Prefix> %.
I try to limit the number of panes I have per session window to four or less, as I find more distracting and cumbersome to work with.
As I mentioned earlier, I love the multiple panes. Being able to see the output from multiple processes within a single-window helps me much in my day-to-day work in the terminal.
Panes in your tmux window can also be resized using the <Prefix> <Tab> arrow keys (←↑→↓).
This command is useful when you want outputs from multiple processes visible within a single window.
Use the following shortcuts for navigation and manipulation within and of your tmux panes:
- <Prefix> ” – split pane horizontally.
- <Prefix> % – split pane vertically.
- <Prefix> o – go to next pane.
- <Prefix> ; – go to prior pane.
- <Prefix> ←↑→↓ – jump to a pane.
- <Prefix> <Ctr> o – swap panes.
- <Prefix> <Tab>←↑→↓ – resize a pane.
- <Prefix> ! – open pane in a new window.
- <Prefix> <Space> – arrange panes.
Besides the cool screens, windows, and panes, tmux is highly customizable via the .tmux.conf file. Editing this file allows you to change the <Prefix> key combination from <Ctrl> b to something more to your liking (many users find the default <Prefix> key combination awkward (I do), or bind the hard-to-remember pane splitting commands (<Prefix> “, <Prefix> %), configure faster pane-switching, and even enable mouse mode.
We shall have an additional article soon to assist you in customizing tmux. In the meantime, please familiarize yourself with this excellent utility and let us know your thoughts and experiences.


1 comment
did not work: oot@bill-Veriton-M2632G:~# sudo apt install rtorrent
Reading package lists… Done
Building dependency tree
Reading state information… Done
You might want to run ‘apt –fix-broken install’ to correct these.
The following packages have unmet dependencies:
gnormalize : Depends: cdparanoia but it is not going to be installed
rtorrent : Depends: libtorrent19 but it is not going to be installed
Depends: libxmlrpc-core-c3 but it is not going to be installed
E: Unmet dependencies. Try ‘apt –fix-broken install’ with no packages (or specify a solution).
then : ot@bill-Veriton-M2632G:~# apt –fix-broken install
apt
Usage: apt command [options]
apt help command [options]
Commands:
add-repository – Add entries to apt sources.list
autoclean – Erase old downloaded archive files
autoremove – Remove automatically all unused packages
build – Build binary or source packages from sources
build-dep – Configure build-dependencies for source packages
changelog – View a package’s changelog
check – Verify that there are no broken dependencies
clean – Erase downloaded archive files
contains –
now for my; next trick: what do I do not COACH?