
In this session of Terminal Tuts, we will learn how to change your Ubuntu computer name and your server host name via Terminal. Command-line method is more useful for system administrators as usually they do it remotely. To edit the computer name, one has to edit “/etc/hostname” and “/etc/hosts” system files. In this article, we will see how to do edit them.
Rename Host Name in Ubuntu 17.10
METHOD 1: Command-line way useful for Remote login
STEP 1: Launch Terminal and enter the following command to install vim.
sudo apt-get install vim

Change Host name in Ubuntu
STEP 2: Enter the following command to open the hosts file.
sudo vim /etc/hostname
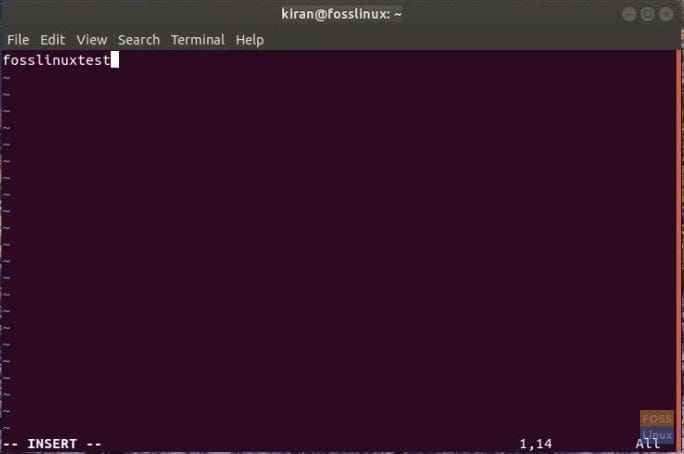
STEP 3: You will see text editor within the Terminal. Press ‘Esc’ key and then ‘i’ to enter into INSERT mode where you can edit the file.

Change Host Name
STEP 4: Go ahead and rename the computer by editing the first line which has the current computer name. For example I have renamed my PC name from fosslinux to fosslinuxtest.
Host Name Changed
STEP 5: After editing is complete you have save the file and exit out of it. To do press esc key to get to last line. Then type :wq and press enter. vim will save the sh file and exit out to terminal.
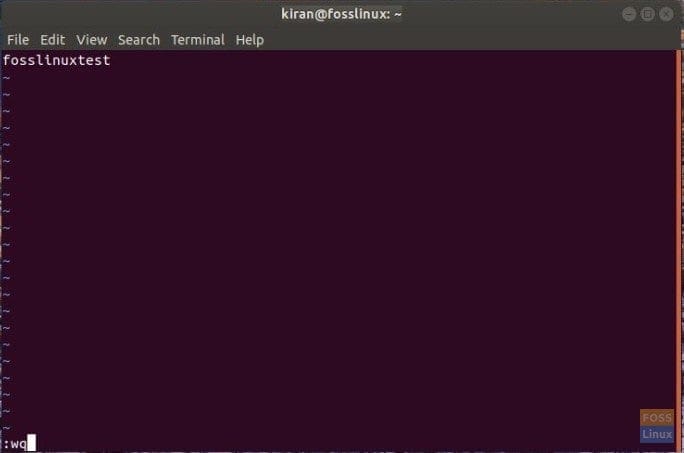
Save and Exit Command in vim
STEP 6: Type reboot in the terminal to restart the computer.
That’s it. Your computer name should be changed!
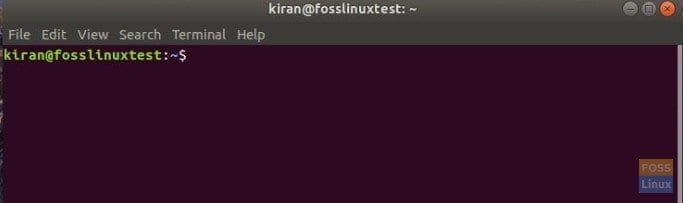
PC Name Changed!
METHOD 2: GUI Way useful for a desktop computer
STEP 1: Type ‘Settings’ in the applications search box and click ‘Settings’.
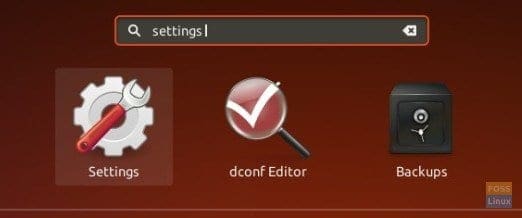
Launch Settings
STEP 2: In the ‘Settings’ app, click ‘Details’ located at the bottom left corner.
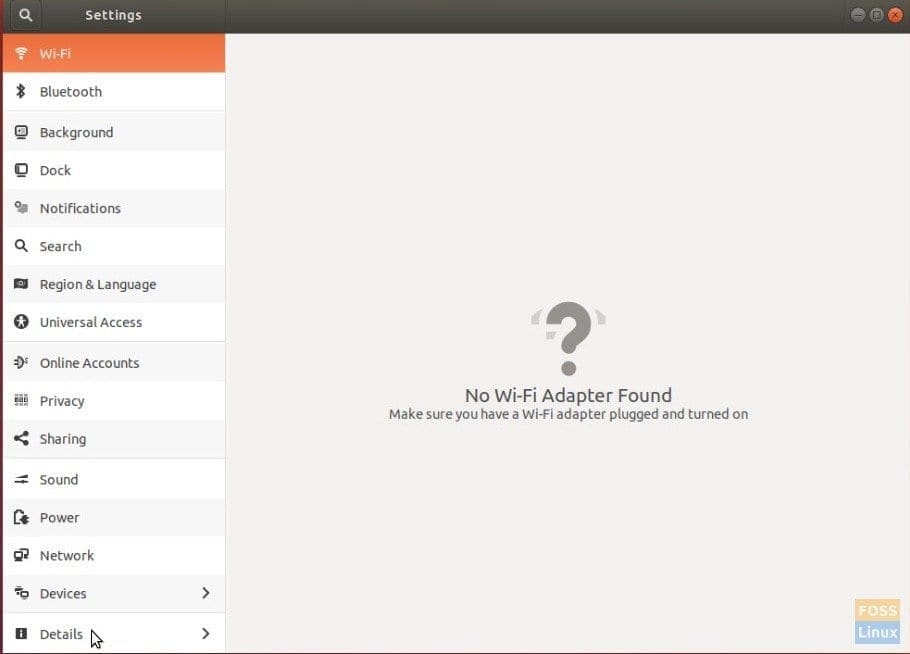
Click ‘Details’
STEP 3: Rename the PC and simply close the app.
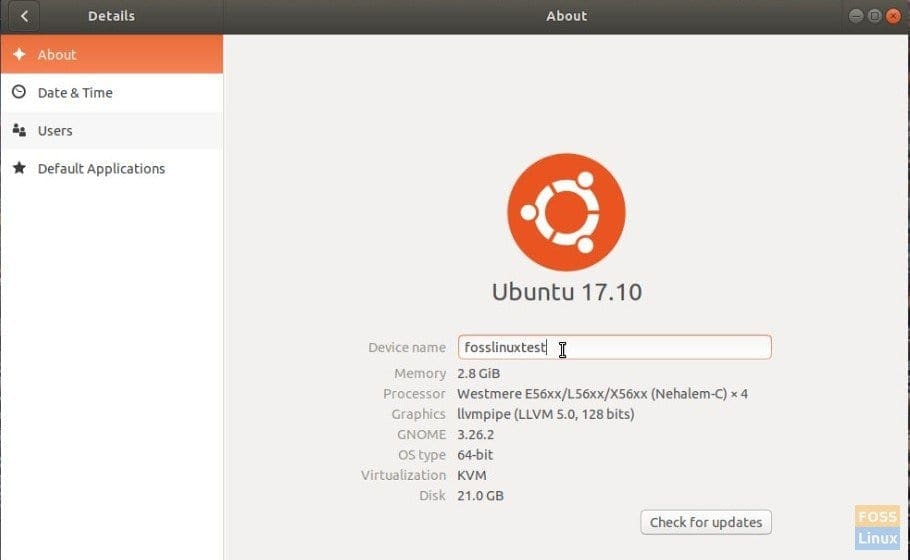
Rename the PC
STEP 4: Reboot the PC to see the new name in effect.