
FileZilla is a popular cross-platform FTP, FTPS and SFTP client with powerful features and has an easy to use tabbed user interface. Some amazing features of it include Drag & drop support, configurable transfer speed limits, directory comparison, remote file editing, remote file search, and more. Most importantly FileZilla is a 100% free utility!
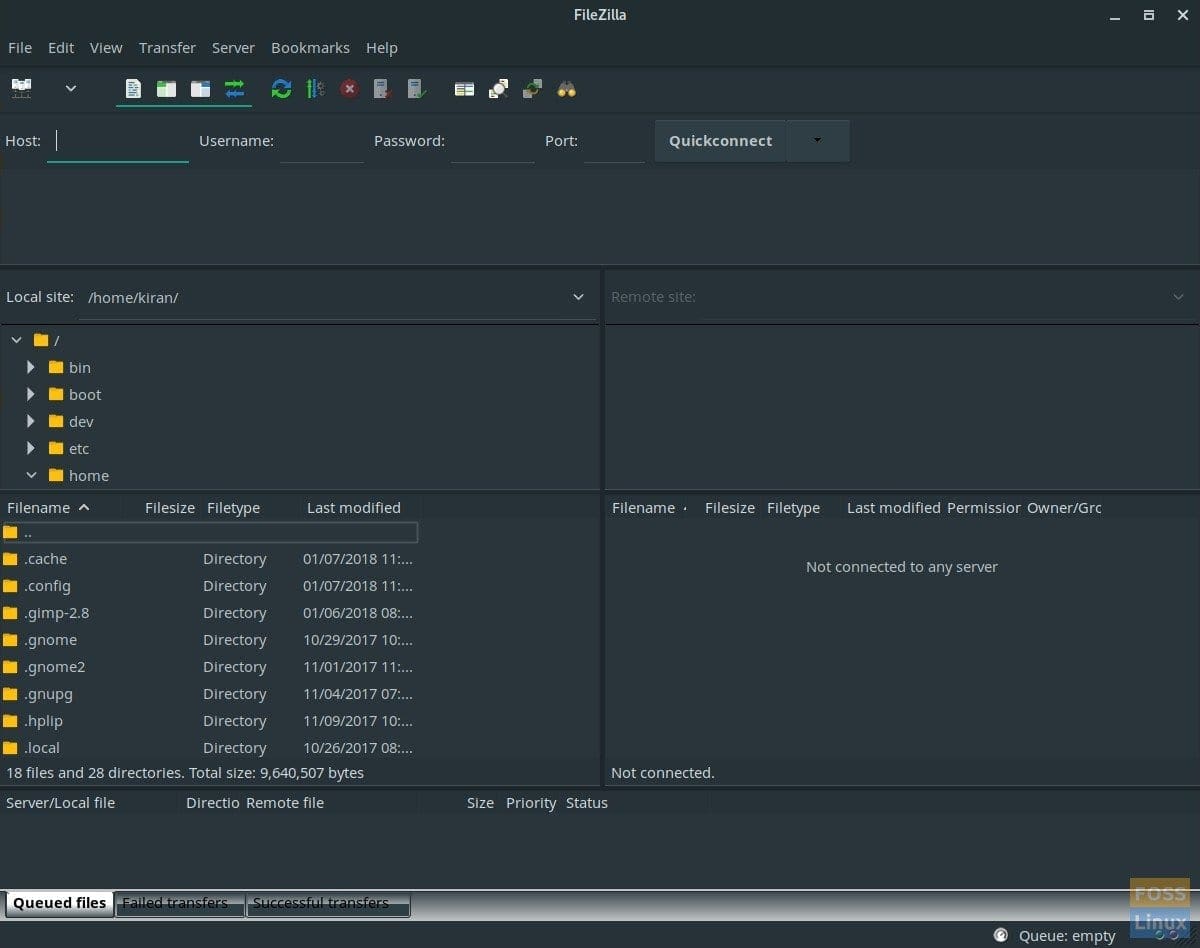
FileZilla User Interface
Installing FileZilla in Manjaro Linux 17.1 GNOME edition
METHOD 1: GUI Way via Package Manager
STEP 1: Launch ‘Add/Remove Software’.
STEP 2: First, we have to enable AUR repository because ‘FileZilla’ is compiled as a community package. While in ‘Package Manager’, click on the hamburger icon located on the top right and select ‘Preferences’.
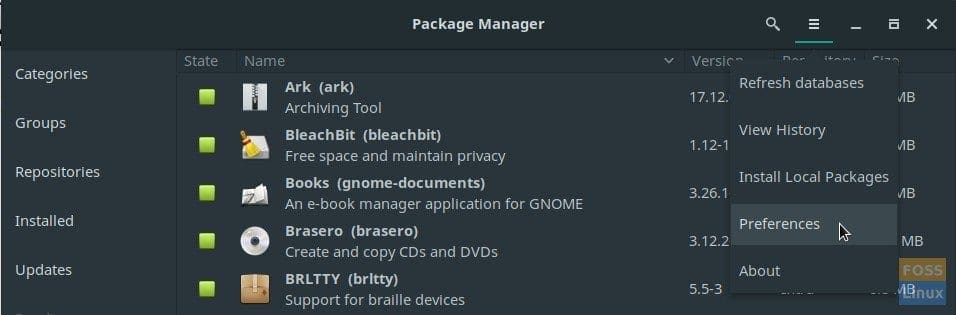
Package Manager in Manjaro 17.1 GNOME
STEP 3: Click ‘AUR’ tab and check the box ‘Enable AUR support’. Don’t worry about the warning. As long as you are installing programs from preferred communities, you should be safe.
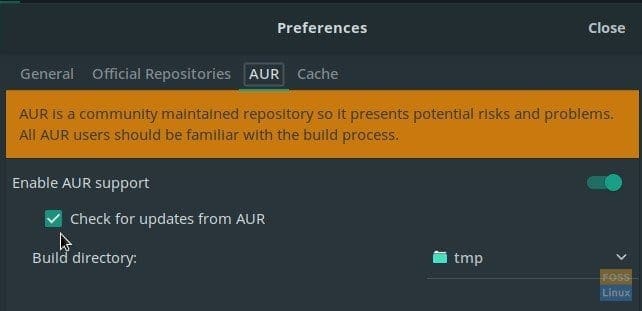
Enable AUR in Manjaro 17.1 GNOME
STEP 4: Close ‘Preferences’.
STEP 5: Back to ‘Package Manager’ again, type ‘FileZilla’ in the applications search box. Check ‘FileZilla’ from the results and click ‘Apply’ to finish installation.
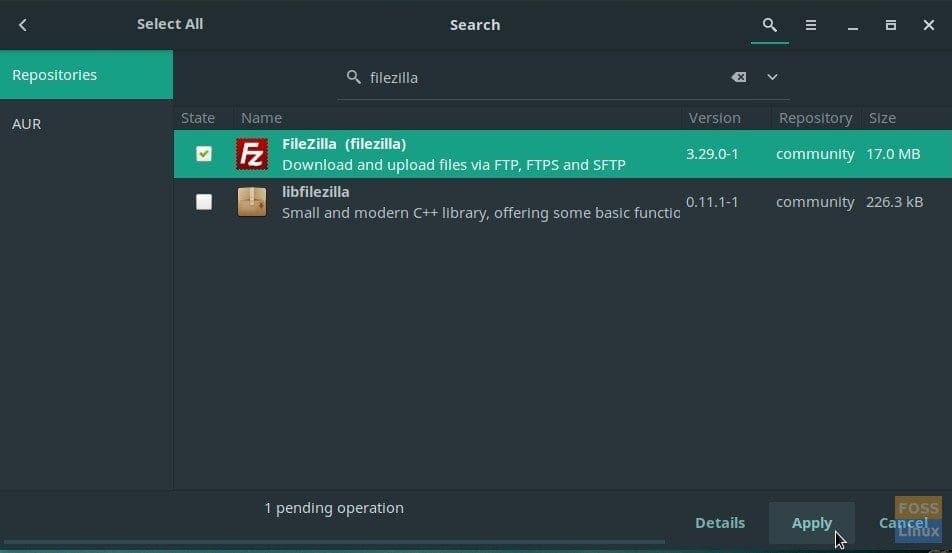
Installing FileZilla
STEP 6: That’s it! You should be able to launch FileZilla.
Launch FileZilla
METHOD 2: Command-line way for remote installation
STEP 1: Go to the official link and copy the download link. It should be similar to this, except the version number may be different depending on when you are downloading.
http://sourceforge.net/projects/filezilla/files/FileZilla_Client/3.29.0/FileZilla_3.29.0_x86_64-linux-gnu.tar.bz2/download
STEP 2: Launch ‘Terminal’ and enter the following to downloaded FileZilla using wget command:
wget http://sourceforge.net/projects/filezilla/files/FileZilla_Client/3.29.0/FileZilla_3.29.0_x86_64-linux-gnu.tar.bz2/download
Hit enter key to begin downloading.
STEP 3: Use ‘tar’ command to unzip the package. Make sure to copy and paste the file name from your downloaded file name.
tar -xjvf FileZilla_3.29.0_x86_64-linux-gnu.tar.bz2
STEP 4: Just to make sure if your system already doesn’t have filezilla which may cause overwrite issues, let’s delete:
sudo rm -rf /opt/FileZilla*
STEP 5: Move the folder to the /opt directory.
sudo mv -v FileZilla3/ /opt/
STEP 6: Remove existing symlink:
sudo rm /usr/local/bin/filezilla
STEP 7: Create a new symlink.
sudo ln -s /opt/FileZilla3/bin/filezilla /usr/local/bin/filezilla
STEP 8: Finally, some house cleaning to remove the downloaded file:
sudo rm -r filezilla*
That’s it!