By default, the Ubuntu Live USB is session-based, which means you can boot the Live USB and do whatever you need (like installing applications, writing and saving files, changing some Ubuntu settings). Once you power off your machine, you will lose all the changes. Every time you reboot your Live USB, it will return to a new state.
What if you need to resume your work and pick up from where you left on a Ubuntu Live USB drive? Meet Ubuntu Live USB with persistent storage.
Ubuntu Live USB with persistent storage allocates a permanent space while creating a Live USB drive. Any changes you make will be saved on this permanent storage. Also, whenever you reboot the Live USB, you will be able to access this permanent storage and all the saved files on it.
Using the Ubuntu Live USB with the persistent storage feature is very useful. You can use this USB on any number of PCs, and the most important thing is that you will not have to install you Ubuntu from scratch every time you decide to use the Live USB.
There are some few considerations or limitations to note:
- You will not be able to modify Ubuntu system files
- You will not be able to perform some system upgrades
- You can not install any hardware drivers
However, you can update the most installed applications. So you have to make sure that you have the latest version of your preferred applications included in the Live USB.
In this guide, we are going to walk you through creating an Ubuntu Live USB with persistent storage. All you need is a PC with already running Ubuntu or Windows (We will show you how to make the Live USB on both operating systems.) alongside a USB drive with enough storage, in our tutorial we have used a USB with 32 GB size.
Creating a Ubuntu Live USB with Persistent Storage
Step 1. From the Ubuntu official website, download the Ubuntu ISO you will use during your installation.
Step 2. We are going to use the mkusb tool to create our Ubuntu Live USB with persistent storage. Since the mkusb tool is not included by default in the Ubuntu installation so we will need to add its repository to tell the Ubuntu from where to install the mkusb.
sudo add-apt-repository ppa:mkusb/ppa
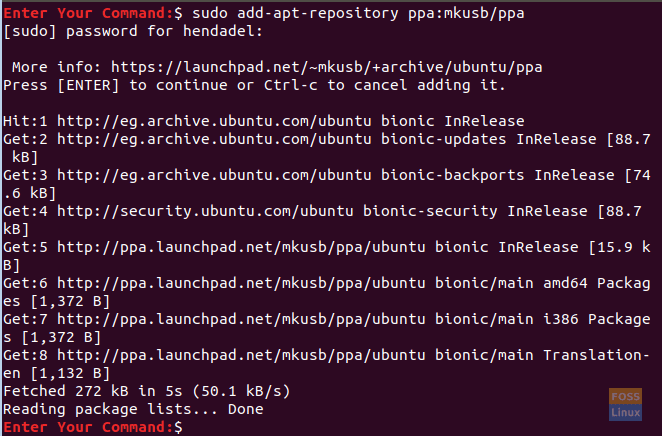
Add The mkusb Repository
Step 3. Refresh your Ubuntu package list using the following command.
sudo apt update

Refresh Package List
Step 4. Now let’s install the mkusb package.
sudo apt install --install-recommends mkusb mkusb-nox usb-pack-efi
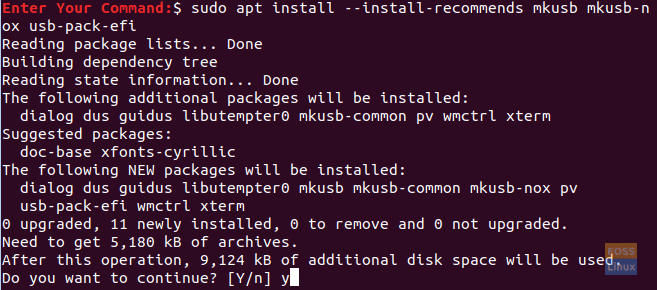
Install The mkusb Package
Step 5. Next, we will use the lsblk, which lists all the block devices attached to your PC.
lsblk
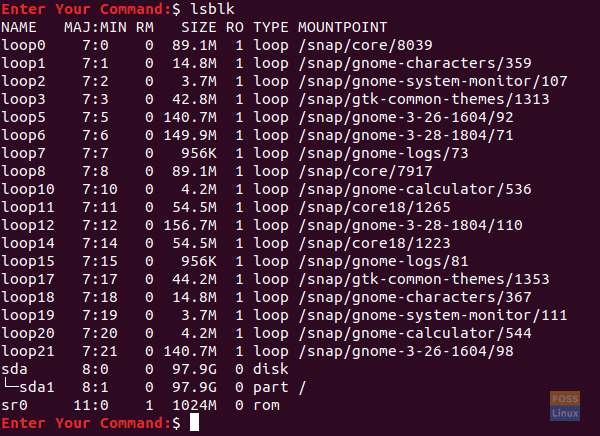
List Block Devices
Step 6. Plug your USB flash drive into your PC and execute the previous command again. Check the difference in output in the below screenshot.
lsblk
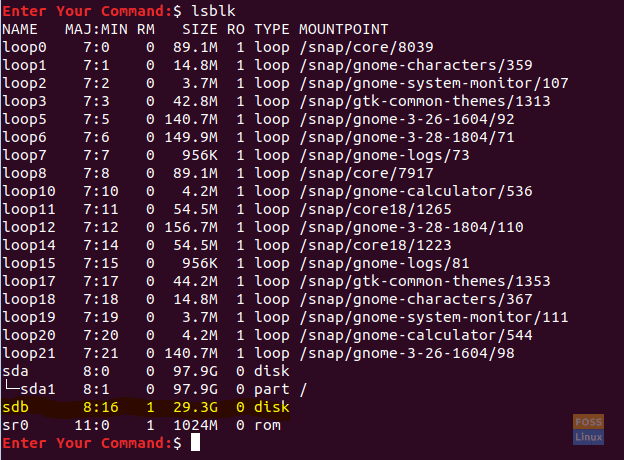
List Block Devices After Inserting USB Drive
As you can see in the above screenshot, there is a new record for the USB drive.
Step 7. Since the mkusb package has installed successfully, open your activities tab from the top left of your desktop.

Open Activities Tab
Step 8. Search for the mkusb tool and open it.
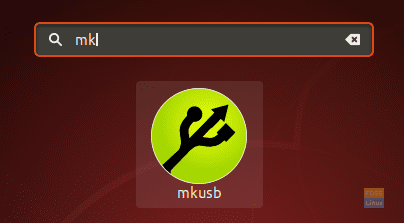
Search For The mkusb Application
Step 9. A confirmation message that asks you if you need to run the mkusb dus (which is an abbreviation for Do USB Stuff) version, or do you need to select another one? In our case, we will choose the Yes button to continue.
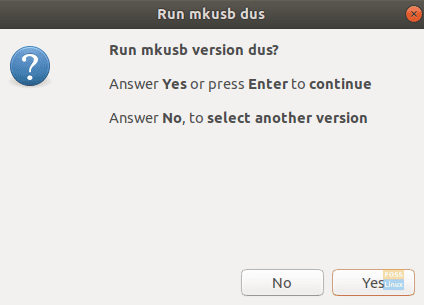
Confirmation Message To Run mkusb Application
Step 10. Your sudo password will be required. Enter it and press the OK button to continue.

Authentication Required
Step 11. A warning message is telling you that all the content of your USB will be overwritten. Press the OK button if you are comfortable with that.
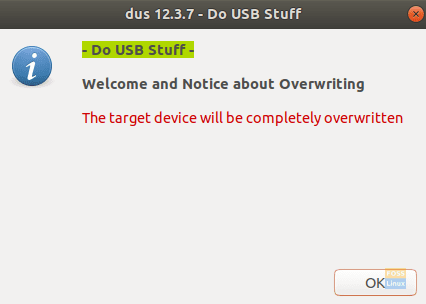
Warning Message
Step 12. In the next window, choose the first option, which is “Install (make a boot device).” Press OK to continue.
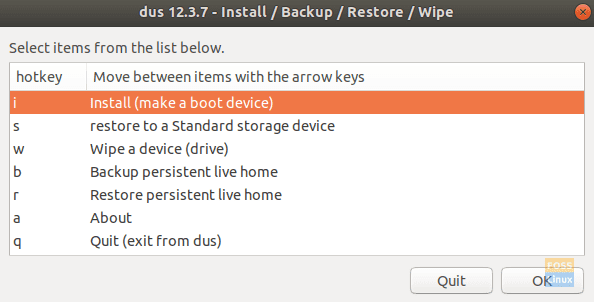
Select the “Install (make a boot device)” Entry
Step 13. In this window, choose the “Persistent Live – only Debian and Ubuntu” option and press the OK button to move on to the next step.
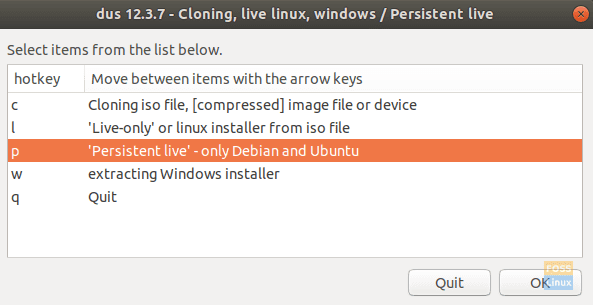
Select The “‘Persistent live’ – only Debian and Ubuntu” Entry
Step 14. Now you can browse to your Ubuntu ISO file. Select it and press the OK button from the top right of your screen.
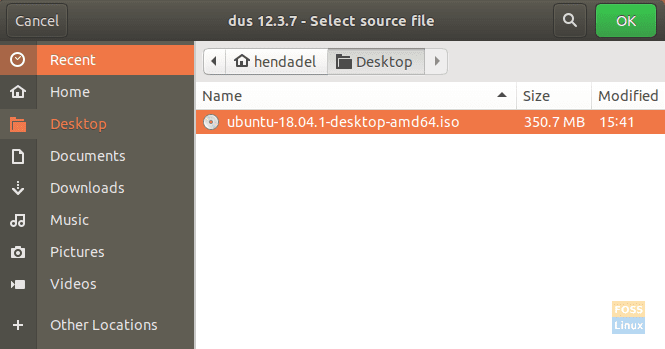
Locate Your Ubuntu ISO File
Step 15. In this window, it will list all the attached USBs. Since we have only one USB connection, it will appear as below.
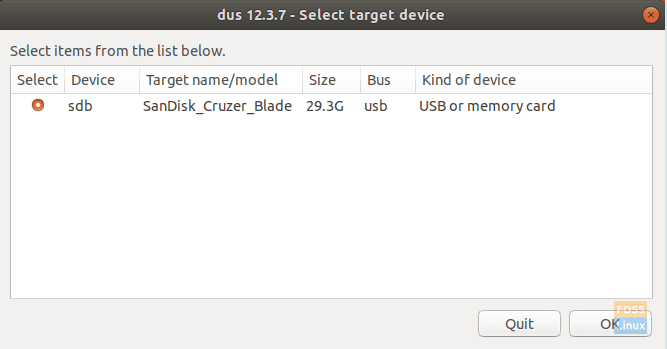
List Of Connected USB Drivers
Step 16. Next, select the “upefi” option and press the OK button.
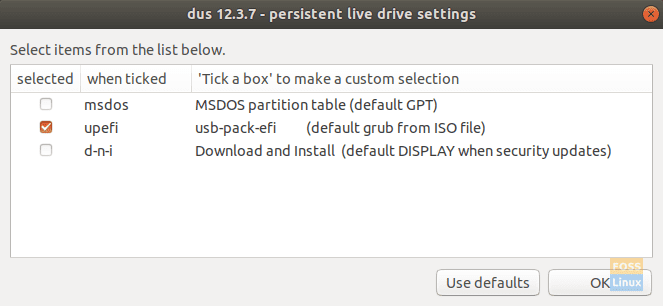
Select The “USB-pack-EFI (default grub from ISO file)” Entry
Step 17. In this step, you will be allowed to choose the persistent storage percentage you will need to create. By default, it’s 50% if you are ok with that leave it and press Ok button to continue.
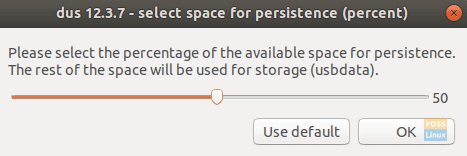
Select Percentage of the Storage Space For the Persistent Storage
Step 18. It’s highly recommended to be very cautious in this step. Once you click the Go button, there is no way back. So if you are sure and comfortable with all your previous choices, move on, and press the Go button.

Are You Ready
Step 19. Creating the Ubuntu Live USB started, and you can check the progress bar.
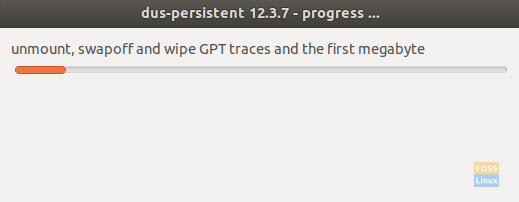
Creating USB Progress
Step 20. In this step, it will flush the file system to the USB. Once it is completed, your process of creating the Ubuntu Live USB will be done.

Flushing Your File System Buffer
Step 21. Once the process finishes successfully, you will get the below screen.
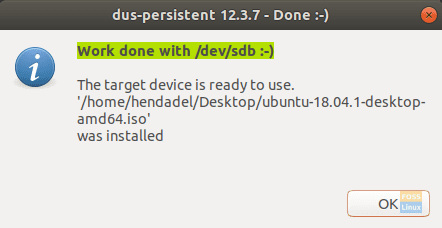
Work Done Successfully
Step 22. Now you can quit the mkusb application.
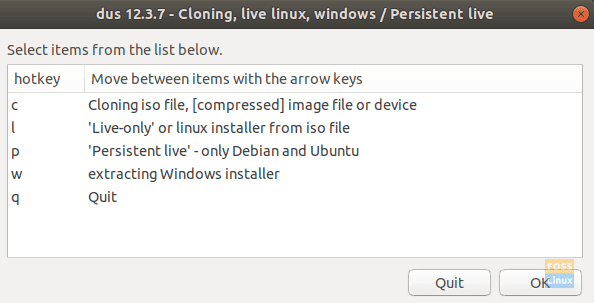
Quit The Installer
Step 23. As you can see in the Gparted tool, the USB drive partitions will look like the below screenshot.
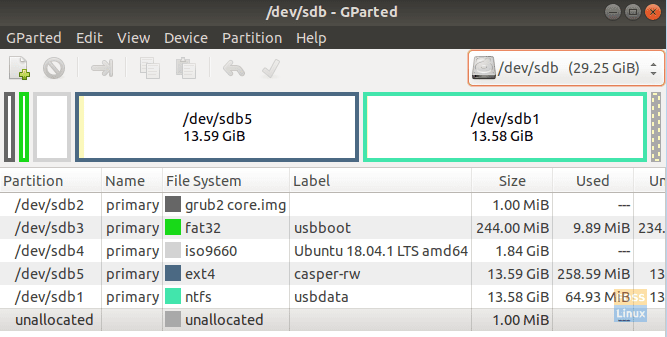
USB Drive Partitions
As you can see in the above screenshot, there are two partitions called:
- casper-rw: This partition is used for persistent storage.
- usbdata: This partition is formatted with NTFS so that it can be accessible to Windows, macOS, or Linux.
Step 24. Now you can try your Ubuntu Live USB and boot it.
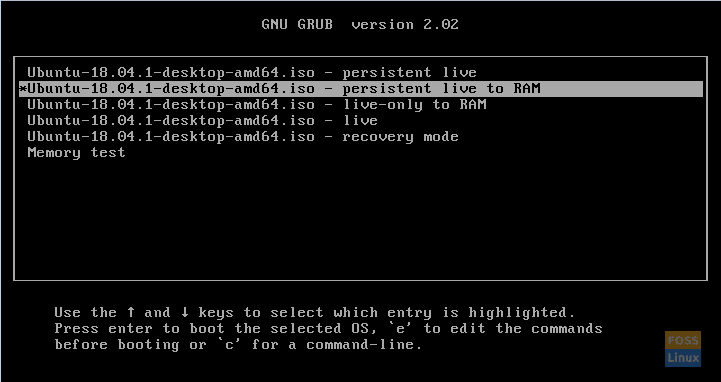
Boot From USB Drive
Congratulations, you have just created an Ubuntu Live USB with persistent storage.

