OneDrive is a cloud-based storage service that is developed by Microsoft. It allows you to store files in a cloud securely and access them from anywhere in the world. The OneDrive service is available for free to everyone who has a Microsoft account.
For Linux users, there is no official desktop client for the Microsoft OneDrive. Hence we suggest an alternative third-party software called Rclone. This app is a command-line based tool used to synchronize all your files to and from the cloud. Rclone tool supports various cloud storage services like Amazon Drive, Google Drive, and many other cloud storage services, including the Microsoft OneDrive.
One of the great features of Rclone is that it can mount any of the supported cloud storage services as a file system. But its highly recommended to be careful while using this feature as is still in the experimental phase.
In this guide, we will walk you through the installation of Rclone on Ubuntu. Also, we will show you detailed steps on how to mount Microsoft OneDrive as a file system.
Installing Rclone on Ubuntu
Before starting, you need to make sure that your system is updated using the next commands:
sudo apt update
sudo apt upgrade
Now, you can download the Rclone binaries from the official Rclone website. Or you install Rclone using the curl command, but first, we need to install curl package on your system.
sudo apt install curl
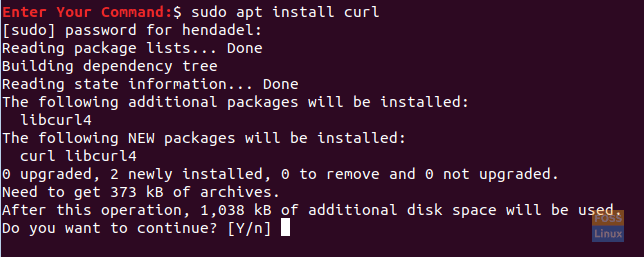
Install Curl Package
Then install the Rclone using the following command:
curl https://rclone.org/install.sh | sudo bash
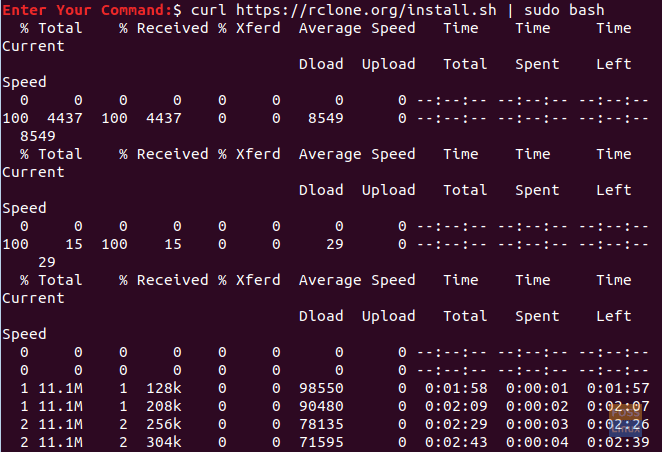
Use Curl To Install Rclone Package
After the Rclone tool is installed successfully, you should see a confirmation message in the Terminal.

Rclone Package Installed Successfully
Add Microsoft OneDrive Remote To Rclone
As you can notice in the output, it suggests running the “rclone config” command to start adding new remote services.
Step 1. Run the Rclone configuration command that will list multiple options.
rclone config

Start Rclone Configuration
Step 2. To add a new remote service, enter “n” then press the Enter key.

Choose The New Remote Option
Step 3. You will be required to enter a new name for the new remote service. Just input the name you need then press the Enter key. (In my case, I have used the “microsoftonedrive” as a name for the new Microsoft OneDrive service that we are going to create.)

Give It A Name
Step 4. After pressing the Enter key, you will see a list of all supported cloud storage services. Now you need to scroll to search for the Microsoft OneDrive service and get the corresponding number.
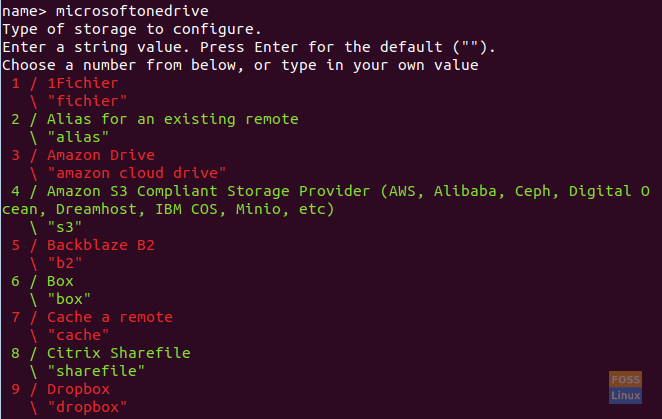
List Of Supported Cloud Storage
Step 5. As you can see, the corresponding number for the Microsoft OneDrive is 22.

Search For Microsoft OneDrive Number
Next, enter the 22 number and press the Enter key.
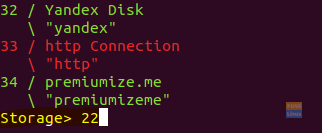
Enter The Microsoft One Drive Number
Step 6. Here you will be required to enter the client_id. There is no need to enter it. Just leave it blank and press the Enter key.

Just Press Enter For The Client_ID
Step 7. Also, you will be asked to enter the client_secret, leave it blank, and press the Enter key.

Just Press Enter For The Client_Secret
Step 8. In case you need to edit the advanced configurations, press “y” otherwise choose n” then press the Enter key.

Edit Advanced Configuration
Step 9. In this step, you will be asked to enter the auto-configuration. It’s recommended accepting this and press “y” then the Enter key.

Auto Configuration
Step 10. You will get a message like the below one, indicating that your default browser will open automatically.

Your Default Web Browser Should open automatically
Step 11. A new tab in your default browser will be opened, and you will be asked to enter your Microsoft account details.
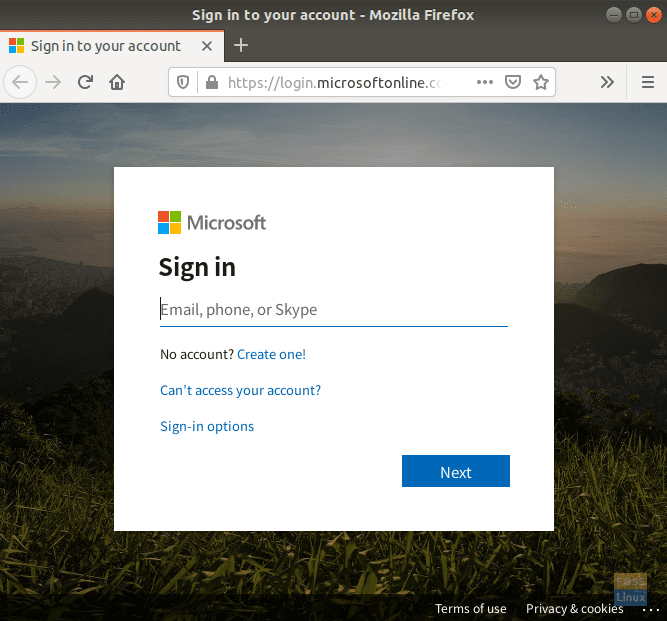
Enter Your Microsoft One Drive Email
Step 12. Now you will be asked to allow the Rclone to access your Microsoft OneDrive account. Press the Enter key to enable access.
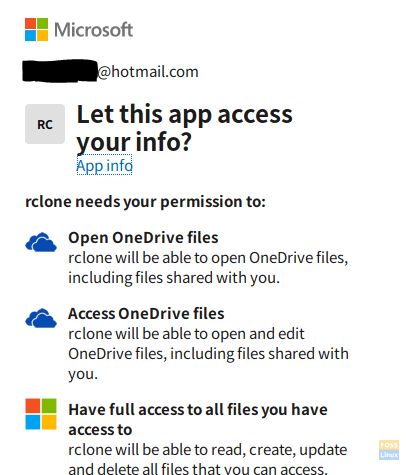
Allow Access To Rclone
Step 13. If everything went successfully, you would get a message like the below one.
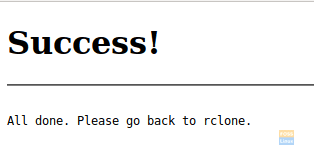
Rclone Allowed Successfully
Step 14. Now return to the opened terminal and choose your account type. In our case, we will select the first option, which is the personal account, and press the Enter key.
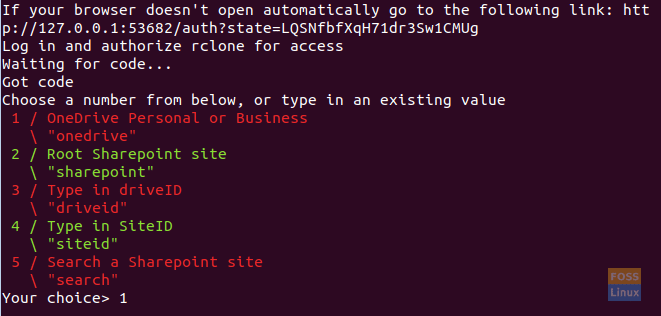
Choose Your Microsoft One Drive Account Type
Step 15. You will get an account listed, use the corresponding number, and press the Enter key.

Select Drive To Use
Step 16. A confirmation message will be displayed, press “y” then the Enter key.

Confirm The Selected Drive
Step 17. Check the given settings, if it is okay then press y then the Enter key.
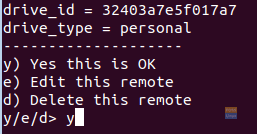
Confirm Microsoft One Drive Token
Step 18. Finally, the Microsoft OneDrive remote service is added successfully. Now you can exit this screen by pressing “q” then the Enter key.
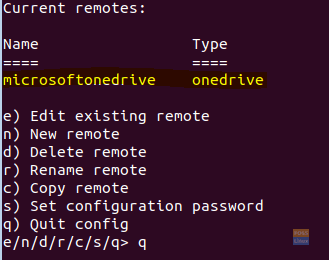
Microsoft One Drive Added Successfully
Mount Microsoft OneDrive Using Rclone
In this part of our tutorial, we are going to mount the Microsoft OneDrive.
Step 1. Let’s create a new directory in your home directory.
mkdir microsoftonedrive
Create A New Directory
Step 2. To mount the Microsoft OneDrive, use the next Rclone command.
rclone --vfs-cache-mode writes mount microsoftonedrive: /home/hendadel/microsoftonedrive

Mount Microsoft One Drive
Step 3. To stop the mounted Microsoft OneDrive, press the “Ctrl+C” to exit the Rclone service.
Mount Microsoft OneDrive On System Startup
Here we are going to mount the Microsoft OneDrive on system startup.
Step 1. From your installed applications, search for the Startup Applications program and open it.
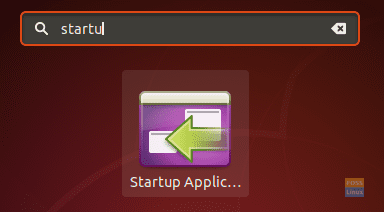
Open Startup Applications
Step 2. Now press the Add button to add a new program to the list.

Add New Application To Startup
Step 3. Enter a name for your startup program, and next use the next command in the command field. After submitting all the details, press the Add button.
sh -c "rclone --vfs-cache-mode writes mount microsoftonedrive: /home/hendadel/microsoftonedrive"

Enter The Details For Microsoft One Drive
Step 4. As you can see, Microsoft OneDrive is added to your startup programs.
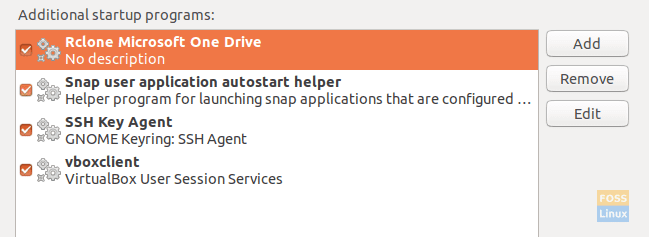
Mount Microsoft One Drive On System Startup
Congratulations, you have just mounted the Microsoft OneDrive using the Rclone. That’s it for now.

3 comments
Hello. Thanks for the nice article. Unfortunately this did not work for me in the case of a virtual Ubuntu machine in the cloud. Why? Because when it says click “https://127….” it expects a Linux desktop. My Ubuntu instance is a compute engine instance in the Google cloud platform. I am accessing virtual machine from my Windows laptop. Hence, this does not help. It simply launches a window in the Firefox on my laptop and then an error is reported. Can you help with this?
In Step 9 while creating rclone, when you are asked to enter the auto-configuration, click NO. Then You will receive a command to make registration into a local PC with internet browser.
Finally, you shall copy token provided in your local machine and paste into your Google cloud machine and continue the rest of process to step 10 and following.
is it possible to just upload any file to onedrive without having it synced locally?