If you are a newbie to the Linux world, most probably you have chosen to install a Linux distribution dual-boot with Windows. That assumption is due to the fact that it may take some time to get used to Linux and make the decision to switch over completely. The default bootloader in Linux is called Grub, and usually, it will boot to Linux by default.
So in case, you prefer to boot to Windows first, here is how to make this happen. In this guide, we will walk you through changing the operating system boot order on the Grub boot-loader by using the Grub Customizer.
Changing the OS boot order in the Grub Bootloader
Grub Customizer is a graphical interface tool is used to configure some Grub 2 options. It can be used to rearrange the Grub boot menu order with no need to edit the default Grub configuration files (like the /etc/default/grub) manually.
Installing the Grub Customizer package
The Grub Customizer can be installed from the default Linux distributions repositories like Fedora and Debian. For Ubuntu systems older than 19.04, it can be installed by adding the PPA to the Ubuntu repository. However, for Ubuntu 19.04, the PPA for the Grub Customizer is already included in it.
On Ubuntu (Older than 19.04) and Linux Mint
sudo add-apt-repository ppa:danielrichter2007/grub-customizer
sudo apt update
sudo apt install grub-customizer
On Ubuntu 19.04
sudo apt install grub-customizer
On Debian
sudo apt install grub-customizer
On Fedora
Step 1. Install the Grub Customizer package using the next command.
sudo dnf install grub-customizer
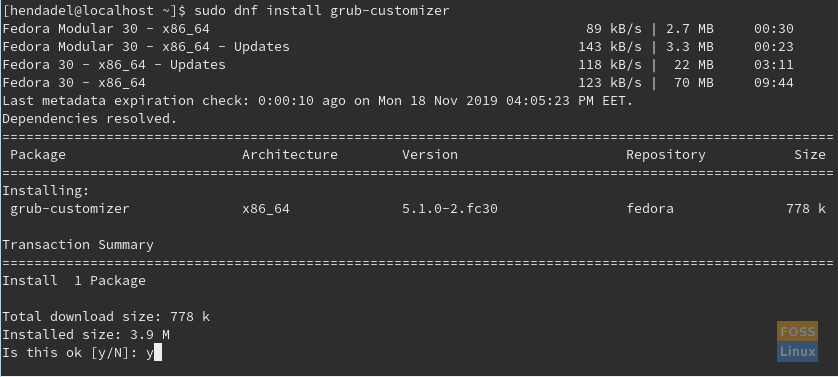
Install Grub-Customizer On Fedora
After the Grub Customizer installation completes successfully, you will get something like the below screenshot.

Grub-Customizer Installed Successfully On Fedora
Step 2. To open the Grub Customizer application, first, open the Activities tab from the top left of your Fedora desktop.

Open Activities From Fedora Desktop
Step 3. Search for the Grub Customizer application and open it.
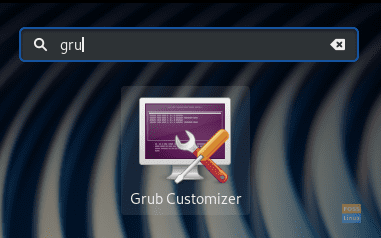
Search For Grub-Customizer
Step 4. You will be required to enter your sudo password.
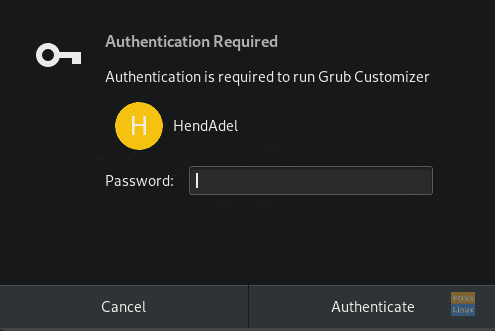
Authentication Required
Step 5. The Grub Customizer interface will look like the below screen. In the List configuration tab, you will find all the available operating systems.

List Of Available Operating Systems
Step 6. To change the order of a specific operating system, select the needed entry, then press the up or down arrow from the top panel.
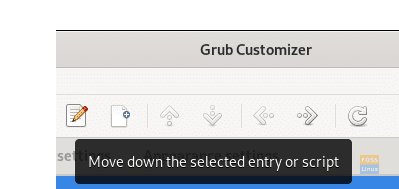
Move Selected Operating System Up or Down
Step 7. From the General settings tab, you can select which operating system be your default one to boot. Also, you can set the time to the default boot option.
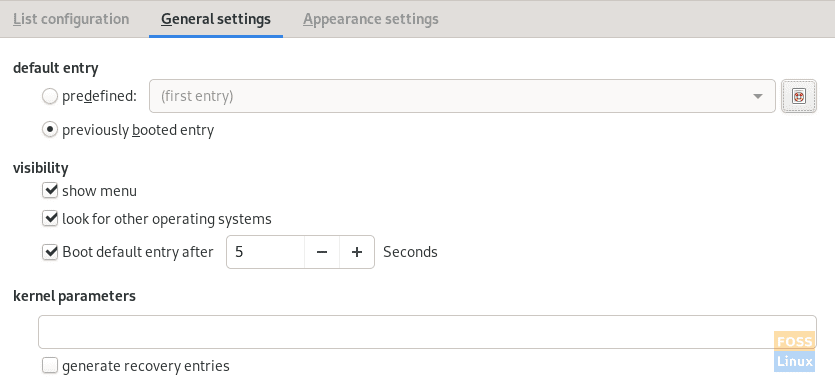
More Options
Step 8. After setting your changes, do not forget to press the Save button to apply the changes to the grub.cfg configuration file.
That’s it for now.


1 comment
This information was so helpful. Thank you so much for posting.