And here we are, Linux Mint 19.3 Tricia is released officially with several significant new features in it, and so we think every Linux Mint should upgrade to the latest version.
In this guide, we will show you in detail how to upgrade from your current Linux Mint to the latest Mint 19.3 Trica. Let’s divide this guide into two sections:
- Linux Mint 19.3 Tricia Pre-requisites
- Upgrading to Linux Mint 19.3 Tricia
Linux Mint 19.3 Tricia Upgrade Prerequisites
Before starting in the main upgrade process, we suggest first to perform some pre-upgrade steps to ensure that the next steps will be smooth.
Step 1) Check your current Linux Mint version
Step 1. From the bottom left of your desktop, open the Mint menu.

Open Linux Mint Menu
Step 2. In the search bar search for the system Info application and open it.

Open System Info Packages
Step 3. In the system info screen, you should see the version of the current Linux Mint.
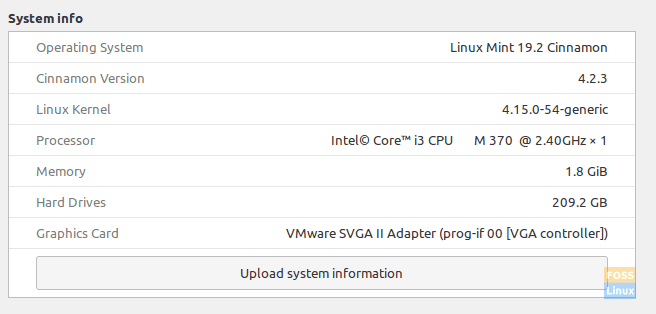
Current Linux Mint Version GUI Method
Step 2) Disable the Linux Mint Screensaver
Step 1. From the bottom left of your desktop, open the Mint menu.

Open Linux Mint Menu
Step 2. In the search bar, search for a screensaver application and open it.
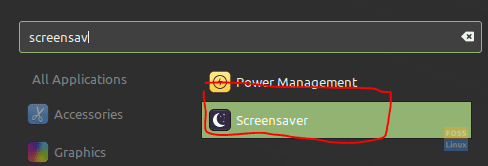
Open The ScreenSaver Application
Step 3. In the Screensaver settings option, turn it to Never.
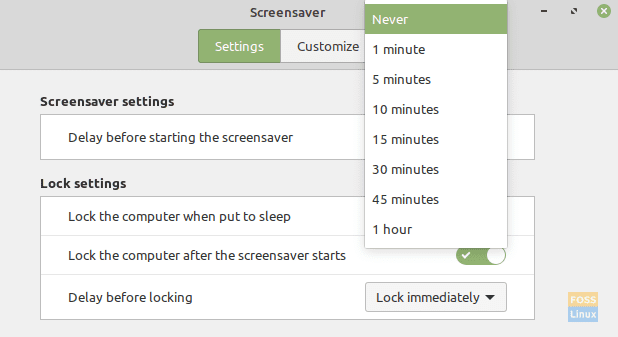
Disable ScreenSaver
Step 3) Take a system snapshot
Use the Timeshift application to create a system snapshot. This step is important to make sure you can reset your Mint to working state in case the Tricia upgrade process went problematic.
Step 1. From the bottom left of your screen, open the Mint menu.

Open Linux Mint Menu
Step 2. In the search bar, search for the Timeshift app and open it.

Search For The Timeshift Application
Step 3. Authentication will be required. Just use your sudo password and press the Authenticate button to continue.
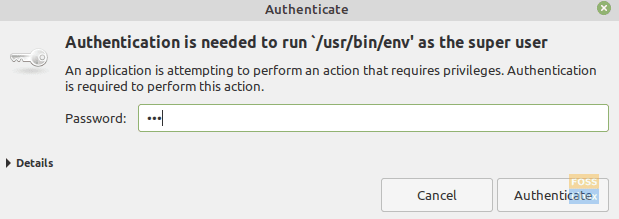
Authentication Required
Step 4. Select your snapshot type and continue to create a snapshot.
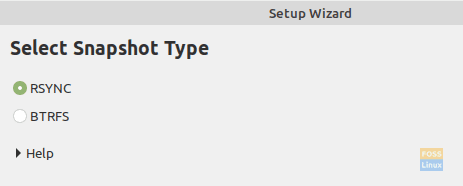
Select Snapshot Type
Now its time to move to the next section where you can start in the Tricia upgrade process.
Upgrading to Linux Mint 19.3 Tricia
We assume that your current system packages are updated. If not, open the update manager and update all the packages that are shown. Then start your upgrade steps as per the following:
Step 1) From the bottom left of your desktop, open the Mint menu.

Open Linux Mint Menu
Step 2) In the search bar, search for the Update Manager and open it.

Open Update Manager
Step 3) Select the Edit menu, and click on Upgrade to Linux Mint 19.3 Tricia release.
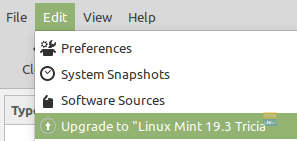
Open The Edit Menu
Step 4) Check the Linux Mint 19.3 Tricia release notes then press Next to continue.
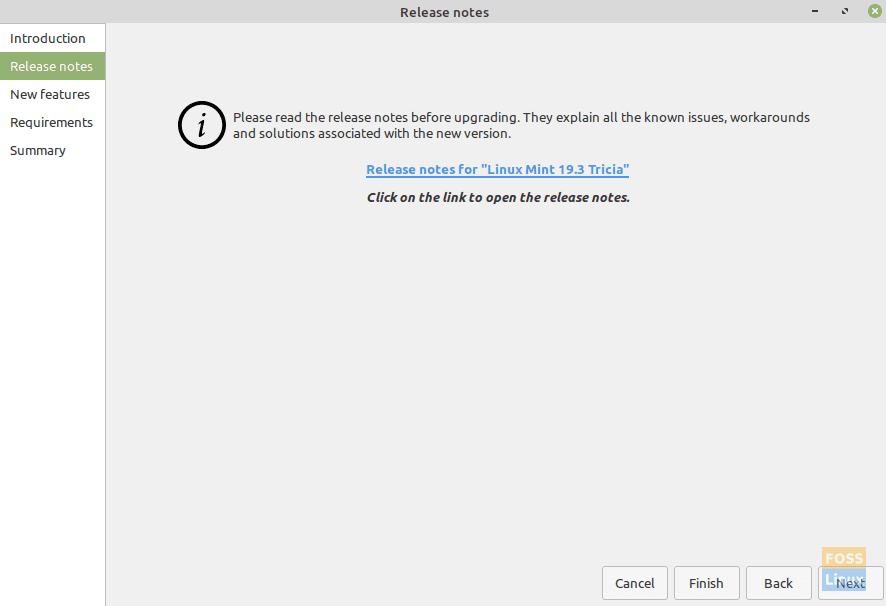
Check Linux Mint 19.3 Release Notes
Step 5) Check new features in the Linux Mint 19.3 then press Next to continue.
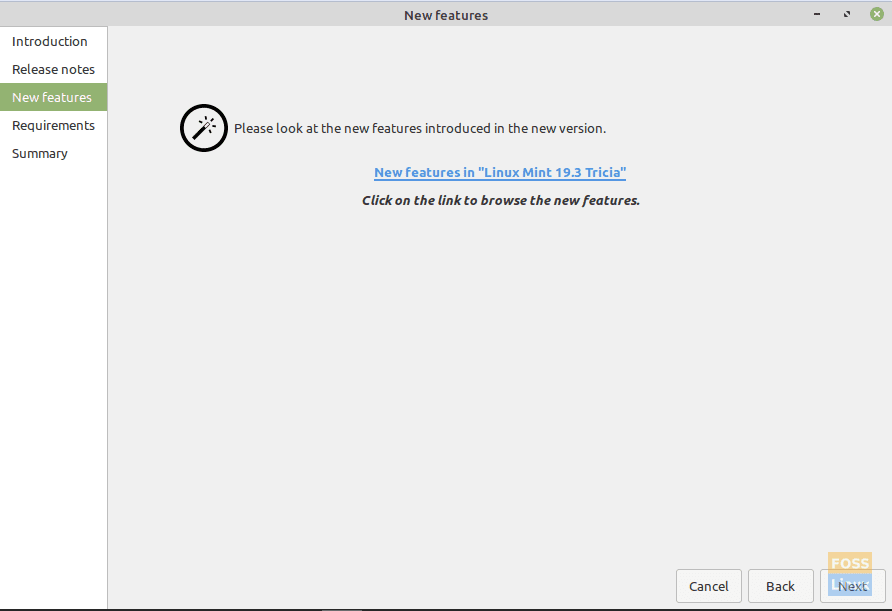
Check Linux Mint 19.3 New Features
Step 6) Check for Linux Mint 19.3 Tricia requirements and press Apply to continue.
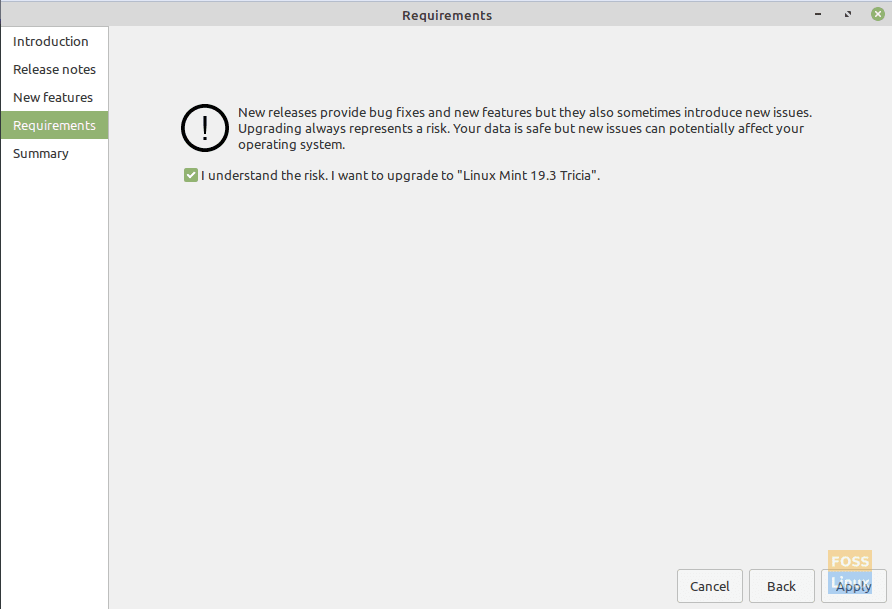
Linux Mint 19.3 Requirements
Step 7) Authentication will be required to proceed.
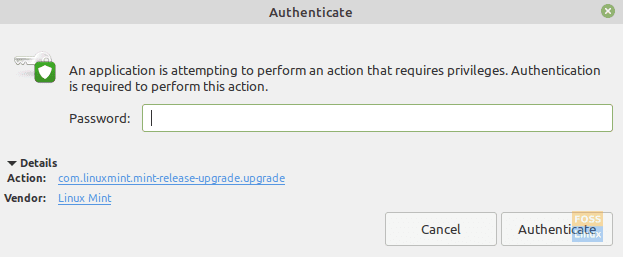
Authentication Required To Upgrade
Step 8) Now, your system will start downloading package information.
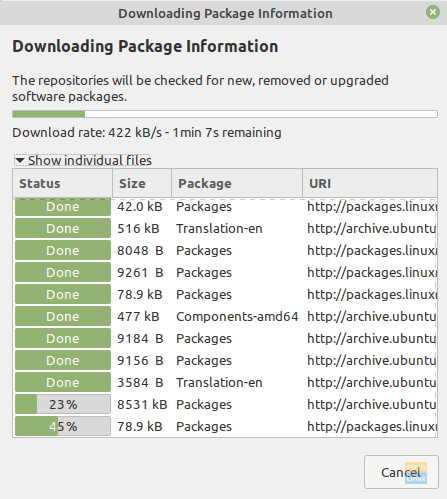
Downloading Package Information
Step 9) After the download finishes successfully, your system will start installing applications.
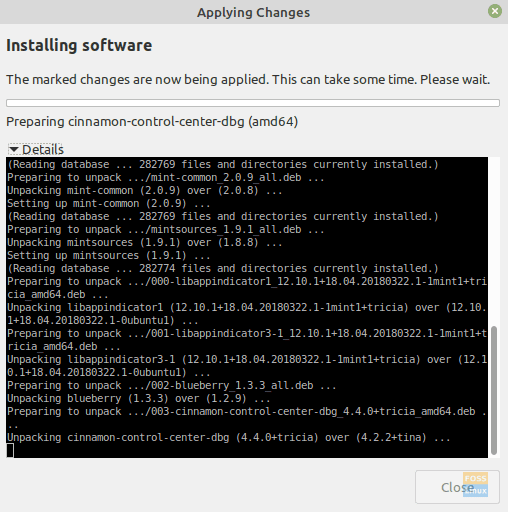
Installing Software
Step 10) When the installation completes successfully, you will be asked to reboot your system to apply changes and complete upgrading.
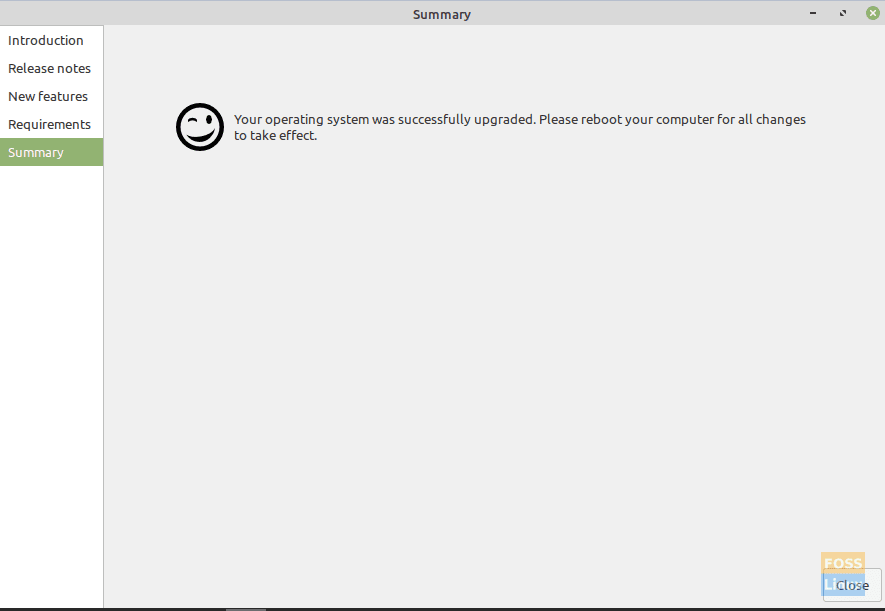
Reboot Your Linux Mint To Continue Upgrading
Step 11) After rebooting your system if everything went normal and your system starts up successfully, check your system info.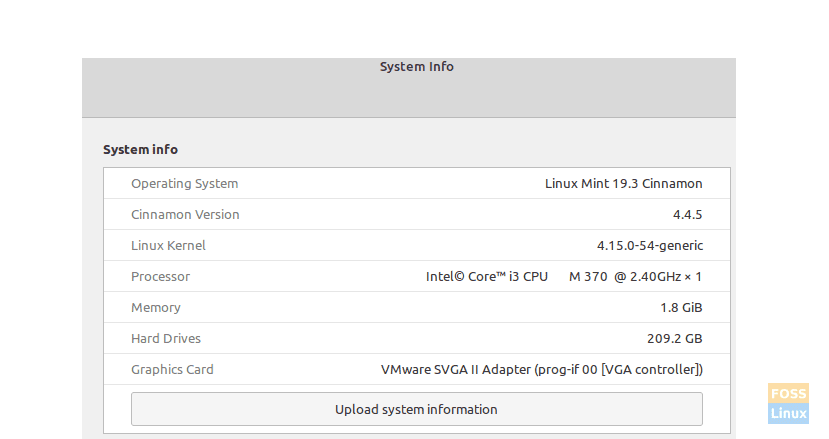
Linux Mint 19.3 Is HereThat’s all about upgrading your PC to Linux Mint 19.3.

1 comment
Thanks. Worked. Went from 19.1 to 19.3.