The full potential of VirtualBox is unleashed with the installation of VirtualBox Guest Additions package.
The package improves and enhances your Virtual Machine’s performance in the VirtualBox. It supports mouse pointer integration and a shared clipboard between the Linux VM and your host machine.
Installing VirtualBox Guest Additions on Fedora 30
Before starting the actual installation, make sure that your system is fully updated using the following commands:
sudo dnf update
sudo dnf upgrade
Step 1) Ensure that you are using the latest available kernel for your Fedora.
dnf update kernel*
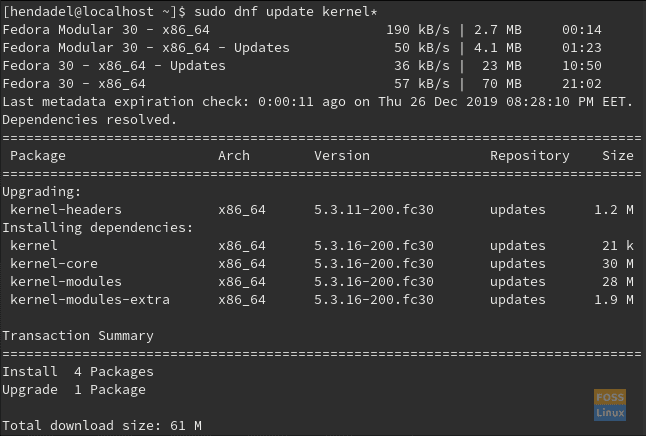
Update Your Fedora Kernel
Step 2) Reboot your Fedora machine to apply changes, run the reboot command in your terminal, and your computer will restart automatically.
reboot
Step 3. After your system starts, install the following required packages via the Fedora Terminal.
dnf install gcc kernel-devel kernel-headers dkms make bzip2 perl libxcrypt-compat
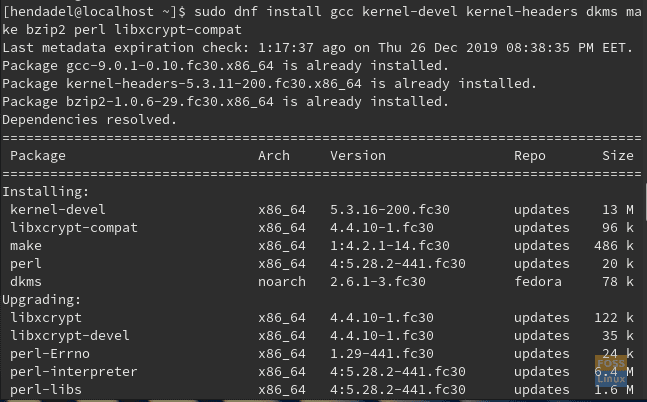
Install Required Packages
Step 4) Add the kernel directory environment variable.
KERN_DIR=/usr/src/kernels/`uname -r`
Add The KERN_DIR Environment Variable
Step 5) Export the kernel directory environment variable.
export KERN_DIR
Export The KERN_DIR Environment Variable
Step 6) Now, let’s mount the Virtual Box Guest Additions. From the top menu of your running virtual machine click the Devices menu and choose to Install the Guest Additions CD image.
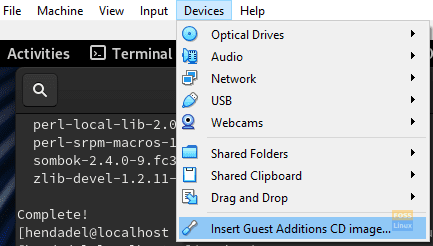
Insert The Vbox Guest Additions
Step 7) The package should auto-run automatically, as shown below. Click the Run button to start the Virtual Box Guest Additions installation.

Vbox AutoRun
Step 8) Authentication is required, use your sudo password to continue.
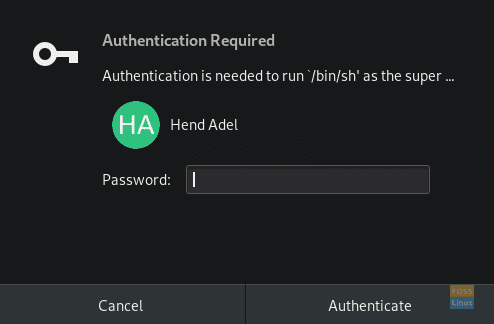
Authentication Is Required
Step 9) The package should be installed.

Vbox Guest Additions Will Start Installation
Step 10) At last, you should find a message like the below one.

Reboot Your Fedora System
Step 11) Reboot your machine to apply changes.
reboot
Step 12) After your system restarts, you can check if the VirtualBox Guest Additions are installed successfully using the below command.
sudo lsmod | grep vbox
Congratulations, you have now installed the VirtualBox Guest Additions on your Fedora machine.

