
Microsoft’s interest in the open-source world has an exciting outcome; it allows you to run Linux on the Windows machine. You should be able to install a bash shell on Windows that will let you execute Linux commands on Windows!
You read it right, what more you can do this without the need to create a virtual machine or dual boot Windows and Linux.
In this tutorial, you shall know how to install and enable Bash shell on Windows 10. Also, we shall show you how to uninstall the Bash shell just in case you do not want it anymore.
Installing Linux Bash Shell on Windows 10
Before installing the Linux Bash Shell, you need to enable the Windows Subsystem for Linux feature.
Enabling the Windows Subsystem for Linux
Step 1. On your Windows machine, launch the start menu.
Step 2. In the search bar, search for the Windows PowerShell application, right-click and run it as administrator.
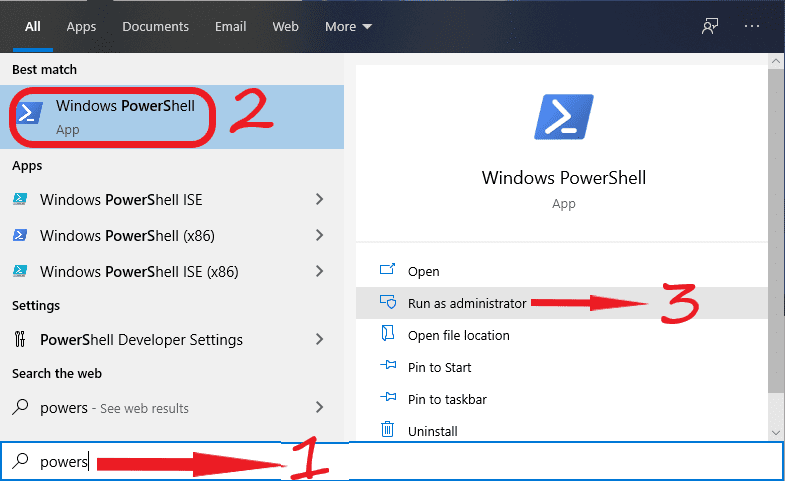
Open PowerShell
Step 3. When the PowerShell opens, run the below command to enable the Windows Subsystem for Linux feature.
Enable-WindowsOptionalFeature -Online -FeatureName Microsoft-Windows-Subsystem-Linux
The command may take some time. When done, it should prompt you to restart your machine.
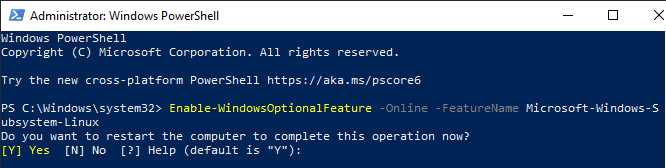
Enable Windows feature
After your machine restarts, you can move on to the next section to start downloading and installing the Bash Shell.
Installing Bash Shell on Windows
Step 1. Launch the Microsoft Store.
Step 2. In the search bar, look for Linux applications. Then select the Ubuntu application and open it.
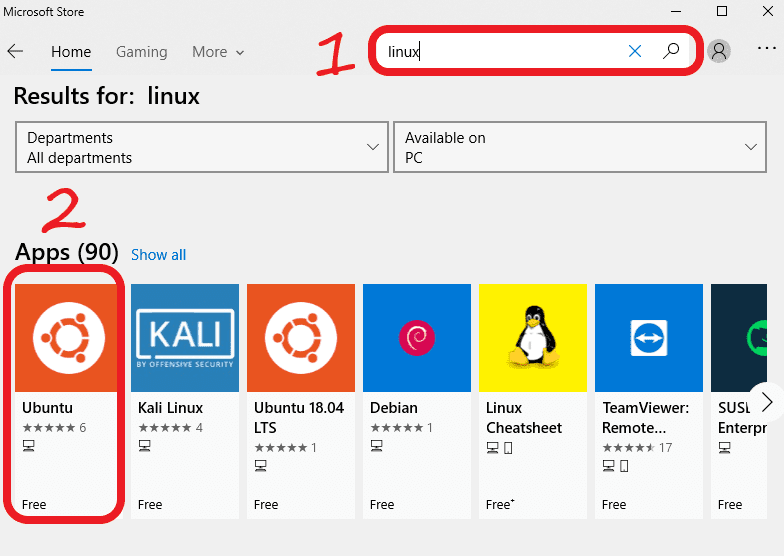
Download Ubuntu Application From Microsoft Store
Step 3. Press the “Get” button to start the download.
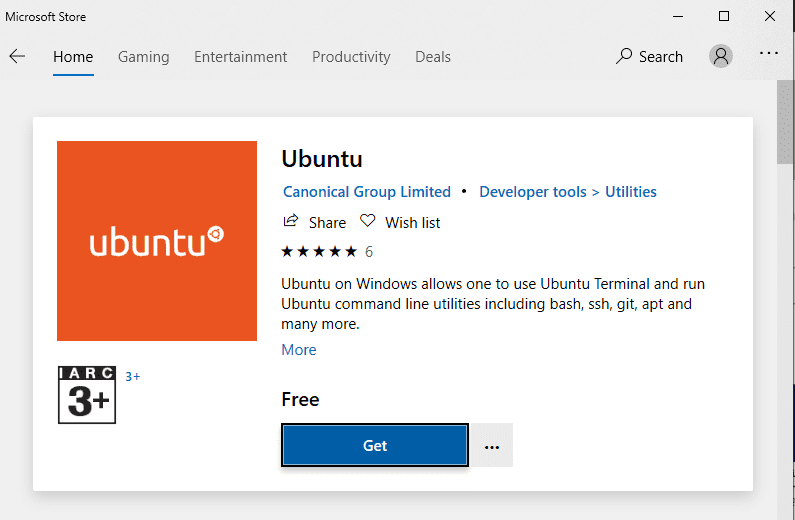
Press the Get Button
Watch your download progress.

Download Will Start Soon

Check your Download Progress
Step 4. Ubuntu for Windows has downloaded successfully; you can launch it now.
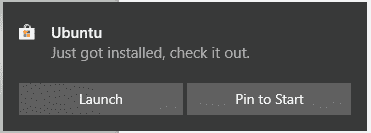
Ubuntu Downloaded Successfully
Step 5. For the first time, it will take a few minutes to set things up.

Ubuntu Application Installation
Step 6. After installation is complete, you should be prompted to create a username and password.
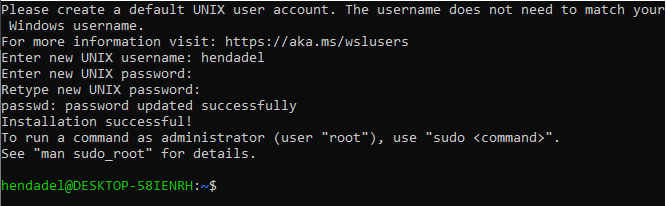
Create Username and Password
Step 7. You should be all set. You can now start using a Bash Shell on the Windows machine.
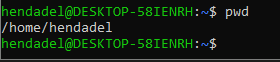
Start Using Bash on Windows
Uninstalling Bash Shell on Windows 10
Step 1. You should first uninstall the installed Ubuntu application alongside all its files. Open the settings application from your start menu.

Open Settings application on Windows
Step 2. Select “Apps” and open it.
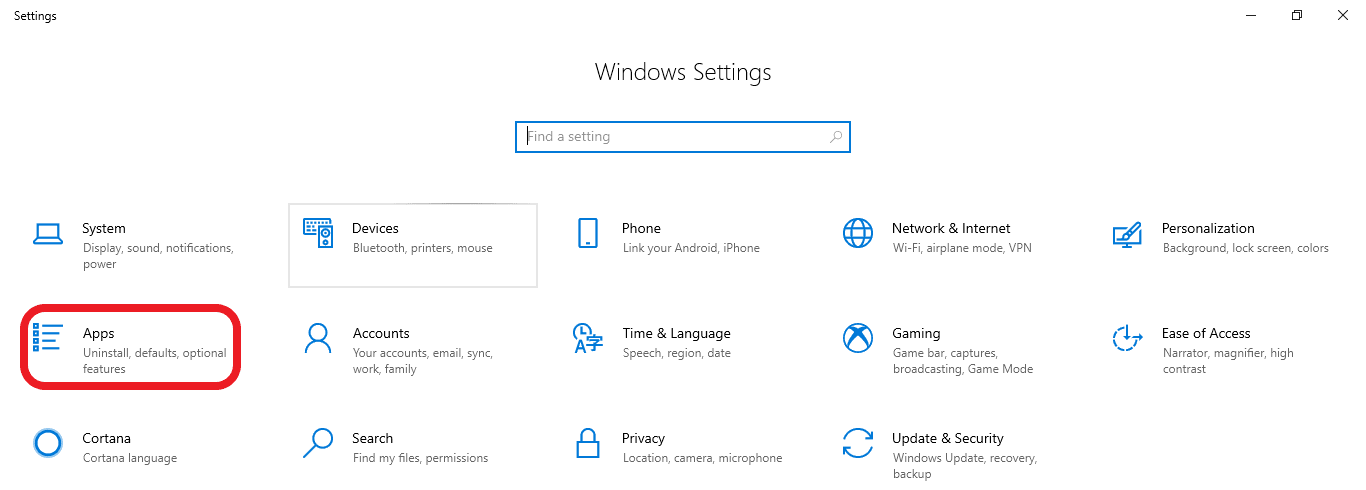
Open Apps
Step 3. Select “Apps and Features,” search for the Ubuntu application and click on it.
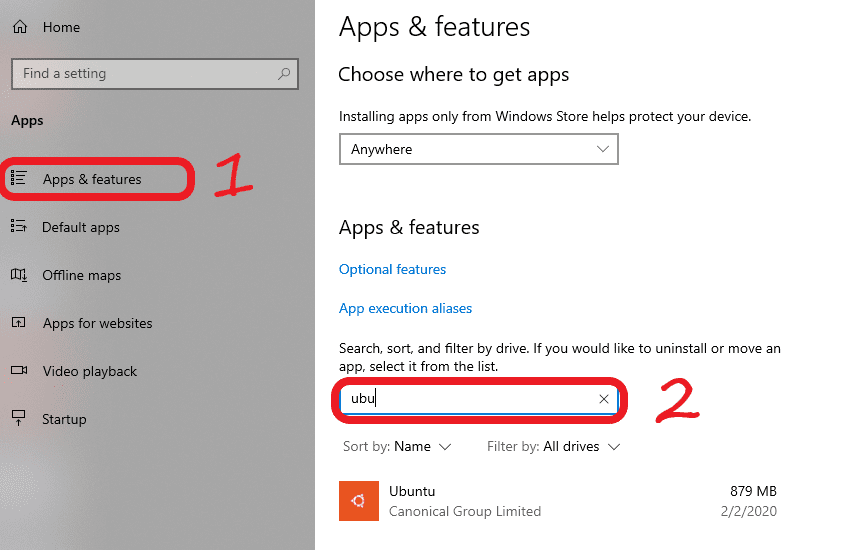
Open Apps and Features
Step 4. Click the “Uninstall” button.
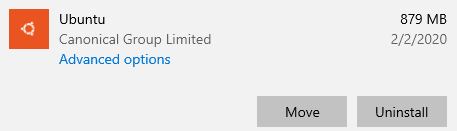
Press the Uninstall Button
Step 5. Check the uninstallation progress.
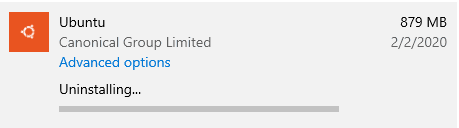
Uninstallation Progress
Step 6. Now let’s disable the Windows Subsystem for Linux feature. Open PowerShell and run it as administrator.
Step 7. Use the following command below to disable the Windows Subsystem for the Linux feature.
Disable-WindowsOptionalFeature -Online -FeatureName Microsoft-Windows-Subsystem-Linux

Disable Windows feature
That’s all about installing and uninstalling the Bash shell on your Windows system.