Plex Media Server is a cross-platform multimedia application for managing and streaming your media. It scans and organizes your media, and then lets you stream it to all your devices.
You can include all your videos, music files, and photos. Plex Media Server saves you the workload of copying these files in all your devices. It also saves on memory storage since only one platform holds the media – one hosting Plex Media Server.
The Server makes use of Client-Server architecture. Here, the device hosting Plex Media is the Server, while the device requesting for services becomes the Client. The general process of setting up a media server can be quite tiresome. However, Plex makes it so simple and straightforward.
Plex runs on a variety of platforms, including Linux, Windows, macOS, FreeBSD, and several NAS (Network-attached storage) systems. When setting up a Plex media server, you will need a dedicated host for the Plex Server and a client application to access the Plex Media Server. This application should be compatible with the platforms listed above.
Setting up Plex Media Server on Linux
In this article, we are going to look a step by step procedure of installing Plex Media Server. Our platform of choice is Ubuntu 18.04 LTS.
Getting Plex Media Server
Navigate to the Plex Media Server Downloads page. You will be required to select the platform you are using. On the drop-down menu, click choose Linux.
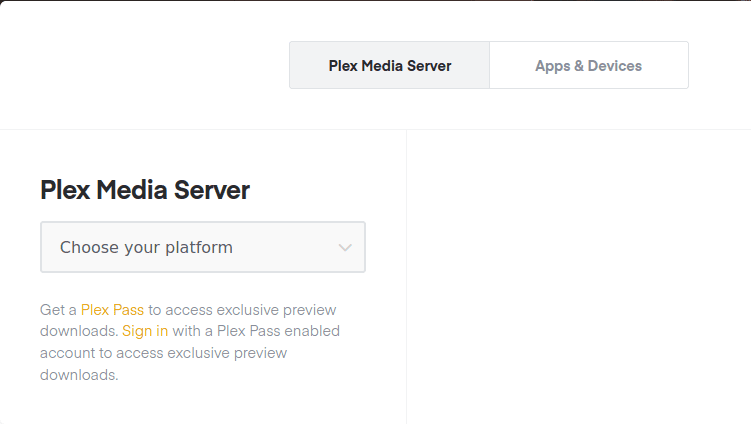
Select Platform
A prompt will load requesting you to select your distribution. Currently, as of writing this post, only Ubuntu 16.04 LTS setup is available, but it also works for Ubuntu 18.04 LTS. Download the .deb setup file. Ensure your system meets the hardware requirements. For example, if you are using a 64bit system, then download the 64bit setup.
If you can alternatively copy the download link to the setup, and use the wget command in Terminal.
wget [URL]
e.g., To download the 64bit deb file:
wget https://downloads.plex.tv/plex-media-server-new/1.18.6.2368-97add474d/debian/plexmediaserver_1.18.6.2368-97add474d_amd64.deb
Installing Plex Media Server
Launch the Terminal, navigate to the location of the downloaded deb file. You can do this using the change directory (cd) command. If you used wget command, then it should be in the current working directory.
Run this command to install it.
dpkg -i [file-name]
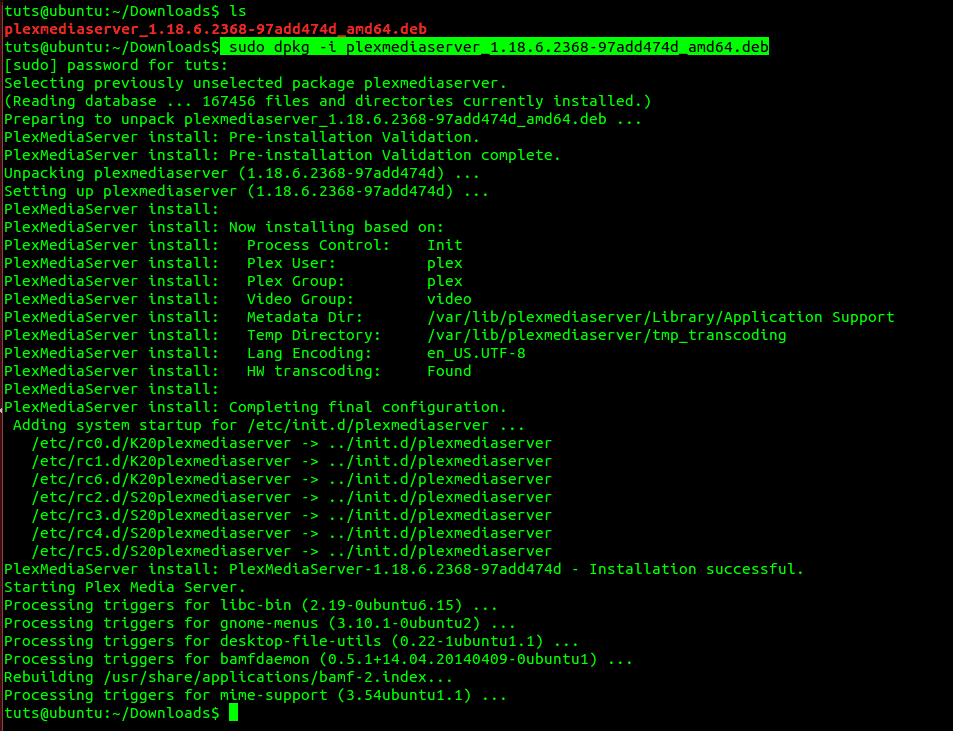
Install Plex DEB file
Remember to change the file-name with the name of your downloaded deb package.
Enabling and Starting Plex Media Server
After a successful installation, you will need to start and enable the media server. For some systems, the Plex Media Server service may be enabled and started automatically after installation. However, running a few lines of command will not harm.
To enable the Plex media service, run this command in the Terminal:
$ sudo systemctl enable plexmediaserver.service
To start the Plex Media Server service, run this command.
$ sudo systemctl start plexmediaserver.service
Note, you will need root privileges to execute these commands. That’s why we are using sudo. In case of any error while running these commands, try running another installation.
If both commands are executed successfully, verify the status of the Plex Media Server service by running these commands.
$ sudo systemctl status plexmediaserver.service
The image below shows that the Plex Media Server service is enabled and started.
Configure Plex Media Server
After confirming the state of the Plex Media Server and ensuring it’s started, you now need to perform some configurations. Plex Media Server comes with a classic web interface where you can do all the configurations.
To get started, launch your favorite browser and enter this URL.
http://[option]:32400/web
In the options field, you will have to put the IP-Address of your device. If you are not sure, use 127.0.0.1 (Localhost address). For this case, let’s use the localhost address.
http://[IP-Address]:32400/web
You should be redirected to the Plex Media Server, where you will be required to sign in using either Google account, Facebook, or using Email. The image below illustrates this process.
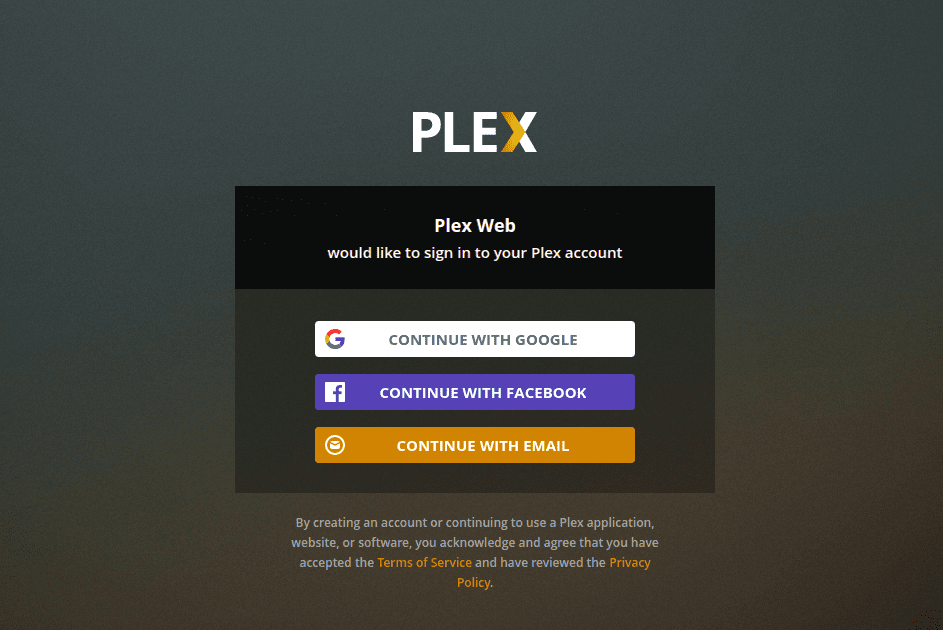
Sign in Plex Media Server
After signing, for some, you might see a page showing some of Plex Media amazing features, click on the Got It button, and a new page will load. It is the Server setup page. Provide a friendly username and also remember to check the ‘Allow me to access my media outside my home’ checkbox. Click Next.
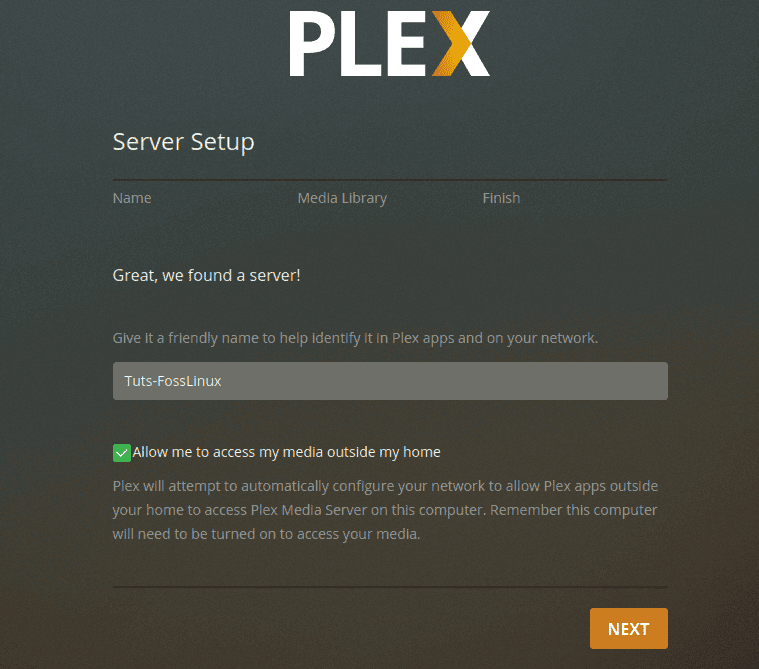
Provide Username
Now you will be presented with the Add Media wizard. Click on the Add Library button.

Add Library wizard
A new screen will load, and you will be required to select the library type. It can either be Movies, TV shows, Music, Photos, or any other media file. For this post, we will choose the video library. You can change the name of that library and also select the language you wish to use. When done, click Next.
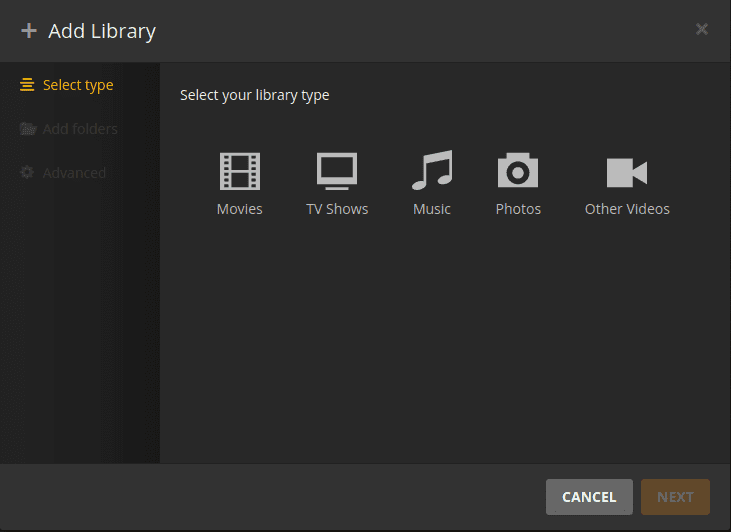
Select Library Type
Now, you will need to select a Media Folder. It is the folder through which you will be able to stream your media from using the Plex Media client application.
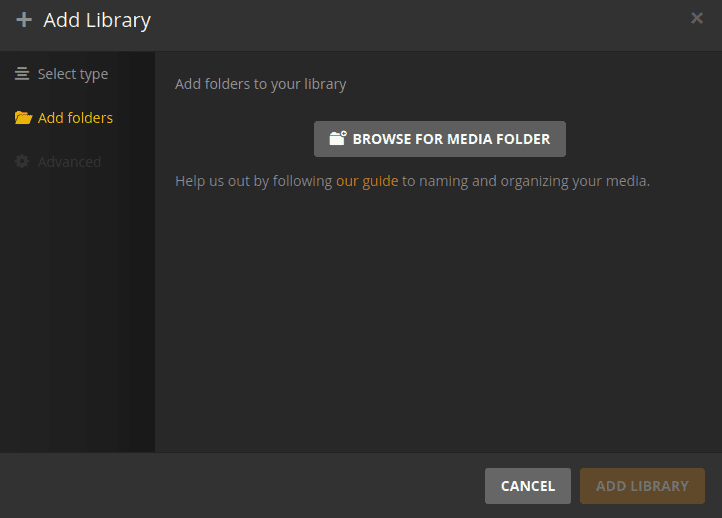
Browse Media Folder
Select your media folder and click the Add button then Add library.
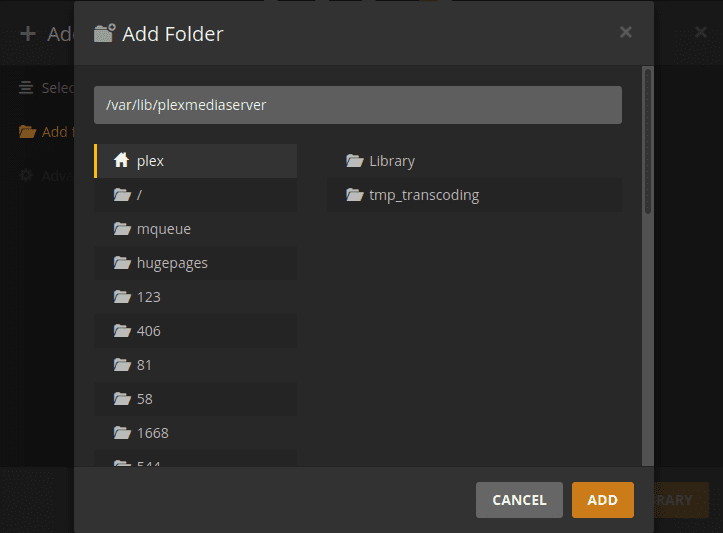
Select the Media Folder
When done, you will be taken back to the Add Library screen. You should be able to see your new library added

New Media Library
When done, you will be taken back to the Add Library screen. You should be able to see your new library added on the dashboard. Click Next, then click Done to confirm you are through with setting up your Plex Media library.
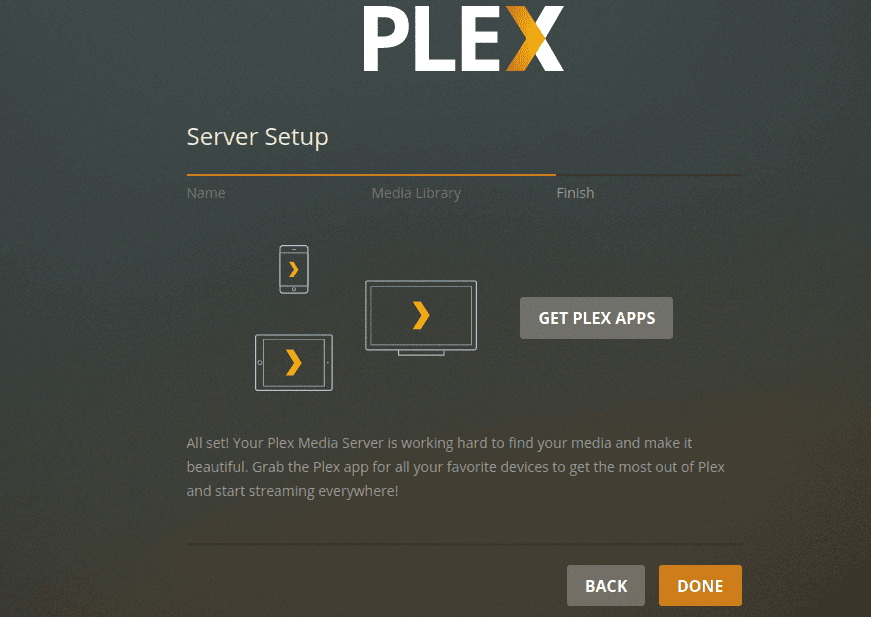
Done Setting up media library
Accessing Plex Media Server From a Browser
You can use the browser present on the device hosting the Plex Media Server, or you can use any other device on the same network. Open the browser and enter this URL:
http://[options]/32400/web
This time, if you are using another device on the same network, don’t use the localhost address (127.0.0.1). Run the command ifconfig on the computer hosting Plex Media Server to get its IP-Address. Replace options with this IP-Address.
You will be required to sign with the credentials you used while setting up configurations. Once logged in, you can now access your media from Plex Media Dashboard.
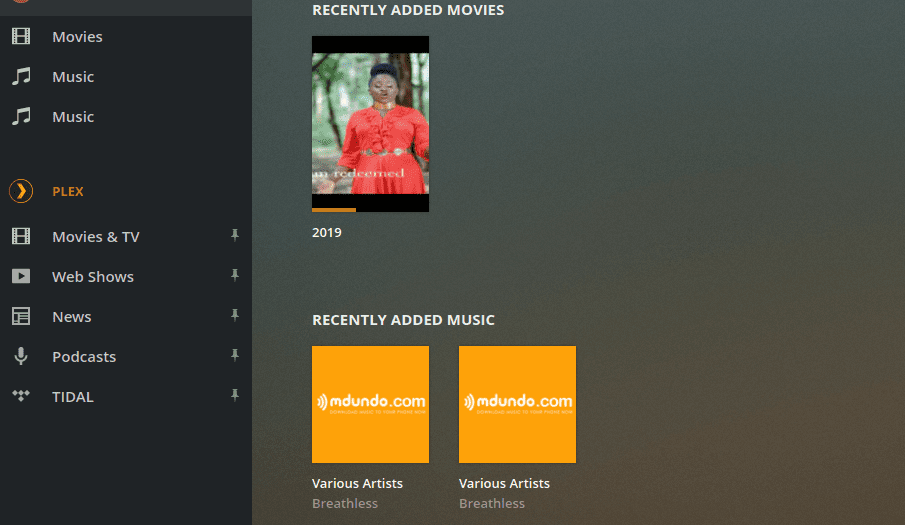
Access Plex via Browser
Access Plex Media Server using a Plex client application
You can also access Plex on any device using the Plex app. You are only required to sign in, and you can access all your media files and libraries. In the image below, I am using the Plex to access my media files via the web browser.
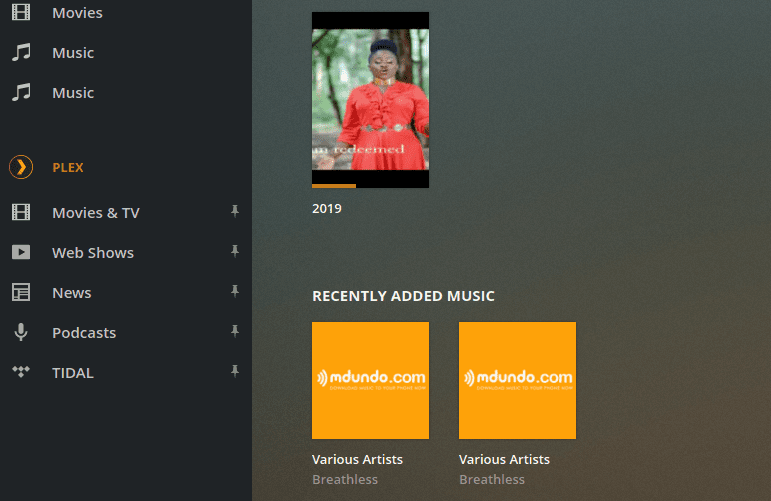
Access Plex using Plex application
In case of a new release of Plex Media server, you can update the server using these commands:
$ sudo apt update
$ sudo apt --only-upgrade install plexmediaserver
Conclusion
This is all about setting up a Plex Media Server on a Ubuntu system. Enjoy streaming your multimedia content from a single source to a variety of devices including computers, smartphones, smart TVs, streaming media players such as Roku, Fire Stick, Chromecast, etc. The Plex app is available on almost all streaming devices.

