
Graylog is an open-source log management system. Founded by a Texas-based company with the same name, Graylog was formerly called Torch, which began as an open-source project in Hamburg, Germany, in the year 2009.
Graylog centrally captures, stores, and enables real-time search and log analysis against terabytes of machine data from any component in IT infrastructure and applications. The software uses Elasticsearch-based three-tier architecture and scalable storage. Graylog created a niche as a fast, affordable, and viable alternative to Splunk.
Installing Graylog on CentOS 7
1. Pre-setup
Fire up a terminal and enter the following command to set a Hostname.
hostnamectl set-hostname graylog
Update the system.
yum update -y
Install Epel Repository.
yum install epel-release
Install needed packages.
yum install pwgen vim
2. Setup JAVA
Install JAVA.
yum install java-1.8.0-openjdk-headless.x86_64
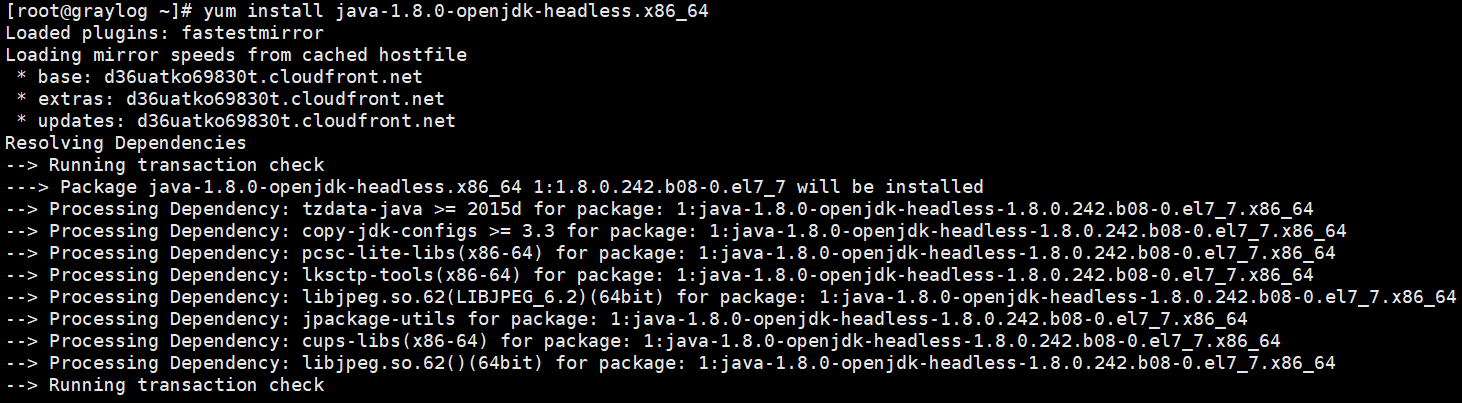
Install JAVA
Check the java version.
java -version

Check Java Version
3. Install MongoDB
Create a repository file.
vim /etc/yum.repos.d/mongodb-org.repo
Add the following contents.
[mongodb-org-4.0]
name=MongoDB Repository
baseurl=https://repo.mongodb.org/yum/redhat/$releasever/mongodb-org/4.0/x86_64/
gpgcheck=1
enabled=1
gpgkey=https://www.mongodb.org/static/pgp/server-4.0.asc
List repo.
yum repolist
Install MongoDB.
yum install mongodb-org
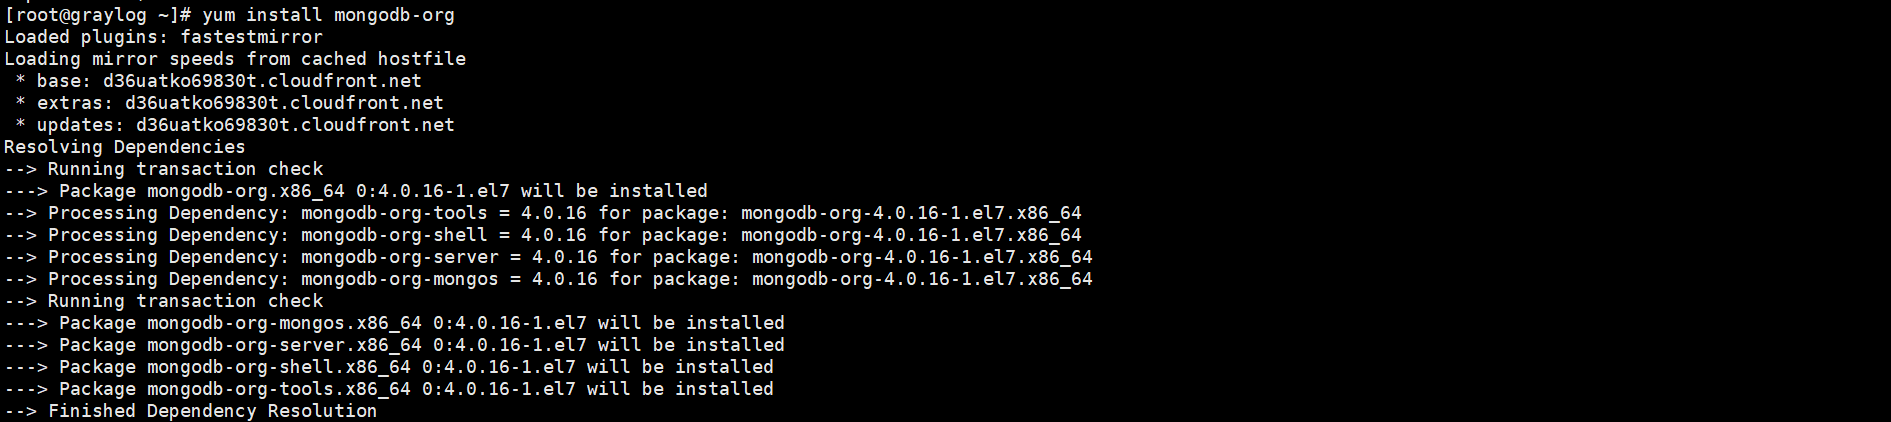
Install Mongo
Enable mongo service on system boot.
systemctl enable mongod.service
Start service.
systemctl start mongod.service
Check mongo port.
netstat -tunlp | grep 27017

Mongo Port
4. Installing Elasticsearch
Install the Elastic GPG key.
rpm --import https://artifacts.elastic.co/GPG-KEY-elasticsearch
Create a repository.
vim /etc/yum.repos.d/elasticsearch.repo
Add the following contents to the file.
[elasticsearch-6.x]
name=Elasticsearch repository for 6.x packages
baseurl=https://artifacts.elastic.co/packages/oss-6.x/yum
gpgcheck=1
gpgkey=https://artifacts.elastic.co/GPG-KEY-elasticsearch
enabled=1
autorefresh=1
type=rpm-md
List repositories.
yum repolist
Install the open-source version of Elasticsearch.
yum install elasticsearch-oss
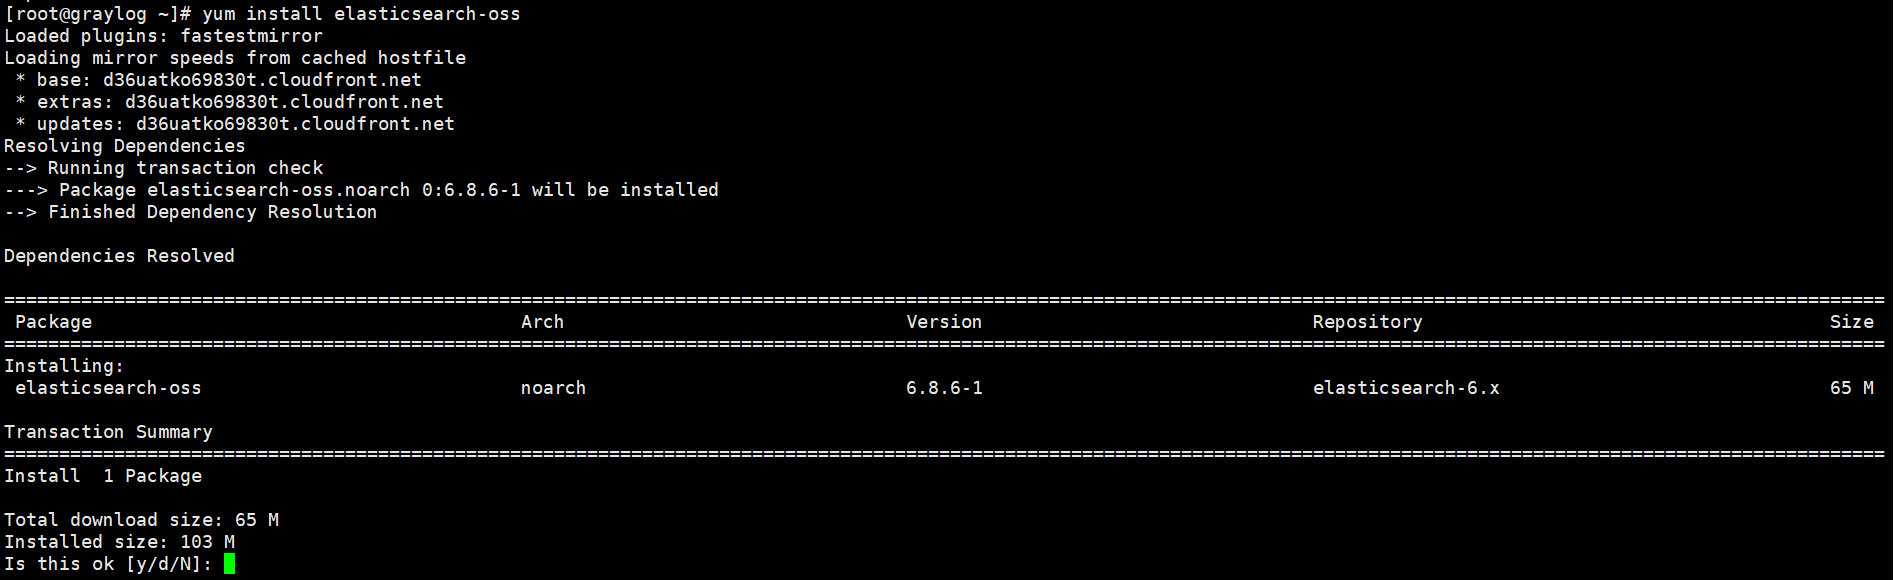
Install Elastic Search
Modify the Elasticsearch configuration file.
Set the cluster name to Graylog and add “action.auto_create_index: false” to the file.
vim /etc/elasticsearch/elasticsearch.yml

Configurations
Save and exit the file. Enable elastic search on system boot.
systemctl enable elasticsearch.service

Enable Elastic Search On System-boot
Check the status of the service.
systemctl status elasticsearch.service
Start service.
systemctl start elasticsearch.service
Check logs.
tail -f /var/log/elasticsearch/graylog.log
Check elastic search health.
curl -XGET 'http://localhost:9200/_cluster/health?pretty=true'
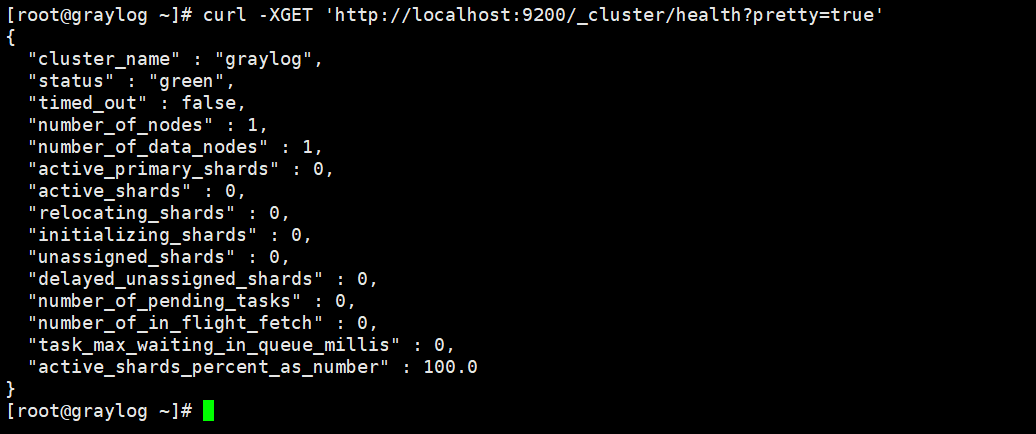
Check Elastic Search health
5. Installing the Graylog
Setup repository.
rpm -Uvh https://packages.graylog2.org/repo/packages/graylog-3.2-repository_latest.rpm

Install Repo
List repositories.
yum repolist
Install Graylog-server.
yum install graylog-server
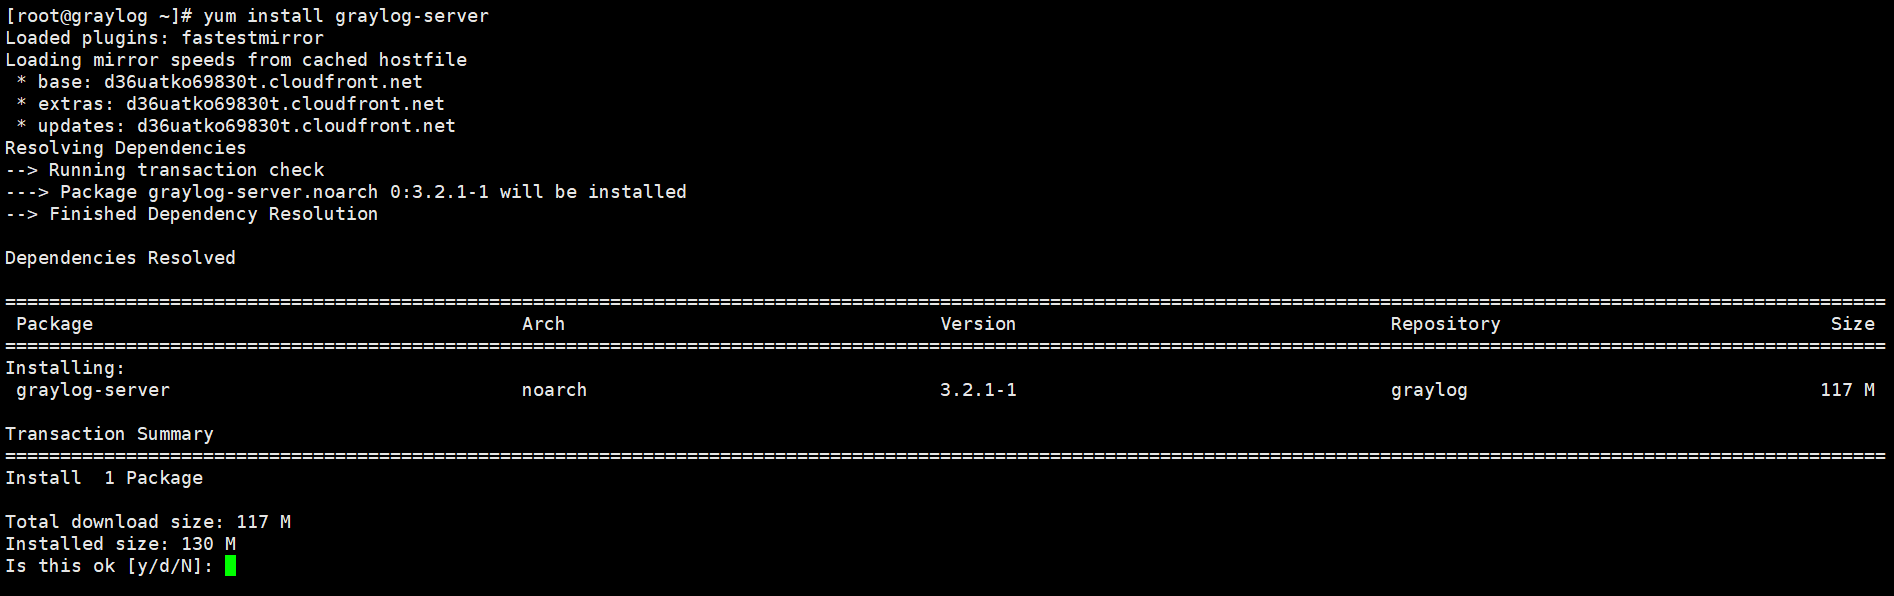
Install Graylog
6. Configure Graylog
You should now add “password_secret” and “root_password_sha2” to server.conf file.
Generate password_secret.
pwgen -N 1 -s 96
Generate root_password_sha2.
echo -n foss@dan123 | sha256sum
Add generated values to file.
vim /etc/graylog/server/server.conf
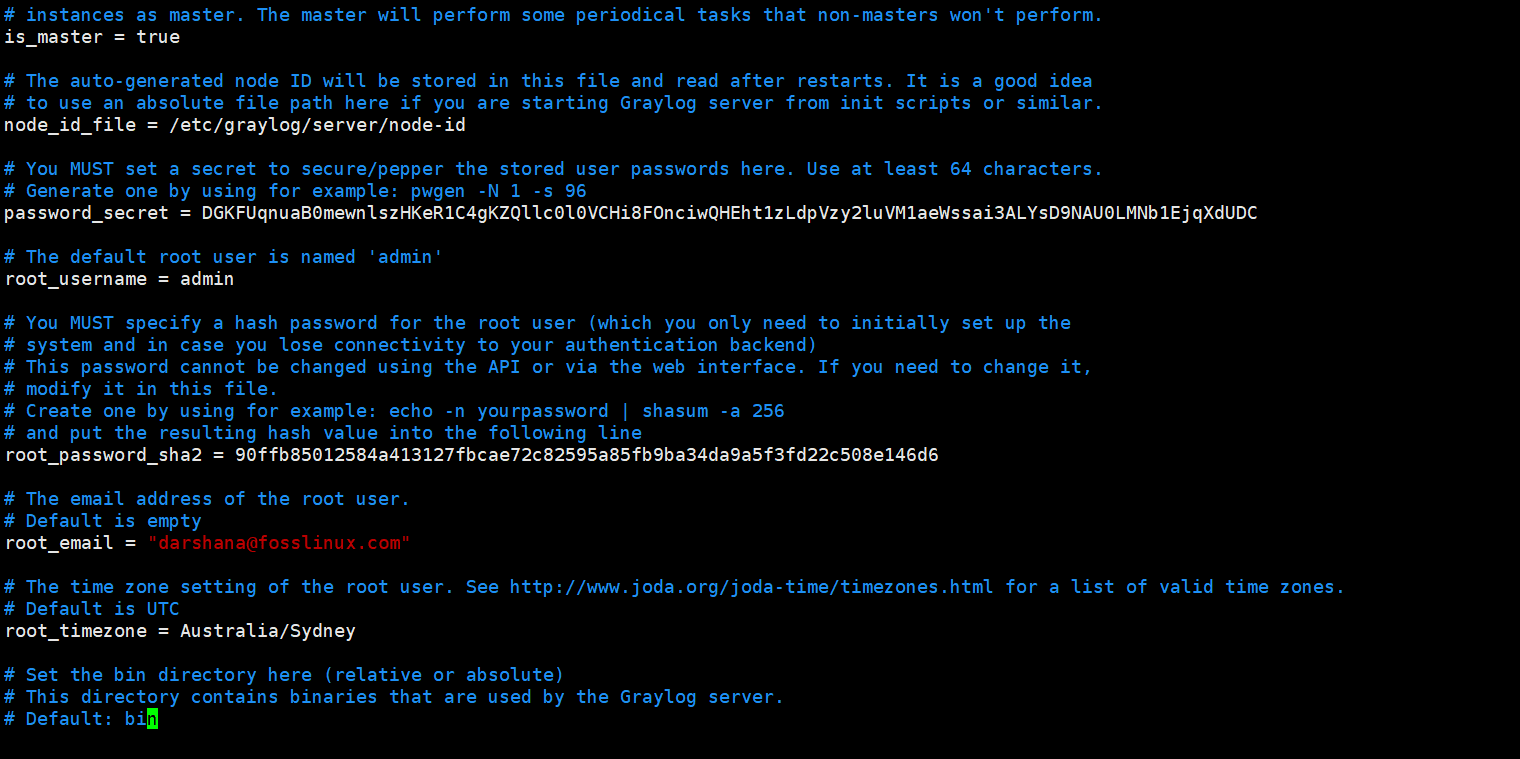
Modified File
Change bind-address.
vim /etc/graylog/server/server.conf
Uncomment the following line.
http_bind_address = 127.0.0.1:9000
Enable service on system boot.
systemctl enable graylog-server.service
Start service.
systemctl start graylog-server.service
Monitor server logs.
tail -f /var/log/graylog-server/server.log
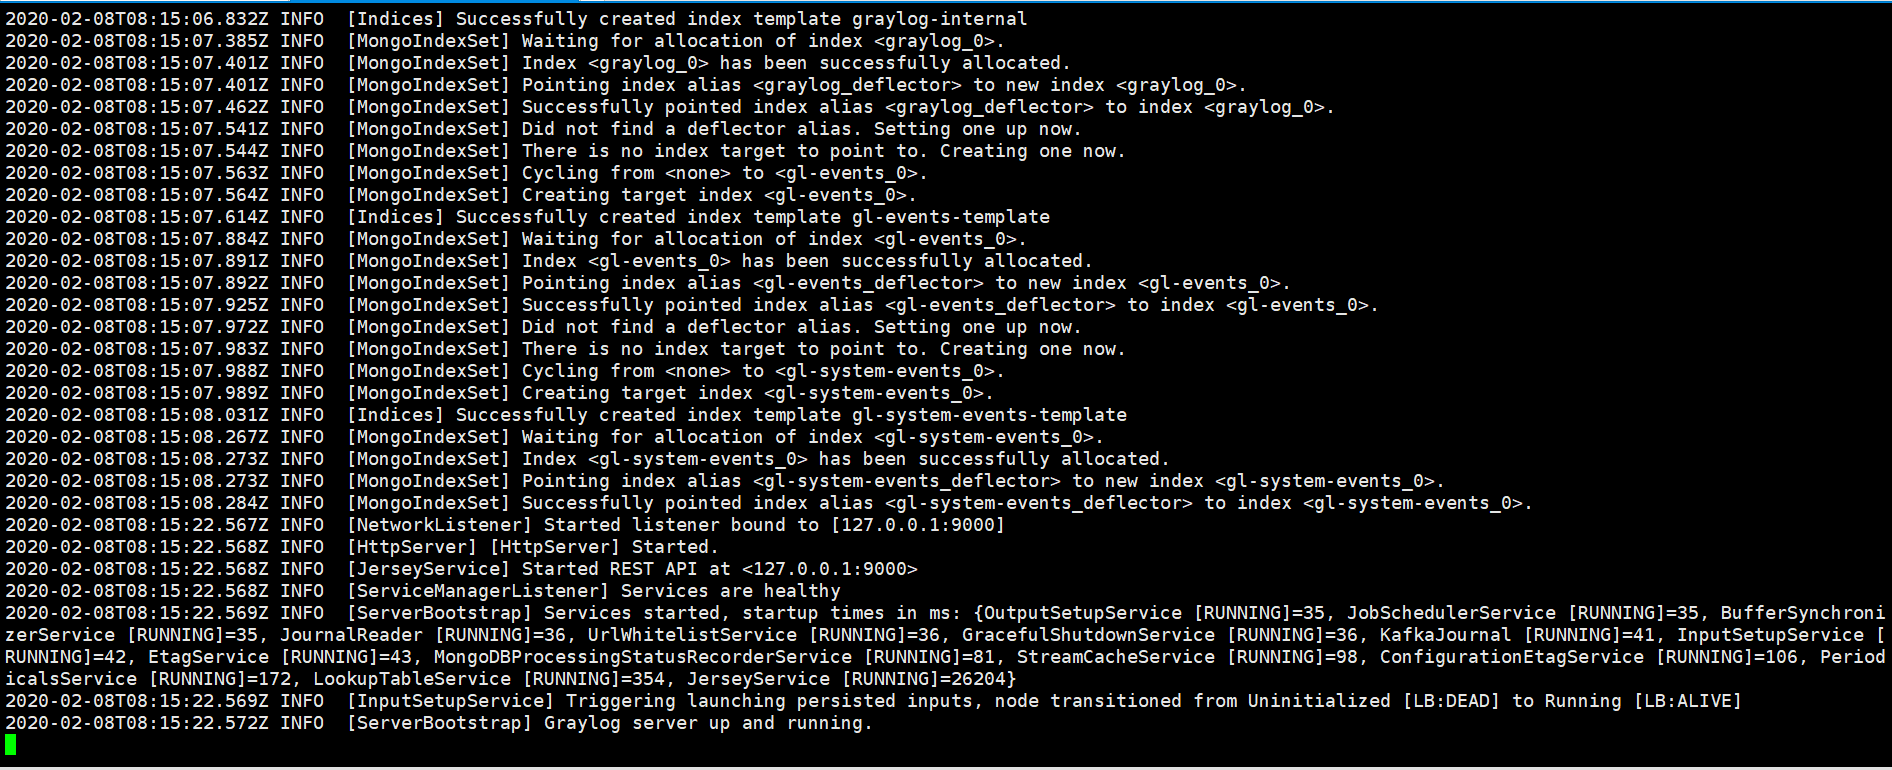
Graylog Server Log
check Server Port.
netstat -tunlp | grep 9000

Graylog Server Port
7. Configuring Nginx reverse proxy with SSL
I. Install and configure Nginx
yum install nginx -y
Enable Nginx on boot.
systemctl enable nginx
Check status.
systemctl status nginx
Start service.
systemctl start nginx
II. Setup DNS record
Then go to your DNS manager and add A record for your server.
A Domain Name Server IP
III. Install and configure SSL with Certbot
Install certbot.
yum install certbot python2-certbot-nginx
There are few ways to get and configure SSL using Certbot, but here is the easiest way. Run the below command to get a certificate and apply it to Nginx.
certbot --nginx
Provide needed information when it asks. e.g., you need to provide email, domain name, etc.
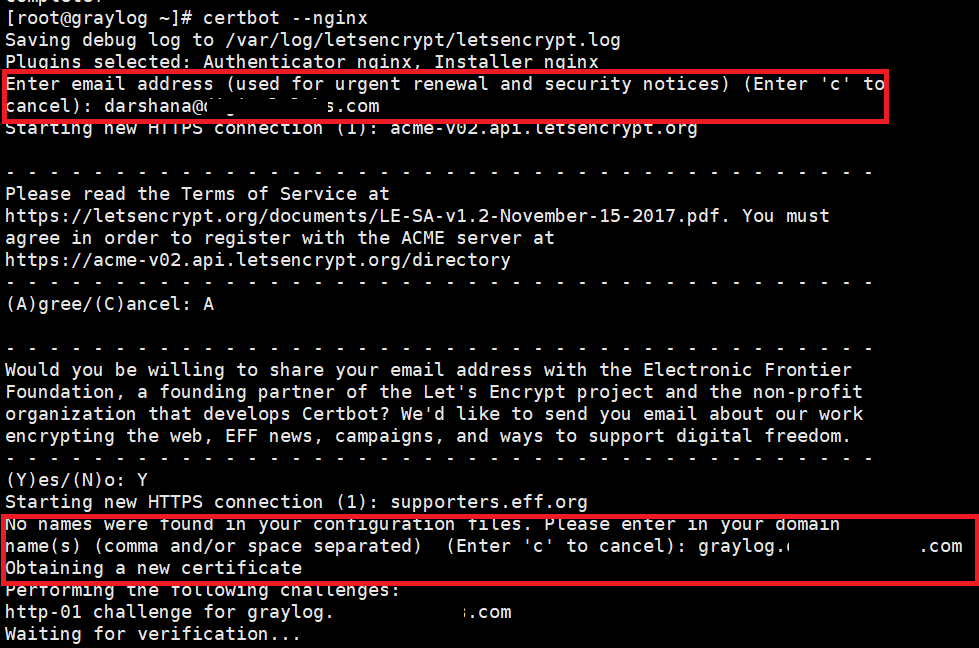
Get SSL
When it asks to redirect all traffic to Https, enter the relevant number.
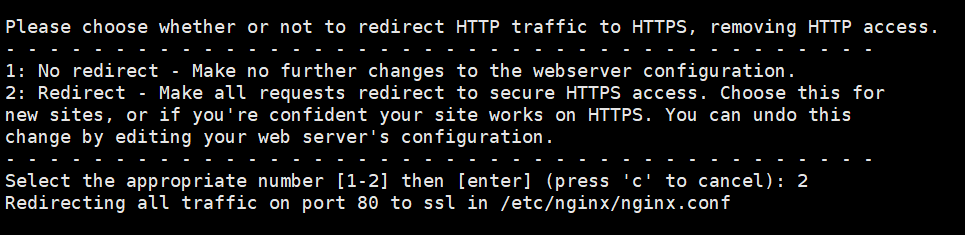
HTTPS Redirection
IV. Modify Nginx configurations
vim /etc/nginx/nginx.conf
Add the following contents to the Location Blocks.
 location /
{
proxy_set_header Host $http_host;
proxy_set_header X-Forwarded-Host $host;
proxy_set_header X-Forwarded-Server $host;
proxy_set_header X-Forwarded-For $proxy_add_x_forwarded_for;
proxy_set_header X-Graylog-Server-URL https://$server_name/;
proxy_pass http://127.0.0.1:9000;
}
Check Nginx for syntax errors.
nginx -t
Restart Nginx.
systemctl restart nginx
8. Set SELinux policy
setsebool -P httpd_can_network_connect 1
9. Browse using your Domain name
https://graylog.fosslinux.com/
Then you will get the login interface.

Login Window
Login with username “admin” and root password set inside server.conf. After login, you should see an interface like below.
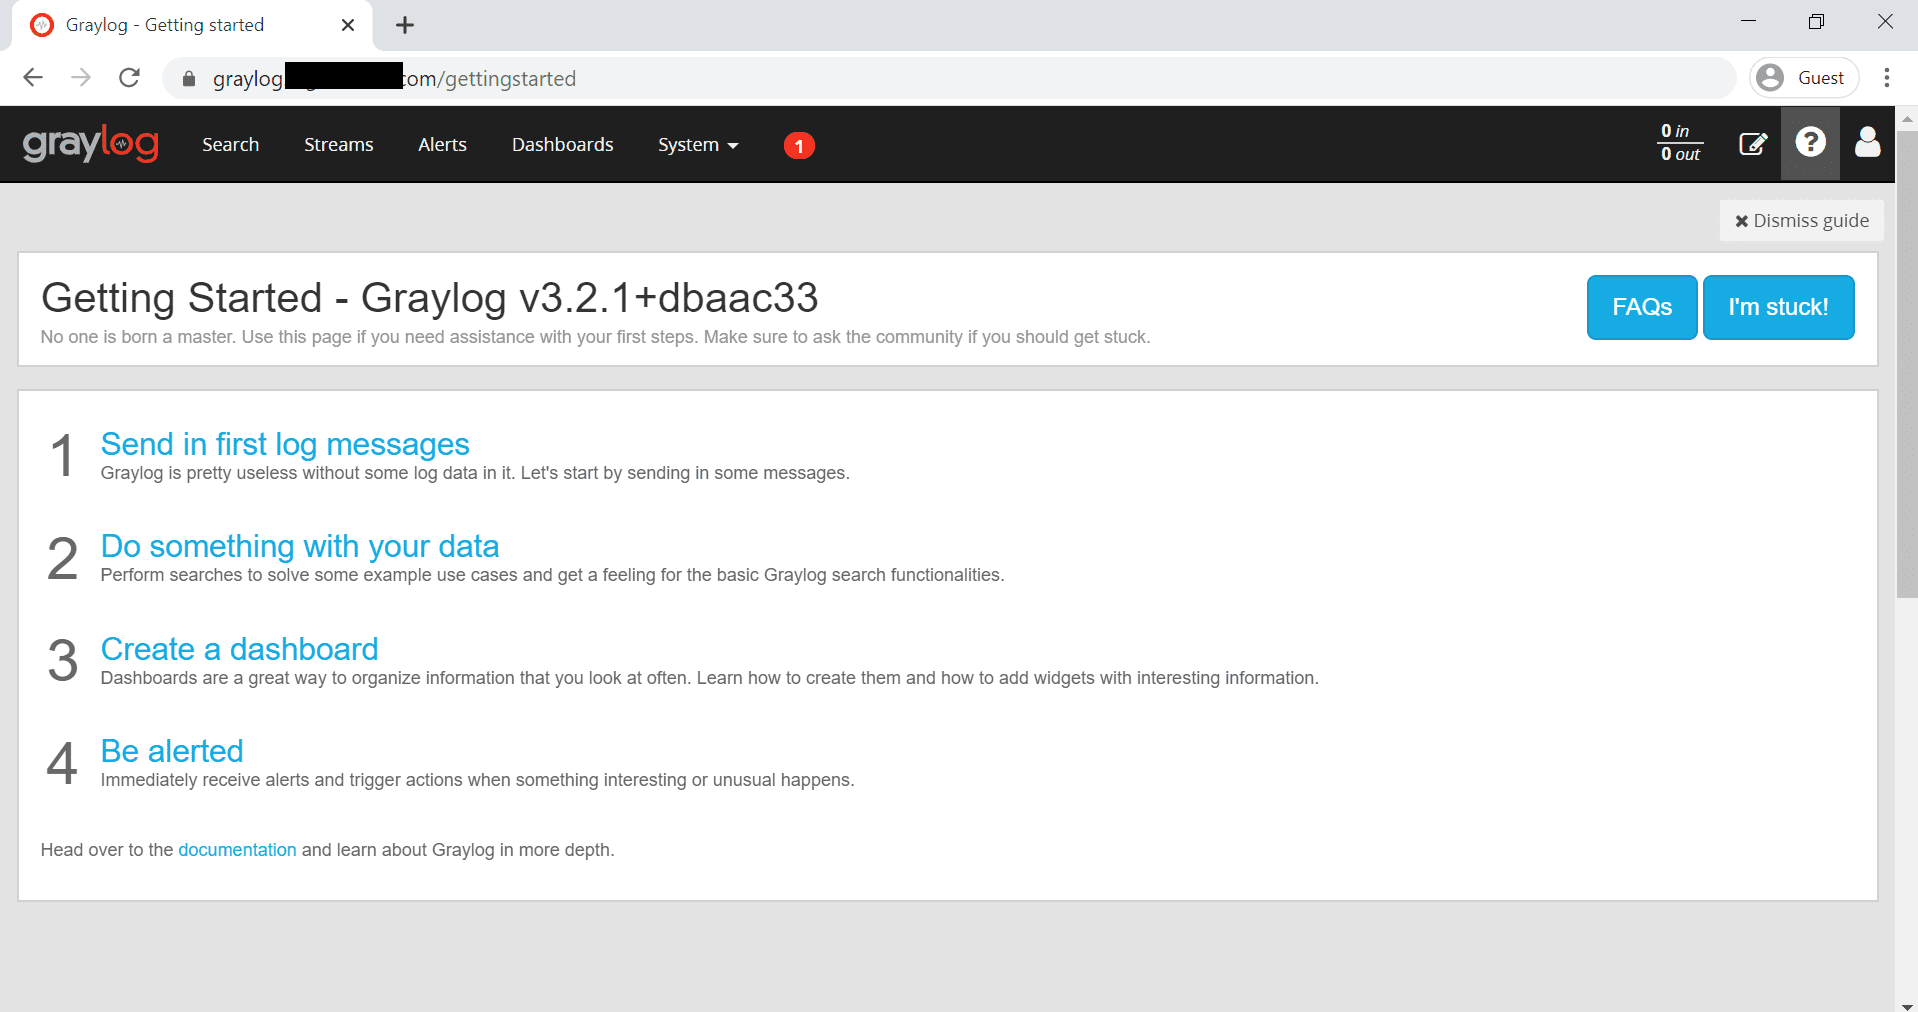
After Login
Now we need to set up the input and push log files to the server.
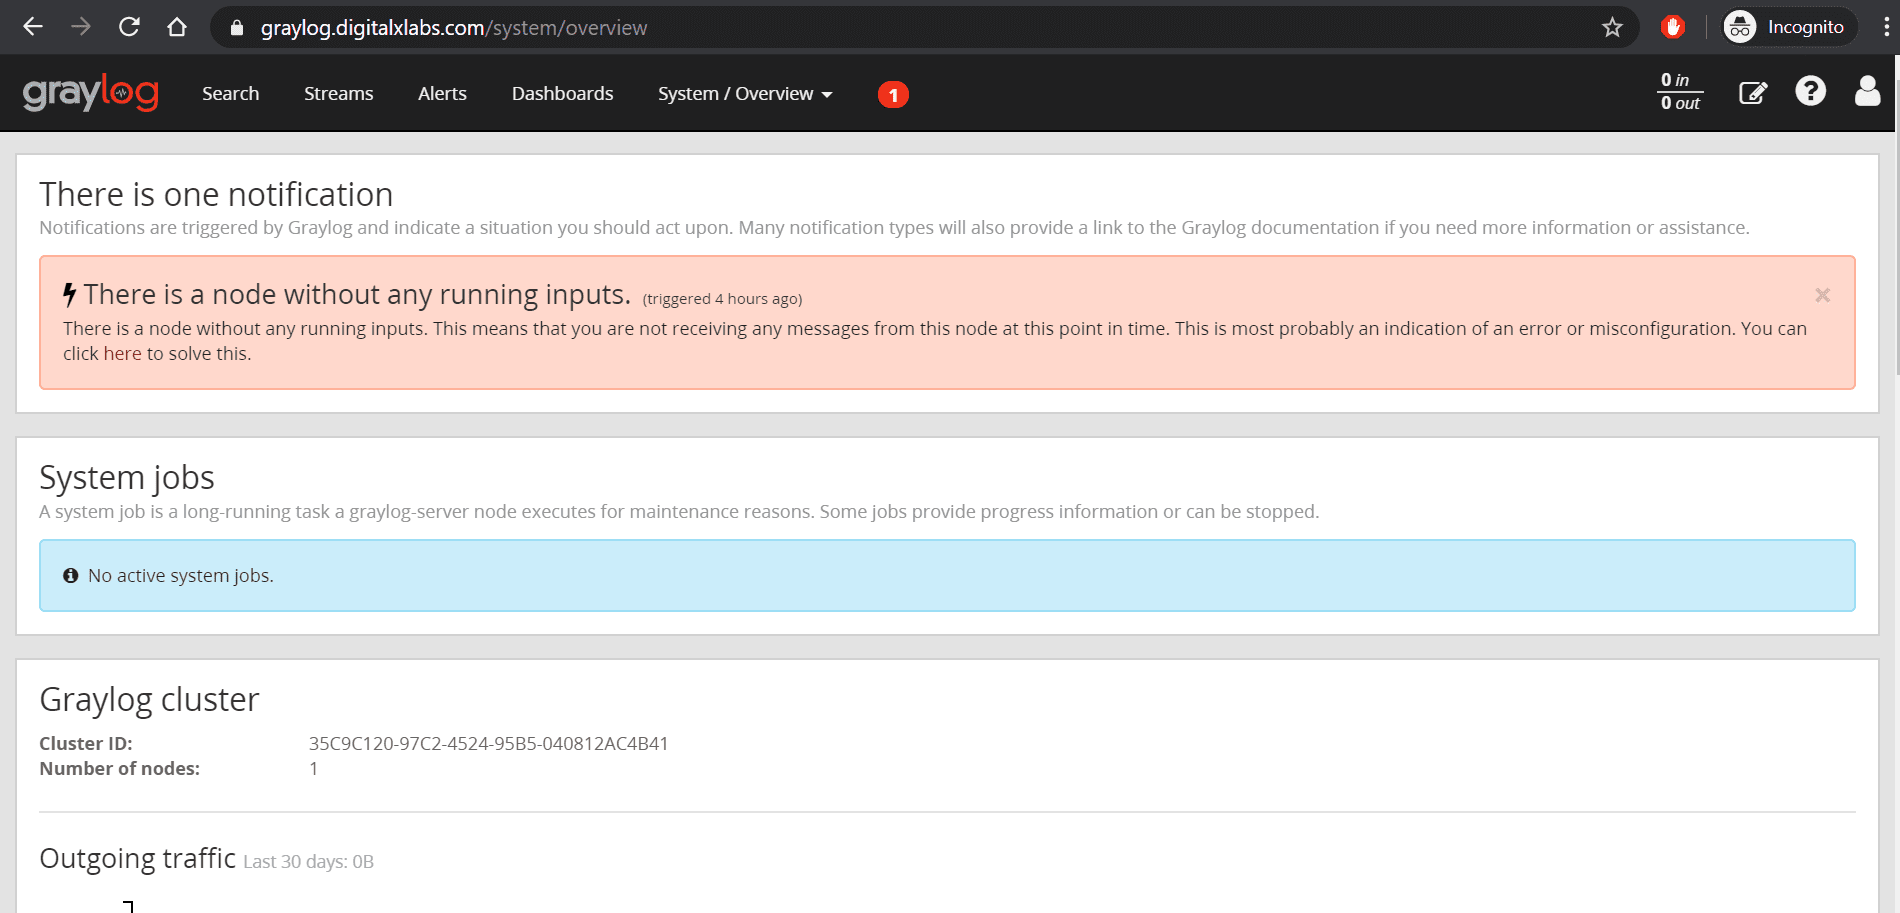
Notification
That’s all about the installation and configuration of Graylog with SSL on CentOS. I hope you liked the tutorial.
2 comments
How do i send data from remote client?
My graylog server ip is 192.168.11.30
I can send log from sub-net. How do I send data from 192.168.25.107?
how can i send logs from cisco router to graylog server?