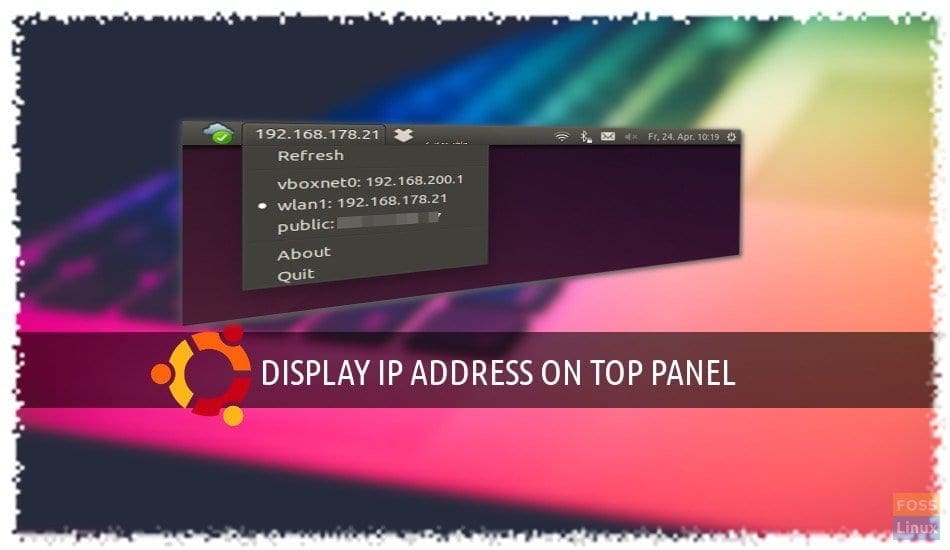
Displaying the IP address of the PC in the top panel comes in handy, especially for system administrators. In this article, I’m exactly going to show how to do that in a few simple steps using PPA utility “Indicator IP”. It’s a free utility.
Displaying IP Address in Ubuntu’s Top Panel (System Tray)
This guide is tested on Ubuntu 17.10, but should also work on Ubuntu 14.10, 15.04, 15.10 and 16.04 with Unity as well.
Step 1) Launch ‘Terminal’. You can do it from “Activities” or simply use keyobard shortcut <Ctrl> <Alt> <T>.
Step 2) Enter the following command and hit enter to add the Indicator IP repository source to your PC.
sudo apt-add-repository ppa:bovender/bovender
Step 3) Update repositories by using update command:
sudo apt-get update
Step 4) Finally, install Indicator IP using this command:
sudo apt-get install indicator-ip
Step 5) Pay attention to the progress of the ‘Terminal’. First, you must enter the root password and then ‘Y’ when you see the prompt.
Step 6) After the installation is complete, enter the following command to launch the program. Note that the program doesn’t have any GUI and so doesn’t get added in the “Activities”. This is the only way to launch the program.
indicator-ip
After you enter the command, you will right away see your computer’s IP address on the top panel. The program fetches the IP address using a script from checkip.amazonaws.com, but you can change it if needed.
indicator-ip -u icanhazip.com
For more details on the commands, you can use for the customized report, head over to the GitHub page provided below. That’s it!


1 comment
Hey is it possible to install this in debian?