Does your nature of job deal with graphics and photos most of the times? I personally have to do lot of graphics work for this website as well as editing those family trip photos. One of most common image editing tasks is resizing those tremendously huge pictures straight out of camera. I recommend using “Nautilus Image Tools” which gets integrated in the right-click context menu on the image file, making it handy to resize, enhance, watermark, convert, and apply special effects too! It can’t get quicker than this!
Adding Nautilus Image Tools to Right Click Context Menu on a Image
Nautilus is the file manager of Ubuntu, meaning it is similar to “File Explorer” in Windows. Nautilus Image Tools is a free and open source software (FOSS). The below guide is tested on Ubuntu 17.10, but should work in much older versions too. Here is how you install it.
Step 1) Launch Terminal by pressing Ctrl, Alt, and T keys simultaneously.
Step 2) Enter the following command to add the PPA source.
sudo add-apt-repository ppa:atareao/nautilus-extensions
Step 3) Update your computer:
sudo apt update
Step 4) Install Nautilus Image Tools:
sudo apt nautilus-image-tools
Step 5) Finally, restart Nautilus using the following command:
nautilus -q
You are done with installation. Launch “File Manager” and try right-clicking on a image file. You should a new item “Image Tools”. Upon expanding it you will see several image editing options in it including Black and White, Blur, Border, Contour, Convert, Enhance, Flip, Greyscale, Negative, Resize, Rotate, Shadow, Vintage, and Watermark.
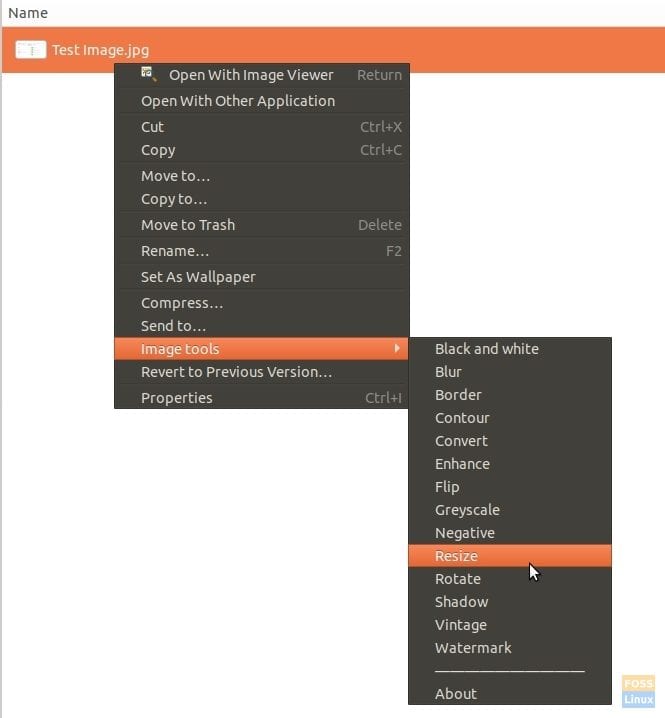
Right-Click Image Editing Options in Nautilus
Resize Images: Make sure “Keep Aspect Ratio” is checked to avoid stretching of image when you change its dimensions.
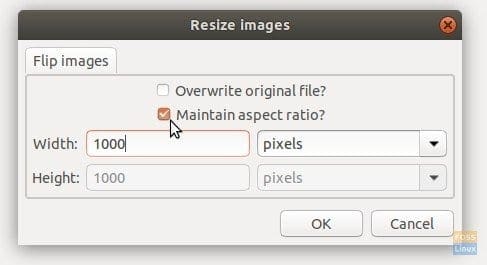
Resize Image Tool in Nautilus Image Tools
Convert between Image Formats:
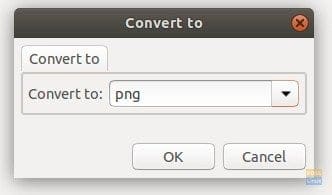
Convert Tool in Nautilus Image Tools
Watermarking Images:
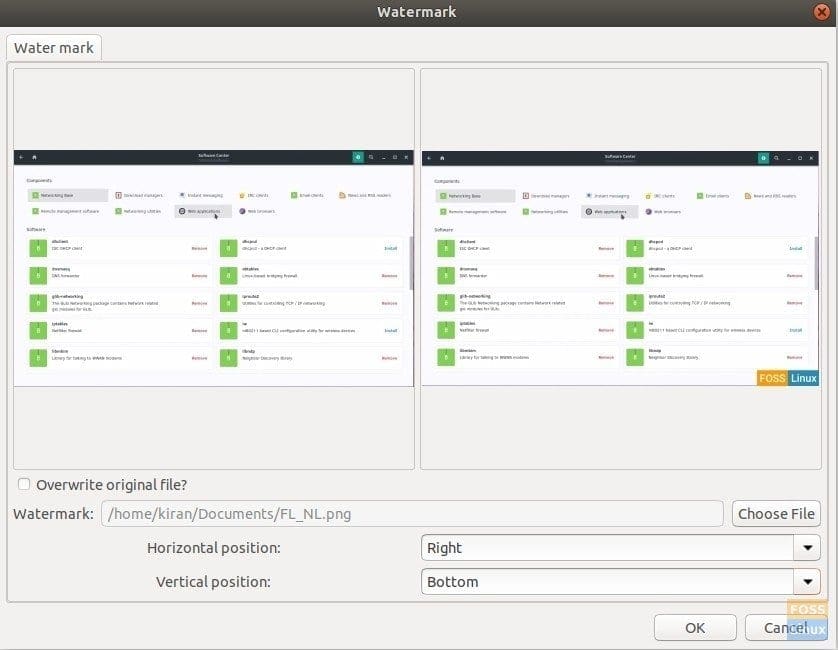
Watermark Tool in Nautilus Image Tools
Did you find it useful? For me, it’s overwhelming number of options in that little right-click menu!

