
Virtualization technology enables one to run multiple instances of an operating system in a single computer running a primary Operating System – The host OS. There are several virtualization software available in the market, and one of the most popular is the VMware Workstation Player.
VMware is a cross-platform proprietary virtualization software used to run multiple instances of OS as virtual machines. The virtual machines are allocated a virtual hard disk on the primary operating system file system. Any problems arising with the virtual machine does not affect the host operating system.
Installing VMware Player on Fedora
Previously, we did an article on how to install VMware workstation in the Ubuntu system. You can access it through this link – here. In this post, we are going to install it on the Fedora operating system.
Requirements
In this particular post, we will use Fedora 31 64-Bit and VMware Workstation version 15.1.0. Also, any Terminal commands that we will execute will require root privileges. You can achieve this by running the command below, which will give you elevated privileges.
sudo su

Get elevated privileges
Installation
You can download VMware Workstation Player from the official website using the link below.
From the image below, you see that there are two options – VMware for Windows and VMware for Linux.
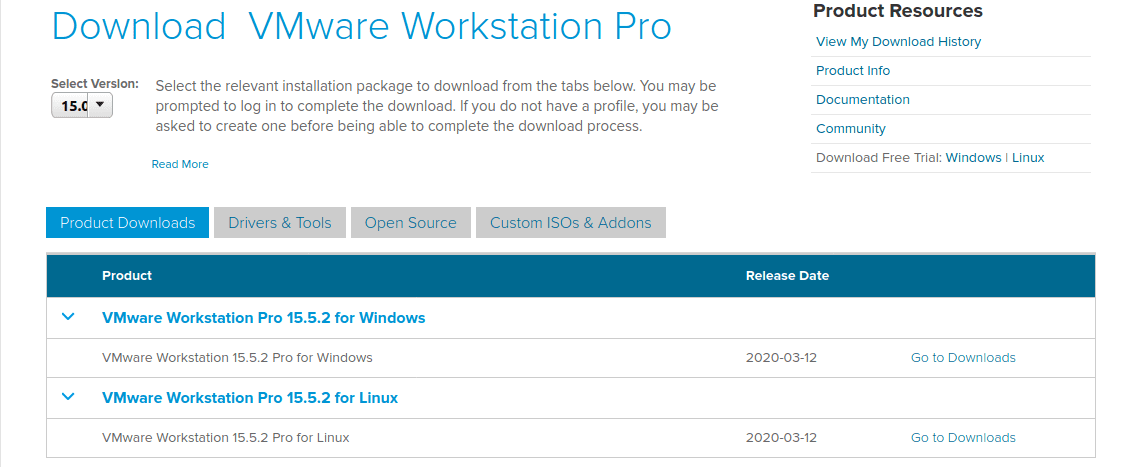
Download Vmware Workstation from the official website
Click on the ‘Go-To Downloads’ on the VMware for Linux; you will be redirected to the sign-up page where you will need to create an account (free) or login if you already have one. Once done, your download will commence. You can also download the player from the Terminal using the wget command.
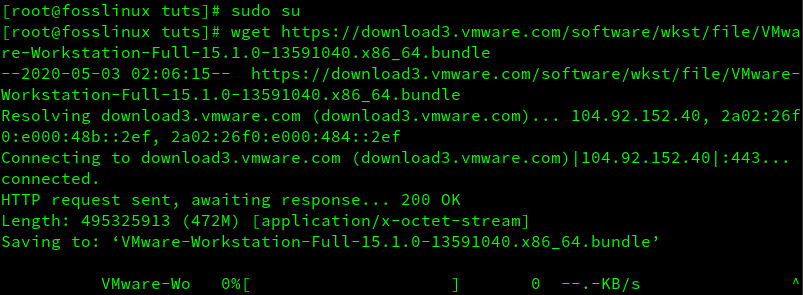
First, we will need root privileges on the system, execute the command below.
sudo su
Run the command below to download VMware Workstation Player 15.1.0. You can copy the latest link from the official website.
wget https://download3.vmware.com/software/wkst/file/VMware-Workstation-Full-15.1.0-13591040.x86_64.bundle
Note, the above command will start downloading the VMware bundle file in your current directory. Also, you need to ensure that the file extension in any of the download methods is ‘.bundle.’
Wget command usage
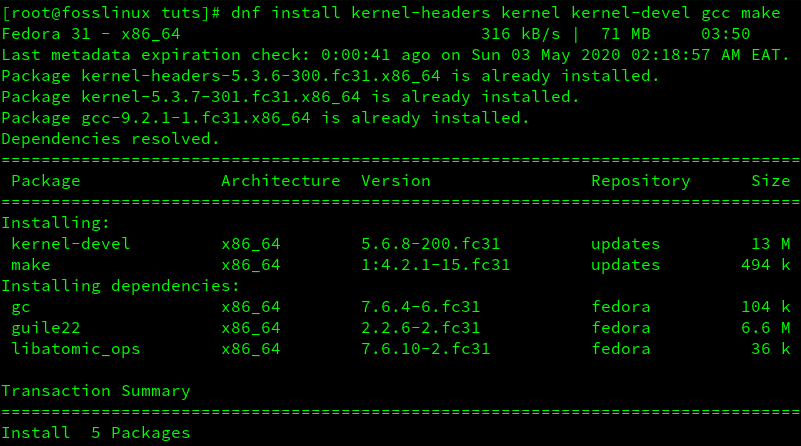
Install Libraries and Kernel Headers
We first need to install and configure kernel headers and libraries for a smooth running of VMware.
dnf install kernel-headers kernel kernel-devel gcc make
dnf groupinstall "Development tools"
dnf update
reboot
Some of these libraries are large, and they might take some time depending on your internet connection. Execute the commands one by one in order.
Install Libraries and Kernel Headers
One more thing we need to do after installing the libraries and kernel headers is to copy the Linux version.h file to modules. Do so by executing the command below.
cp /usr/src/kernels/`uname -r`/include/generated/uapi/linux/version.h /lib/modules/`uname -r`/build/include/linux/
Install VMware Workstation Player
Using the Terminal, navigate to the directory where you downloaded the VMware setup file. We need to make the file executable. Do so by running the command below.
chmod 755 VMware-Workstation-Full-15.1.0-13591040.x86_64.bundle
Once you have done that, execute the setup file by running the command below.
./VMware-Workstation-Full-15.1.0-13591040.x86_64.bundle

Execute the VMware setup file
If the execution was successful and no errors were displayed, the VMware Workstation User Licence Agreement window will open, as shown in the image below. It’s important to note that you should not close the Terminal during the installation process as it will halt VMware Workstation.

VMware User Licence Agreement Window
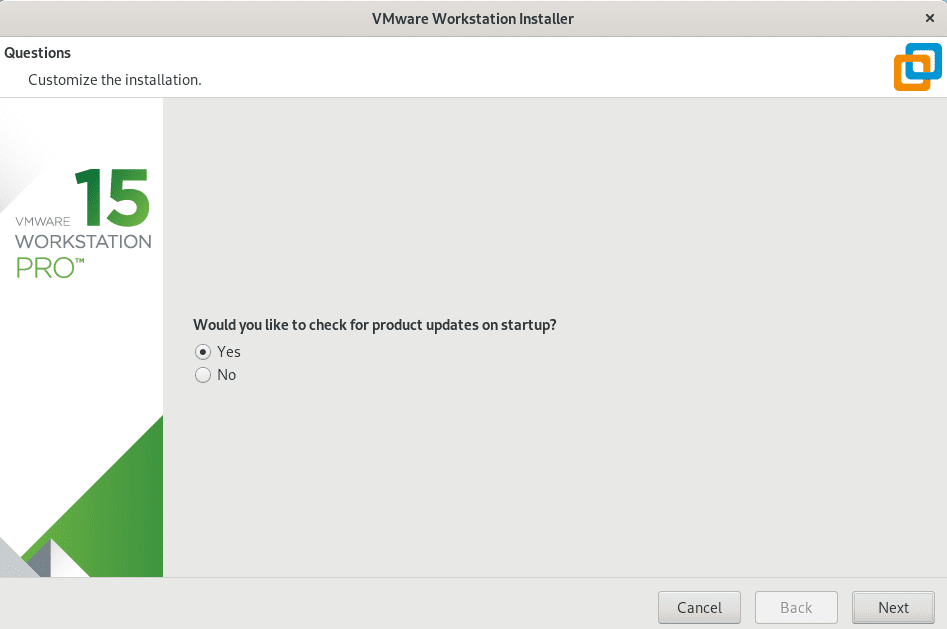
Select the option ‘I accept terms of agreement’ and click Next. On the next screen, you will choose whether you want to receive product updates on startup or not. It would be best if you leave it as YES. Click Next.
Vmware Product Updates
The next screen will prompt you whether to join VMware’s Customer Experience Improvement Program (“CEIP”). Select either YES or NO. Click Next.
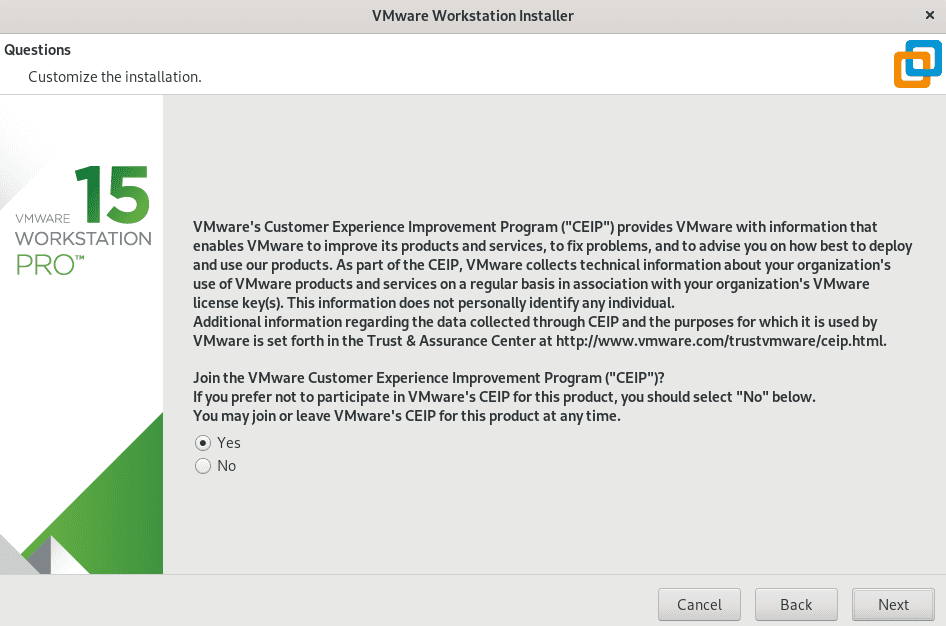
VMware’s Customer Experience Improvement Program
On the next screen, you will need to pick a username to interact with the Workstation server, as shown in the image below.
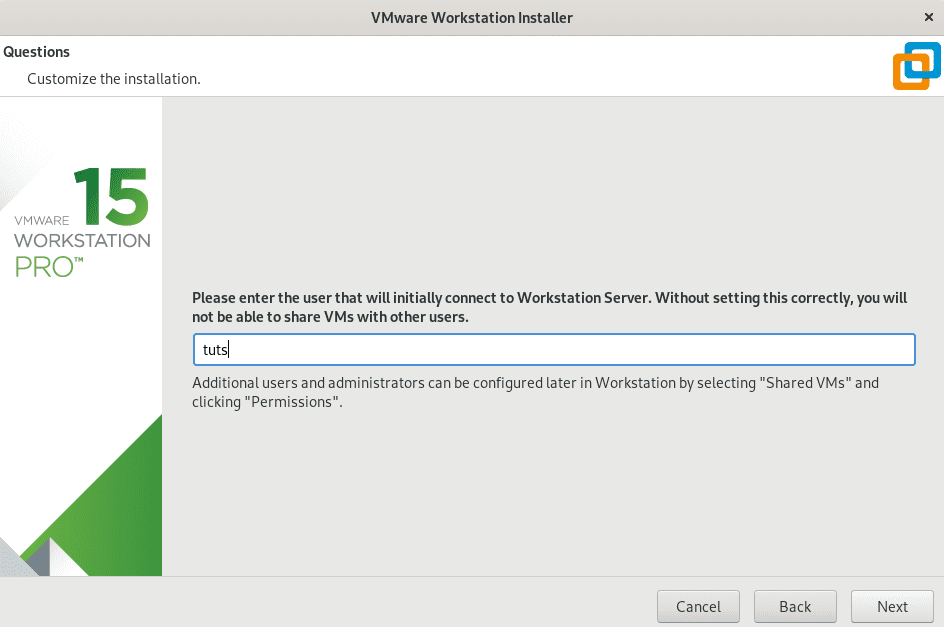
Pick a username
In the next window, you will need to select the directory where your Virtual Machine will be stored. In most cases, VMware selects the path automatically. However, you can choose your desired folder.
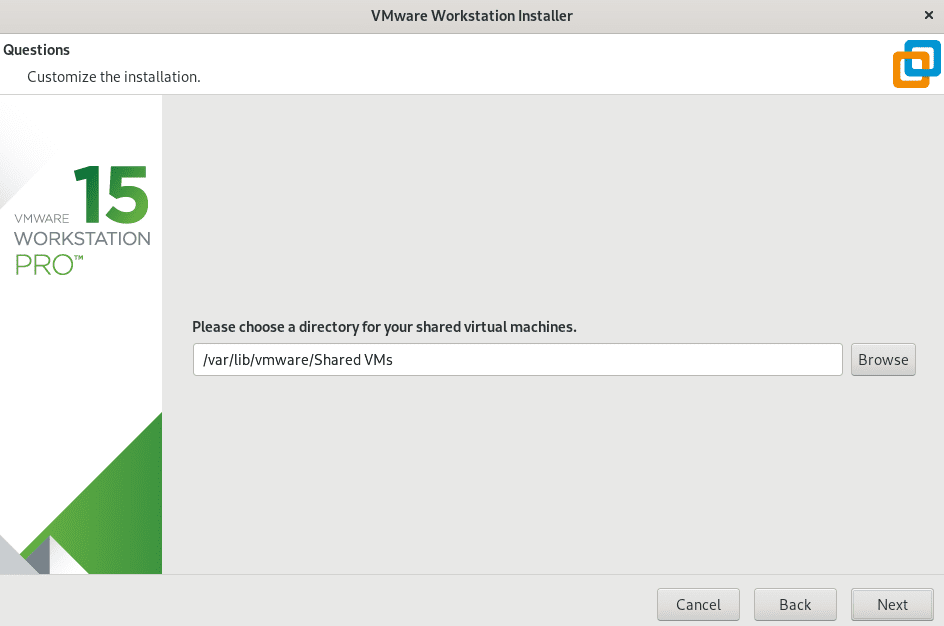
Select directory to store your Virtual Machines
On the next screen, you will need to select the port which the application will use to access the Workstation server. The default port is 443 for HTTPS.
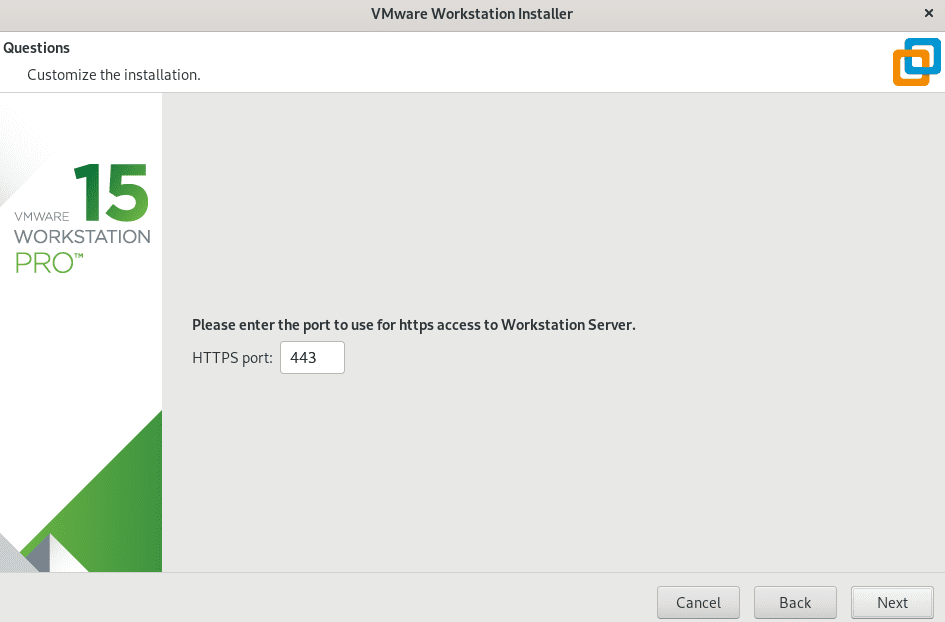
Select default port
In the next window, you will see a prompt to enter the Licence key. However, if you haven’t paid for the software yet, leave it as a blank since you can use the software for 30 days free. Or you can register the player for free with your email ID considering it as Home or Personal use.
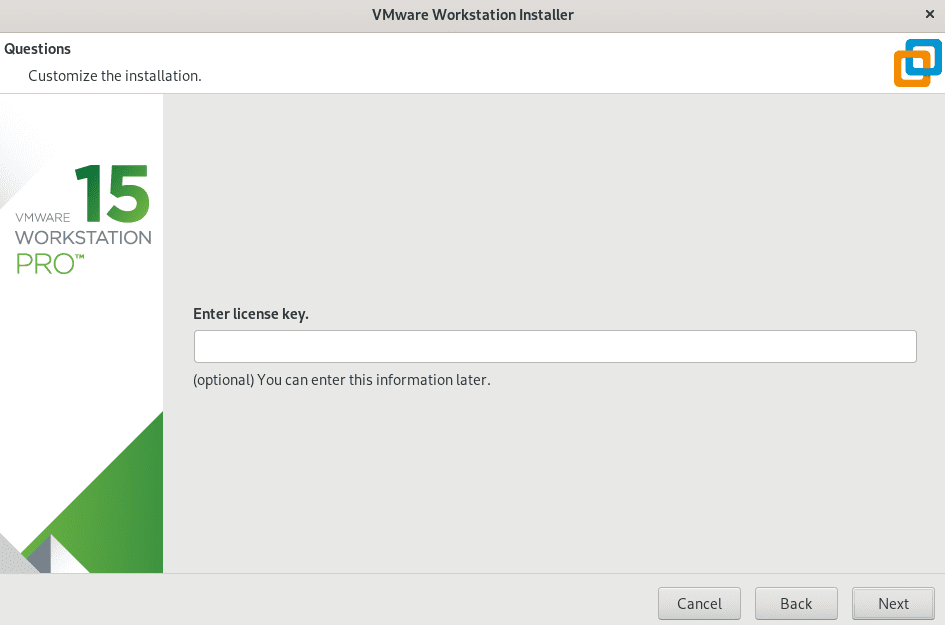
Enter VMware 15 Licence key
The next screen will show you a notification that the product is ready for installation. Click Install.
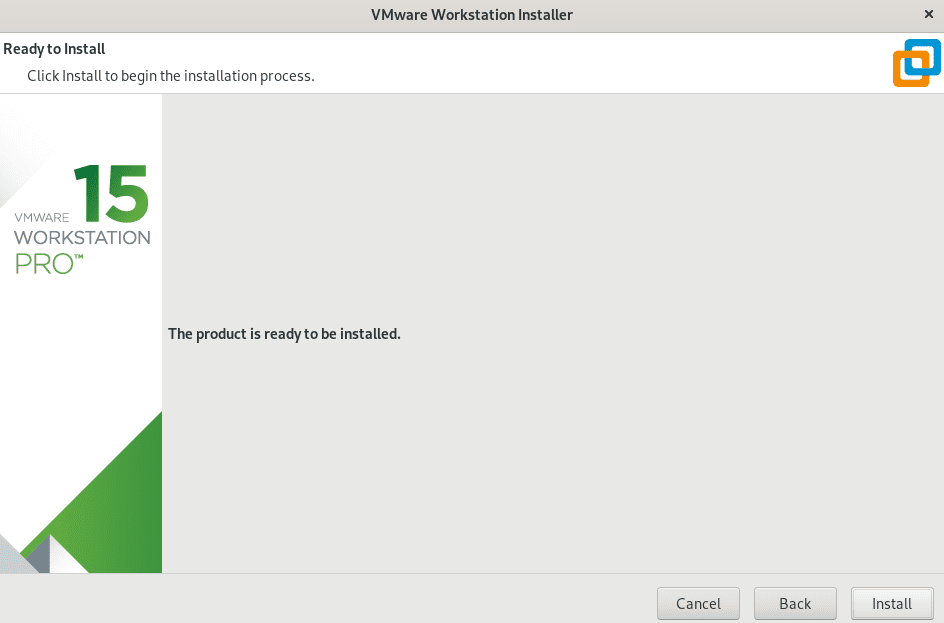
Begin VMware installation
VMware 15 installation should start. It might take a while depending on your computer specifications.
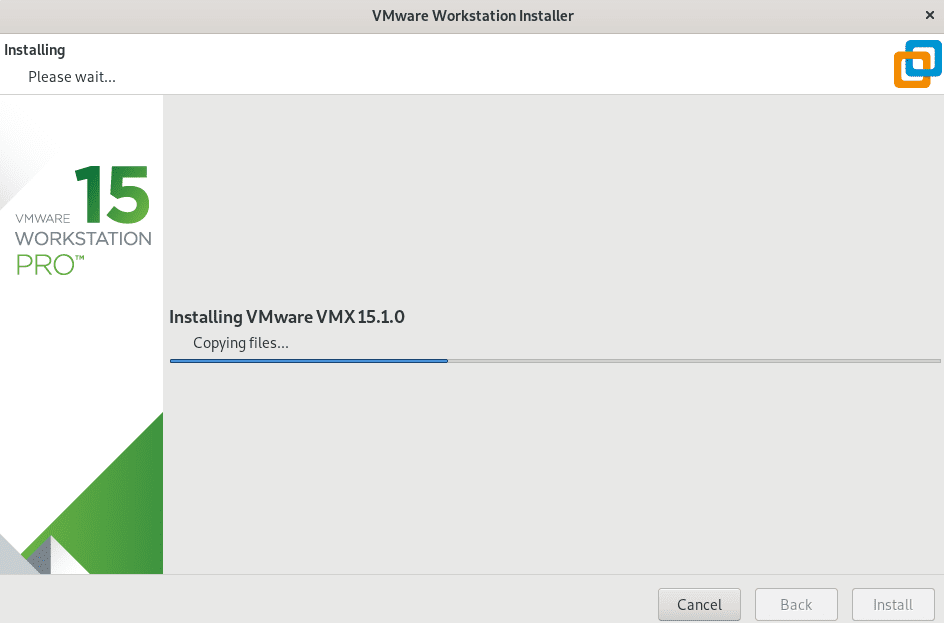
VMware Workstation Installer
Once the installation is complete, you will see a notification. Click Close.
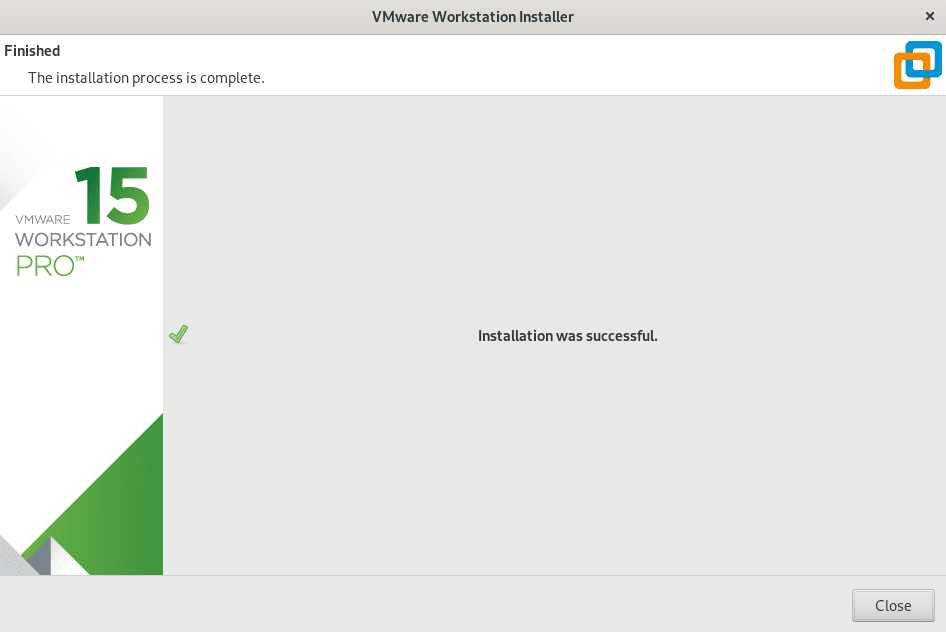
VMware Installation complete
That’s it! We have successfully installed VMware in our Fedora system.
Get started with VMware Workstation Player.
You can now launch VMware from the applications menu, as shown in the image below.
Launch VMware from the application menu
In some cases, for fresh installations, you will see a module updater window requesting to compile and load modules to the kernel. Click install and enter the root password. See the image below.
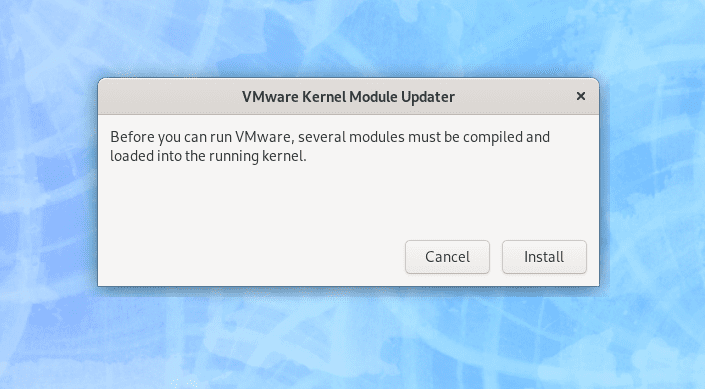
VMware Kernel Module updater
Once done, relaunch VMware Workstation Player, and you should see the VMware home screen open.
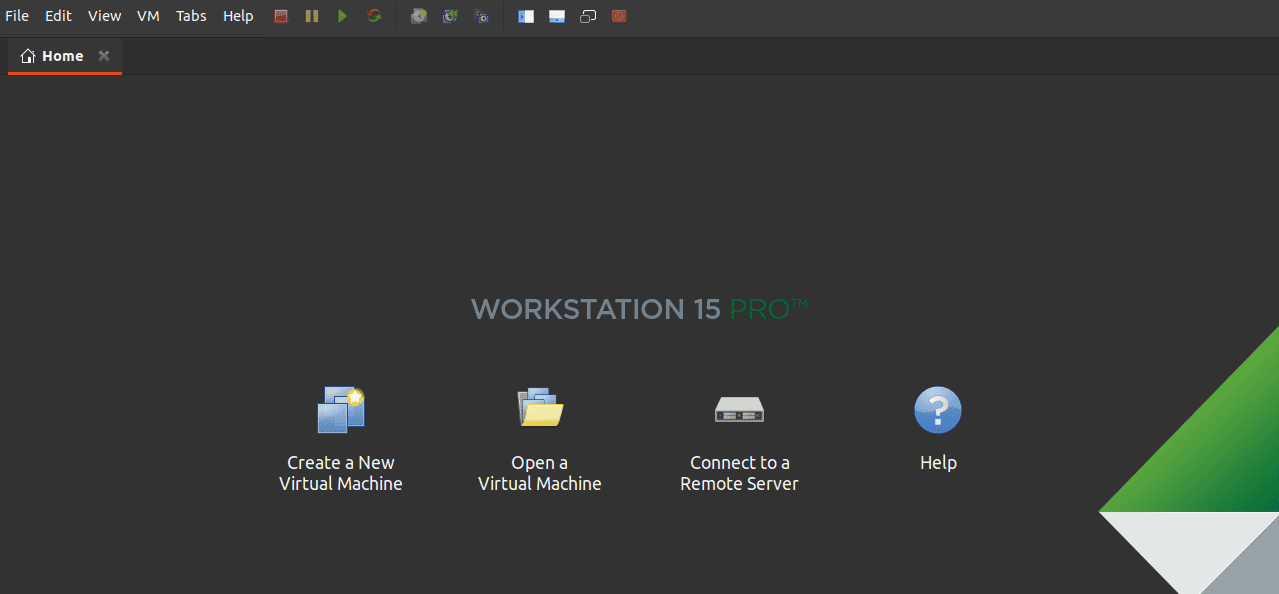
VMware Workstation Home Screen
Conclusion
That’s all the procedure of installing VMware Workstation on your Fedora system. If you have any information to share with our readers regarding the VMware installation process, feel free to leave a comment below.
7 comments
do not work pls help
how to uninstall as the VMWARE is not working
It shows error when already installed
when i start vm a window appears with the message: kernel headers version 5.6.6-300ffc .x86_64 were no found
What can it be?
This is Pro dude, not the Player version
thank you Mr
thank you so much, really helped
Good guide!