
Davinci Resolve is a professional application used for color correction, video editing, visual effects, and motion graphics. It is one of the extensively used software by movie industries located in Hollywood.
It is a cross-platform application that runs on Windows, macOS, and Linux systems. Da Vinci systems initially developed the DaVinci Resolve app until its acquisition by Black Magic Design in 2009.
Previously, we did a post on How to install DaVinci Resolve on Ubuntu. In this article, we are going to look at its installation on the Fedora Workstation. We will give you a step by step by procedure with images to ensure you have DaVinci Resolve set up correctly and running on your Fedora Workstation.
Installing DaVinci Resolve on Fedora Workstation
To ensure that our installation completes and launches without any problems, ensure your system is up to date by executing the command below.
sudo dnf update
Step 1. Open your favorite browser and visit the Black Magic Design website to download the Davinci Resolve setup file. Click on the “Download” button.

Black Magic Design website
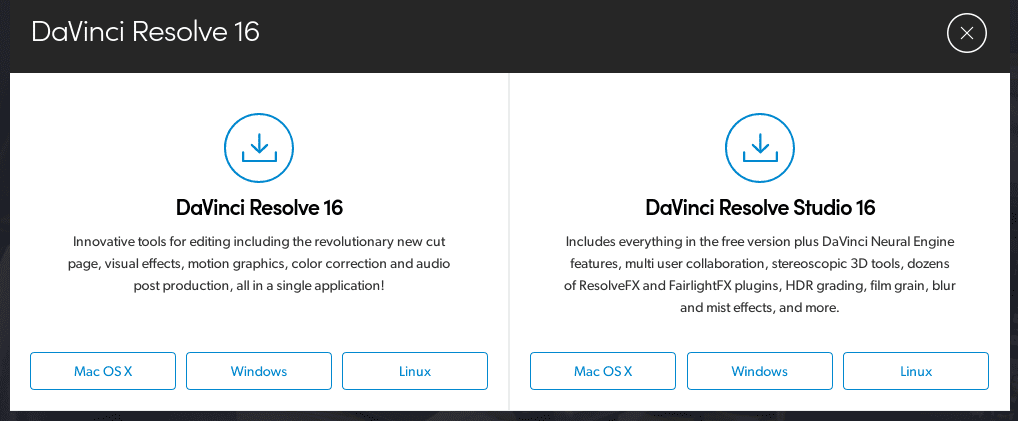
Step 2. You will see a pop-up window with two options for downloading Davinci Resolve. You can choose either the Free version or the paid Studio version.
In this tutorial, we will use the free plan. Download the “Linux” setup.
Download Davinci Resolve
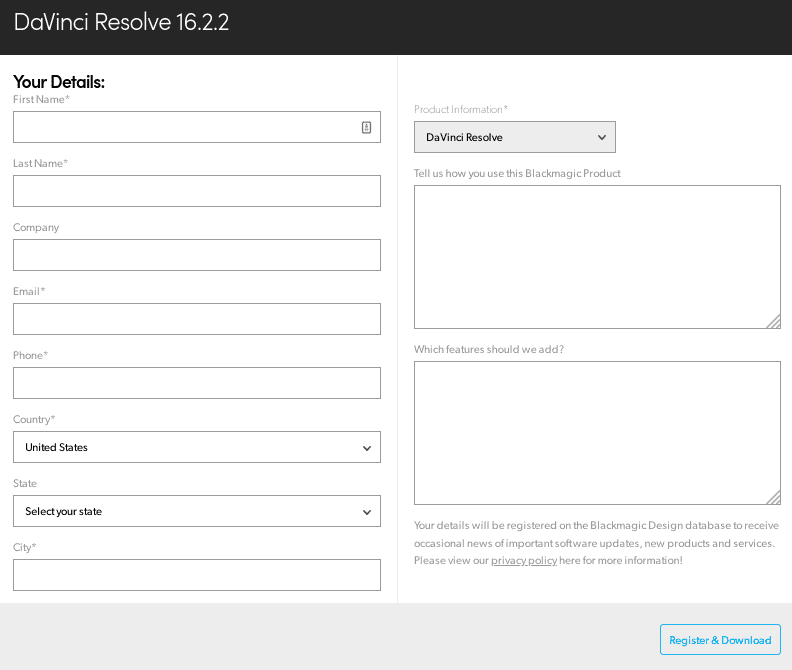
Step 3. You will have to register to download the setup file, as shown below.
Enter your registration details
Once finished, click on the “Register and Download” button. Davinci Resolve should start downloading.
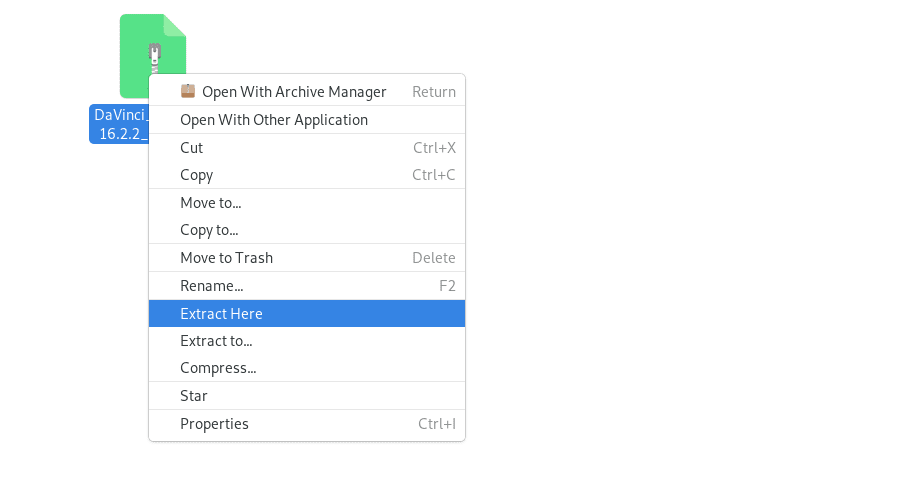
Step 4. Once the download is through, navigate to the directory to which you downloaded the file. In this particular tutorial, the setup is in the Downloads folder. Right-click on the file and select the option “Extract here.”
Extract Davinci Resolve
Step 5. After successful extraction, launch the Terminal. Navigate to the directory containing your extracted file.
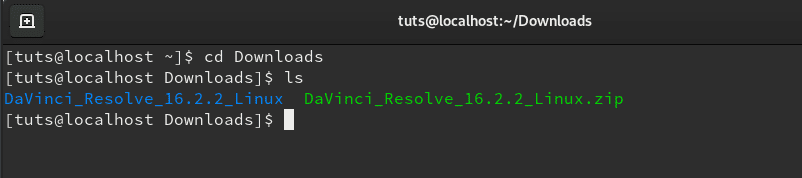
Navigate to Downloads directory via Terminal
Step 6. Using the ‘Change Directory’ (CD) command, navigate inside the extracted file. You should see several files, but our interest is the one with ‘.run.’ extension, as shown below.
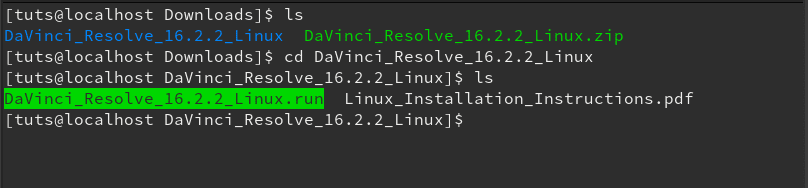
Navigate to the setup file
Step 7. To run the file, we first need to make it executable by running the command below.
sudo chmod +x [file_name]
e.g
sudo chmod +x DaVinci_Resolve_16.2.2_Linux.run
Once done that, run the commands below to execute it.
sudo ./[file_name]
e.g
sudo ./DaVinci_Resolve_16.2.2_Linux.run
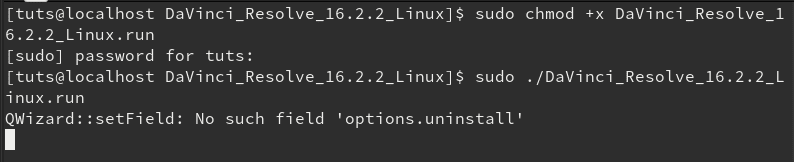
Execute Davinci Resolve setup file
Step 8. After successful execution, the Davinci Installer Window will open, as shown below. You will see the Welcome window, click “Next.”
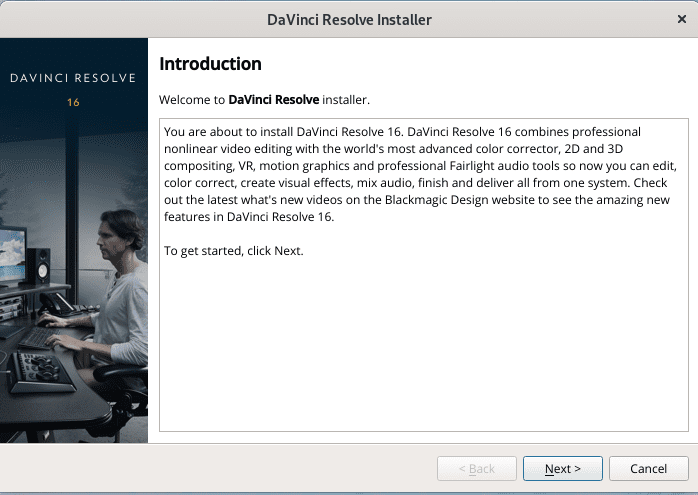
Welcome window
Step 9. You will see the ‘Read Me’ window, which gives you more information about minimum system requirements, updated features, and how to update the required drivers. Click “Next.”
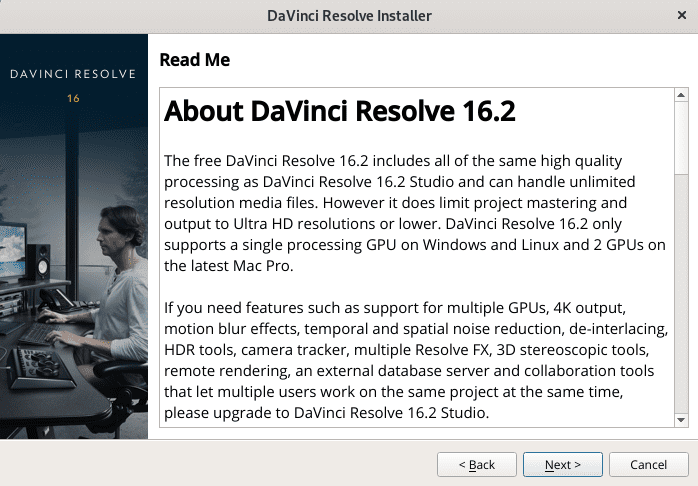
Davinci Resolve Read ME screen
Step 10. In the next window, you will see the ‘Licence and Agreement’ page. Check the box ‘I Agree Terms and Condition’ to continue. Click “Next.”
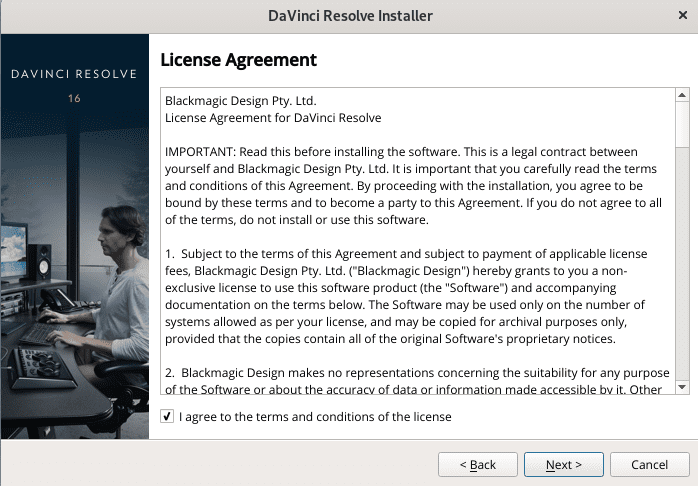
License page
Step 11. On the next window, you will see the ‘Ready to install’ page. If you want to confirm anything on the previous pages, click on the “Back” button; Otherwise, the “Start Installation” button.
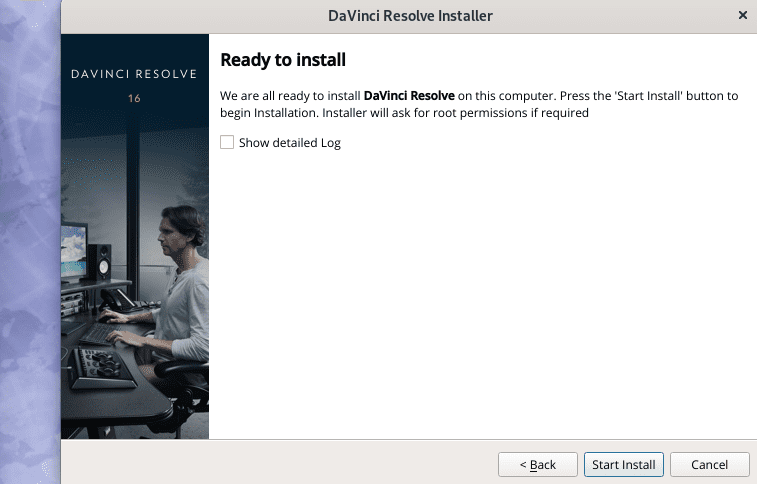
Start Installation
Step 12. Davinci Resolve will begin the installation process. You can monitor the progress on the percentage below.
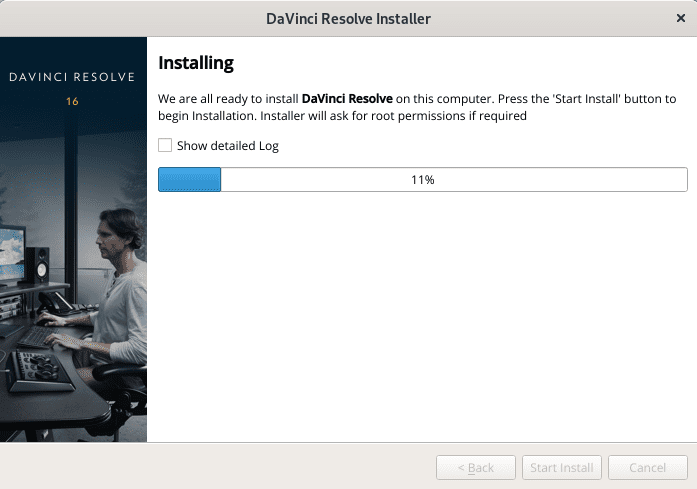
installation procedure
Step 13. Once the installation is complete, you will see the “Done” screen. Click “Finish” to complete the installation.
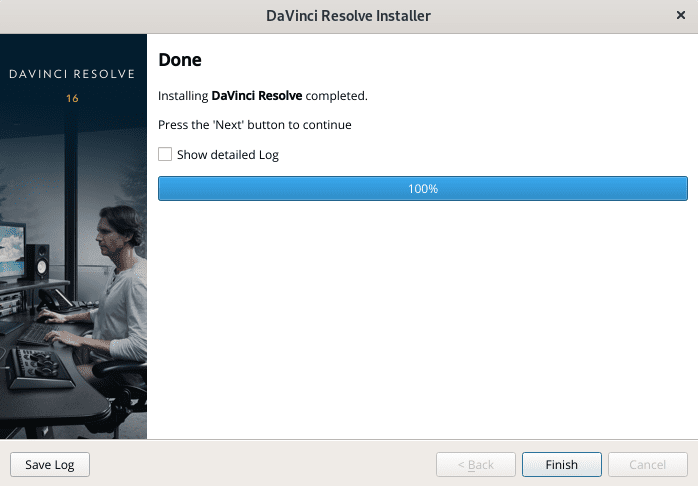
Finish installation
That’s it! We have successfully installed Davinci Resolve on Fedora Workstation. To finish up the installation entirely and launch the application without any errors, read the ‘Linux_Installation_Instructions.pdf‘ file present in the zipped file you extracted in ‘Step 4’ above.
This file is updated regularly, depending on the Davinci Resolve version you have downloaded. It gives you clear instructions on how to install the recommended NVIDIA drivers, the latest DeckLink driver, and the recommended RED RocketX, driver.
Launch Davinci Resolve
Step 1. To start the Davinci Resolve, navigate to the applications menu and on the search bar above, type “Davinci.” Click on the app icon, as shown below, to start it.
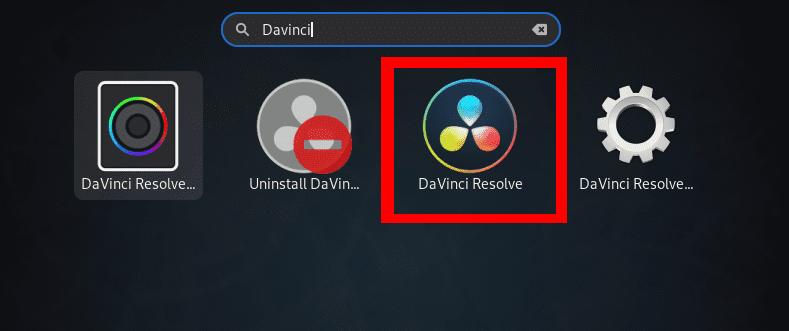
Application menu
Step 2. The Davinci Resolve welcome window will open. Enjoy using Davinci Resolve on your Fedora Workstation.

Welcome To DaVinci Resolve Welcome Window
Uninstall Davinci Resolve from your Fedora Workstation
To remove Davinci Resolve from your system is quite a straight forward process.
Step 1. Navigate to your application menu and type ‘Davinci’ on the search bar above. Select the “Uninstall Davinci Resolve” icon, as shown in the image below.
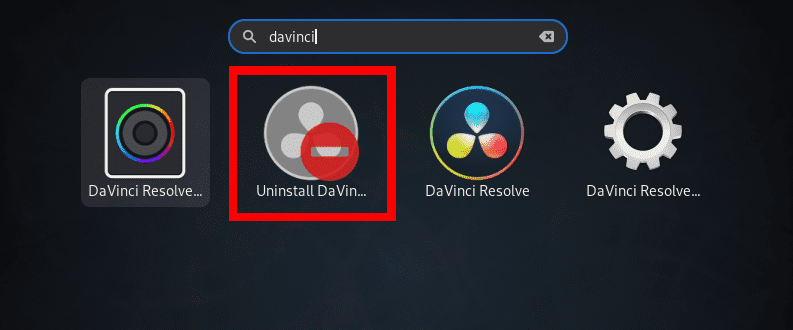
Uninstall Davinci Resolve
Step 2. The Davinci Resolve uninstallation page will open. Click on the “Uninstall” button to remove Davinci Resolve from your Fedora system. See the image below.
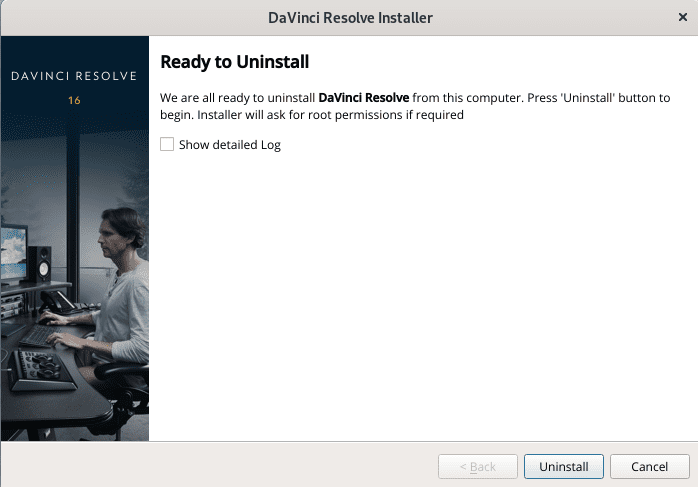
Davinci Resolve Uninstallation page
That’s our guide on how to install and uninstall Davinci Resolve on your Fedora Workstation. Enjoy creating excellent multimedia content with the fantastic features that come with this application.
5 comments
Help resolve 17 does not load circle spins for awhile and disappears (I am new to fedora)
Fedora 34 – DaVinci 17 and 16 same – circle spins for few seconds and thats it ;/
same here. i have switched from manjaro cause everybody said fedora is the best for davinci.
The best instructions that I found. thanks for making it easy for a simpleton like me.
Not working on Fedora 35 either.