Google Chrome is the most popular web browser for desktop computers for a good reason. It comes with a lot of cool features and functionalities that appeal to casual users as well as tech-savvy professionals.
With that being said, CentOS already ships with the much loved and equally feature-rich Mozilla Firefox. However, if you have a long history with Google Chrome and want to use it on your CentOS system as well, then we are here to help.
The problem is that since Google Chrome isn’t an open-source application, it isn’t available in the official CentOS repository. As such, we have put together a step-by-step workaround to help you add Google Chrome to your YUM repository and then install it.
Installing Chrome on CentOS
Step 1: Enabling Google Chrome YUM Repository
First, we will need to create this file: /etc/yum.repos.d/google-chrome.repo. You can do this by entering the following command in the terminal:
$ sudo touch /etc/yum.repos.d/google-chrome.repo
Once the file is created, you will need to open it using your favorite editor. We will be using the nano editor for this tutorial. After opening the file, you will need to enter the following text and then save the file.
[google-chrome]
name=google-chrome
baseurl=http://dl.google.com/linux/chrome/rpm/stable/$basearch
enabled=1
gpgcheck=1
gpgkey=https://dl-ssl.google.com/linux/linux_signing_key.pub
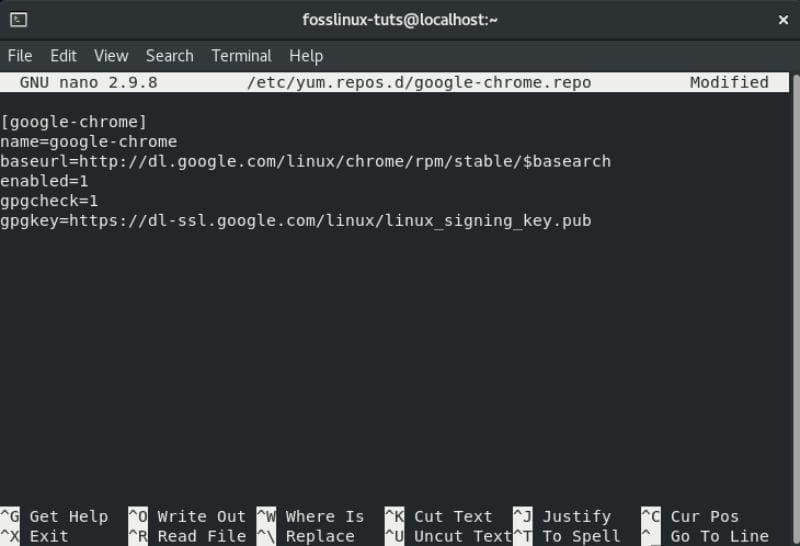
Enabling Google Chrome Yum Repository
Following these steps, you have successfully enabled the Google Chrome YUM Repository. Its time to install the Chrome web browser.
Step 2: Download and install Chrome
Next, we will be using the yum command to install the browser and make sure to pull all of its dependencies onto your system. To do this, first enter the following command in the terminal:
$ sudo yum info google-chrome-stable
This is going to give us the following output.
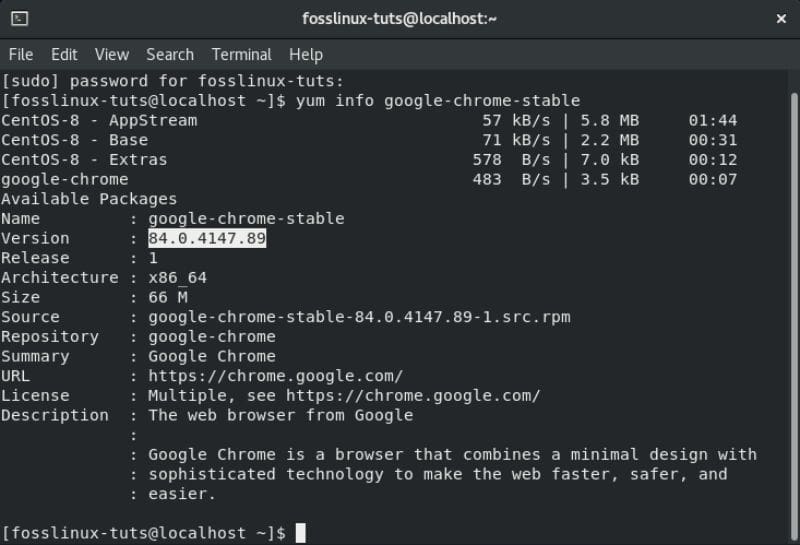
Checking Chrome Version
As you can see, the repository should show the latest version of Google Chrome i.e., version 84. Now that we are sure we are getting the newest version, it is time to install the browser using the following command:
$ sudo yum install google-chrome-stable
This is going to install the browser along with all its dependencies on your system.
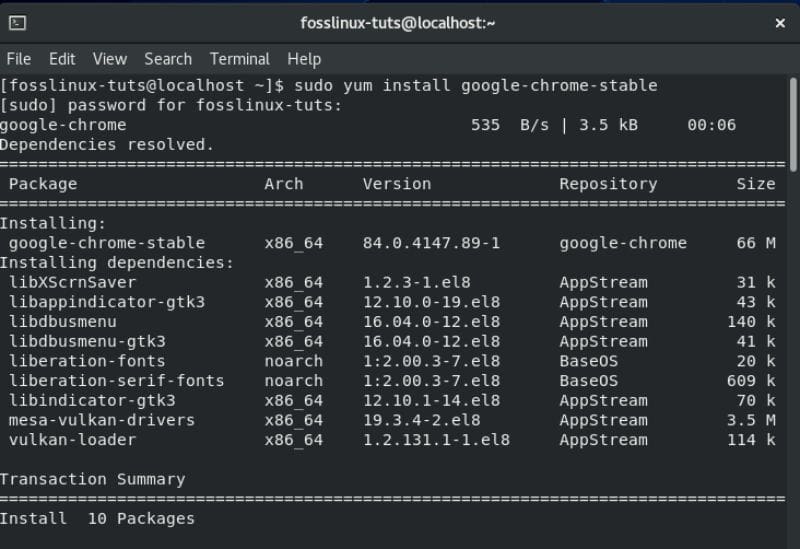
Installing Google Chrome
Updating Google Chrome on CentOS
After installing any new software or application, it is a good practice to check for any updates. You can do this by entering the following command in the terminal:
$ sudo yum update google-chrome-stable
This should give you a similar output screen, as shown below:
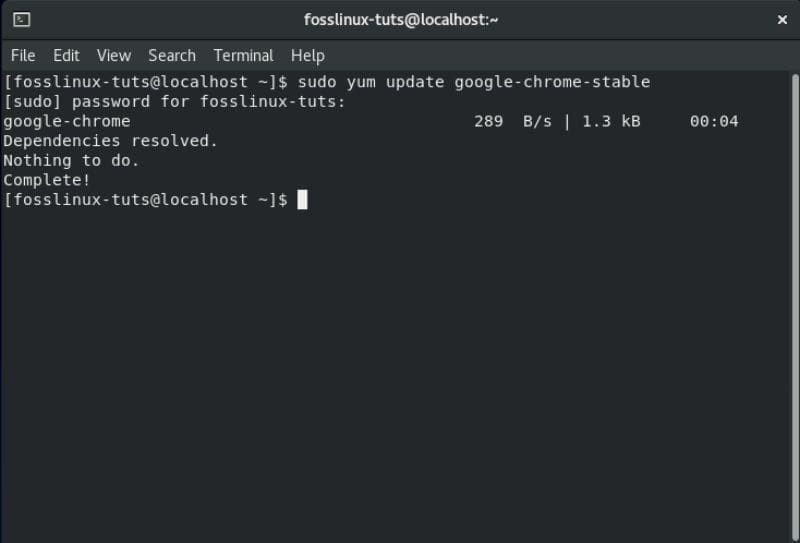
Updating Google Chrome
On our system, it is showing that everything is up to date, and all the necessary dependencies are installed. That’s great news! It’s time to start the browser.
Starting Google Chrome on CentOS
To start Google Chrome, you can enter the following command. As you can see, there is no need for you to enter sudo, as you can access it as a regular user.
google-chrome &
This is going to bring up the following output screen as well as the pop-up box asking you to make Google Chrome your default browser, and whether you want to send usage stats to Google.
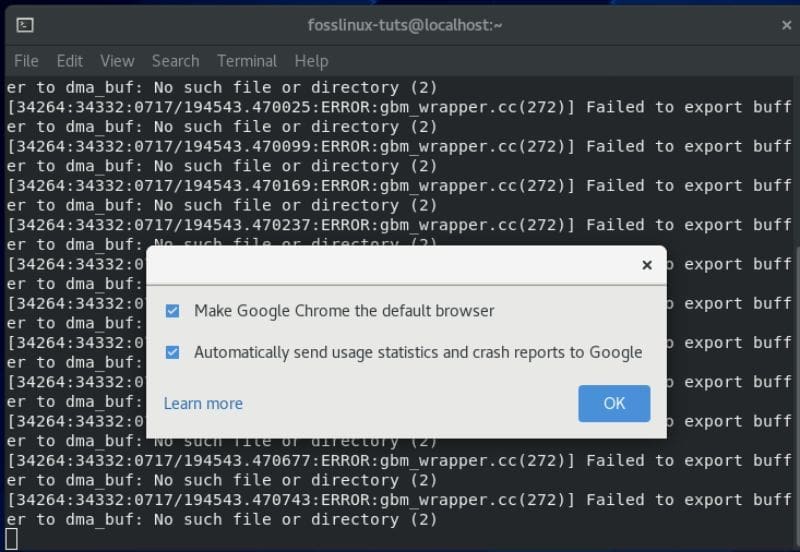
Starting Google Chrome
You can keep the options checked or uncheck them if you like. Once done, hit Ok, and the Google Chrome browser should open up. You can start browsing the web using it.
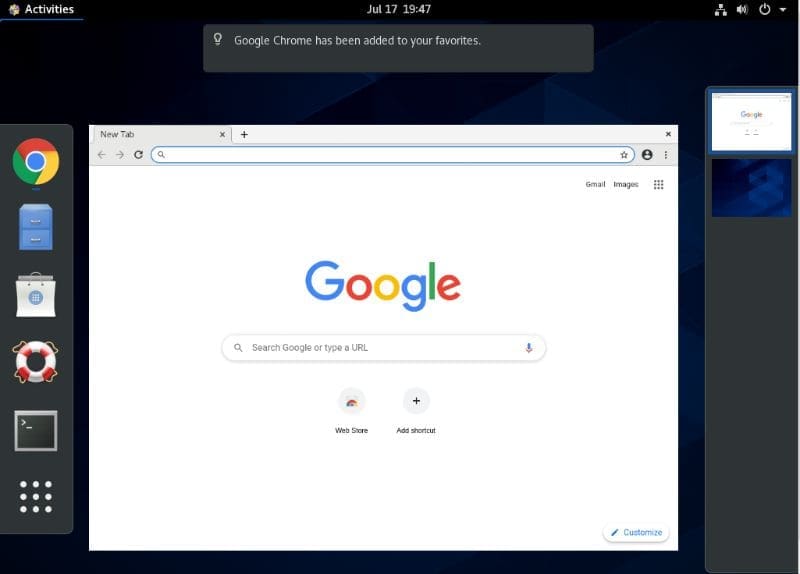
Google Chrome Installed
With Google Chrome successfully installed, you will also be able to run it using the GUI as well with the option to pin it to your Favorites.
Wrapping Up
So this is how you can install Google Chrome on CentOS. As you can see, it is relatively simple and doesn’t involve too many complicated steps. The same steps and commands will apply when trying to install Chrome on Fedora as well as on CentOS/RHEL 7.X.
The most important and crucial part would be enabling the Google Chrome YUM repository, as we showed earlier. Make sure to copy the text exactly as shown here, and you should be good to go.
However, if you do end up facing some errors during the installation procedure, then leave a comment explaining your problem. We would happily help you to troubleshoot the issue.

