When it comes to typography, Microsoft True Type fonts have entirely dominated the market. Although we have more than a thousand fonts available, the extensive use of the Windows operating system has altogether led to the increase in popularity of Microsoft True Type fonts.
These fonts are not only visually appealing but also aesthetically pleasing. Some of them like the “Times New Roman (Bold, Italic, Bold Italic)” are recommended in most documents and many writing formats like APA, MLA, Harvard, etc. and regarded as standard fonts. Microsoft True Type fonts are also in most webpages, and you can find this declared in the style sheets.
The Microsoft True Type font package includes:
- Andale Mono
- Arial Black
- Arial (Bold, Italic, Bold Italic)
- Comic Sans MS (Bold)
- Georgia (Bold, Italic, Bold Italic)
- Impact
- Times New Roman (Bold, Italic, Bold Italic)
- Trebuchet (Bold, Italic, Bold Italic)
- Verdana (Bold, Italic, Bold Italic)
- Webdings
Installing Microsoft TrueType Fonts on Fedora
Luckily for Linux users, you can install and use Microsoft True fonts on your Linux systems. This article will show you three methods on how you can install Microsoft True fonts on Fedora.
Method 1: Use the Classic Installer
Launch your Terminal and switch to the root user by typing the command below. It will prompt you for the admin password.
sudo su

Root User
Execute the commands below.
sudo dnf install curl cabextract xorg-x11-font-utils fontconfig
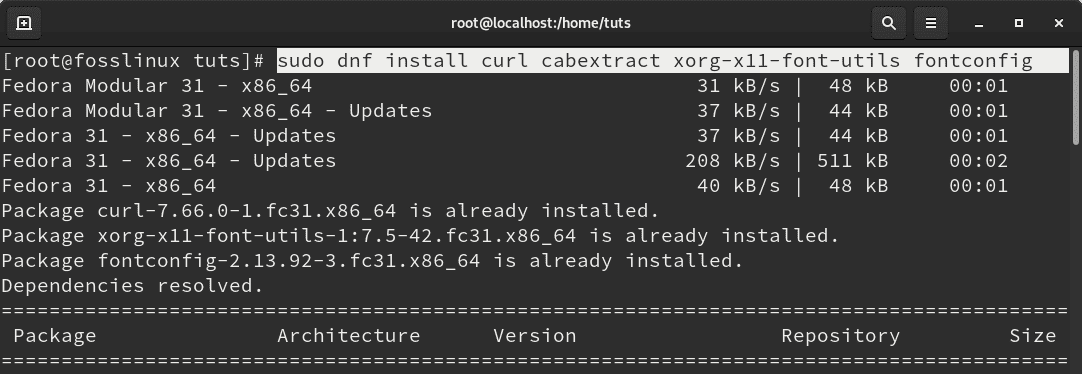
Microsoft True Fonts
sudo rpm -i https://downloads.sourceforge.net/project/mscorefonts2/rpms/msttcore-fonts-installer-2.6-1.noarch.rpm
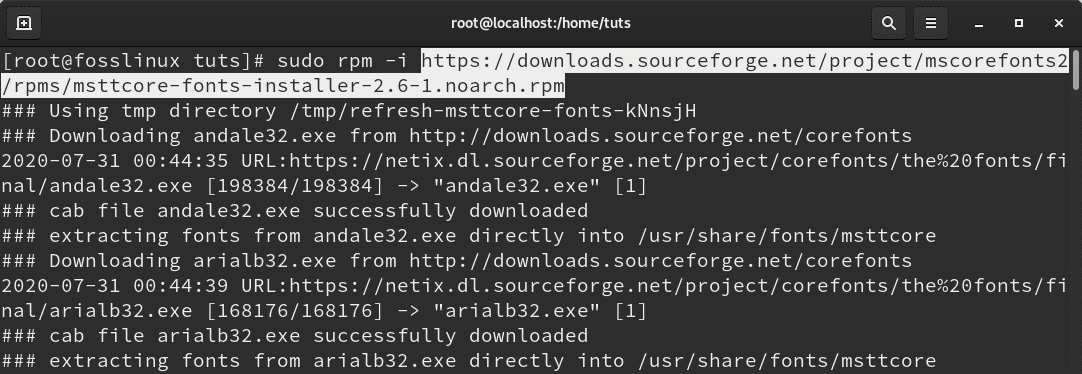
Microsoft True Fonts
That’s it! We now have Microsoft True fonts installed in our Fedora system.
Method 2: Copy Fonts from a Windows Installation.
Another universal way to install Microsoft True fonts in Linux systems is to copy the fonts from a Windows installation. You don’t need an internet connection, only a partition holding a windows system.
Navigate to the Local disk C, which holds your Windows files. It might be different depending on your installation path. Look for a folder with the name “Windows”. Open the “Fonts” folder and copy the contents.
Tip: You can access the “Fonts” folder and clicking at the address bar at the top and type the path: “C:\Windows\Fonts.”
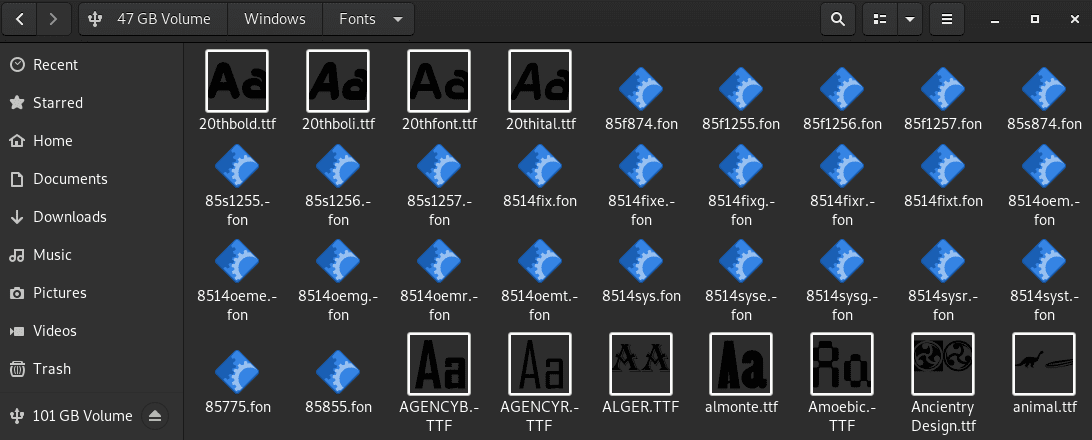
Window Fonts
Navigate to the home directory in your Fedora system. Paste the copied fonts in the “.fonts” folder. If this folder is not present, create it. Also, note the dot [.] at the beginning of the folder name. That shows it is a hidden folder.
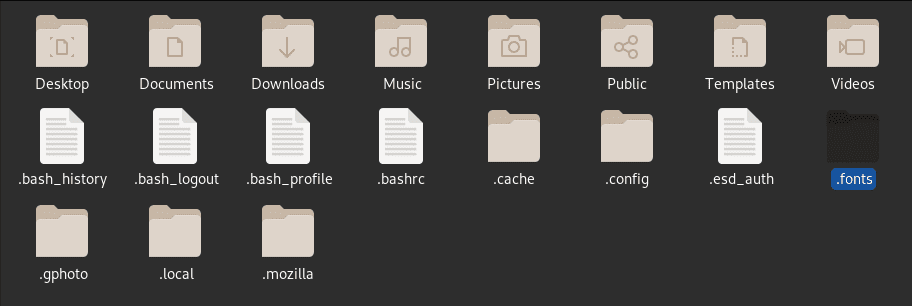
Fedora Fonts Folder
Method 3: Copy and Install fonts from a Windows 10 ISO
Another method to have Microsoft True fonts on your Fedora system is copying them from a Windows ISO file. It is quite technical than the other two, but also interesting if you love getting savvy with the Terminal.
First, we will need a Windows 10 ISO file. If you don’t have one, navigate to Microsoft’s official website and download it. Select your edition and click confirm. Ensure you don’t select the “Update” version.
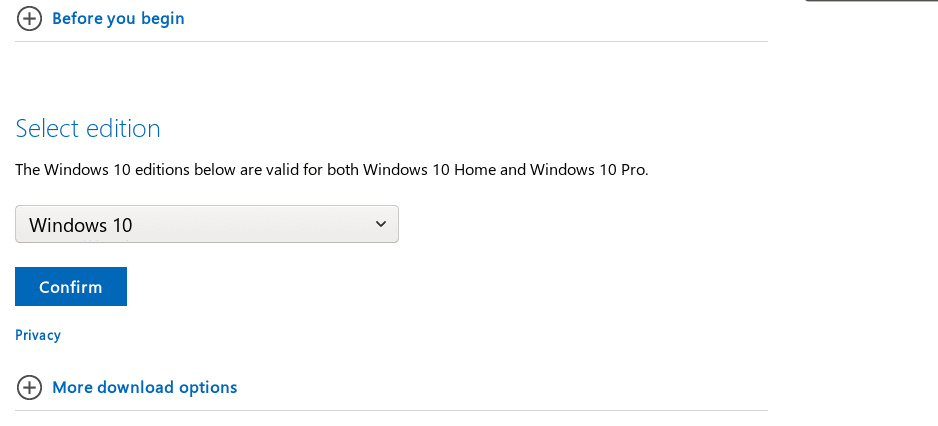
Download Windows
You will be prompted to put your Language of choice. Select “English,” even though the choice of Language doesn’t seem to have an impact on the fonts.
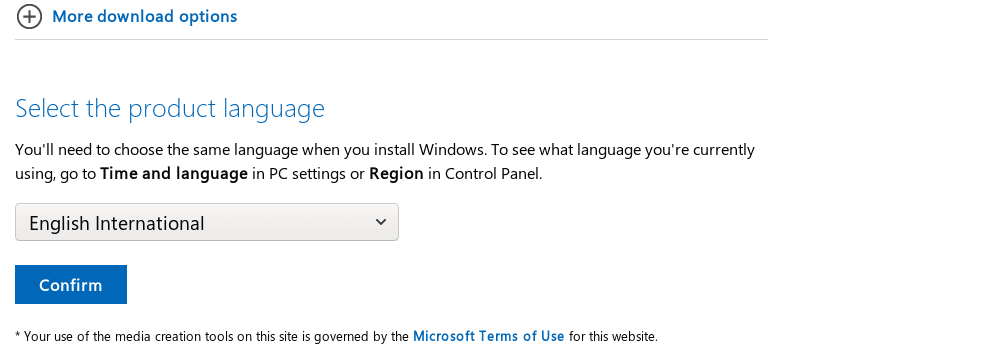
Download Windows 10 ISO
Once you have downloaded the ISO file, we now need to extract it. We will use p7zip for this process. To download p7zip in Fedora, run the commands below:
sudo dnf install snapd
sudo ln -s /var/lib/snapd/snap /snap
sudo snap install p7zip-desktop

P7zip-desktop
Launch the Terminal and navigate to the directory where you have downloaded Windows 10 ISO file. Now run the command below to extract various Windows files, including the fonts folder.
7z e 'Windows 10 64-bit.ISO' sources/install.wim
Remember to replace ‘Windows 10 64-bit.ISO‘ with the name of your ISO file.

Extract Files
Once the process is complete, we now need to extract the fonts from the “install.wim” archive. Run the command below in the Terminal.
7z e install.wim 1/Windows/{Fonts/"*".{ttf,ttc},System32/Licenses/neutral/"*"/"*"/license.rtf} -ofonts/

Extract Fonts
By running the ‘ls‘ command, you should see the fonts folder below.

Extract fonts
To install the fonts, move the extracted ‘fonts‘ folder to the home directory ‘.fonts.‘ directory. You can do this graphically through Copy and Paste or by running the simple command below.
mv fonts ~/.fonts
To update your system applications with these newly installed fonts, we need to update the installation’s fonts cache. Run the command below.
fc-cache -f
To test these newly fonts, open your Libre Office program, and you will find your newly-installed fonts among the default fonts that come preinstalled. That’s it! Let us know which method works best for you. If you also have any additional information or comment, feel free to share with our readers below.


5 comments
Has been of great help. Thanks!
Thank you so much for this. Very helpful and the instructions were really easy to follow.
Excelent! easy to follow, and works the same with the win11 iso.
Nice one, although there is a simpler way to use the last option.
1. Get the Win ISO, right click mount from within Files
2. Open the mounted image on a terminal and navigate to sources/
3. Install wimlib and wimlib-utils (see https://wiki.archlinux.org/title/Wim)
4. Use wiminfo to find the image index number (I used the Win 10 Pro non-N image)
5. Mount the image index
6. Navigate to the mount point and then to Windows/Fonts
7. Copy all the .ttf files to something like ~/.fonts/ms-win10pro
8. Run fc-cache -v
This fixed my issue! I use TextMaker on MacOS and the font rendering was off on Fedora Linux. I used these instructions to install TTF and now they both look the sam.