
Ubuntu 20.04 was released in April this year; if you have not upgraded to the new Ubuntu, check our upgrade tutorial here to help you via detailed and straightforward steps. Now, if you are an Ubuntu user, then you will need to take a screenshot from your current window to send it or save it for any future need.
In this guide, we are going to show you how to take a screenshot in Ubuntu 20.04. This tutorial is going to cover two methods:
- Take a screenshot via the Ubuntu built-in application.
- Take a screenshot via a third-party application.
Take Screenshots on Ubuntu
So let’s discuss each method with more details.
Method 1: Take Screenshot Via Ubuntu Built-in Application
The default and builtin screenshot application used by the Ubuntu 20.04 is the “Screenshot” application. Usually, this default application runs in as a process in the background, waiting for the user to press on the “PrtScr” button on the keyboard. When the “PrtScr” button is pressed, you will find that your screen blinked; this means a picture from the current Ubuntu is taken. In general, clicking the “PrtScr” button will wake the background process and take an image from the current system state. Additionally, the new picture will be saved in the pictures directory by default. Let’s try this together.
Step 1. Open your terminal.
Step 2. Ensure you have the latest Ubuntu release using the next command:
lsb_release -a
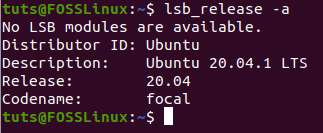
Current Ubuntu Version
Step 3. Press the PrintScreen “PrtScr” button from your keyboard. You should notice that your screen will blink, and you may hear a camera shutter sound.
Step 4. From the left dock panel, open the Ubuntu default File explorer.
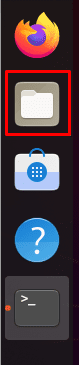
Open the File Browser
Step 5. From the left panel, select the Pictures directory.
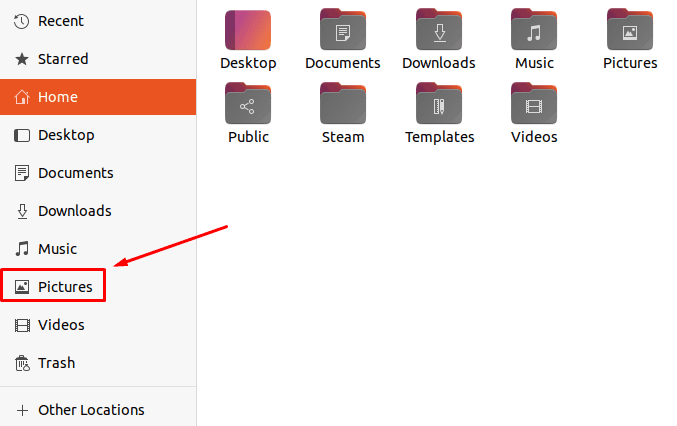
Open The Pictures Directory
Step 6. As you can see, the screenshot is saved in the Pictures directory.
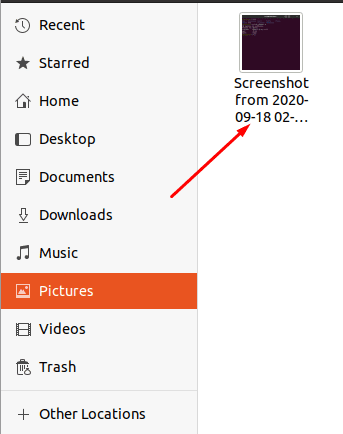
Screenshot Saved in the Pictures Directory
Step 7. The print screen button takes a picture from the whole window. However, if you need to take a specific area from your current screen, you can open the screenshot application. To open the “screenshot” application, open the Activities menu.
Open the Activities Tab
Step 8. In the search box, search for the “screenshot” application.
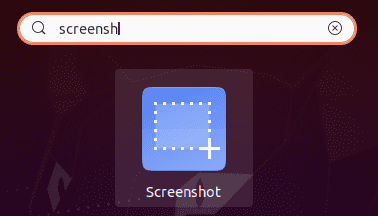
Search Screenshot Application
Step 9. The default screenshot application will open where you can choose from the displayed options.
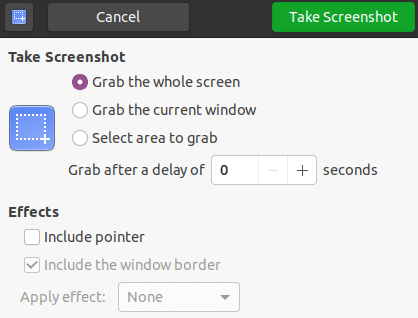
Screenshot Application Options
Step 10. To take a screenshot from a particular area in your screen, select the “select area to grab” option then press the “Take Screenshot” button.
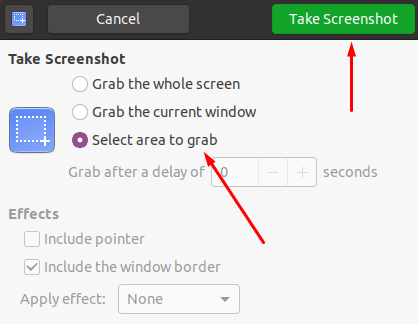
Select Area to Grab
Next, you will be able to mark the area you need to take a picture of it.
Step 11. Once the picture is taken, you will save the screenshot in the directory you need.
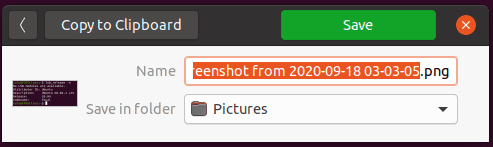
Save the Screenshot
Method 2: Take Screenshot Via Third-Party Application
During this method, we will be using another third-party application other than the default Ubuntu “Screenshot” application. We are going to use an application named “flameshot”. The application is full of great options where it has a marker, pen, and some other photo editing options that you can use while taking a screenshot.
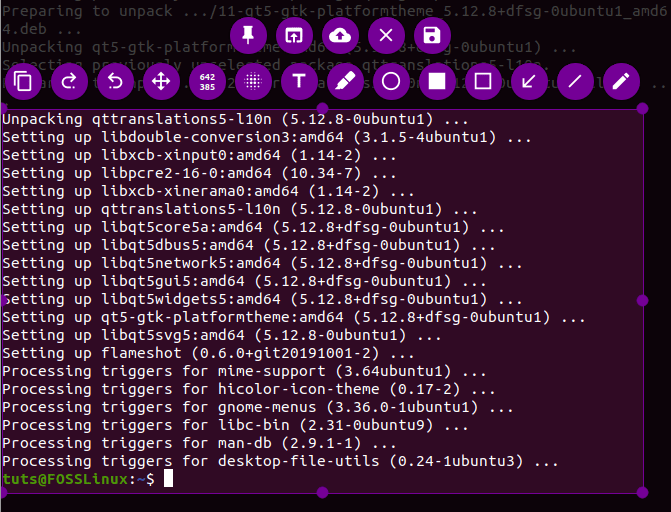
Step 1. First, let’s install the flameshot application.
sudo apt install flameshot
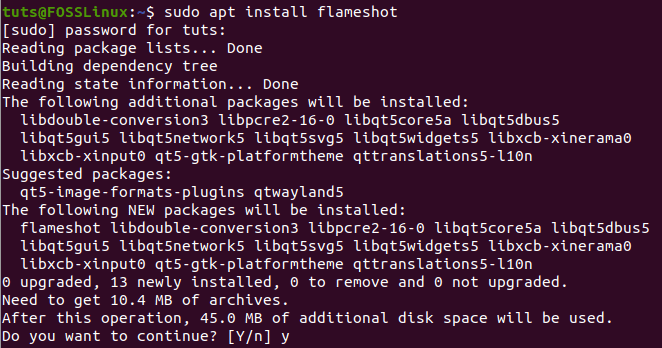
Install the Flameshot Application
Step 2. When the installation completes successfully, search for the “flameshot” application, and open it.
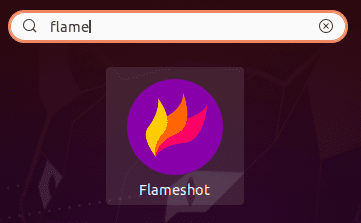
Open the Flameshot Application
Step 3. You can now notice the “flameshot” icon appears in the top menu bar.
The Flameshot Icon Appears
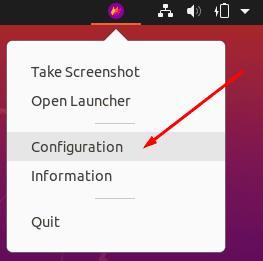
Step 4. Right-click on the “flameshot” icon and select the “Take Screenshot” option.
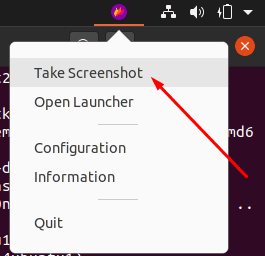
Choose the Take Screenshot Option
Step 5. Your screen now will be dimmed with a tip from the “flameshot” application.
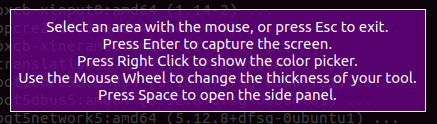
Flameshot Tips
Step 6. Next, you can mark the area you need to take a screenshot from it. As you can notice, some new options will appear where you can choose to write a text, highlight something, and more options you can check.
Flameshot Editor
Step 7. For more advanced options, you can click on the configuration option.
Open Flameshot Configurations
Then you will get the “flameshot” configuration window.
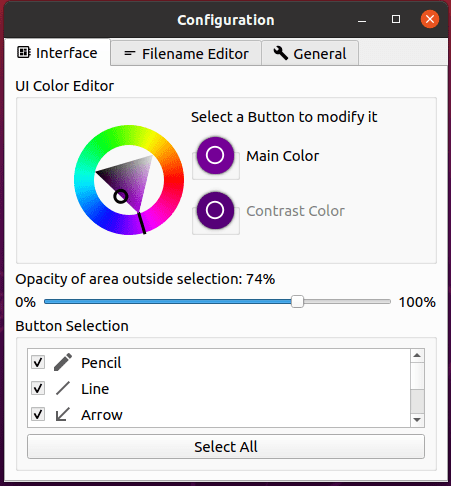
Flameshot Configuration Window
That’s it! You have just learned how to take a screenshot on your Ubuntu 20.04 using two various methods. I hope you found this resource helpful. If yes, please do share it with your friends on social platforms.