Most server operating systems, including the Ubuntu Server, don’t come with a Graphical User Interface. The main reason behind these is that the GUI takes much of the system resources to run essential server tasks. However, that doesn’t mean you can install a GUI on your Ubuntu server.
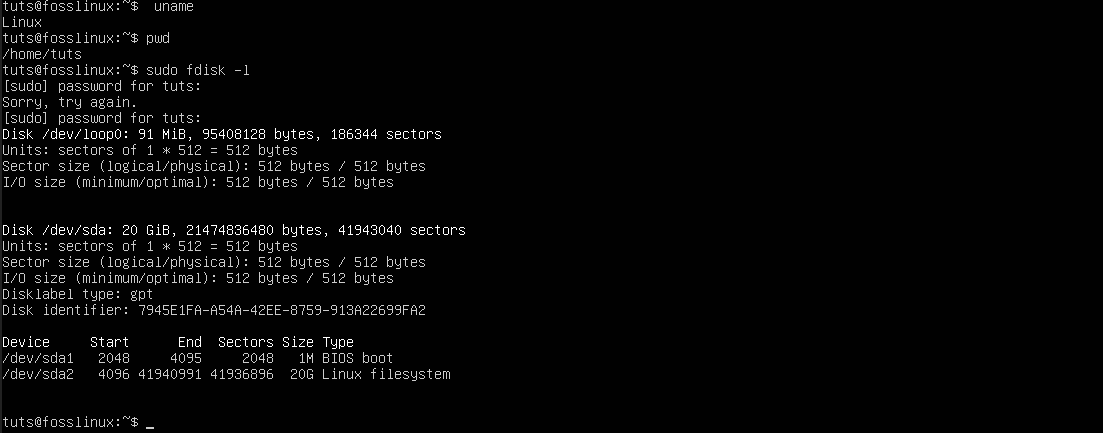
Ubuntu Server
This tutorial is for you if you want to run a graphical interface for your Ubuntu Server setup. We will give you a step by step procedure on how you can install a GUI on your Ubuntu server.
Installing GUI on Ubuntu Server
Prerequisites
- Installed Ubuntu server with root privileges
- An active internet connection.
Generally, even without an interface, you can access a server via its command-line or ssh with a tool like Putty.
Note: If you are accessing your server via Putty, you will not access the installed GUI interface. You will need a tool to access Remote Linux Desktop.
Update repositories and system packages
Execute the commands below:
sudo apt-get update
sudo apt-get upgrade

Update System
This action ensures you have the latest packages installed in your system.
Next, we will need to install the tasksel manager utility. Tasksel is a utility for Ubuntu/Debian used to install multiple related packages. Execute the command below on the command-line.
sudo apt install tasksel

Install Tasksel
Install a Display Manager
The Display manager, also known as ‘Login manager,’ is a utility responsible for launching the display server, loading the Desktop, and manages user authentication. Some of the display manager available for installation include SDDM, SLiM, and LightDM.
To install a display manager of your choice, use the apt package manager.
- Install SLiM:
sudo apt install slim
- Install LightDM:
sudo apt install lightdm
In our case, we will install the SLiM display manager for our server.

Install SLiM
If you wish to install the SDDM display manager, you can select it when installing the KDE Desktop Environment.
Install a GUI for Your Server
A Desktop Environment (DE) is a collection of software running on top of the Linux kernel to make up the Graphical User Interface. The DE determines the look and feel of windows, app and folder icons, colors, and more.
Some of the popular Desktop Environments available include the GNOME, KDE Plasma, Mate Core, XFCE, Lubuntu Core Server Desktop, Xubuntu Core Server Desktop, etc.
-
Install GNOME
Step 1. Launch taskel by executing the command below on the command-line.
$ tasksel
A colorful interface with a list of various software will open. Scroll using the arrow keys and select the Ubuntu Desktop. Tip: Use the SpaceBar key to select an item. Use the Tab key to skip to the OK button and hit Enter.
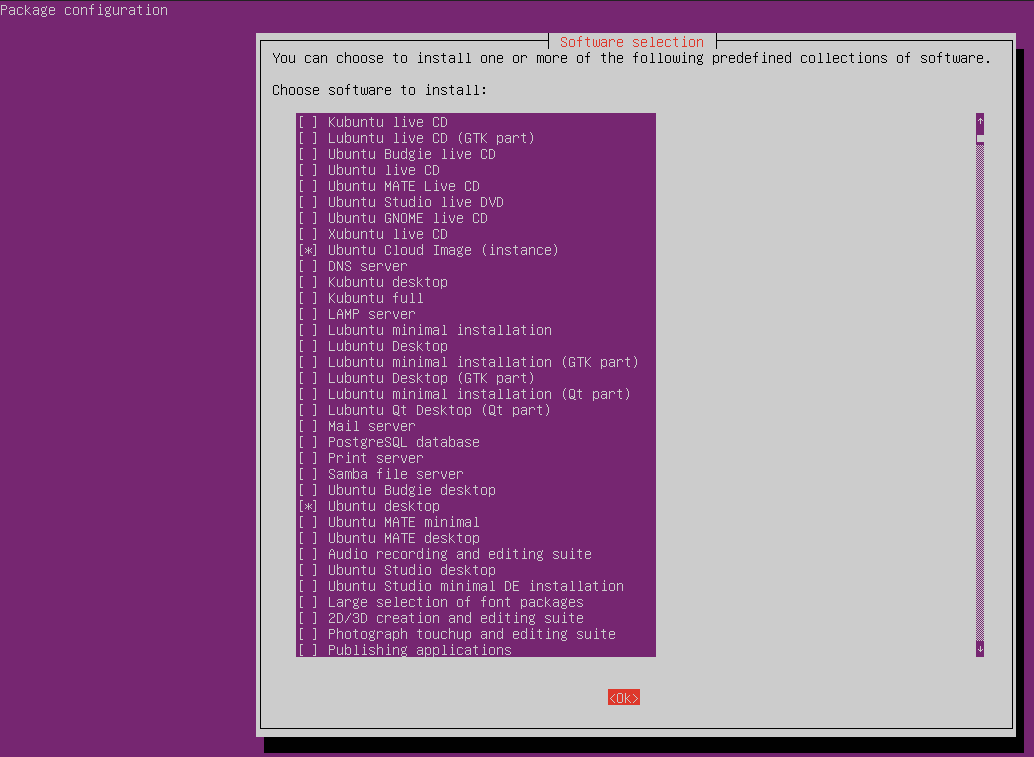
Install Ubuntu Desktop
The GNOME Desktop Environment will be installed, and it will reboot, giving you a graphical login interface generated by the installed Display Manager. In our case, it’s SLiM.
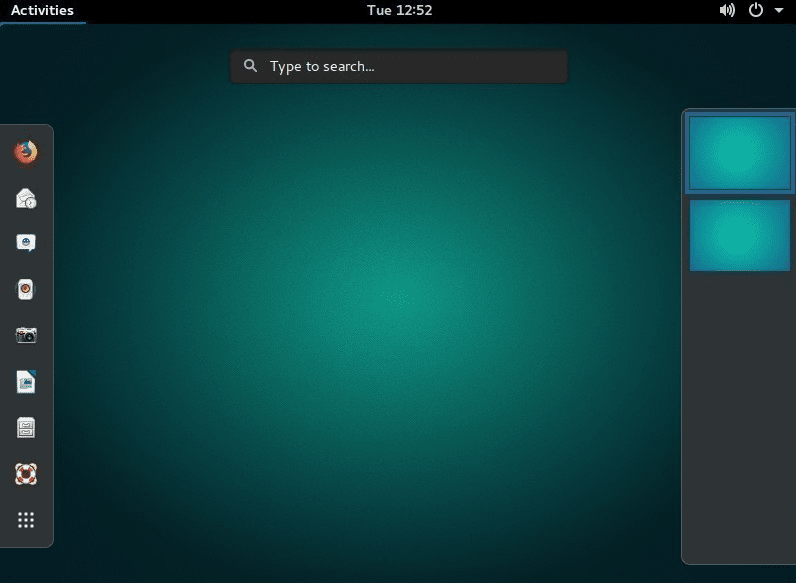
GNOME desktop
-
Install KDE Plasma Desktop Environment
To install KDE Plasma, execute the command below:
sudo apt install KDE-plasma-desktop
To launch the KDE Plasma, use the command below:
sudo service [your-display-manager] start
Replace ‘your-display-manager’ with your installed display manager, e.g., SLiM, LightDM, SDDM, etc. You will then need to enter your credentials to log in.
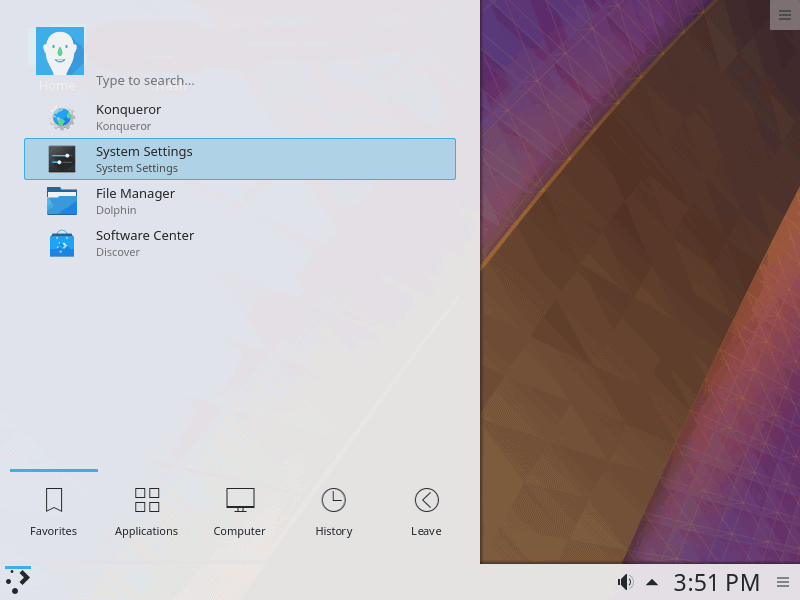
KDE
-
Install Mate Core Server Desktop
Execute the command below on the command-line.
sudo tasksel install ubuntu-mate-core
Once the action is complete, launch the Desktop Interface with the command below.
sudo service [your-display_manager] start
To exit the Graphical Interface, execute the command below:
sudo service display-manager stop
Note: Replace ‘your-display_manager’ with your installed display manager, e.g., SLiM, LightDM, SDDM, etc.
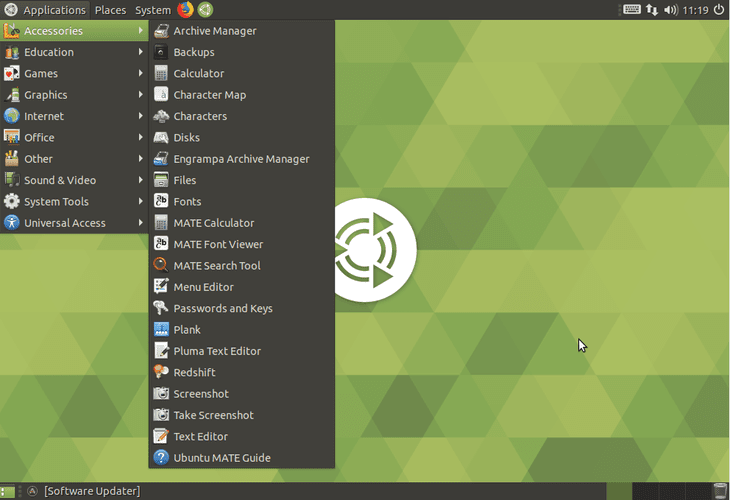
Mate Core Server Desktop
-
Install Lubuntu Core Server Desktop
Based on the LXDE desktop environment, Lubuntu core is a lightweight GUI you can use for your Ubuntu Server. To install Lubuntu, execute the command below:
sudo tasksel install lubuntu-core
Once installed, start the display manager with the command below:
sudo service [your-display_manager] start
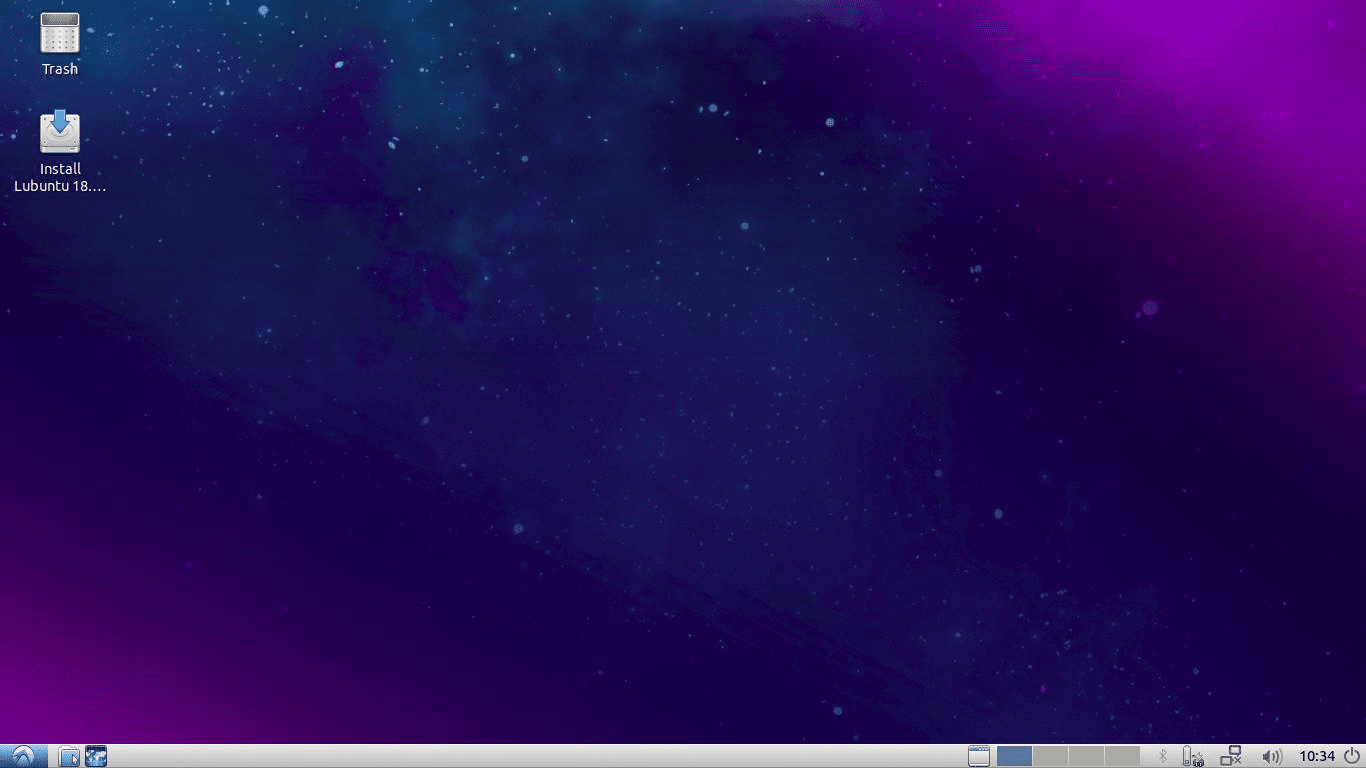
Lubuntu
-
Install Xubuntu Server Core Desktop
Xubuntu core is a lightweight GUI based on the XFCE Desktop Environment. Execute the command below to start the installation:
sudo tasksel install xubuntu-core
Once the installation is complete, launch Xubuntu core with the command below:
sudo service [your-display_manager] start
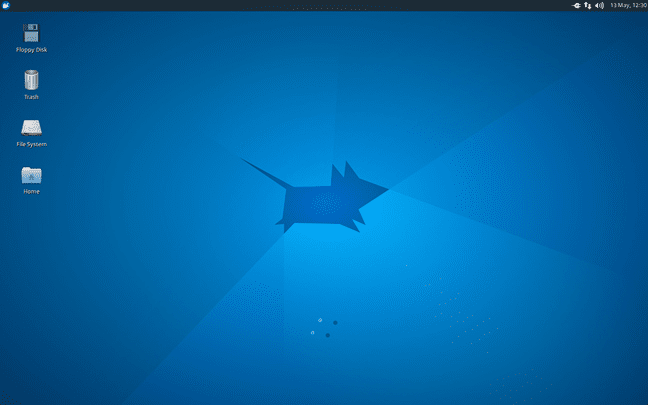
Xubuntu core desktop
-
Install Xfce Desktop
Note: XFCE is only compatible with the SLiM desktop manager.
You can also install a GUI directly on your Ubuntu Server. The command below will install XFCE4 GUI along with the SLiM display manager. Execute the command below:
sudo apt-get install xfce4 slim
Launch XFCE with the command below:
sudo service slim start
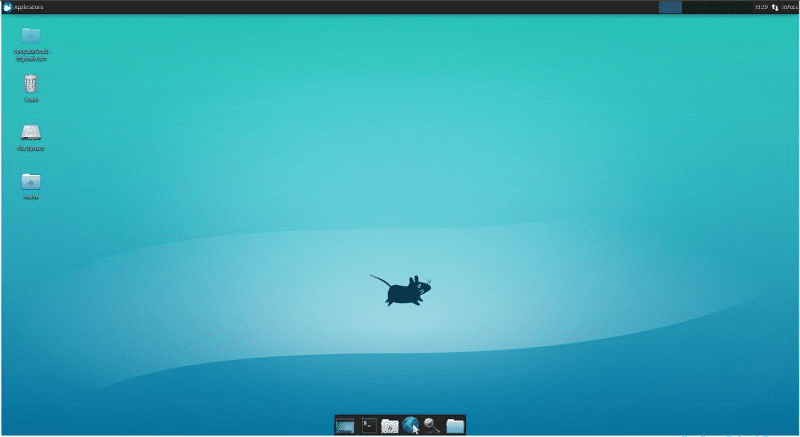
Xubuntu Xfce
Conclusion
From this post, you can see there are so many Graphical User Interfaces available for your server. Here, you shouldn’t go with the phrase “the bigger, the better.” It would be best if you had a GUI that is lightweight and won’t compete for resources with Server services.
Luckily, Ubuntu supports lots of GUI’s and can easily be installed with the apt package manager. If you face any errors or issues while installing your Ubuntu Server GUI, please feel free to leave a comment below.


2 comments
Hi, may I know if these GUI is okay for a Raspberry Pi 2?
However, that doesn’t mean you can install a GUI on your Ubuntu server.
I think this line will be change to
However, that doesn’t mean you can’t install a GUI on your Ubuntu server.