MX Linux is a mid-weight Linux distro based on Debian stable. It uses core antiX components, with additional software created or packaged by the MX community. The OS was developed as a cooperative venture between antiX and former MEPIS communities.
This system is currently among the most popular Linux distros and the most highly rated Linux distro on DistroWatch.
This article will show you how to burn music CDs/DVDs using this MX Linux.
Burning music CD on MX Linux
Method 1: Use Brasero
We will make use of Brasero application software to carry out this task.
Features of Brasero
- It supports multi-session.
- It can write an image to the hard drive.
- It can check disk integrity.
- It can burn data CD/DVD on the fly.
- It supports the edition of discs contents (removing/moving/renaming files inside directories).
- It allows automatic filtering of unwanted files (hidden files, broken/recursive symlinks).
- It writes CD-TEXT information.
- It also supports the edition of CD-TEXT information.
- It can search audio files handled by Gstreamer local installation.
- It allows a complete edition of silences between tracks.
- It can copy a CD/DVD to the hard drive.
- It supports single-session data DVD.
- It supports any CD.
The first step is to download Brasero, a free Open-source CD burning/maker utility for GNOME. If you are an Ubuntu user, you can use GNOME software by opening the Ubuntu software center and searching for Brasero, then clicking the “install” button. However, since we use MX Linux, we will use the following commands to aid the installation. Copy and paste the following commands into your terminal subsequently.
sudo apt-get update

update MX Linux
sudo apt-get install brasero
After installing the software to our machine, follow the steps below for burning music CD with MX Linux:
Step 1: search for Brasero.
Upon installing the software, we will type Brasero in the search button.
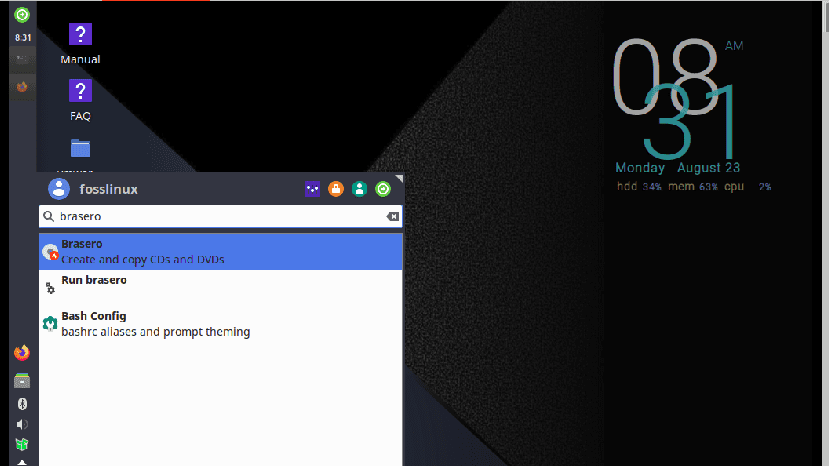
type brasero
Step 2: After opening the list, click on the Brasero icon and open it
Step 3: Options:
When the application opens, you will have a variety of options to pick from:
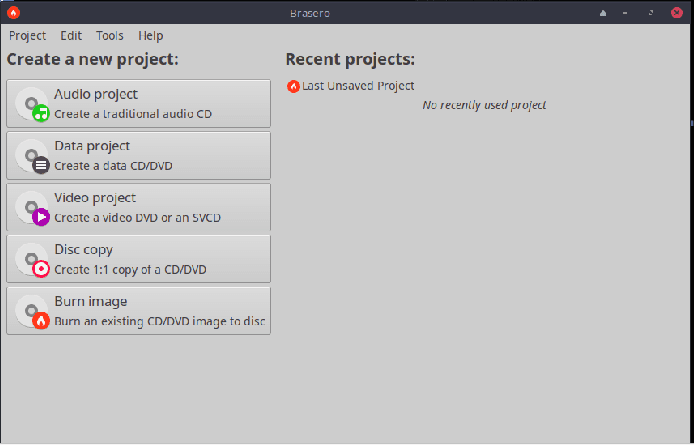
brasero window
- Audio Project – allows the creation of audio CDs. However, you may need to download some extra codecs and libraries to create an Audio CD for specific audio formats.
- Data project – allows the creation of Data CD.
- Video Project – Allows creation of Video CD.
- Disc copy- allows CD/DVD copying.
- Burn image – allows burning an existing CD/DVD image to disc.
Since we focus on burning audio music, we will go with the first option, “audio project,” to create an audio CD. Alternatively, you will go with the Video project if you want to create a Video DVD or an SVCD.
Before creating an audio project, ensure an empty disk for burning is inserted on the disk drive. Upon clicking the audio project, a Brasero- New Audio Disc project will appear, as seen below
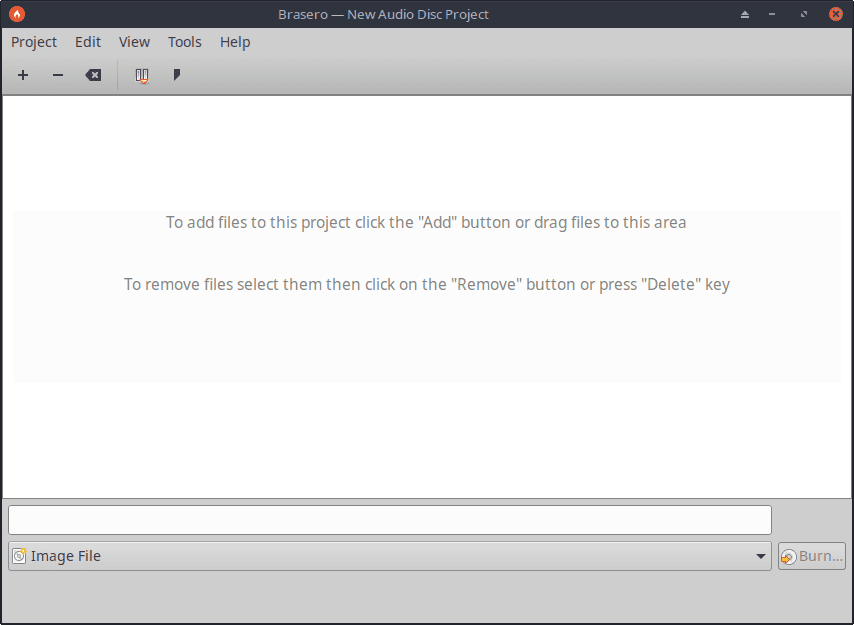
open audio project
After opening, click on the “+” button at the left corner of the window to add files to the project. Alternatively, you can drag and drop the file to the disc app.
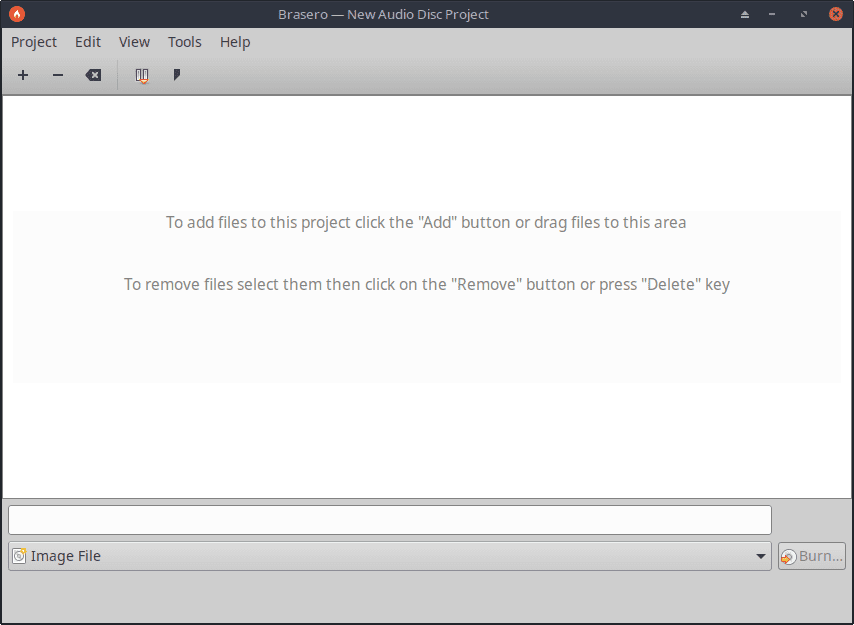
open audio project
After clicking the “+” button, the files window will open up;
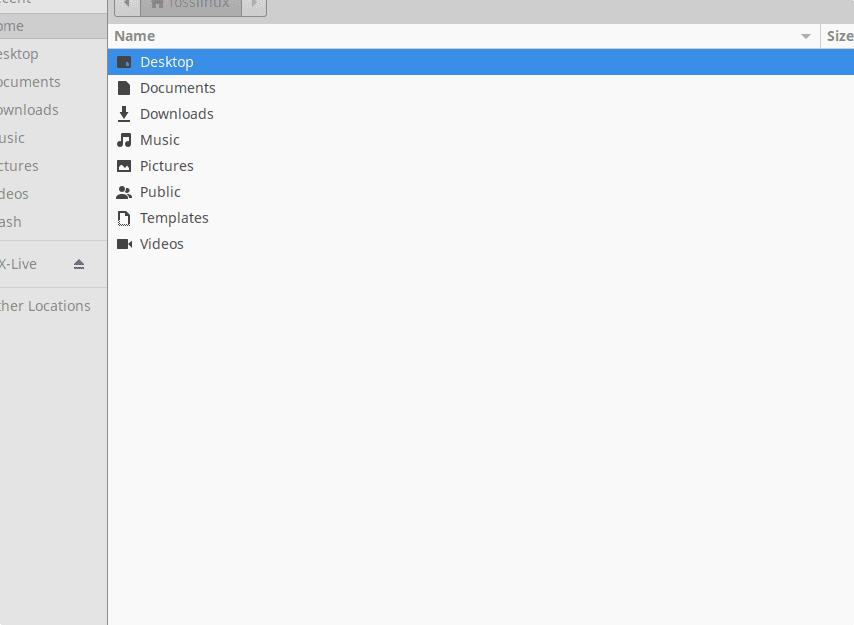
files window
Here, you will maneuver to the section your audio files are in; in our case, the file is in music. After that, select the one you want to use by double-clicking on the file. Thereafter, the file will be loaded to the Brasero application as shown below:
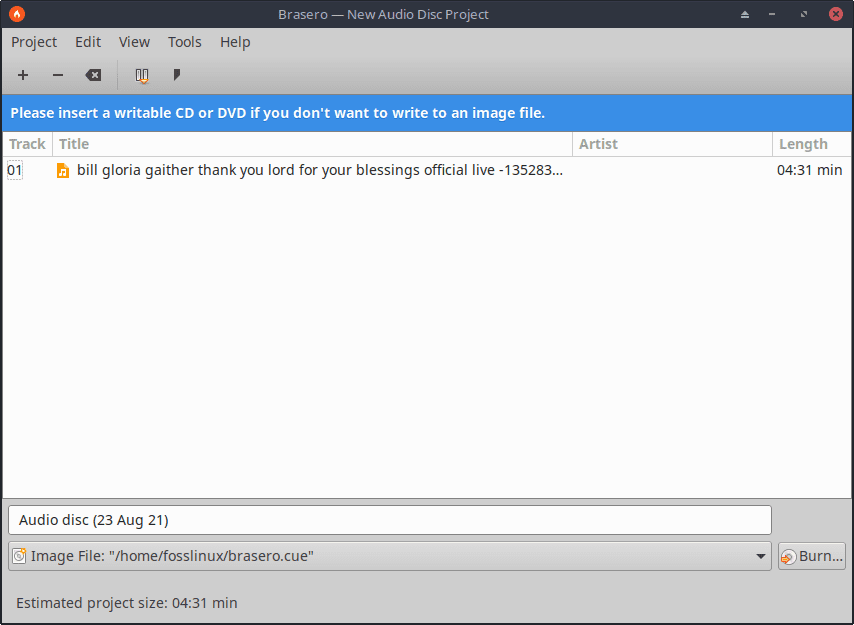
burn the file
Note: You will realize that there is a blue alert at the top saying, “Please insert a writable CD or DVD if you don’t want to write an image file,” this is because my machine does not support a CD drive port. Nonetheless, this should perfectly work for those with CDs or DVDs. After making sure that the CD or DVD is inserted, click on the “Burn” button at the right corner of the application, and the process will be underway.
If you want to create a video CD project or burn a Video CD, click on the Video project button. After that, add files to the Brasero Disc burner using the “+” button.
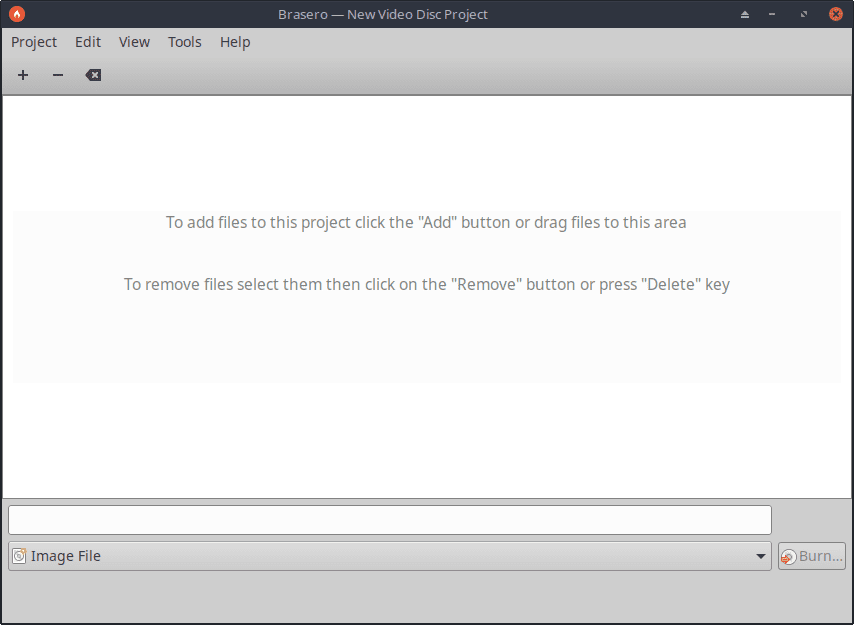
click on +
After clicking on the “+,” the file manager will open up; go to the folder where your video is. In our case, it is in the videos section.
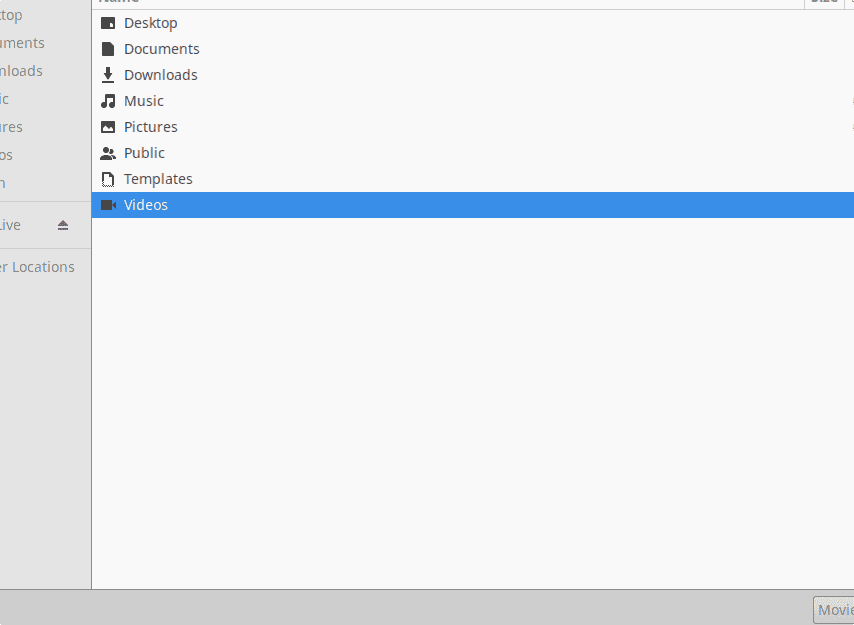
select where the video on the files is
Thereafter, please Double click on the video to load it to the Brasero app
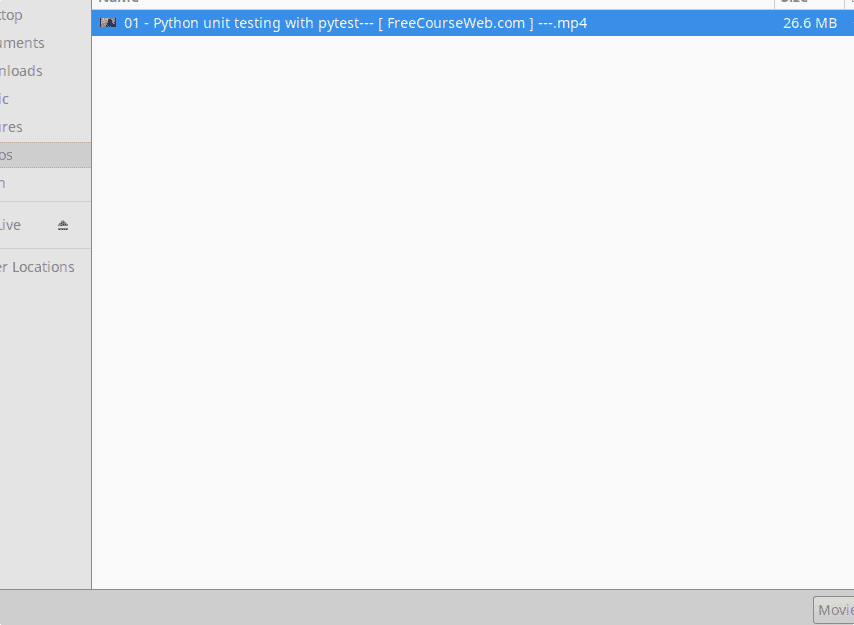
select a video by double-clicking on it
Below is a preview of the video that we should burn to the CD/DVD loaded to the application.
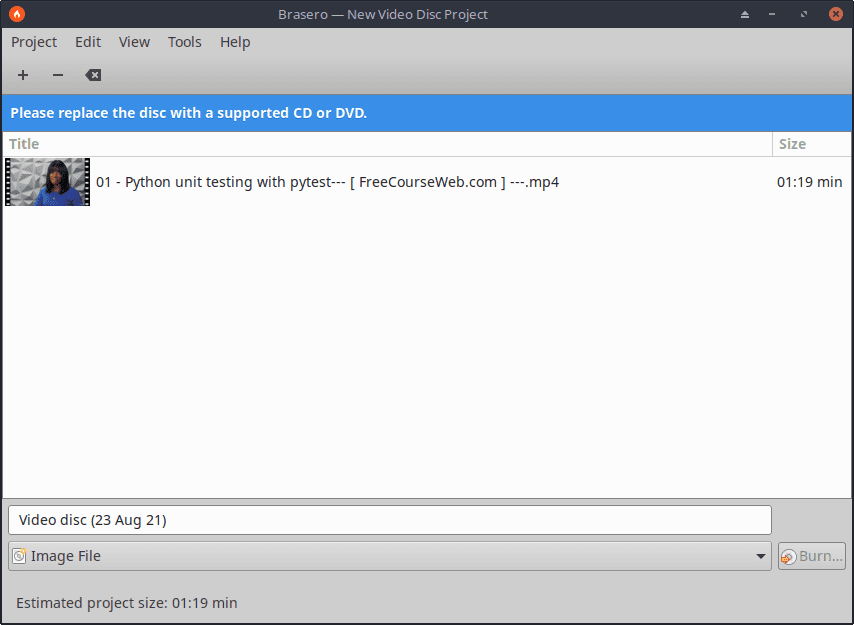
finally burn
Note: You will see a blue alert at the top saying, “Please replace the disc with a supported CD or DVD,” because my machine does not support a CD drive port. Nonetheless, this should work for those with CDs or DVDs. After making sure that the CD or DVD is inserted, click on the “Burn” button at the right corner of the application, and the burning process will start.
Some additional tools to use in burning CD/DVD in MX Linux include:
Method 2: K3B – KDE burning tool
k3b
K3B is a Qt-based application created to be a feature-rich and easy to handle CD-burning application. The app consists of basically three parts:
- The tools that offer CD copy and DVD formatting.
- The projects that allow the creation of audio, video data burning.
- Context-sensitive media actions that show the way to rip audio CDs.
Method 3: GnomeBaker burning tool
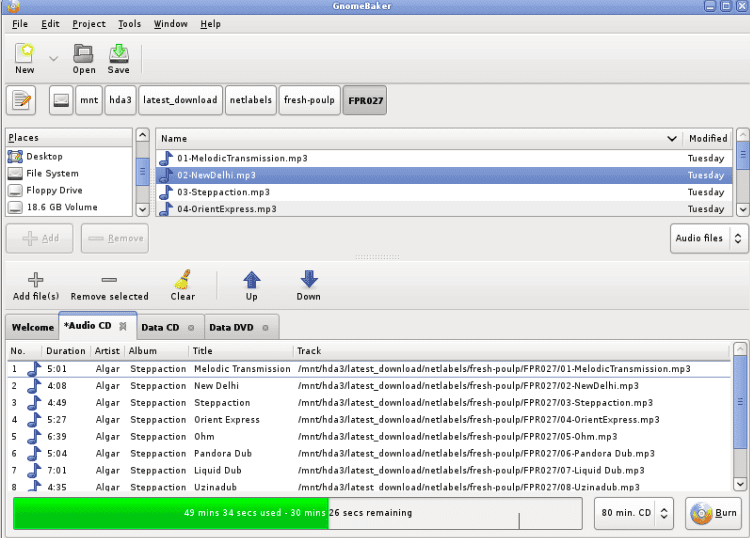
gnome baker tool
This is a free and open-source CD/DVD application for any Linux distro. The software is based on the GNOME desktop environment. The system comes with advanced functionalities such as drag and drop to create data CDs. Furthermore, with Gnomebaker, one can create audio CDs from existing MP3, WAV e.t.c.
Method 4: Xfburn for MX Linux
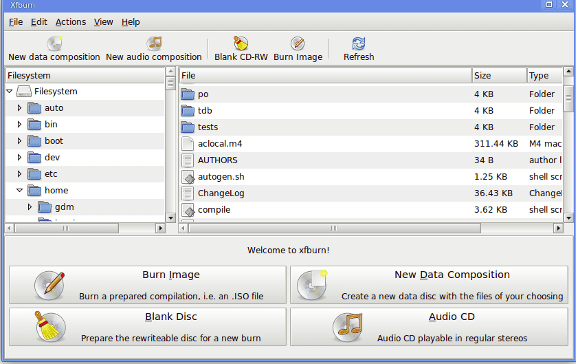
xfburn burning tool
This is another excellent tool to help you in burning CDs and DVDs. As the name suggests, Xfburn is better integrated with the Xfce desktop and can be used in any other Linux OS besides MX Linux.
Method 5: Nero burning tool

Nero for Linux
Nero burning tool is a popular Linux and windows application used in burning CDs and DVDs. To download the software, click on the link below.
Conclusion
The article has covered the steps needed for you to burn music CDs with MX Linux. We specifically looked at the Brasero application, where we touched on the installation steps and how to start the software. After that, we added the music mp3 and video files in the application, ready to burn to the CD. We also looked at some different applications used for burning CDs/DVDs. To this end, we are sure the article has covered the steps needed to burn music with MX Linux.
