You no longer need a Windows operating system to connect with your colleagues at work since Microsoft Teams has been made available for Linux and macOS users. Therefore, no need to worry anymore if your daily tasks require a Linux distro such as Ubuntu, Red Hat, Debian, or Kali Linux. Using the Microsoft Teams application, you can use your Ubuntu operating system to connect or attend meetings.
Microsoft Teams is a Microsoft communication platform that allows users to chat, conduct meetings, collaborate and call. This communication platform is majorly used by individuals and companies working on a project to collaborate. Back then, Microsoft Teams was only available for Windows users. However, it is now available for both Linux and macOS users.
This article will illustrate all the procedures involved in installing Microsoft Teams in Ubuntu. We shall show you GUI and command-line ways.
Installing Microsoft Teams on Ubuntu
We shall be using two methods to install Microsoft Teams on Ubuntu:
Method 1: Using the Graphical User Interface (GUI) to install Microsoft Teams
Follow all the steps provided herein to install Microsoft Teams using the GUI method:
Step 1: Open Microsoft Teams’ official website.
Step 2: Click on the “Download Teams” option as shown in the image below:

Select the Download Teams option
Step 3: Now choose the first option, “Download for desktop”
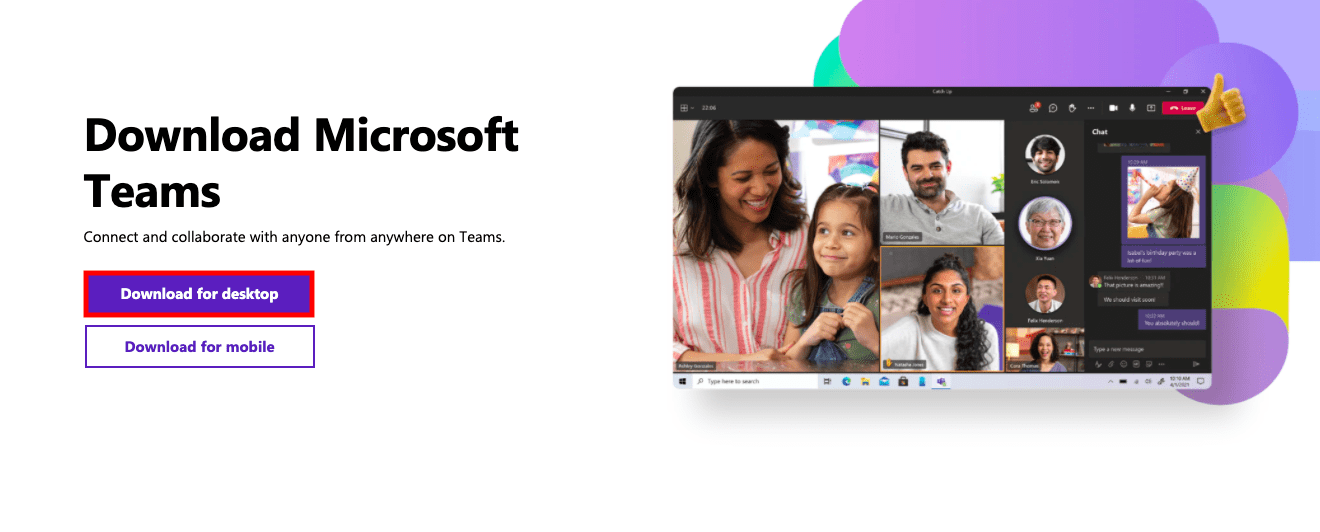
Select the Download for desktop option
Step 4: It will automatically detect your operating system and provide a download link like the one shown below:
Select the Linux DEB (64 bit)
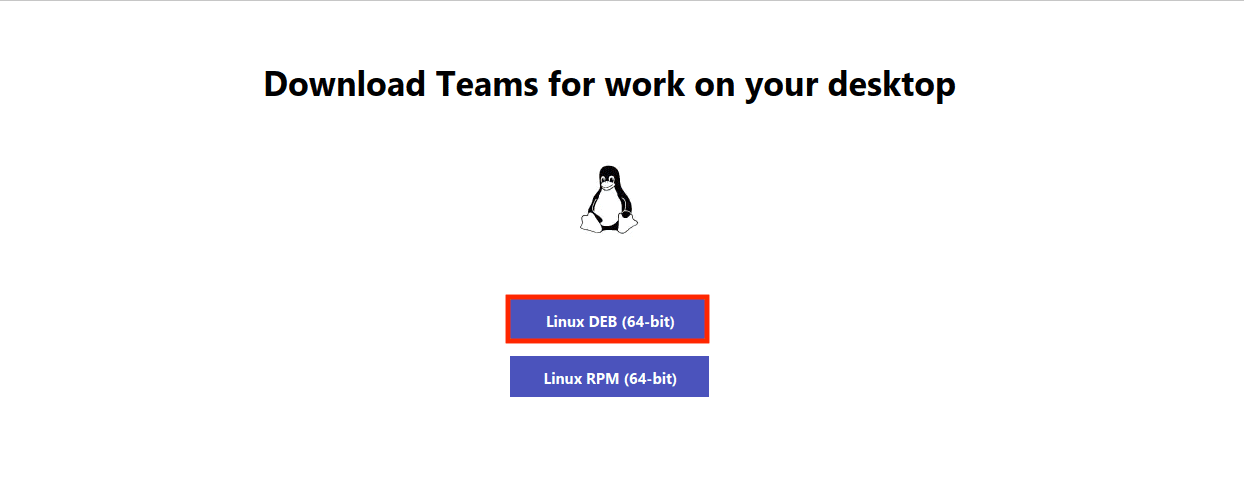
Select Linux DEB 64bit
Step 5: A download file will start downloading. The file is around 80 megabytes; therefore, it might take a while, depending on your internet speed. Once it finishes downloading, proceed to the next step.
Step 6: Open your Downloads folder and locate the .deb file. Double-click to open it
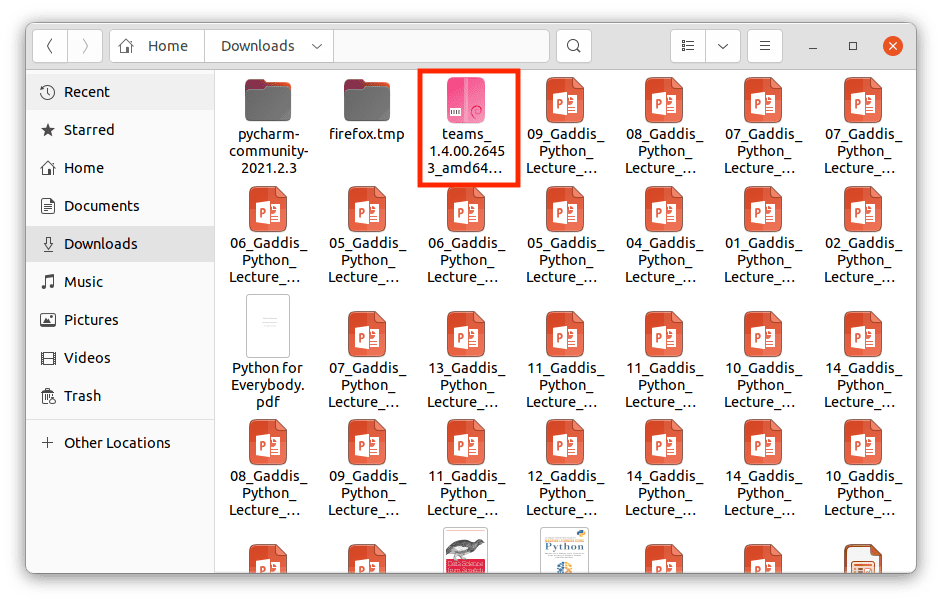
locate the Microsoft Teams downloaded file
Step 7: An installation window will appear. Click “Install” to initiate the installation process.
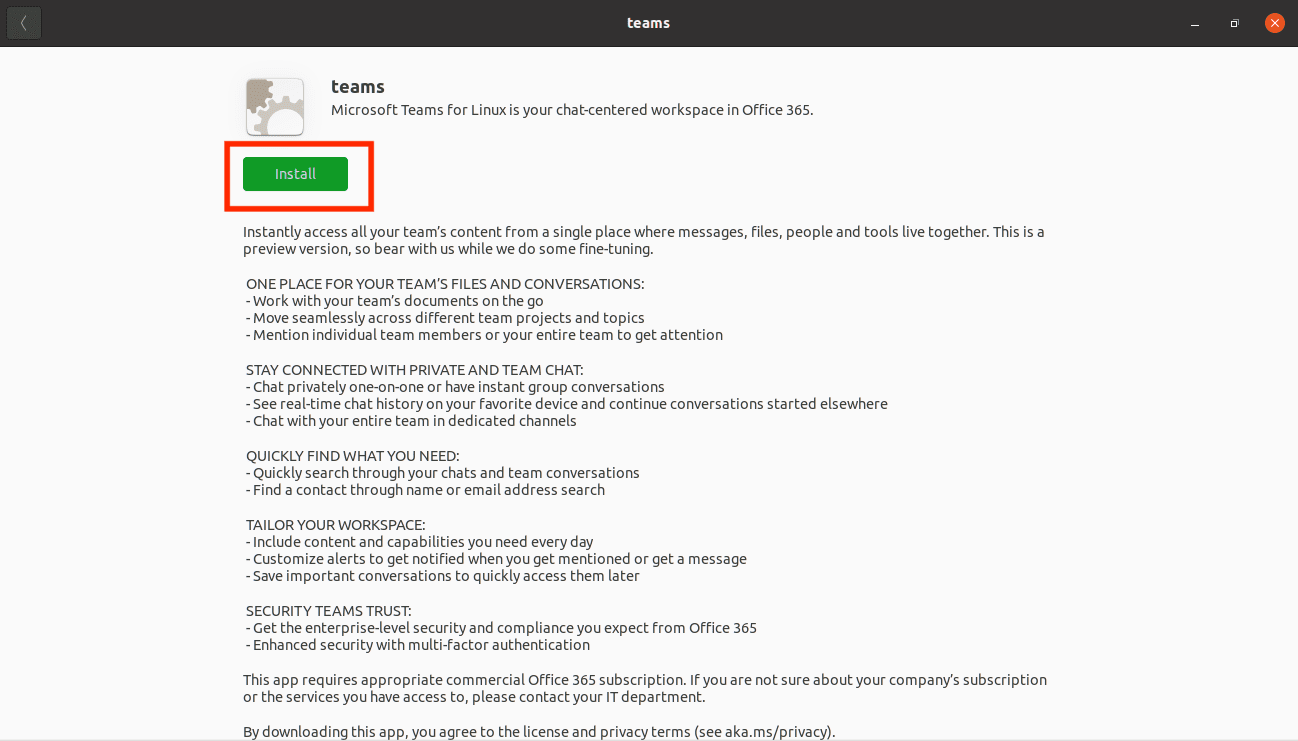
Click the Install button to install Microsoft Teams
Step 8: It won’t take long; the installation wizard will install Teams on your Ubuntu. Once it is done, sign up or sign in to start using Microsoft Teams.

Get started using Microsoft Teams
As easy as it sounds, we have successfully installed Microsoft Teams using method 1. Now let us learn how to install it using the second method.
Method 2: Using the Terminal to install Microsoft Teams on Ubuntu
Unlike the steps we followed in method one above, we shall not manually download the install file as the terminal downloads and installs the application.
Step 1: Launch your terminal.
Step 2: Input the command below:
curl https://packages.microsoft.com/keys/microsoft.asc | sudo apt-key add -
Output:
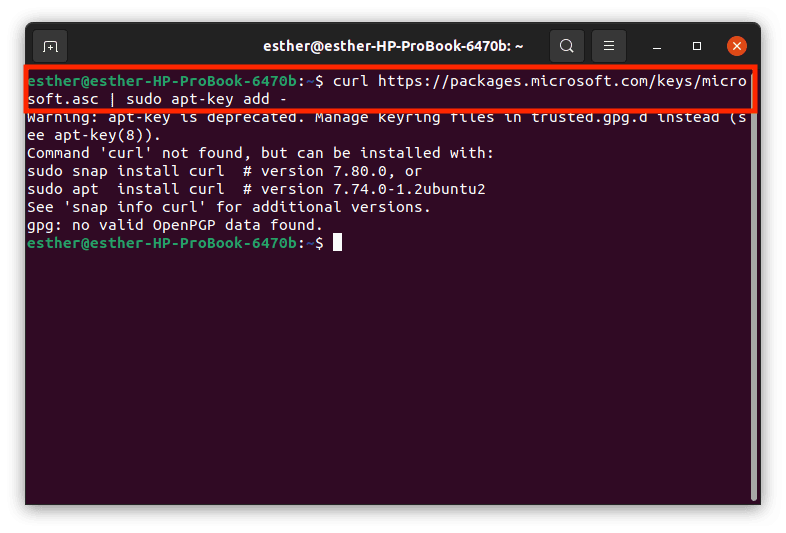
curl add key
Next, run this command to add the necessary repositories to your Ubuntu operating system:
sudo sh -c 'echo "deb [arch=amd64] https://packages.microsoft.com/repos/ms-teams stable main" > /etc/apt/sources.list.d/teams.list'
Update your Ubuntu operating system by running the command line below:
sudo apt update
Output:
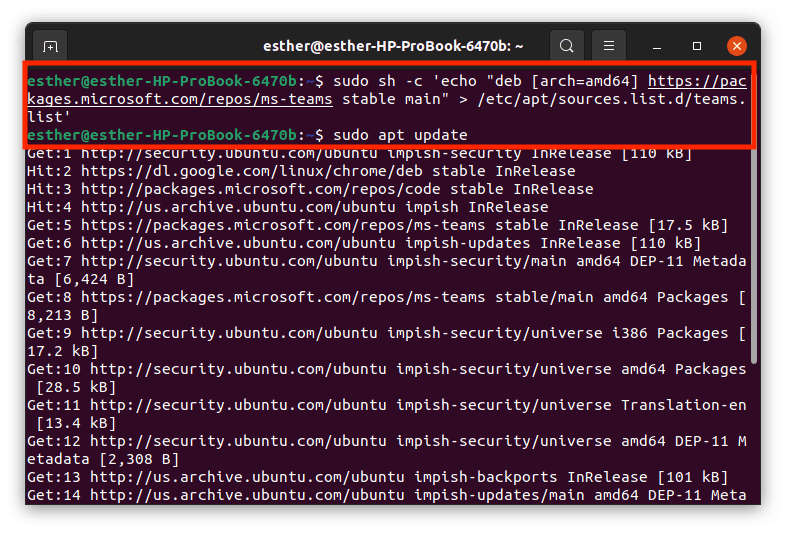
Add repo and update your Ubuntu OS
Once the updating process has successfully finished, install teams using this command:
sudo apt install teams
Output:
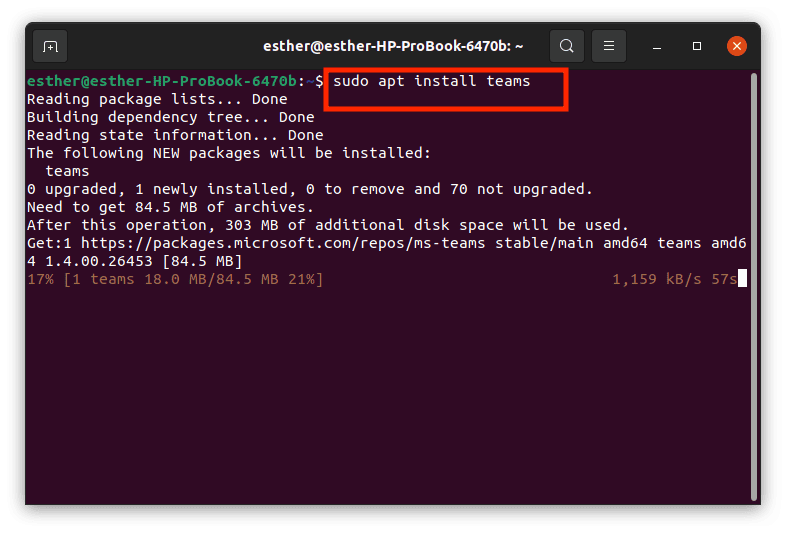
sudo apt install teams using terminal
That’s it. Microsoft Teams has been successfully installed using the terminal to our operating system. Now Launch Microsoft Teams and start enjoying the application.
How to uninstall Microsoft Teams from Ubuntu
Removing teams from Ubuntu is as simple as ABC. Launch the terminal application and run the command below:
sudo apt remove teams
Output:
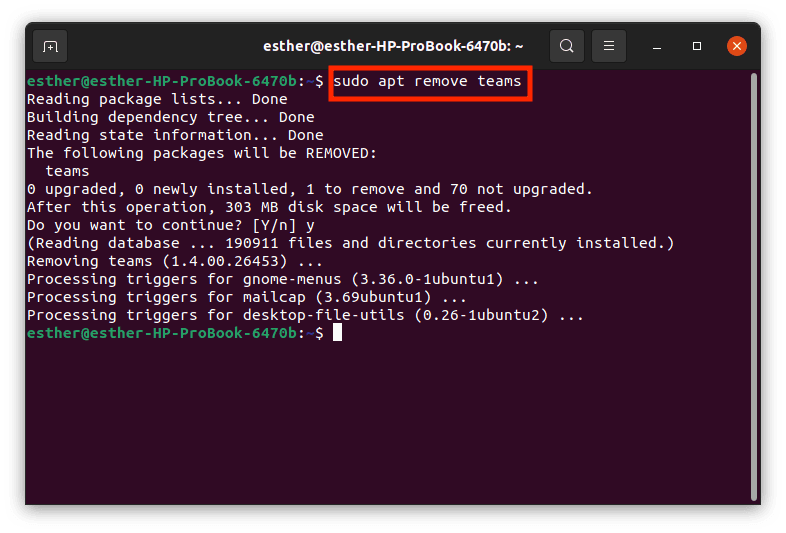
sudo apt remove teams from Ubuntu
This command will automatically remove Microsoft Teams and its accompanying components from your operating system.
Conclusion
This article has covered Microsoft Teams installation using the graphical user interface and terminal methods. We hope you can now use Microsoft Teams on your Ubuntu operating system without issues. If you encounter any challenges while installing Microsoft Teams, don’t hesitate to reach out.

