The popularity of streaming in today’s world has, in one way or the other, skyrocketed the popularity of this Open Broadcasting Software (OBS). Nowadays, several game broadcasting and streaming software are available in the market. Nonetheless, most of them are either paid for or are not that appealing for use. But, to your rescue, the open-source community has offered you OBS as the most immediate solution.
OBS is a free-and feature-rich, cross-platform, open-source live streaming software used for recording purposes among the masses. This software started as a small project but gained its fame via its users’ stability and ease of use. By now, it is regarded as a vital component of the computer system for users who like to do stuff like recording and video streaming on their workstations.
OBS notable features
- Support for capture devices, i.e., webcams
- Quick Sync Video (QSV) and NVENV support
- Support for high-performance game streaming abilities
- RTMP streaming feature to well-known sites such as YouTube, Twitch e.t.c
- Offer output in both MP4 or FLV formats
Streaming has proven to be a prevalent way of entertainment in latest years. When it comes to streaming, OBS is one of the top, if not the top, choices out there that we highly recommend anyone to. Interestingly, the software is available in various OSs such as Windows, Linux, and macOS, hence a cross-platform program.
Without further upheaval, let us dig deeper into how to install this excellent software on our Linux PC, specifically the Ubuntu/Debian version.
Installing OBS
As said earlier, OBS provides all the features needed for streaming. It supports real-time source capture, encryption, recording, and live broadcasting. Moreover, it supports audio manipulation via virtual faders. Typically, there are several ways to get this software on your Debian-based machine. But the most straightforward way is to get it right from the Ubuntu package server. Cheers to its absolute fame; OBS is also available as a global Linux package, similar to snap and flatpak.
Installing OBS on Debian/Ubuntu
Method 1. Install OBS from Ubuntu Package Server
What made OBS available in the Ubuntu package server is its popularity. To get this software on your machine from the package server, all you got to do is tell APT to install the obs-studio package and trust me, it will handle the rest. APT are initials that refer to Advanced Package Tool. It is a free software user interface that interlinks with core libraries to run the setup and removal of software on Debian-based Linux Distros. To do this, start up your terminal using “CTRL+ALT+T” and refresh the apt repository cache using the following command first:
sudo apt update
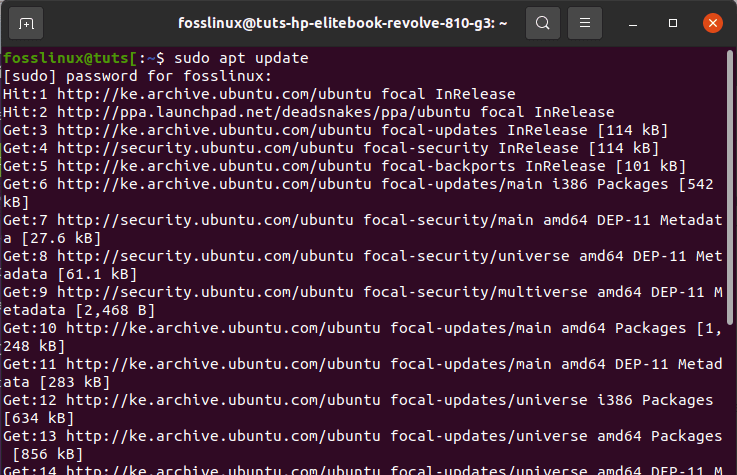
update command
If you find packages that need to be upgraded after running the update command, you can proceed to this step. If that is not the case, skip this part:
sudo apt upgrade
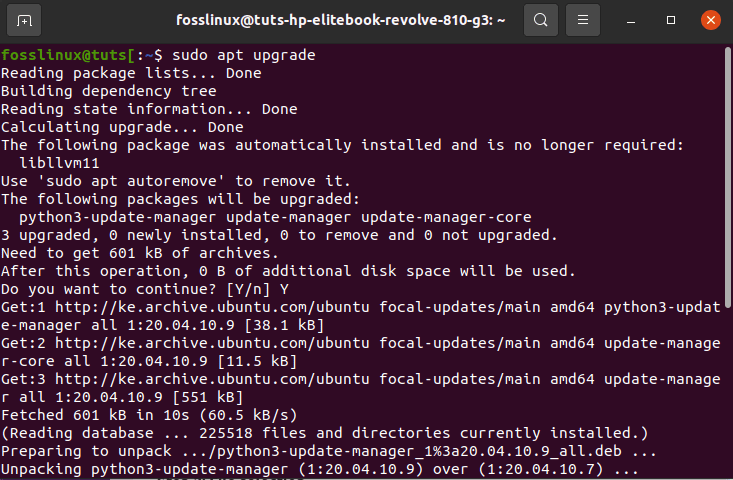
upgrade system
After that, go ahead and install OBS using the following command:
sudo apt install obs-studio
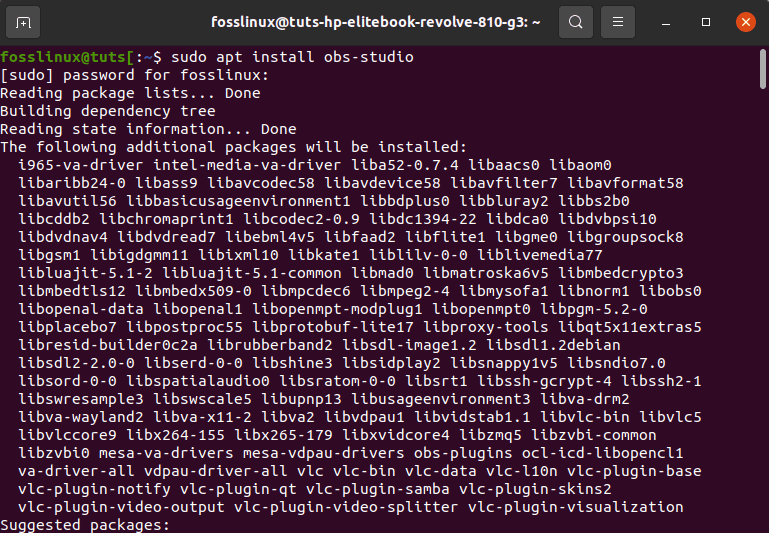
install obs
Note: Sooner or later during the installation, you might be asked to affirm your decision to proceed with the installation or not. Here, type “Y or y” then press “ENTER.” After that, the software should be installed on your PC.
Method 2. Installing OBS Snap
It is highly recommended that whenever installing an app, you should go for universal Linux packages, the likes of snap. We recommend this because the universal Linux package offers the same package management features across all Linux distros, thus providing reliable and consistent experiences to its users. In OBS Studio, we highly suggest going with snap or flatpak installation formats whenever possible.
Note that the system should have snappy installed to install any snap package. Ideally, snappy is the snap package manager for the Linux distro. To make things easier, it comes pre-installed in Ubuntu. However, you don’t need to worry if you do not have it installed, as installing it is pretty straightforward. To install snappy, start up the terminal and run the subsequent commands.
As usual, we need to update our machine. After that, install snappy from the Ubuntu package server using the following commands.
sudo apt update && sudo apt install snapd
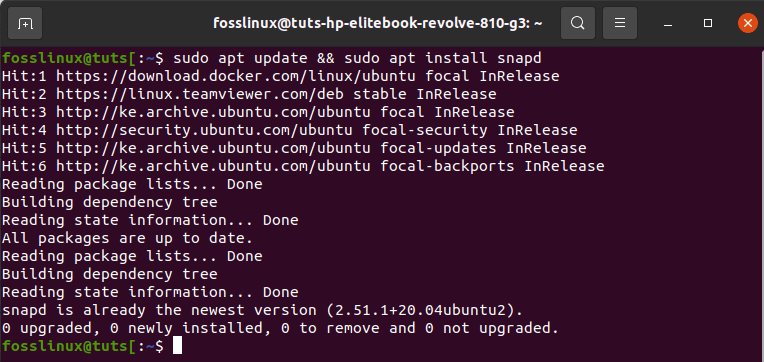
update and install snapd
Snap requires snap core to be entirely functional. As of now, snap without snap core is just a thin client with basic functionalities. Make use of the following command to install snap core:
sudo snap install core

install core
After that, we need to reboot the snap service for the changes to take effect. To attain this, copy the following command on your terminal:
sudo systemctl restart snapd
At this point, snappy is ready to install snap packages from the Snapcraft store. So you can check out OBS Studio on Snapcraft.
Method 3: Installing OBS flatpak
Another fascinating way to get this software on your machine is via flatpak. Ideally, Flatpak is another version of the universal Linux package. Some people often liken flatpak to snap, but that should not be the case as they are somewhat different; But principle-wise, they both behave almost the same. All you need to get started using flatpak on any Linux distro is the support of the flatpak package manager.
In contrast, to snap, Ubuntu does not whip with the flatpak package manager pre-installed by default. Installing this software on your Debian machine is simple using the following commands:
sudo apt update && sudo apt install flatpak

install flatpak
Ubuntu uses the GNOME desktop environment. As such, the subsequent command will permit the GNOME software to install flatpak without using the command line directly. The following step is non-compulsory but recommended.
sudo apt install gnome-software-plugin-flatpak
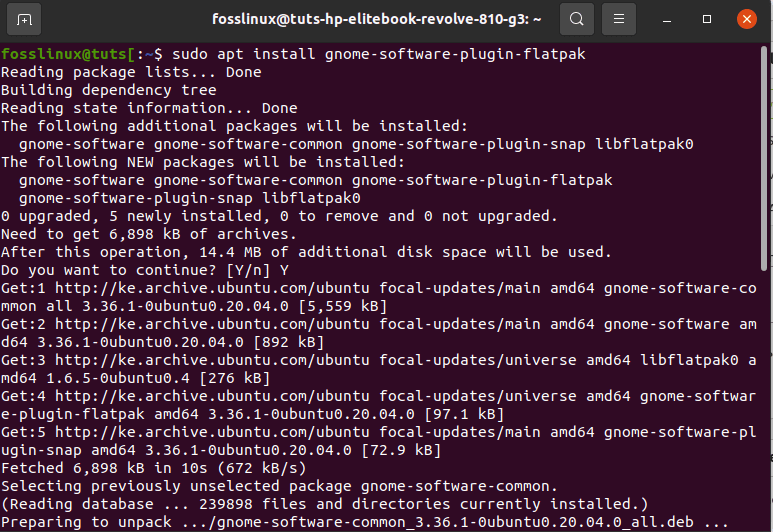
allowing GNOME to install flatpak
After that, append the Flathub repository using the following command. If you wonder what flathub is, you need not since it is the official flatpak store. However, Flatpak might require root privilege to carry out this process or action.
flatpak remote-add --if-not-exists flathub https://flathub.org/repo/flathub.flatpakrepo
Now, the flatpak software is ready to pick flatpaks apps directly from Flathub. So you can now check out OBS Studio on Flathub
sudo flatpak install flathub com.obsproject.Studio
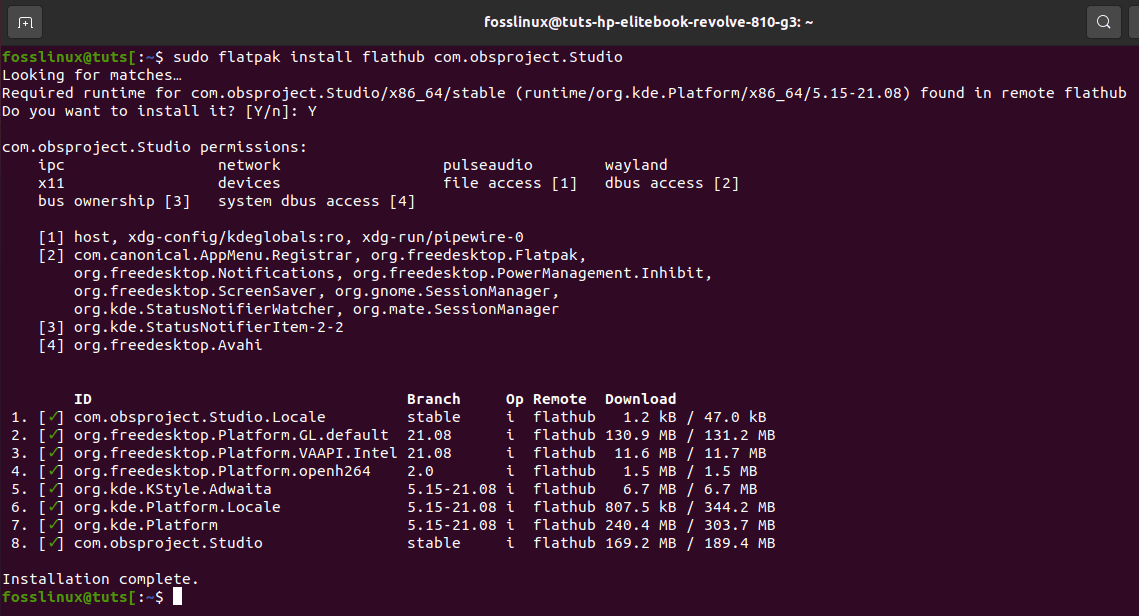
picking apps from flathub
Using OBS Studio
After correctly carrying out the installation process, the OBS studio should now be part of the software installed on your machine. As of now, the software should now be ready to carry out its task efficiently. To launch the OBS studio, go to Activities located at the left corner of your desktop and type “OBS” or instead go to the start menu and type “OBS” on the search button.
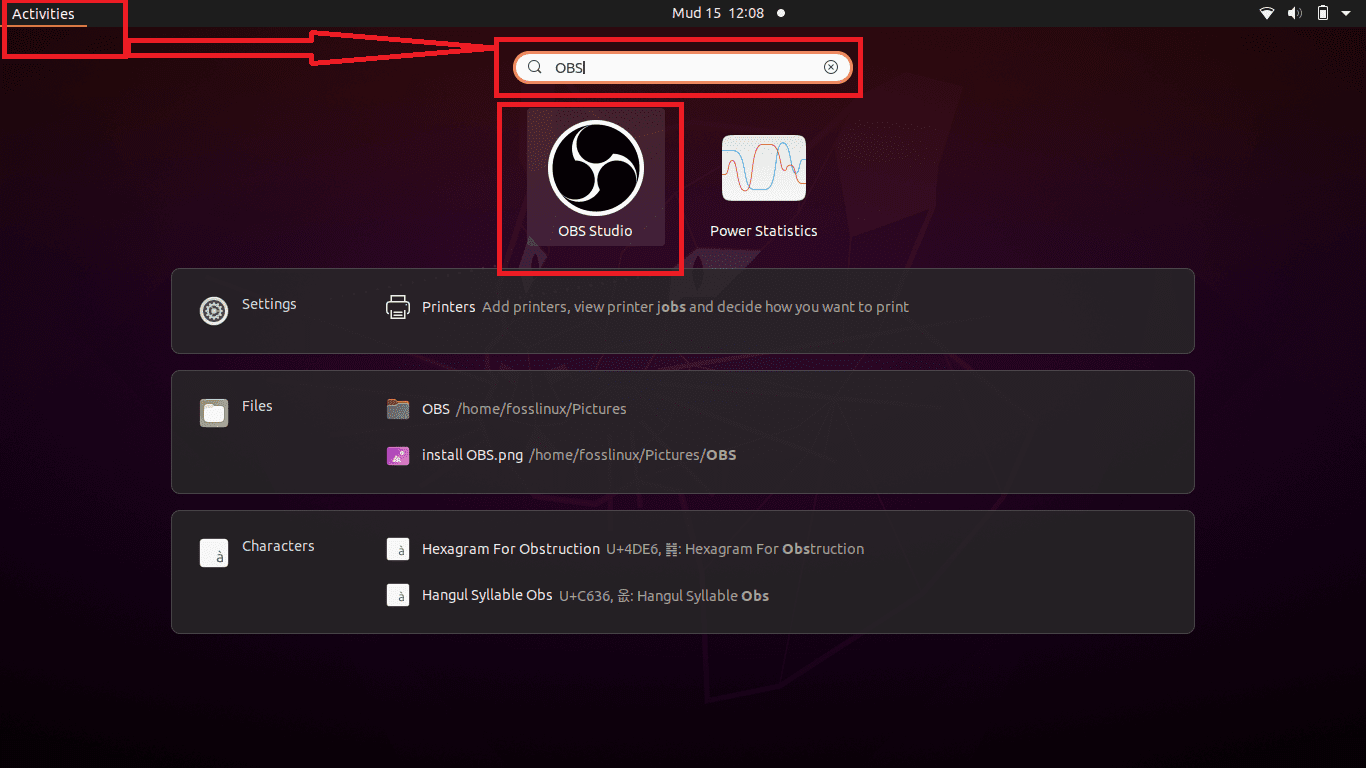
using the activities
Step 1. When the software unveils for the first time, you will be requested to run an auto-configuration wizard. If you are an expert at using OBS, you probably don’t need to use this wizard. But in our case, we will use the wizard. So, select “yes” to proceed.
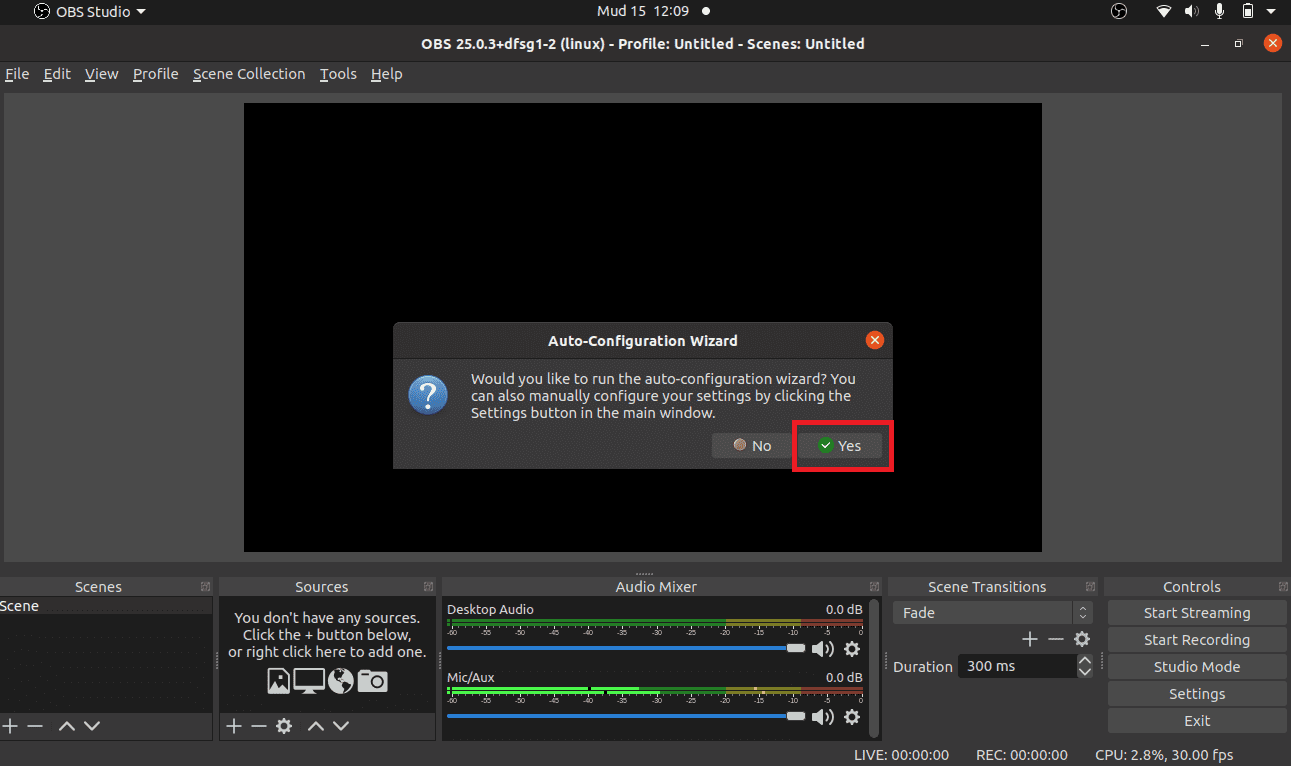
configuration window
Step 2. The initial step of the wizard is the optimization objective. First, select the most suitable option depending on whether you want to stream or record. After selecting, click “Next.”
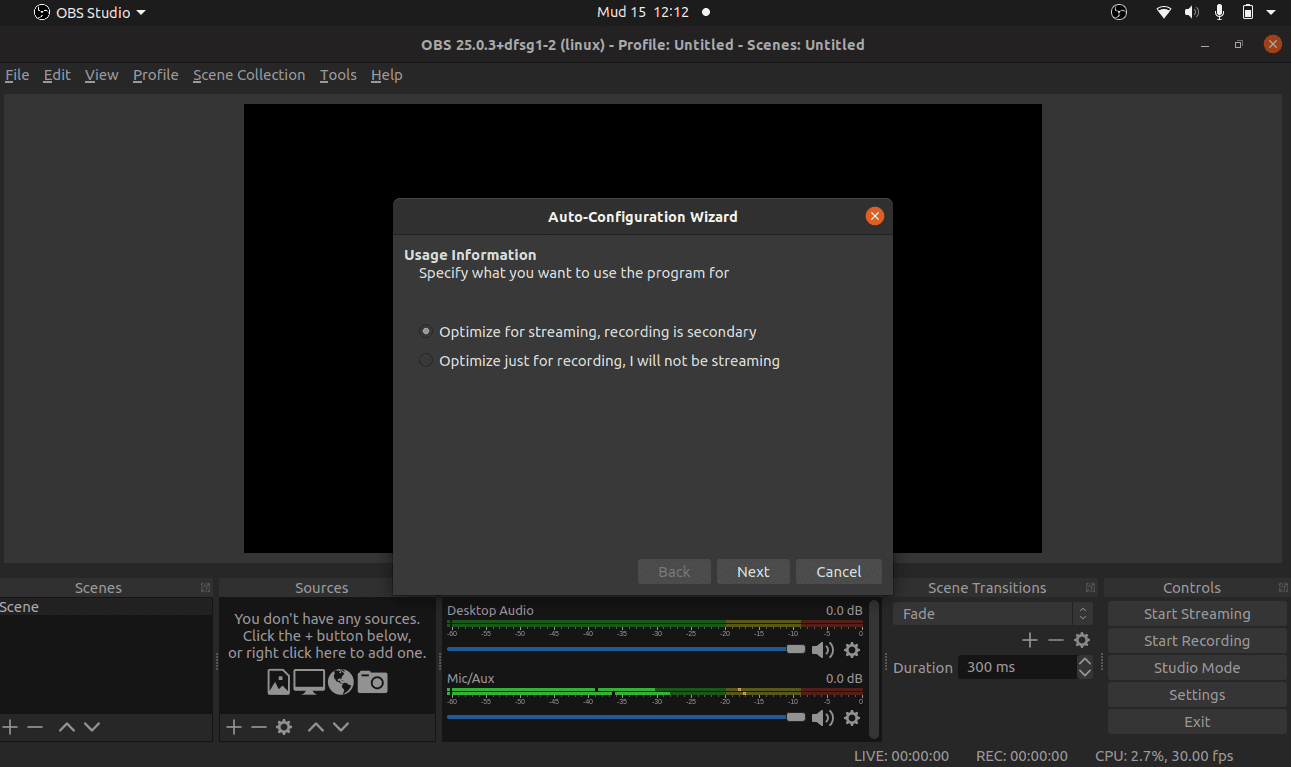
optimization window
Step 3. After that, select the resolution and frame rate. These selections rely on several variables, such as your internet connection and your hardware, among others. After that, click “Next.”
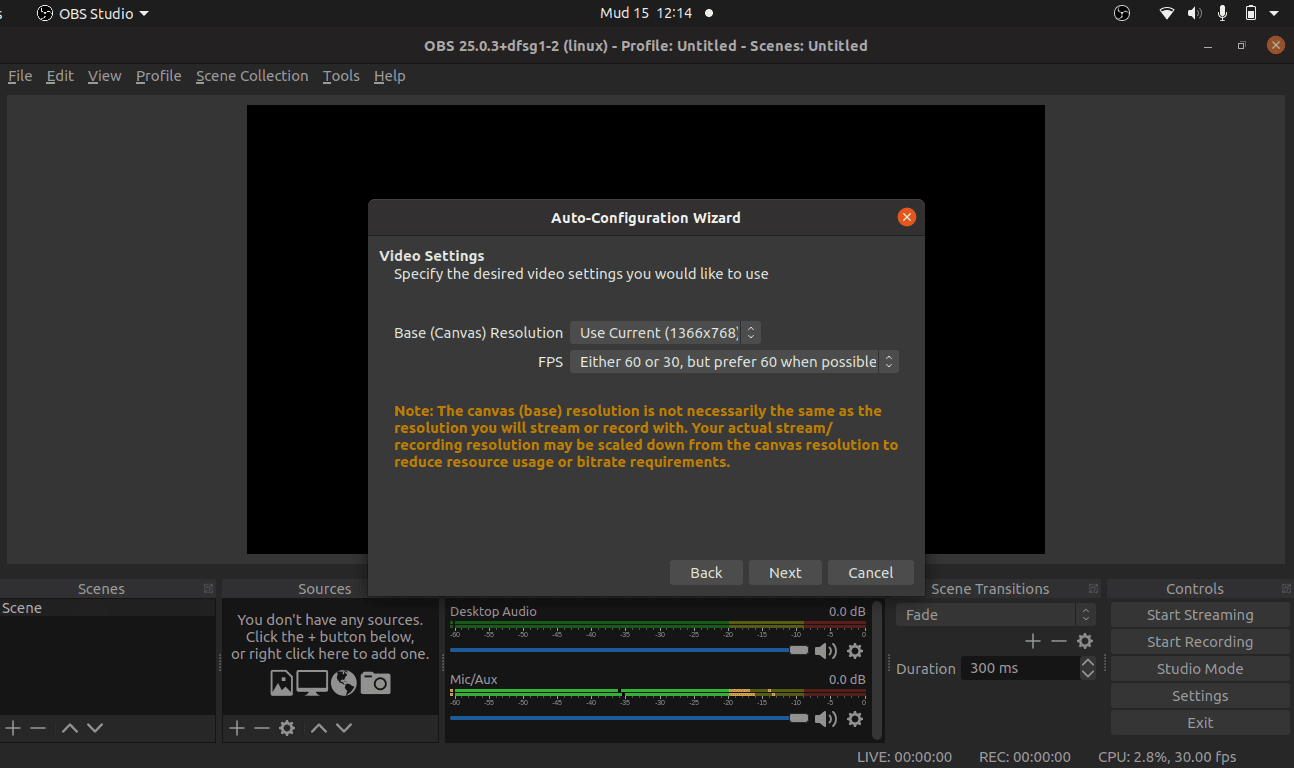
resolution and frame rate window
Step 4. Next, enter your stream key since OBS supports various platforms, including YouTube, Mixer, Facebook, and Twitch. In our instance, we will go with Facebook Live.
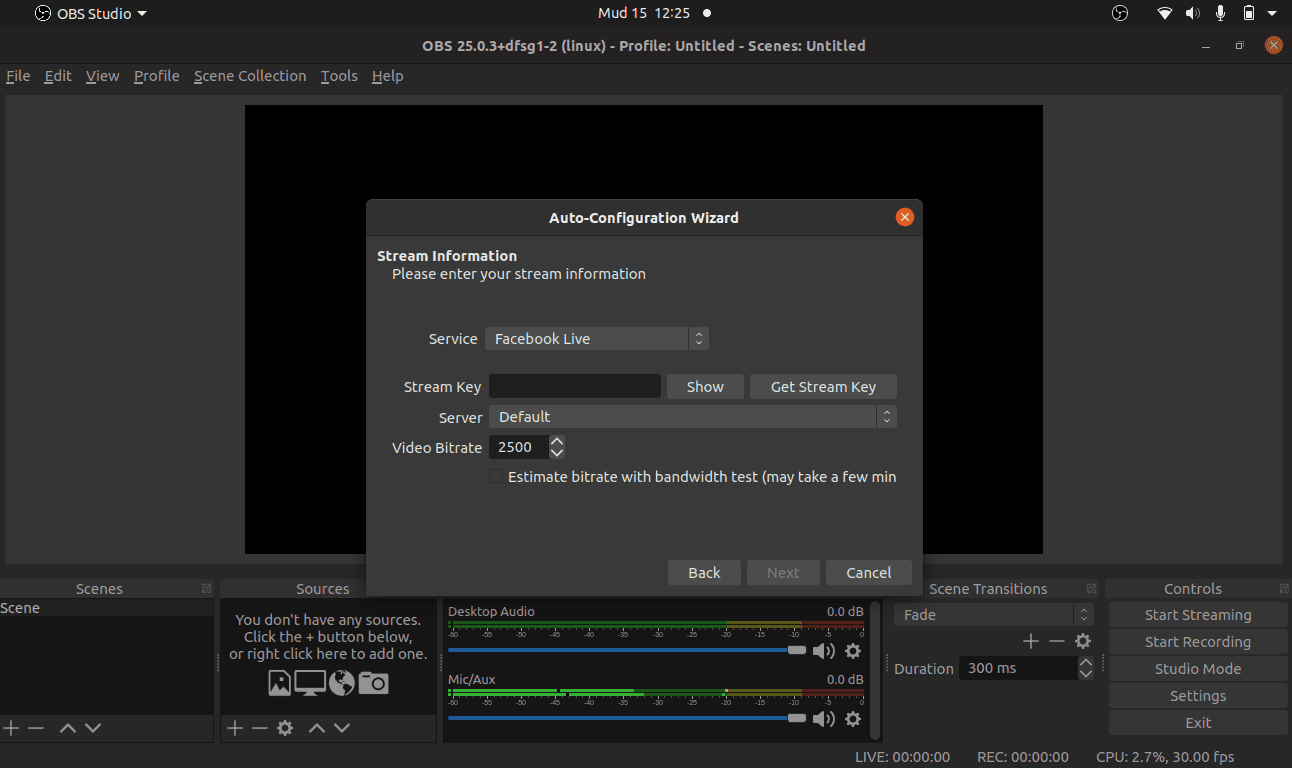
select Facebook live
Step 5. After inputting the key, click “Next,” The software will run a bandwidth test to decide the suitable bitrate for streaming. Depending on your machine features/specs, this process will be executed faster or slower.

select Facebook live
Step 6. In this step, the software will pop suggestions on the recommended settings. Then, after modifying to your preference, click on “Apply Settings.”
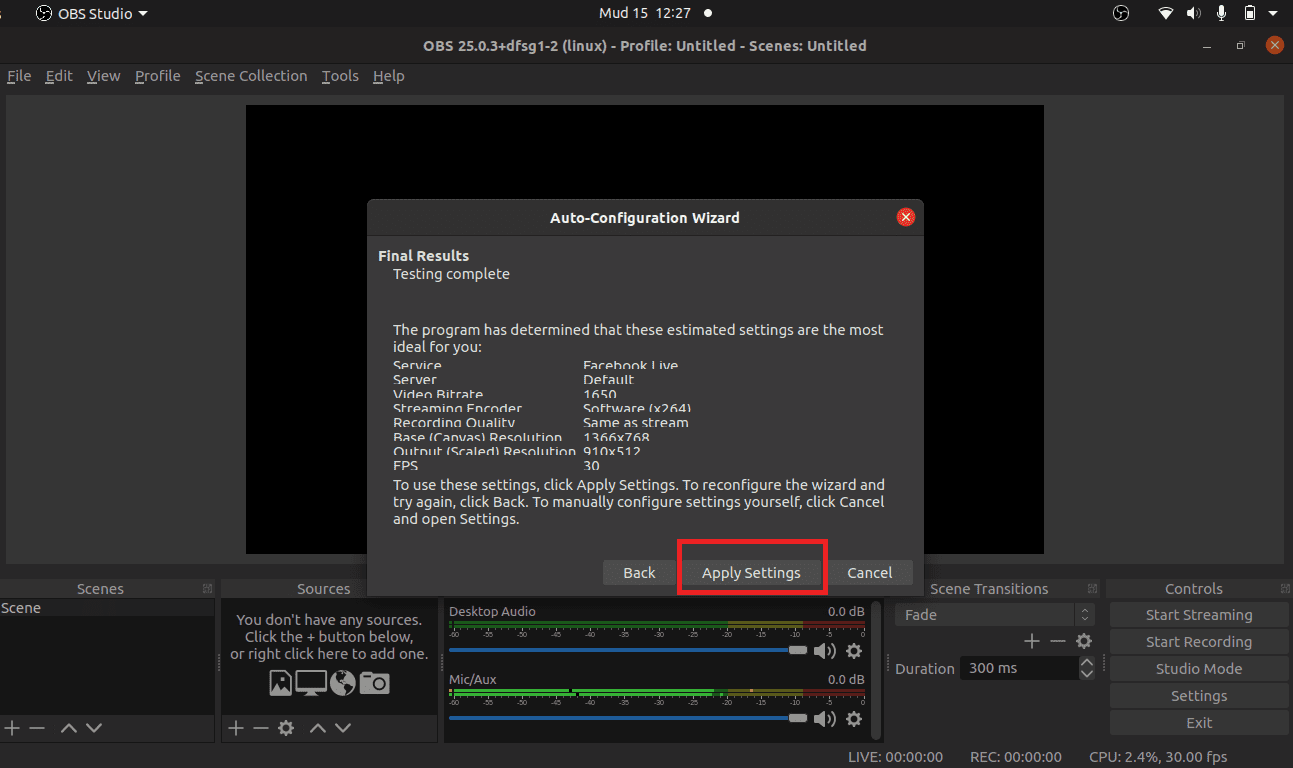
select apply settings
And boom! Your OBS Studio is finally ready to stream!
Lastly, let us rush through the installation of OBS Studio on many Linux distros.
Install OBS Studio on Arch/Arch-Based Distros
The simplest way to have OBS on any Arch is by utilizing the default package manager Pacman. To sort out this, copy and paste the following command on your terminal:
sudo pacman -S obs-studio
Install OBS Studio on Fedora
When it comes to Fedora, you will have to download the current version of rpmfusion-free-release-stable. After that, install rpmfusion-free-release-stable using the following command:
sudo rpm -Uvh rpmfusion-free-release-stable*rpm
Finally, install the software using the following command:
sudo dnf install obs-studio-libs
Install OBS Studio on CentOS
Here, you will download the latest nux-desktop-release and install it using the following command:
sudo rpm -Uvh nux-desktop-release*rpm
After that, go ahead and install OBS Studio using the following command:
sudo yum install obs-studio
Final Thoughts
OBS has been made famous via its prominent features and ease of use. The software has proven to be of great importance to its users globally hence available on all primary OSs like Linux, macOS, and Microsoft Windows. It also has good online help for newbies and learners.
The key objective of this review is to aid you in getting started with this great software, as it is a potent tool that can help you accomplish much more than you estimated with your streaming capabilities.

