Postfix is one of the most widely used free MTAs (Mail Transfer Agents). It is open-source and has been in active development since its inception. It was made to overcome the shortcomings of Sendmail, and it has come a long way since then.
Some of the key characteristics of Postfix are its modular design, great security tools, comprehensive documentation, and easy configuration. It is also compatible with Sendmail, so most of the tools that Sendmail boosts are also supported here.
Install & configure Postfix on Debian
Debian and Postfix go hand in hand in many cases. Most Debian users prefer Postfix due to its ease of use and excellent compatibility with Debian. Today we will cover how to install it on Debian 11 and configure it properly with your domain.
1. Check which MTA you already have installed
If for some reason, you are not sure which MTA you are already running on your Debian server, then you can run the following command to find out.
sudo netstat -ltnp |grep :25

netstat -ltnp port 25
As you can see, I have Exim4 installed on my system. There can only be one MTA installed simultaneously, so we will now learn how to switch to Postfix.
2. Install Postfix
To install Postfix, please run the following command.
sudo apt install postfix

sudo apt install postfix
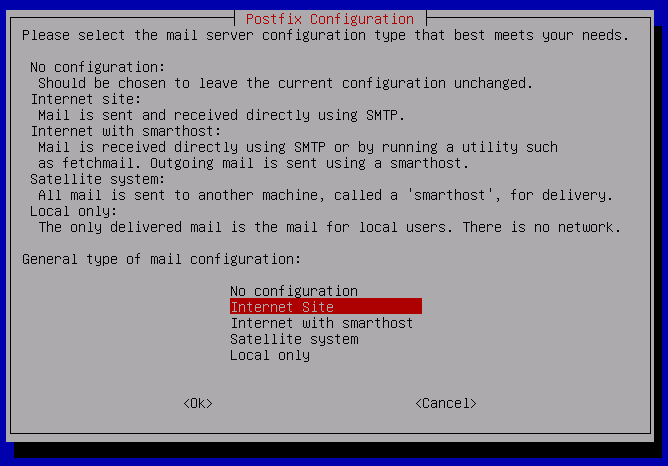
Type “Y” and press ENTER to begin the installation. This will install Postfix and remove any other MTA already installed, which is Exim4 in my case. Once you run the above command, you will be prompted to select one of the following options:
Pkge config prompt
You can choose “Internet Site” and press ENTER. Postfix will now be installed with default values. You can verify it by checking the “netstat” command on port 25 again or with the help of a mail server through telnet command as follows:

postfix installed confirm
This confirms that the Postfix has been installed successfully. Postfix is also known as Master, so do not get confused with “netstat” results on port 25.
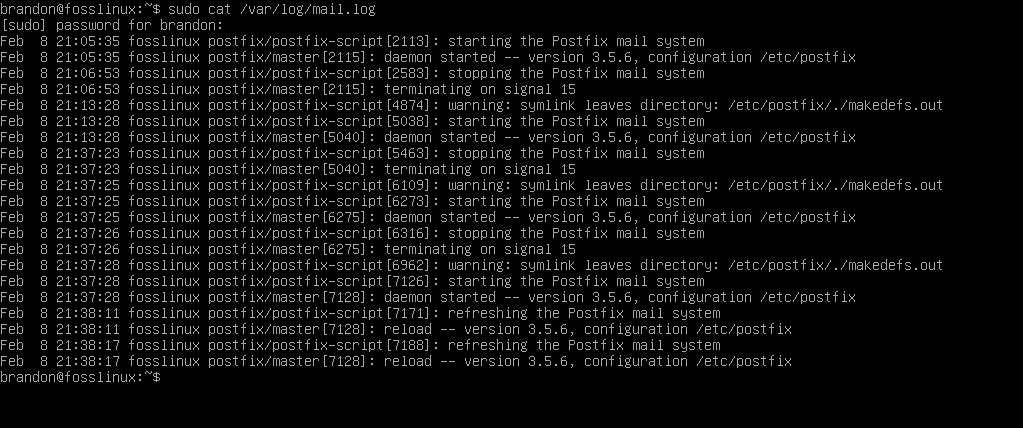
You can see if Postfix is running correctly by checking the mail logs, errors, or info with the help of the following commands:
sudo cat /var/log/mail.log
sudo cat /var/log/mail.errors
sudo cat /var/log/mail.info
cat mail.log
The above commands will show you the relevant results to briefly look at the Postfix in action.
3. Configure Postfix manually
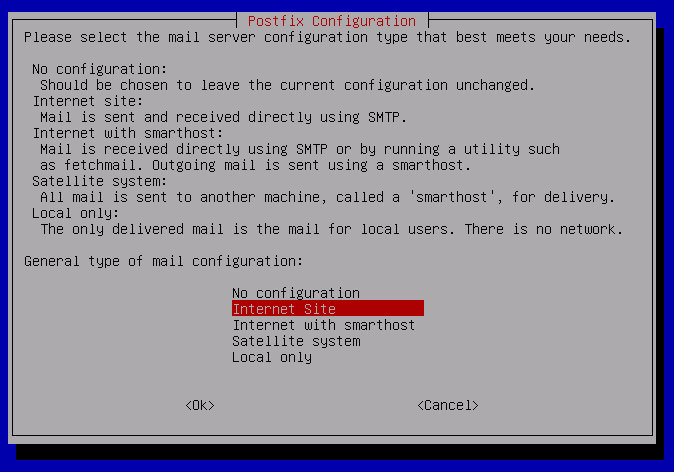
If you want to configure the installation manually, you can do so with the dpkg reconfig tool. You can execute the following command for reconfiguration:
sudo dpkg-reconfigure postfix
reconfig prompt
You will be prompted to select the mail server config type again and select “Internet Site” again.

FQDN mail name
To set up the mail domain, you need to enter your FQDN (Fully Qualified Domain Name).

User account for redirecting mail
After setting up the mail domain, you will be prompted to set up the user account of the system administrator, where all the mail will be redirected to. Use this format “user@domain-name.com” and replace the user and domain names with those you have.

Domain names
You will need to enter all the domains for which you want to receive the emails, and you also need to include the top-level domain.

forced synchronous updates
You will be asked to choose whether to allow forced synchronous updates or not. If you want faster processing, you should keep it as “NO.” It will come with a bit of risk of losing some mails during crashes, but with higher speeds, so it depends on your preference.

network blocks for mail relay
You will now be prompted to select the network blocks for relaying mail. You can keep the default values to keep the host forwarding the mails to the localhost. You can change it manually later on or set up a third-party mail service for relaying purposes.
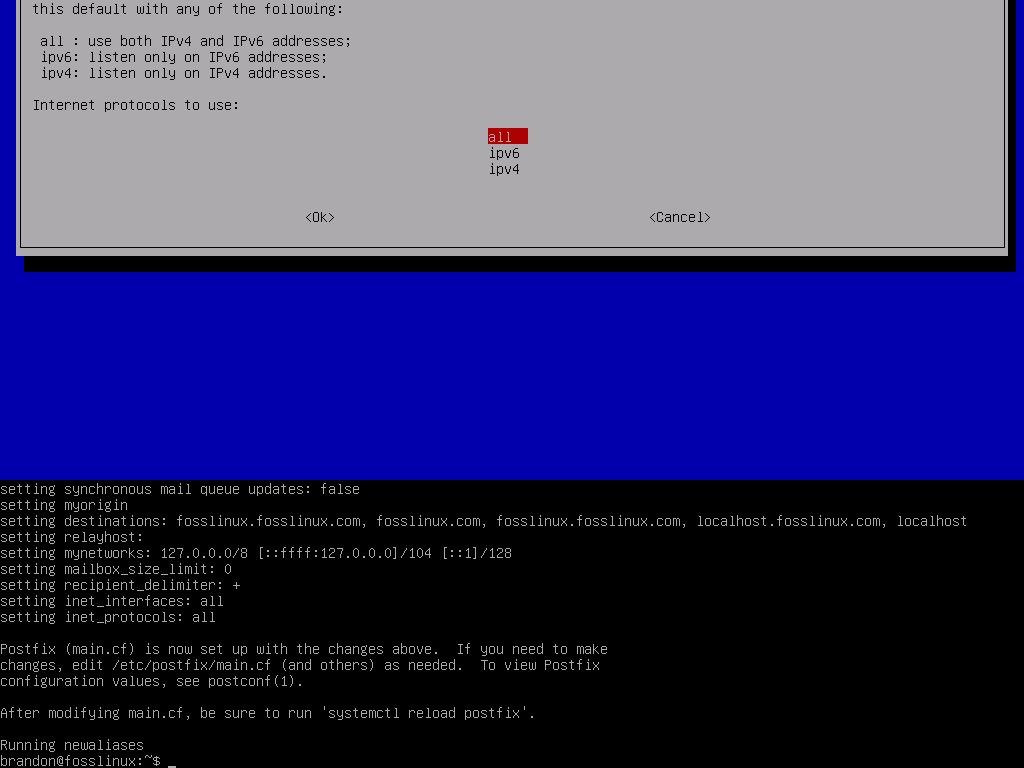
The following three prompts will be for the mailbox size limit, local address extension character, and internet protocol selection. You can keep the default values for now or set your own as per your preferences. After doing so, Postfix will currently be configured with your settings.
dpkg reconfig complete
Congratulations! You have now configured the basic settings of Postfix on your domain. Ensure to reload it after it is done to work appropriately with the new config settings.

Postfix reload
4. Test if Postfix is running properly
Since we set up only the localhost mail server in the above example, we will test it by running the telnet command on port 25 and see if the mail server is connected correctly. You can change localhost with your domain set up with Postfix.
telnet localhost 25

testing postfix via telnet
This shows that the connection has been successful with the mail server.
5. Send a test email
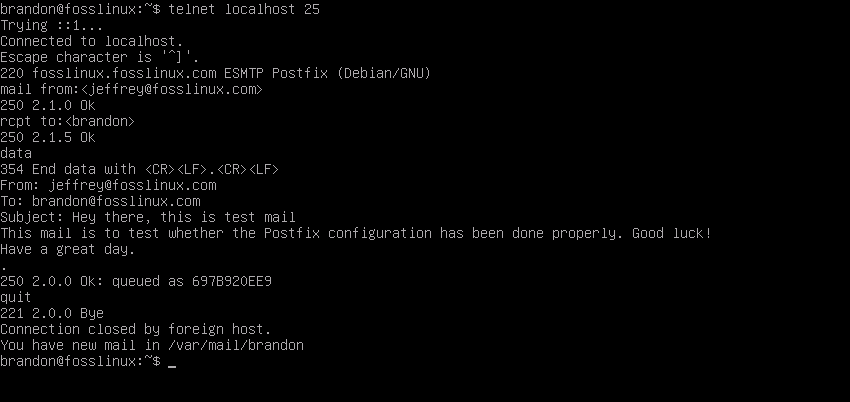
We will send a test email from a different domain to check if the mail is received correctly.
testing Postfix successful
This shows the successful delivery of our test email to the connected mail server. Now we will walk you through each step. While staying connected to the mail server via Telnet, you need to execute the following commands to create and send the test email:
mail from <user-name@sender-domain.com>
Replace the “user-name” and “sender-domain.com” with the appropriate values
rcpt to <user-name>
Replace this “user-name” with the root username account of your mail server. Now type “data” to enter email data and press ENTER.
data
Now enter the email data as follows:
From: <user-name@sender-domain.com>

To: <user-name@receiver-domain.com>

Subject: Enter your email subject here

Enter the body of the email here and then press ENTER.
To end the Telnet connection, type “.” and press ENTER. Then type “quit” and press ENTER again.
.
quit
All these steps can be seen in the above example, where we have sent a test email using our sending and receiving root accounts.
6. Check mail inbox and open any email
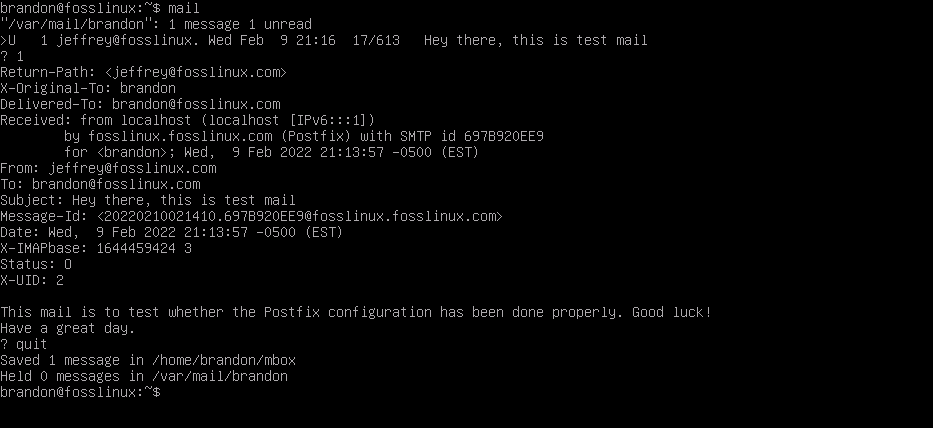
You can now check the inbox and see if you successfully received the test email sent from the other domain. You can execute the “mail” command to do so.
checking mail inbox
After running the mail command, you will see how many emails you have in your inbox. You can now open any of them to see their content by entering their allotted number, as shown above.
Final thoughts
Congratulations on learning how to install and do the basic configuration of Postfix to set up your mail server. You have done a great job, but I have to let you know that you have just scratched the surface when configuring Postfix to your own needs. You can do so much with it; you can set up third-party relay servers, you can block spam email, you can customize Postfix in so many ways. But if you want to learn about any specific customization, let us know; we would love to cover that for you.

