FTP, SFTP, and TFTP are protocols used to transfer files over a network. It can either be a local network or over the internet. Let’s look at each protocol in detail to understand the main difference in the abbreviations.
FTP stands for File Transfer Protocol. This protocol is used to transfer files between devices on a network. For example, to transfer files between a computer and the server over the internet. In a nutshell, FTP is the language that devices use to transfer files over a TCP/IP network.
If you want to make files on your computer available to other users globally, you can upload those files to the FTP server, and the other users will connect to the server and download the files using the FTP protocol. But from this example, we see that you need to have a dedicated FTP server setup to share the files. But do you need to go all the way and configure a dedicated FTP server?
No, you can easily configure your computer as an FTP server, as we will show you in this post. Windows users can do so using the Internet Information Services Manager, while Linux users can easily install the FTP utility on their system.
How to transfer files over FTP
There are two main methods that you can use to transfer files using FTP. You can use the standard internet browser (Chrome, Firefox, Opera, Brave, etc.) or use an FTP client like Filezilla.
Tip: We will look at all these methods below after setting FTP and SFTP on Fedora.
Two main uses of FTP are:
- Transferring files between devices on a network
- Allowing web developers/ administrators to upload files to a web server
Unfortunately, FTP has one major drawback – it’s not a secure protocol! Therefore, any data sent via FTP is not encrypted and is sent as clear text. We highly recommend using FTP over a trustworthy network if the transferred data is not sensitive. If you are dealing with sensitive data, you need to use a more secure protocol – SFTP.
SFTP
SFTP stands for Secure File Transfer Protocol. It’s simply an advancement of FTP, only that it uses an additional layer of security. Data transferred using FTP is encrypted using SSH and is not sent as plain text. SFTP also authenticates both the user a==nd the server and uses port 22.
Tip: Both FTP and SFTP are secure-oriented protocols that use TCP for file transfer guaranteeing file delivery.
TFTP
TFTP stands for Trivial File Transfer Protocol. Compared to FTP and SFTP, TFTP is a simple file transfer protocol and is not used to transfer files over the internet. It’s mainly used to transfer files over a LAN network. For example, you can use TFTP to transfer configuration files and firmware images to network devices such as routers and firewalls. From that information, you notice that TFTP is not a commonly used protocol as it’s only system and network admins use it.
Unlike FTP and SFTP, which use a connection-oriented protocol (TCP) that guarantees file delivery, TFTP uses a connectionless-oriented protocol (UDP). That makes it an unreliable protocol. Additionally, TFTP does not provide any security to the data in transit. But as discussed abi=ove, that’s not necessary as this protocol is mainly used on a Local Area Network and not over the internet.
With that detailed information, let’s now look at ‘How to install FTP and TFTP server on Fedora.’
1. How to install FTP on Fedora
You can easily install FTP on Fedora using the DNF package manager. Launch the Terminal and execute the command below.
sudo dnf install vsftpd
You will notice we are installing a package called vsftpd. VSFTPD is a free FTP server for Linux and UNIX systems and stands for “Very Secure File Transport Protocol Daemon.” It is not a huge package and shouldn’t take long if you have good internet speed.

Install VSFTPD server
You can verify the installation by checking the VSFTPD version installed on your system when done. Execute the command below.
vsftpd -v

VSFTPD version
In our case, we are running vsftpd version 3.0.3We need to do several configurations before using FTP on our system.
Configure FTP (vsftpd) on Fedora
To secure our FTP server, we need to add the privileges different users have over the server. For example, we will assign the following configurations for the following users in this post:
- Local user: Has permission to upload files to the FTP server.
- Anonymous user: He can only read the files but cannot upload files to the FTP server.
Open the /etc/vsftpd/vsftpd.conf file using the command below to edit the configurations using the nano editor.
sudo nano /etc/vsftpd/vsftpd.conf
Go through every uncommented line on this file and ensure it is set as shown in the code below. If some of the lines below are not present on the file, paste them at the bottom.
Tip: You can only have one Listen option set to YES. If you are using IPV4, use the listen=YES option. If you are using IPV6, use the listen_ipv6=YES
listen=YES
local_enable=YES
xferlog_enable=YES
connect_from_port_20=YES
pam_service_name=vsftpd

# Allow local user to upload files
write_enable=YES

# Enable Anonymous user to read files (no password, no username)
anonymous_enable=YES
anon_root=/var/ftp
no_anon_password=YES
EOF
Save the file (Ctrl + S) and Exit (Ctrl + X). We need to allow the FTP port on the firewall to enable transferring files between our PC and another PC on the network. Execute the commands below.
sudo firewall-cmd --add-service=ftp --permanent
sudo firewall-cmd --reload
Restart the VSFTPD server to apply the changes. Execute the commands below.
sudo systemctl enable vsftpd
sudo systemctl restart vsftpd
Connect to the FTP Server
There are two main ways you can use to connect to the FT server:
- From the client browser
- Using an FTP client like FileZilla
To access the FTP server from your browser, type the URL below on the address bar:
ftp://[ip-address]
e.g.,
ftp://192.168.1.47
Tip: However, we highly recommend using an FTP client because some systems might have trouble connecting to the FTP server from the browser. For example, when we tried accessing the FTP server using the browser from Linux Mint, the browser attempted Googling the page online.
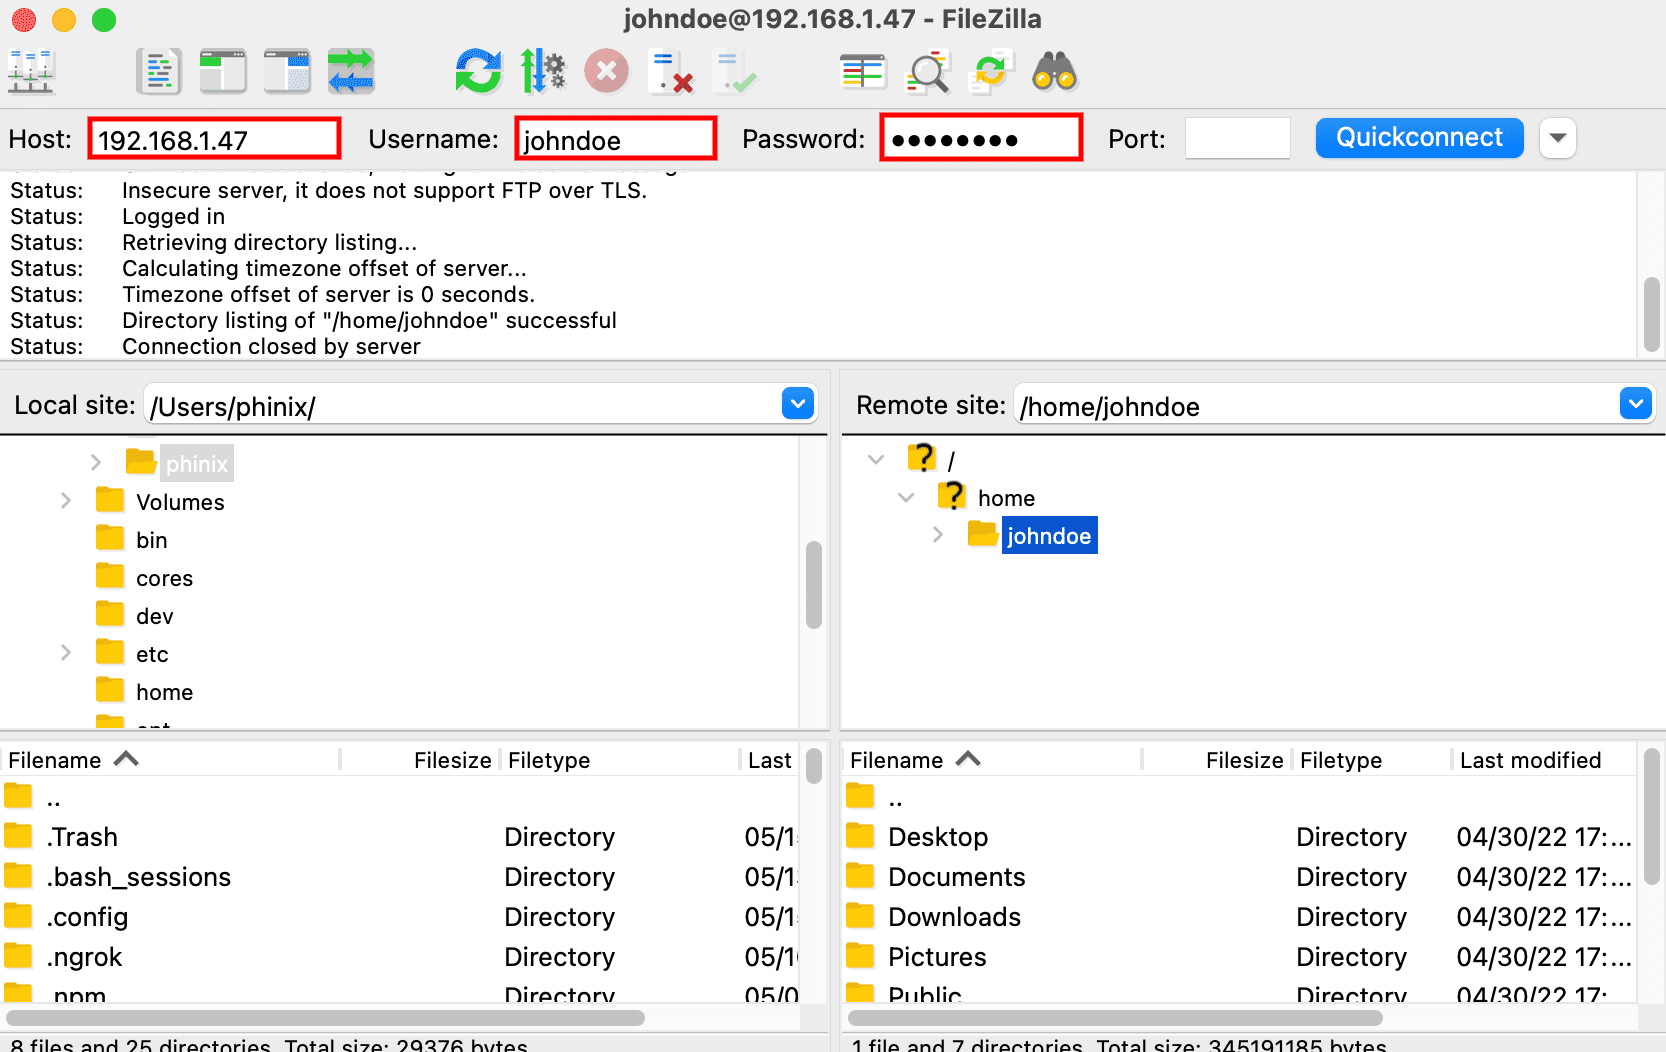
To connect to the FTP server using FileZilla, you must provide a Hostname (IP address), the Username, and Password if you want to log in as the local user. To log in as a guest/ anonymous user, type only the Hostname (IP address) and click Quickconnect.

Access the FTP server with FileZilla
2. Install TFTP Server
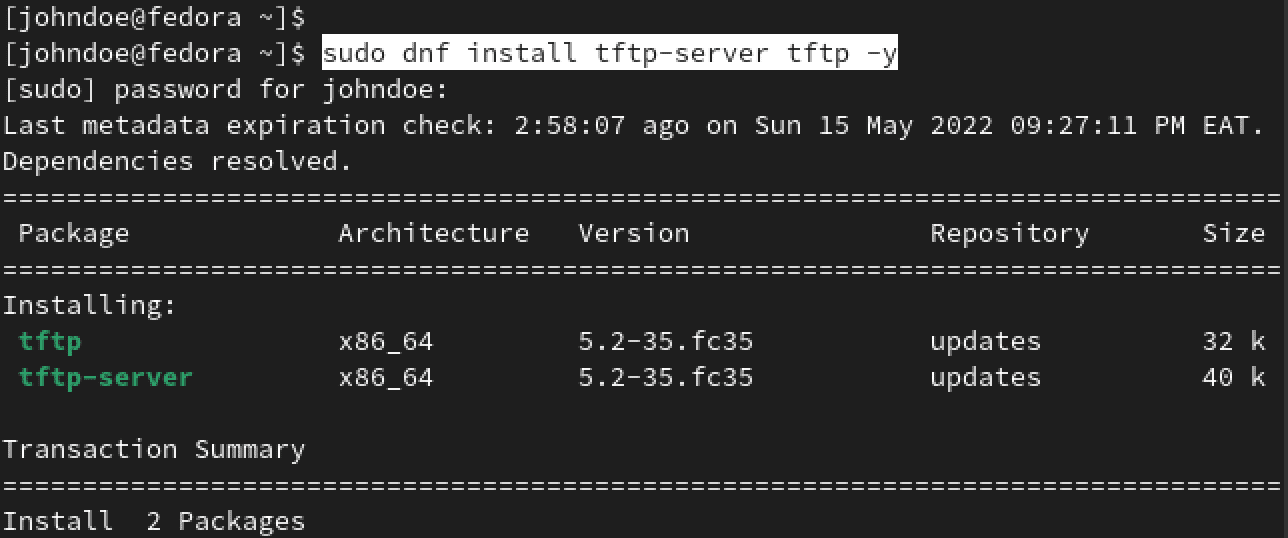
You can easily install TFTP on Netflix using the DNF package manager. Execute the command below to install the TFTP-server and client packages.
dnf install tftp-server tftp -y

Install TFTP packages
The above command will create two systems TFTP service files under /usr/lib/systemd/system/ directory, as shown below.
/usr/lib/systemd/system/tftp.service
/usr/lib/systemd/system/tftp.socket
Now we need to these files to the /etc/systemd/system directory. Execute the commands below.
sudo cp /usr/lib/systemd/system/tftp.service /etc/systemd/system/tftp-server.service
sudo cp /usr/lib/systemd/system/tftp.socket /etc/systemd/system/tftp-server.socket

Copy files to systemd
Configure TFTP Server
Tip: TFTP is an insecure file transfer protocol and is highly discouraged for use in transferring sensitive data over a network. The configurations we will show you in this post should not be used in a “sensitive-data” environment.
To configure the TFTP server, we need to edit the tftp-server.service file we copied to the /etc/system/systemd directory. Execute the command below to edit the file using the nano editor.
sudo nano /etc/systemd/system/tftp-server.service
Before making any changes, the file looks as shown below.
[Unit]
Description=Tftp Server
Requires=tftp.socket
Documentation=man:in.tftpd

[Service]
ExecStart=/usr/sbin/in.tftpd -s /var/lib/tftpboot
StandardInput=socket

[Install]
Also=tftp.socket
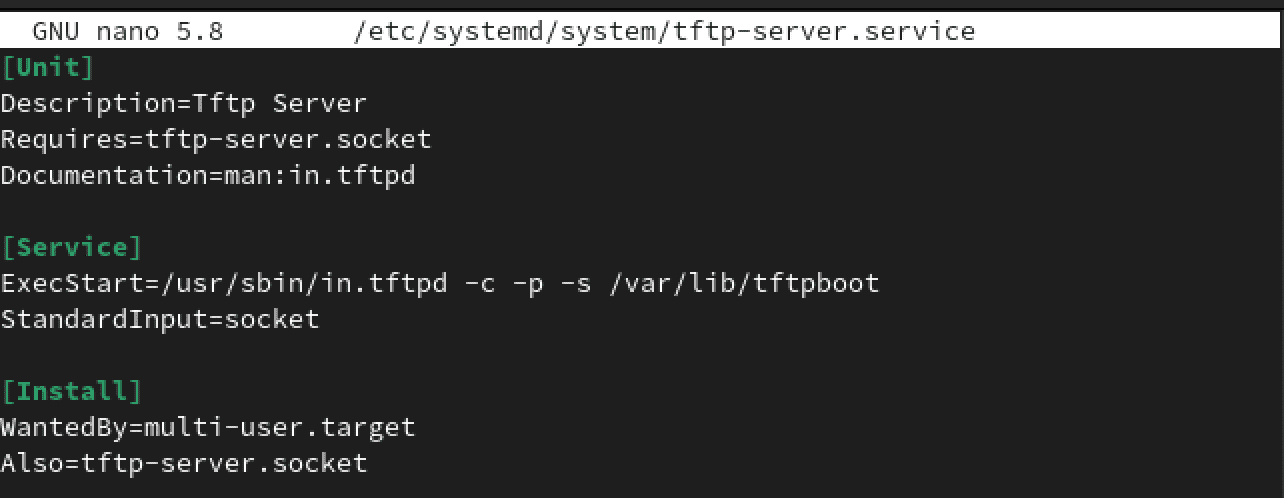
Make changes to the following lines as shown below. You will see we have added new parameters to the exec line. Let’s look at them in detail.
- -c: This option allows users to create new files
- -p: This option prevents the server from performing additional permission checks other than the system’s permission controls.
Requires=tftp-server.socket
ExecStart=/usr/sbin/in.tftpd -c -p -s /var/lib/tftpboot

[Install]
WantedBy=multi-user.target
Also=tftp-server.socket
Save the file (Ctrl + S) and Exit (Ctrl + X) when done. Your TFTP service should now look like the image below.

Configure TFTP service
Reload the Systemd daemon and start the TFTP server using the commands below.
sudo systemctl daemon-reload
sudo systemctl enable --now tftp-server

Start TFTP server
To set privileges of users over the /var/lib/tftpboot directory, use the command below.
sudo chmod 777 /var/lib/tftpboot
Note: The 777 permission is very risky, and we are only using it as a demonstration for this post. This permission gives all users read, write and execute permissions over the /var/lib/tftpboot.
Connecting to the TFTP Server
One of the best of connecting to the TFTP server is using the Terminal. First, you will need to install the TFTP client on your system to connect to the server. Use any of the commands below to install the TFTP client, depending on your Linux distribution.
- Ubuntu
sudo apt-get install xinetd tftpd tftp
- Fedora
sudo yum install tftp
Launch the Terminal and use the syntax below to connect to the TFTP server.
tftp [ip-address]
e.g
tftp 192.168.1.47

Connect to the TFTP server
Conclusion
That’s it! This post has given you a detailed guide on installing FTP and TFTP on your FEdora system. Do you have any queries, or did you encounter any errors? If so, please let us know in the comments below.

