Tmux is a free and open-source terminal multiplexer that allows you to manage many terminal windows simultaneously. It allows you to effortlessly switch between numerous applications in one terminal, detach them, and reconnect them to another. People who have used the Terminator application before will be familiar with tab management in Linux Terminal.
- Recommended: How to install and use Tmux on Linux
Tmux sessions are persistent, implying that applications running in Tmux will keep running even if you disconnect. This application allows us to divide the terminal into many windows. We can move, resize, and switch between these panes to make them fit our needs. All commands in Tmux begin with a prefix, which is ctrl+b, by default.
The accompanying remote terminal sessions are also terminated whenever you terminate an SSH connection. Tmux comes in handy here since it saves those sessions after the SSH connection is ended. This alleviates the strain of handling several Gnome terminal windows and tabs.
In this post, we’ll look at how to kill all Tmux Sessions and install Tmux on our Linux distro. We shall do the illustration using Ubuntu 20.04 LTS as the foundation system for this tutorial guide.
To begin, we must have a look at the prerequisites shown below:
Prerequisites
- Ubuntu 20.04 LTS
- Installed Tmux on your Ubuntu distro
- Sudo privileges
- Internet connectivity
Once you have all the mentioned prerequisites in place, install Tmux on your system.
Note: In this guide, we shall only be brushing through the installation process, but if you need a detailed guide on installing and using Tmux on Linux, check out this guide.
Installing Tmux
Tmux software packages are available from the official repositories of major operating systems such as Linux, macOS, and WSL (Windows Subsystem for Linux). To install Tmux on Ubuntu 20.04, use the command line or Software Center as instructed below:
Launch your terminal and execute the line of code below:
sudo apt-get install tmux
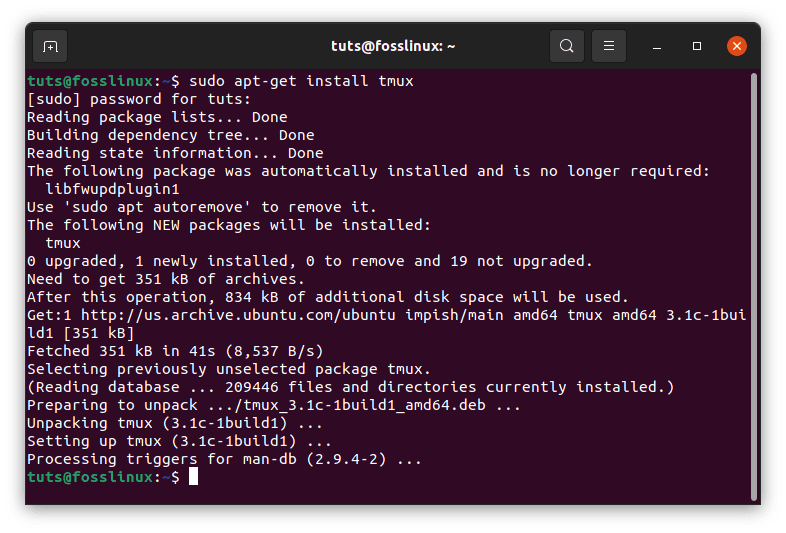
Tmux
Alternatively, if you opt to use the software center, launch it, search for Tmux and click the install button.
Once you are done installing it on your Linux distro, proceed and launch the installed Tmux app. We shall be using the Gnome terminal to fire up the Tmux application. Launch your terminal using the “Ctrl+Alt+T” keyboard combination to launch the terminal. Once the terminal is up and running, copy and paste the code below:
tmux
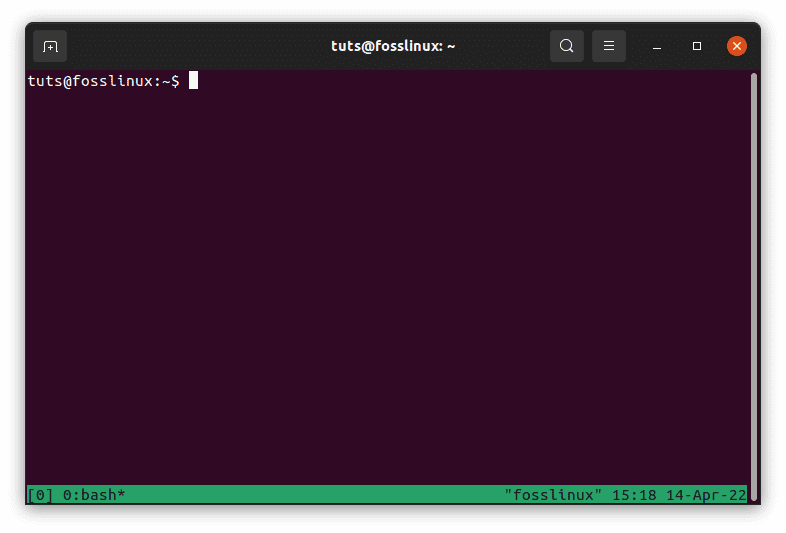
Start Tmux
The command above will launch the Tmux application.
Note: If you encounter the error below, don’t freak out since we have a solution for you.
"open terminal failed: missing or unsuitable terminal: xterm-256color"
To fix this problem, write “export TERM=xterm” into the terminal and press enter on your keyboard to execute it. Re-run the ‘tmux’ command, and the error should be gone this time.
That’s all. You have successfully installed and launched Tmux on your system.
Now it is time to delve deeper into learning how to kill all Tmux sessions
How to kill all Tmux sessions
When you disconnect from a Tmux session, it continues to operate so that you can rejoin it later. However, if you no longer need the session, you should probably end it. You can accomplish this by simply terminating the session.
The Tmux kill-session command is used to kill a Tmux session. Tmux will terminate the current or last active session if no session is specified. Depending on whether or not you are currently in an active Tmux session.
tmux kill-session
The -t option, with the session name as its argument, can be used to specify a session to kill.
tmux kill-session -t tuts_one
The -t option, with the session name as its argument, can be used to specify a session to kill.
As stated in this article guide, there are several ways to kill Tmux sessions.
Individual Session Killing in Tmux
To terminate a Tmux session, we may type ‘exit’ or press ‘Ctrl+d.’ To terminate a session, use the ‘kill-session’ command:
tmux kill-session -t foss_1

Exited foss_1 session
Note: The current command exited after running the kill-session command. Don’t be confused by the new-session command displayed on the output as the terminated Tmux application return the [exited] output.
Kill/terminate all Tmux sessions
The kill-session command is not the most straightforward approach to terminating all Tmux sessions. The kill-server command can be used to terminate all Tmux sessions at once. In addition to terminating all sessions, this command will also terminate the Tmux server.
tmux kill-server
Terminating a Specific Session
We may also select a session to kill by running the following command to define the target session:
tmux list-sessions
or
tmux ls
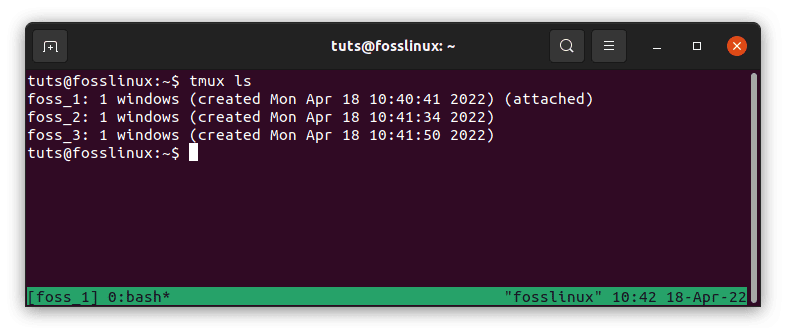
Tmux list sessions
Use the command ‘tmux kill-session -t sessionIDorName’ to kill a specific session. For example, if we wish to terminate the session’ foss_3,’ the command will be:
tmux kill-session -t foss_3
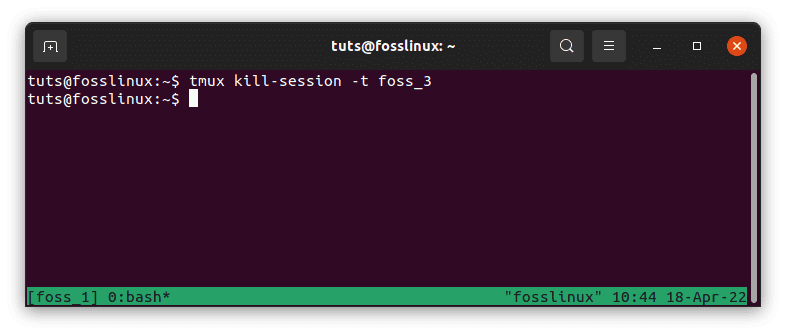
Kill specific foss_3 session
Terminate all other tmux sessions
The kill-session command can be used to kill all sessions except one. You’ll need to use the -a option for this.
There is no need to supply a session name if you wish to stop all Tmux sessions except the current one. If you are not in tmux, tmux will presume you wish to terminate the last active session. To terminate all other tmux sessions, use the command below.
tmux kill-session -a

Kill last active session
If that’s not what you’re looking for, you may provide your own session name. You’ll need to use the same -t option as previously for this.
tmux kill-session -at fosslinux_session
Before Output:
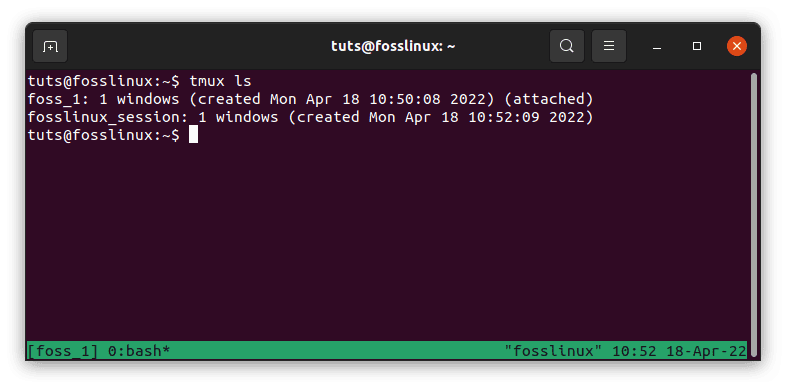
fosslinux session
After Output:

Exited fosslinux session
Tmux Process Extinction
We may use this way to terminate the whole Tmux process tree. Search for ‘Tmux’ in the process tab of the System Monitor program. This will provide a list of all Tmux processes that are currently active.
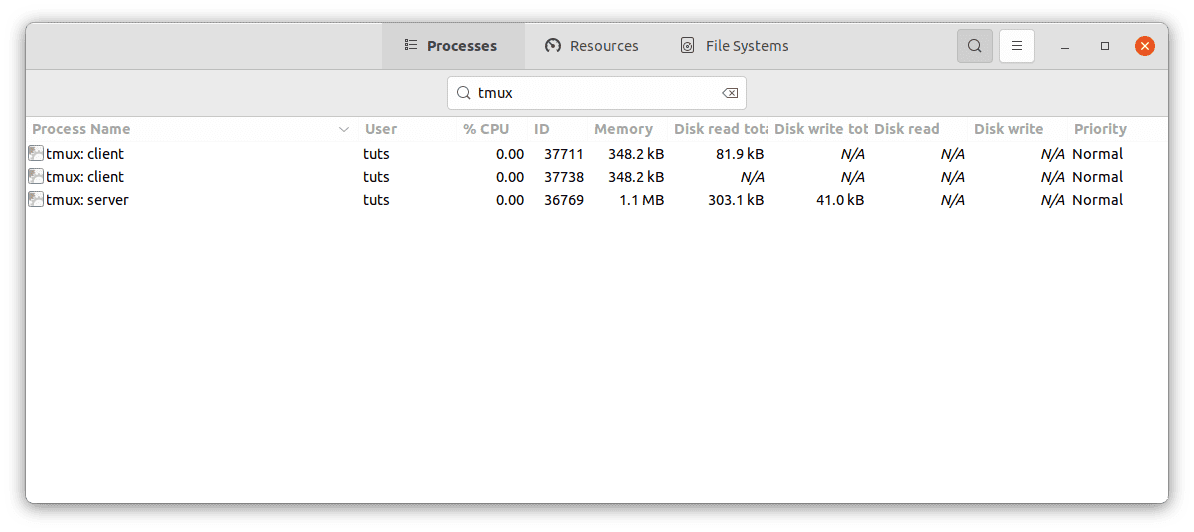
Tmux current active process
Now, use the following command to end all sessions:
pkill -f tmux

Exit Tmux sessions and server
As demonstrated below, all Tmux processes (clients and server) are terminated:
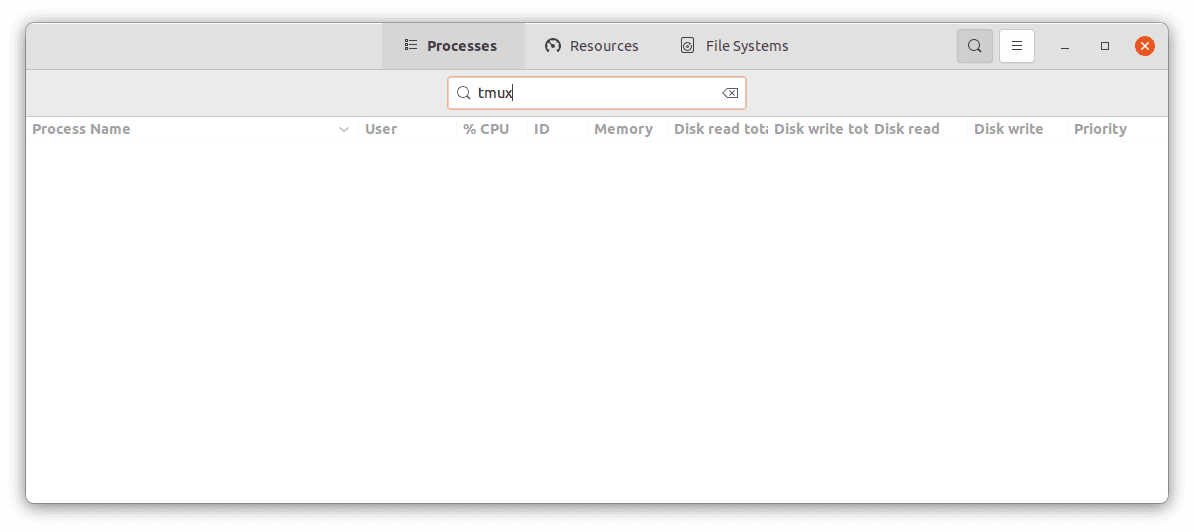
killed tmux processes and server
Conclusion
This article taught us about Tmux installation, fundamentals, and, more precisely, “How to terminate all Tmux sessions.” We believe that this article came in handy for you. Please leave a remark in the comments section if you found it helpful.

