For the past few decades, Microsoft Office has dominated the office suite market on computers and mobile devices. On the open-source side of things, LibreOffice has been in the limelight of that market for a couple of years after succeeding OpenOffice.
Many people, including myself, pay hundreds or even thousands of dollars for software subscriptions. You can obtain most of these features without paying a single cent by using open-source software.
Recently, the compatibility of Libre Office with Microsoft office has been a severe problem. Despite having support for doc and docx formats, LibreOffice struggles to keep formatting constant on these file formats. Text may sometimes exist on another page; pictures are placed in the wrong position, among many other issues. Many people probably gave up on open source software because of these reasons. However, a new competitor has emerged in these few years to solve all these problems – OnlyOffice. It’s a free and open-source office suite almost entirely compatible with Microsoft Office formats.
What is OnlyOffice?
OnlyOffice is an office suite first released in 2009 and designed to be free and open-source. OnlyOffice offers features that most Microsoft office users might use daily, albeit paying nothing for it. The main focus of OnlyOffice is actually on collaboration. On its website, OnlyOffice strongly promotes its online collaboration features through free trials of OnlyOffice enterprise and developer additions, allowing organizations to deploy cloud server security.
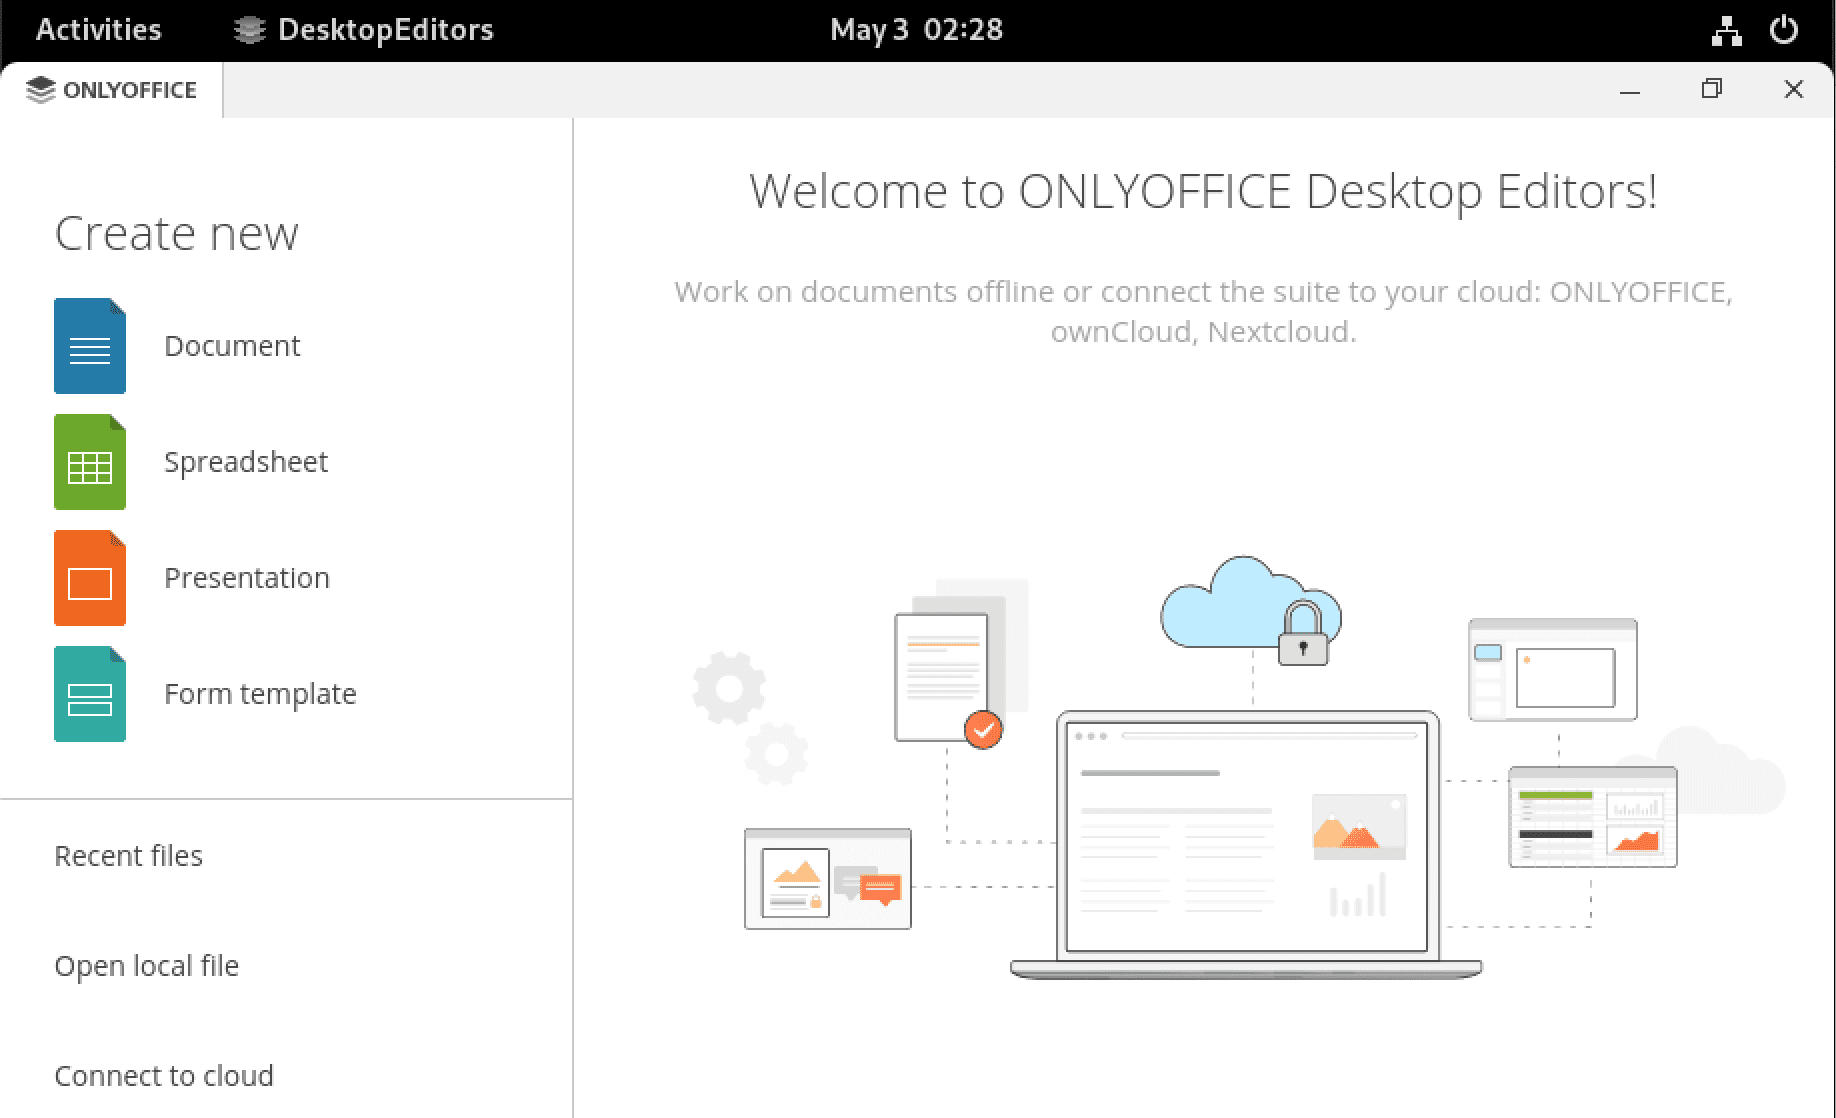
OnlyOffice desktop editors
Instead of paying a subscription fee like Office 365, OnlyOffice only requires a one-time payment for all applications to be used permanently. These additions are for organizations, though, for personal use; OnlyOffice is entirely free and feature-packed for everyday use. The desktop editor’s version can be downloaded for free off of the OnlyOffice website and is available for Windows, Mac, and Linux computers. On a side note, Windows XP, an operating system already 20 years old, is still supported on the latest version of Only Office, which is a thumbs up in my book.
Install OnlyOffice on Fedora
This post will guide you on installing OnlyOffice on Fedora Linux. The steps described here should also work for other RHEL-based distributions like CentOS, Rocky Linux, and RHEL. We will look at two methods that you can use to install OnlyOffice Desktop Editors on your system.
- Install OnlyOffice from the yum repository.
- Install OnlyOffice with Podman
Requirements
Below are the minimum system requirements required to install and run OnlyOffice Desktop Editors smoothly.
- CPU: Single-core 2 GHz. More would be better
- RAM: a minimum of 2 GB
- HDD: At least 2 GB of free space
Method 1: Download the OnlyOffice RPM package
This is one of the easiest methods that you can use to install OnlyOffice on any RHEL-based distribution like Fedora. Follow the steps below.
1. Open the official OnlyOffice Download page. Scroll down to the “ONLYOFFICE Desktop Editors for Linux” section and download the RPM image for RHEL, CentOS, and Fedora.
You can also download the RPM package from the Terminal using the WGET command as shown below.
sudo wget https://download.onlyoffice.com/install/desktop/editors/linux/onlyoffice-desktopeditors.x86_64.rpm
2. Navigate to the directory containing the file and right-click and select the option “open with the terminal.” Alternatively, you can open the Terminal and use the cd command to navigate to the Downloads folder.
3. Use the syntax below to install the OnlyOffice RPM package.
sudo dnf install [package-name.rpm]
e.g.
sudo dnf install onlyoffice-desktopeditors.rpm
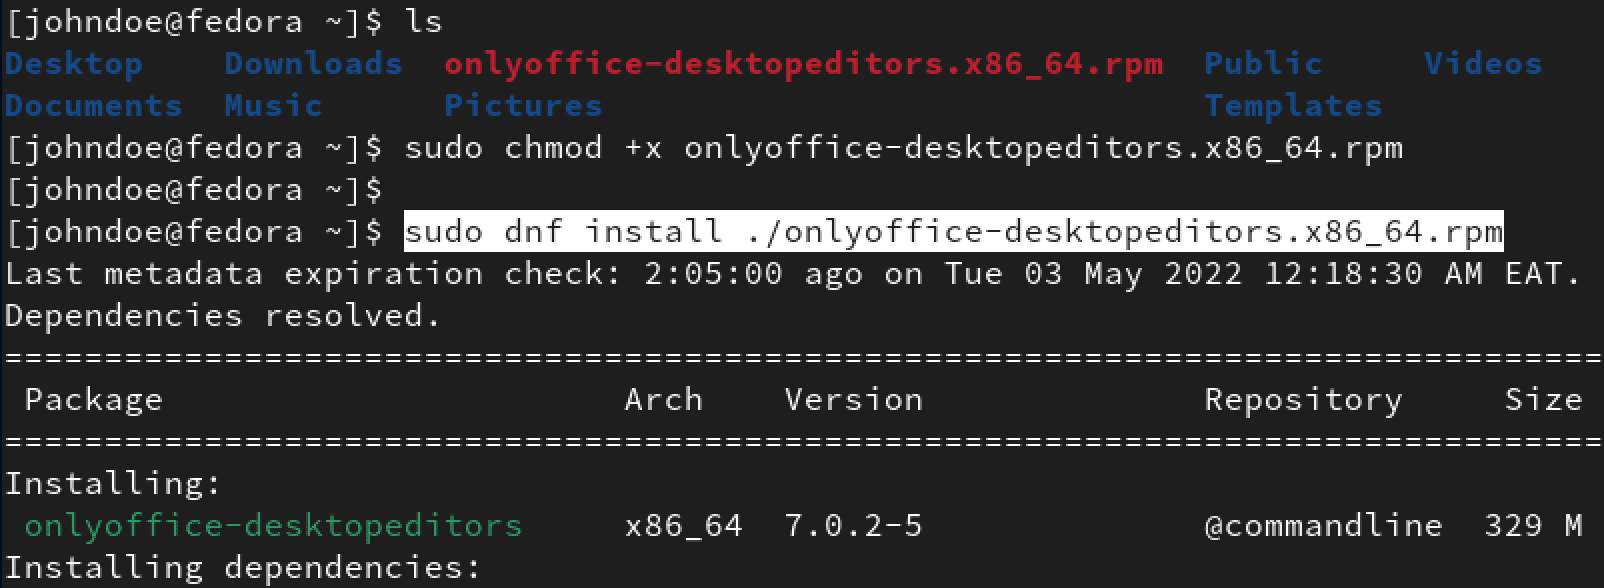
Install OnlyOffice RPM package
4. That command will install OnlyOffice on your Fedora system. When done, you can proceed to launch OnlyOffice from the applications menu.

OnlyOffice desktop editors
Method 2: Install the OnlyOffice Docker image
Tip: This method is highly recommended for users and organizations to access OnlyOffice on a network via the browser.
Docker is mainly a software development platform and a virtualization technology that makes it easy for us to develop and deploy apps in neatly packaged virtual containerized environments. That allows us to run applications the same way on any device despite the underlying OS type.
This section will guide you on installing the OnlyOffice Docs Docker image. To get started, install docker using the commands below.
sudo dnf install dnf-plugins-core -y
sudo dnf config-manager --add-repo https://download.docker.com/linux/fedora/docker-ce.repo
sudo dnf install docker
When done, run the version command to check whether docker was successfully installed.
docker --version
Alternatively, you can try running the ‘hello-world‘ container. Execute the command below.
sudo docker run hello-world

Check docker version
Start the docker socket and service using the commands below.
sudo systemctl start docker.service
sudo systemctl start docker.socket
First, let’s create directories where we will mount the container on the host system. Execute the commands below.
sudo mkdir -p /app/onlyoffice/DocumentServer/logs \ /app/onlyoffice/DocumentServer/data \ /app/onlyoffice/DocumentServer/lib \ /app/onlyoffice/DocumentServer/db
Note: We are creating these directories using the sudo command to ensure root-privileged deployment.
Execute the commands below to mount the newly created directories with podman. You will see an option to select the image you want to use. Use the arrow keys and choose the image of docker.io. Press Enter.
sudo docker run -i -t -d -p 4444:80 --restart=always onlyoffice/documentserver

Run OnlyOffice Docker container
Tip: The OnlyOffice Docker container is pretty large (at least 700 MB) and might take some time to download. Please be patient. If you encounter an error like “Bind for 0.0.0.0:4444 failed: port is already allocated,” change the port to another number but not greater than 65535.
After the command completes execution successfully, open the browser and enter the URL below to access OnlyOffice docs.
http://localhost/welcome/
You should see a page similar to the image below.
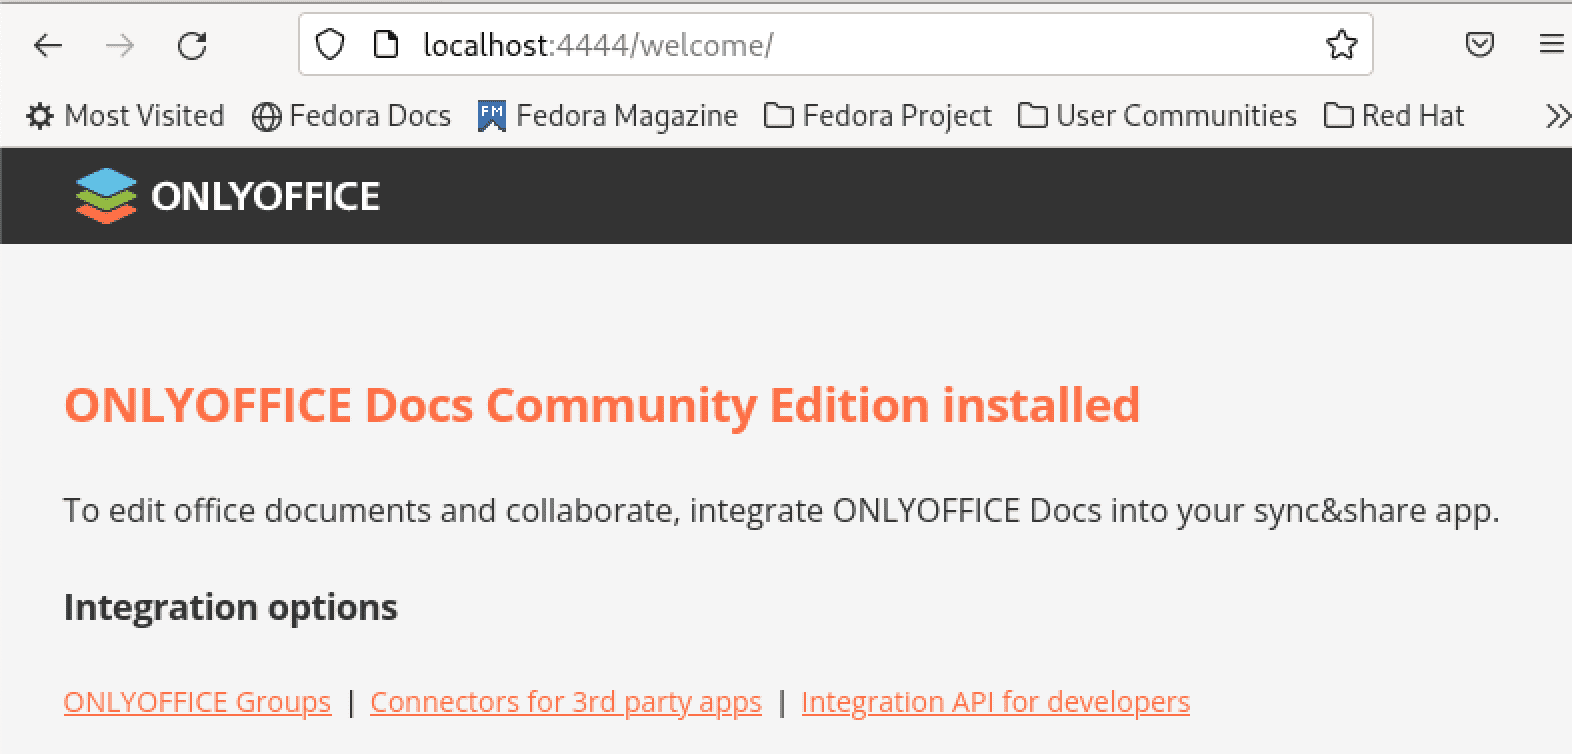
OnlyOfficeDocs
Execute the command below to confirm whether the editors are successfully installed and working.
sudo docker exec $(sudo docker ps -q) sudo supervisorctl start ds:example

Run intergration tests
If the command executes without any errors, open a new tab on your browser and enter the URL below.
Tip: Remember to replace 4444 with your port number.
http://localhost:4444/example/
You will see a window similar to the image below with the various OnlyOffice editors, including Document, Spreadsheet, Presentation, etc.
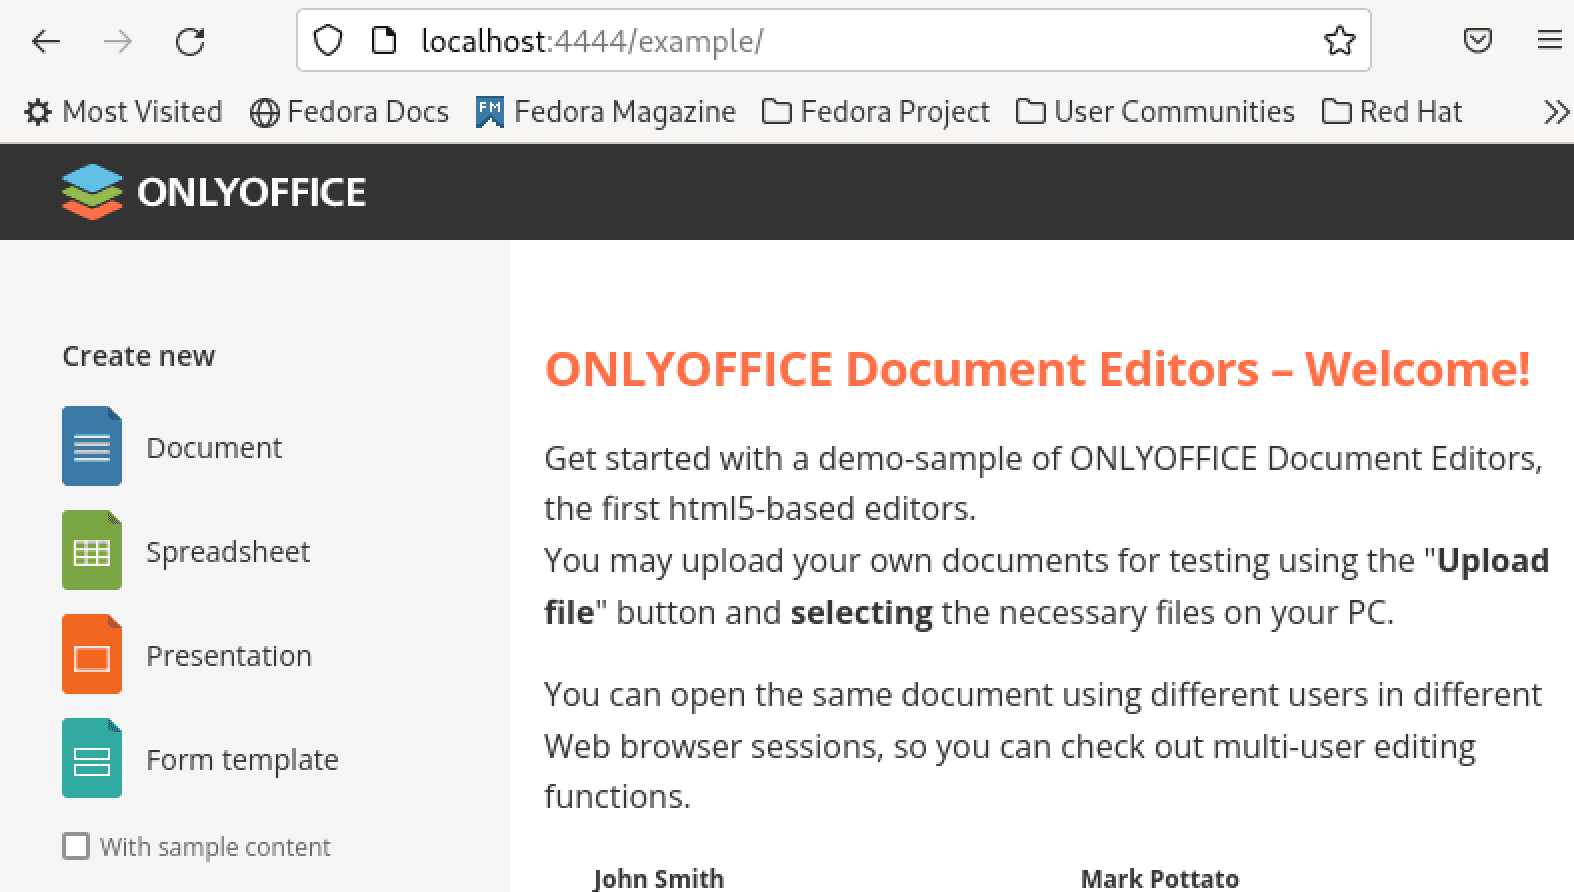
Only Office Document Editors
You can now use any OnlyOffice Document editors from this window.
Method 3: Install OnlyOffice via Snap
Alternatively, there is another super-easy way to install OnlyOffice. An app store known as snap is prettier and easier if one has internet. The first step is to install a snap on the laptop. Use the following command to install Snap on Fedora.
sudo dnf update
sudo dnf install snapd
When done, create a symbolic link by executing the command below on the Terminal.
sudo ln -s /var/lib/snapd/snap /snap
To install OnlyOffice, you can open snapstore.io in the browser and search OnlyOffice-desktop editors. You will see the install button as shown below. Select the version of OnlyOffice that you want to install and click the ‘Install’ button.
Note: This method will only work if you have snap installed on your system.
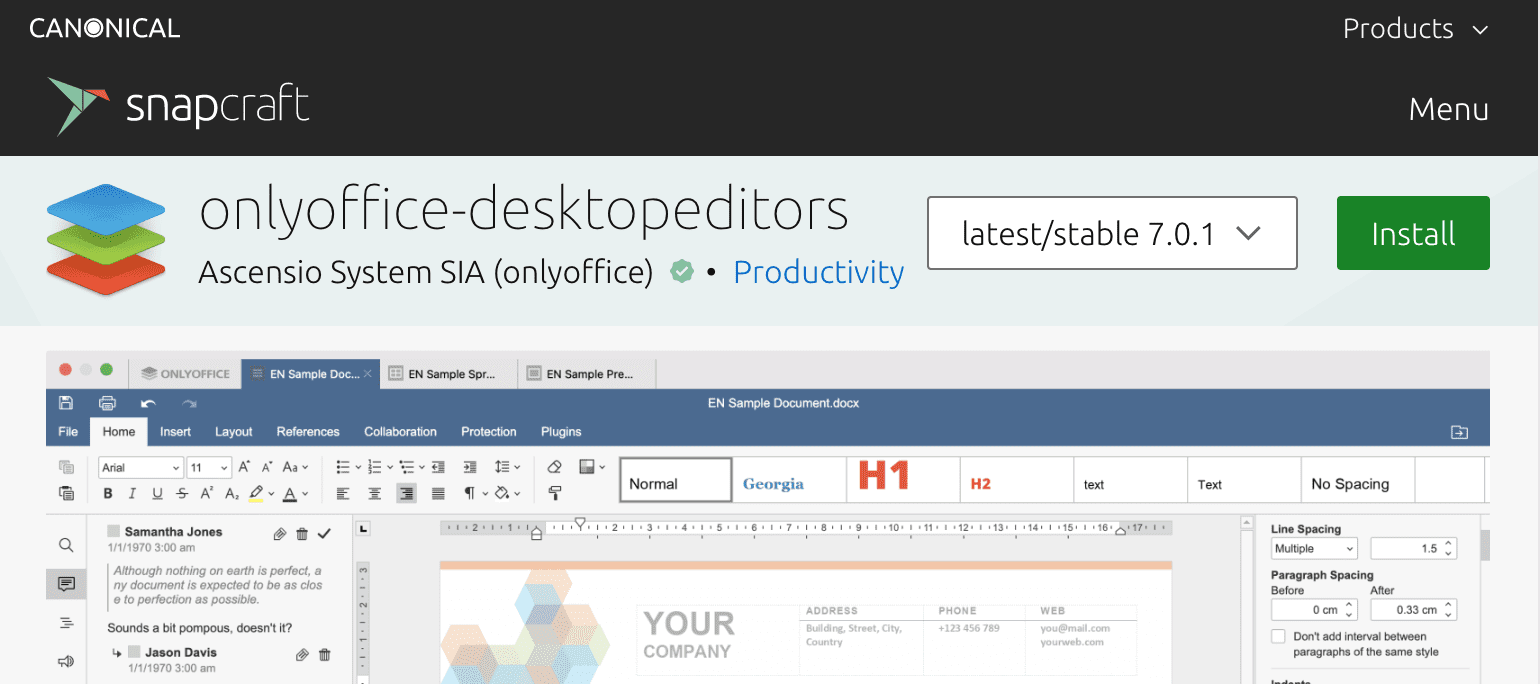
snapcraft.io
Alternatively, you can install it from the Terminal by running the command below.
sudo snap install onlyoffice-desktopeditors

Install OnlyOffice with Snap
Conclusion
This post has guided you in installing the OnlyOffice suite on your Fedora system. OnlyOffice can be used locally on your system and online similar to Google docs. The online version is much better for collaboration and has even more features. However, it’s good to note some of the advanced features will require a one-time payment that guarantees full-time access (There are no subscriptions). Did you encounter any errors during the installation? Please don’t hesitate to let us know in the comments section.

