GNOME is a popular desktop environment that comes pre-installed with Ubuntu with the latest release in every version. It was first released in 1999 and came up with a new release every six months. The current stable release, GNOME 42.0, was released on 23 March 2022.
GNOME is a highly customizable, user-friendly, compatible desktop environment with an attractive user interface. Other than GNOME, other desktop environments like Cinnamon, Mate, KDE, Budgie, Xfce, etc., serve the purpose well.
Installing GNOME on Ubuntu
If you switched your desktop environment, or it is corrupted, you can reinstall GNOME using some simple commands.
Installing GNOME Desktop minimal version
GNOME Desktop minimal is an Ubuntu flavor lighter than the full variant. It contains limited applications compared to the full version of the GNOME desktop. It is recommended for users with old hardware or low system resource usage. Open a terminal window and execute the following commands to install the minimal version.
First of all, update the system repositories by executing the following command:
sudo apt update
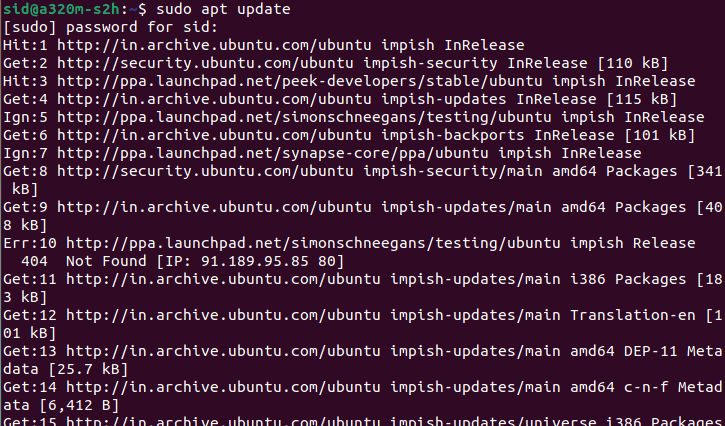
updating System repositories
Now, execute the following command to install the GNOME Desktop minimal:
sudo apt install ubuntu-desktop-minimal
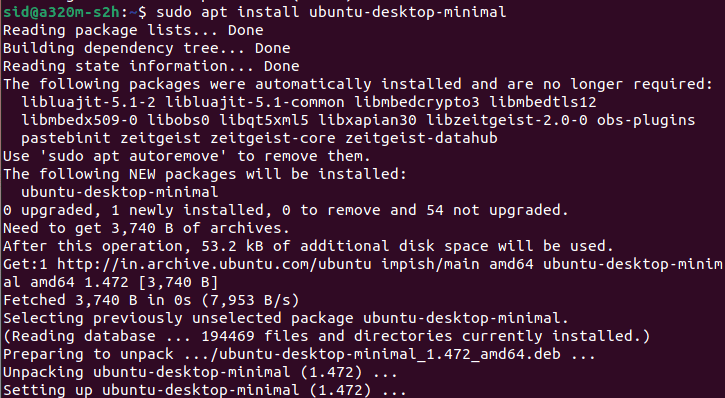
Installing minimal Ubuntu Desktop
Once it is successfully installed, reboot your system.
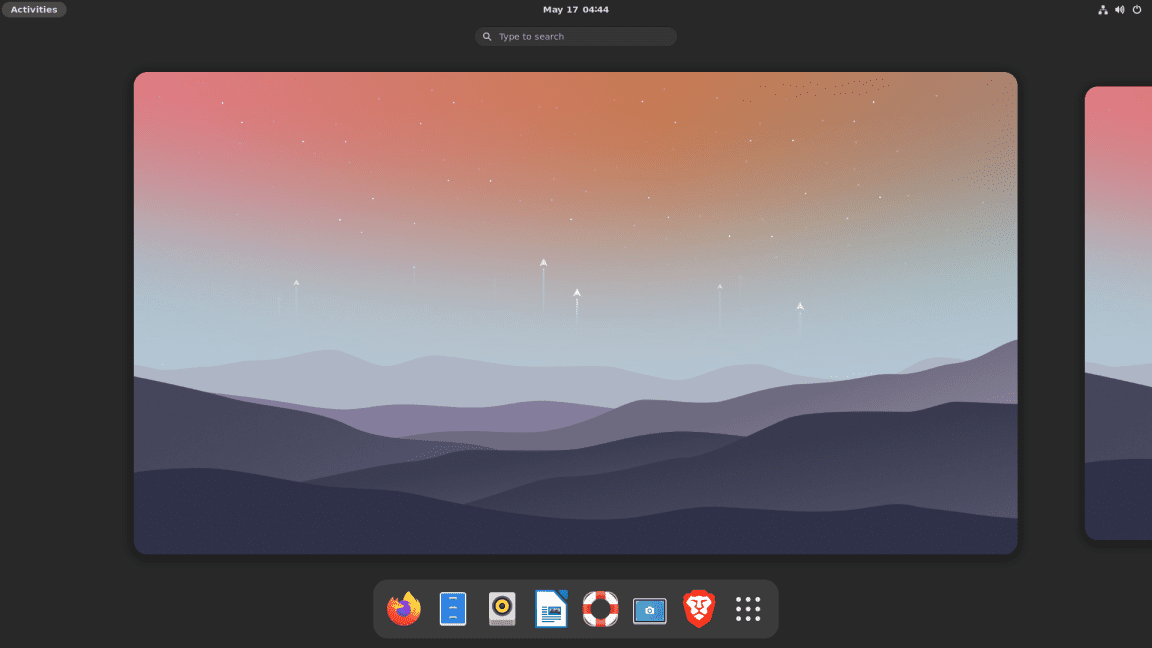
minimal GNOME Desktop
Installing GNOME Desktop full version
The full version of the GNOME desktop comes with all the necessary applications and libraries. It is like a complete package with all basic applications like Firefox for web browsing, Rhythmbox for music, LibreOffice as the default OfficeSuite, etc. To install the whole GNOME desktop, execute the following command in a terminal window:
sudo apt install ubuntu-gnome-desktop
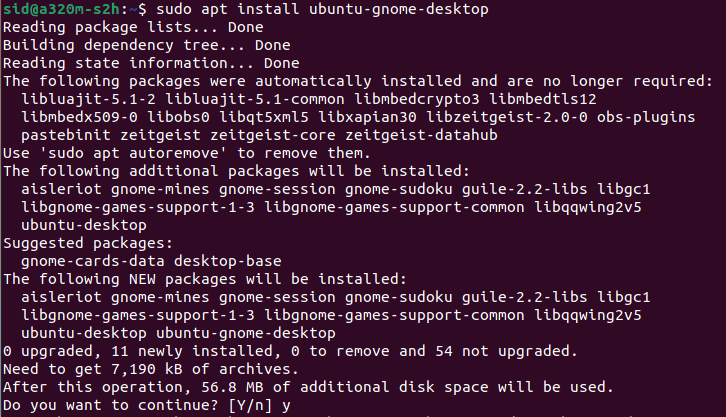
Installing full Ubuntu Desktop
Reboot the system once it is installed.
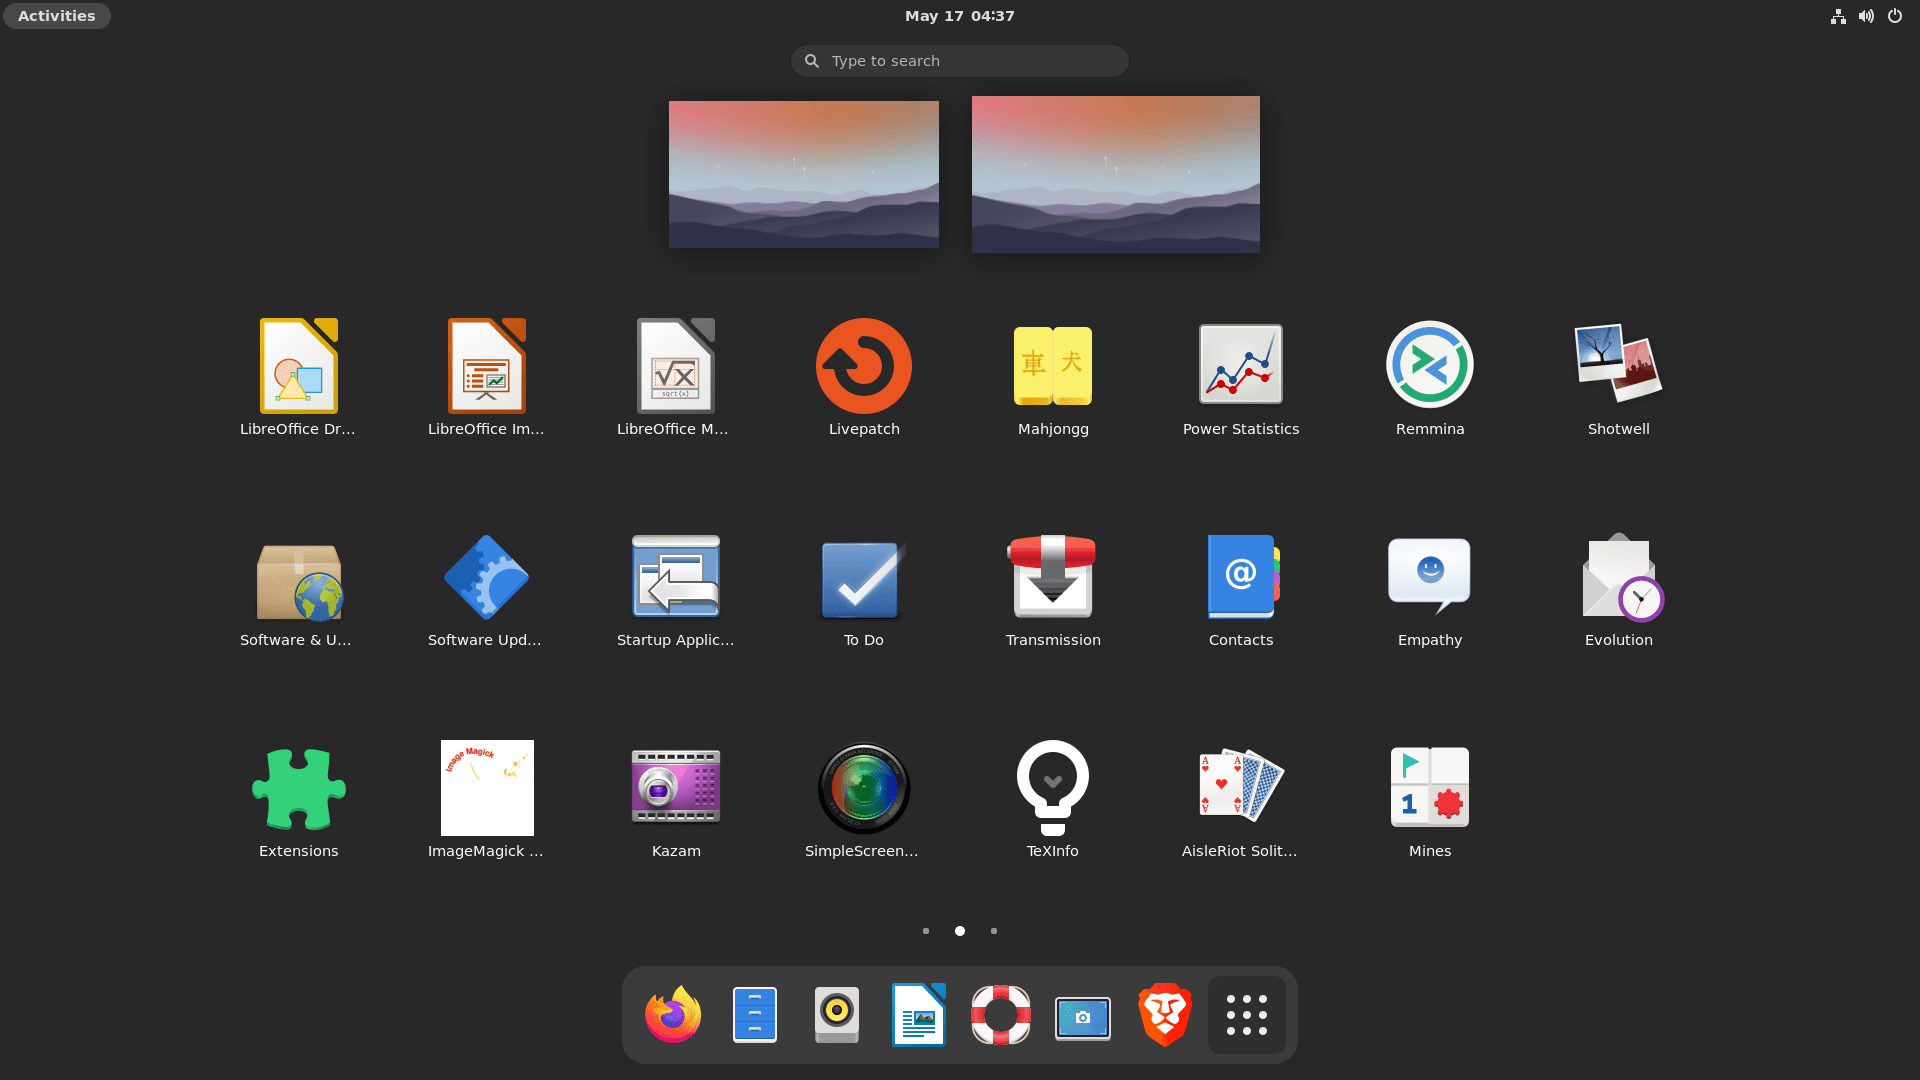
full GNOME Desktop
Installing GNOME using the tasksel command
You can also install GNOME using the tasksel command. Tasksel is a command-line utility that allows us to choose from a predefined collection of software. If you don’t have tasksel installed on your system, it will show the error: command not found as shown below.
To install tasksel, execute the following command:
sudo apt install tasksel
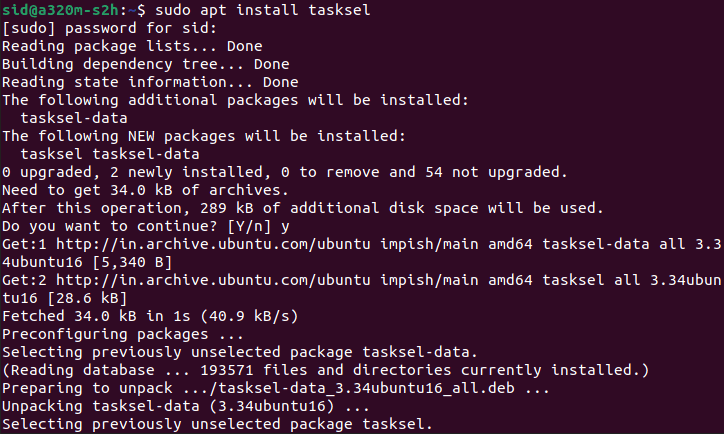
Installing tasksel
Now, run tasksel using the following command:
sudo tasksel
Choose “Ubuntu Desktop” to install the whole GNOME desktop and “Ubuntu minimal desktop” for the minimal installation.
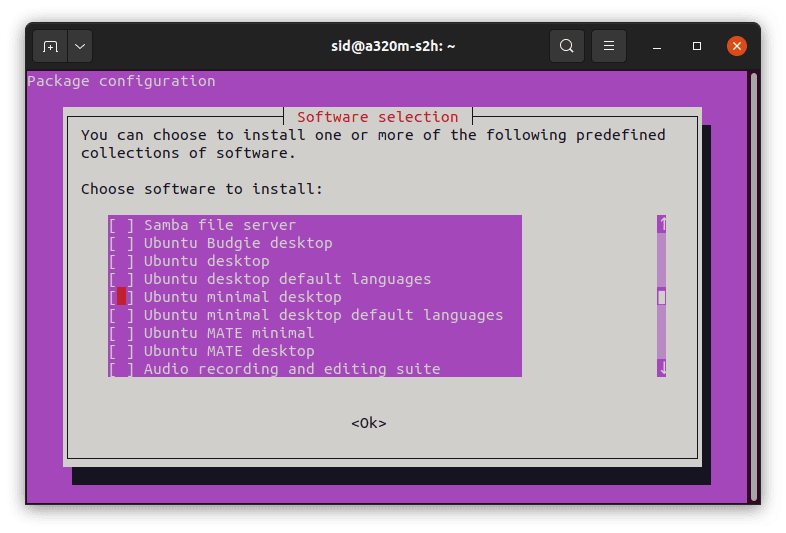
Tasksel
Note: Don’t select any of the live CD from the menu.
Navigate using the arrow keys, and select the appropriate option using the space key. Press the tab to switch to the “Ok” button and press Enter to continue.
On Ubuntu 20.04, tasksel will work fine and only show the software as of Ubuntu 20.02. However, running tasksel on Ubuntu 21.10 or Ubuntu 22.04 will list the software collection as on Debian 11 instead of Ubuntu. It will show a predefined collection of software, as shown below.
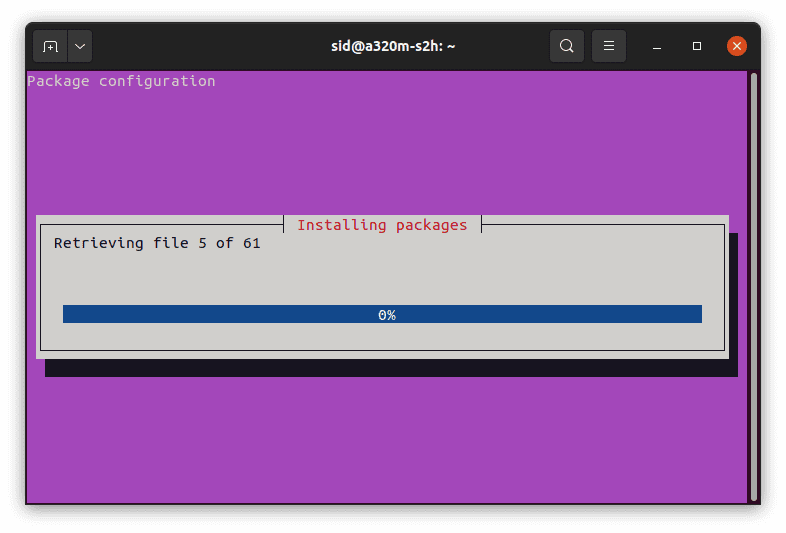
Ubuntu GNOME desktop-installation
Wait till the software is installed successfully.
You can also install the GNOME desktop directly without navigating through the user interface by executing the following command:
sudo tasksel install ubuntu-desktop
Installing Vanilla GNOME on Ubuntu
Vanilla GNOME is the original GNOME Desktop. It is not modified or packaged with any other software. To be clear, Ubuntu GNOME is the modified version of the Vanilla GNOME that is to be integrated with the Ubuntu operating system. Every update of Ubuntu is loaded with the GNOME Ubuntu default desktop environment. If we compare, Vanilla GNOME differs from the Ubuntu GNOME a lot. It does not have a side panel as in Ubuntu GNOME. There are minor changes in icon sets, fonts, etc. To install Vanilla GNOME, Execute the following command:
sudo apt install vanilla-gnome-desktop
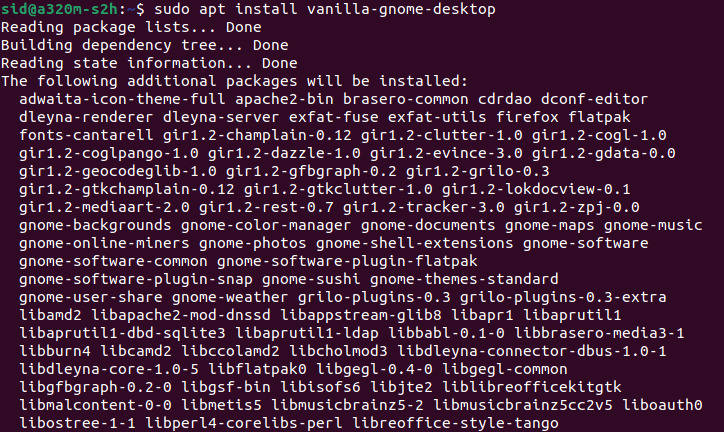
Installing Vanilla GNOME Desktop
Reboot the system after installation is successful.
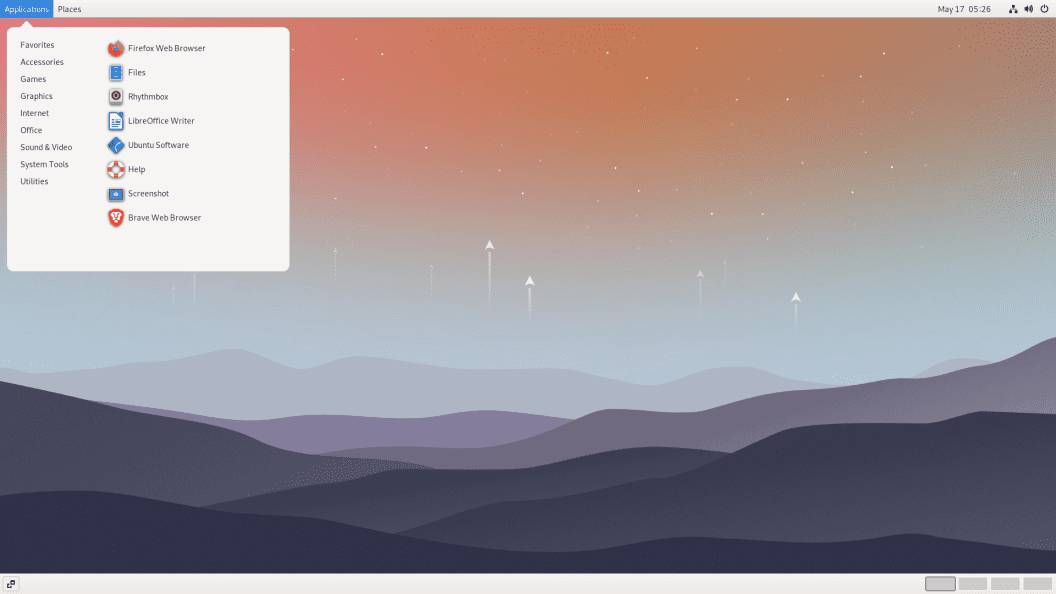
Vanilla GNOME
Like the Ubuntu GNOME desktop, Vanilla GNOME also offers a minimal installation. It will only install the core applications. There will be a clean system with low memory usage. To install the minimal version of the Vanilla GNOME, Execute the following command:
sudo apt install gnome-session gnome-terminal
Switching to GNOME
After installing GNOME from any of the above methods, You have to switch your desktop environment from Ubuntu to GNOME. To do so, log out from the system through the drop-down menu at the top-right corner.
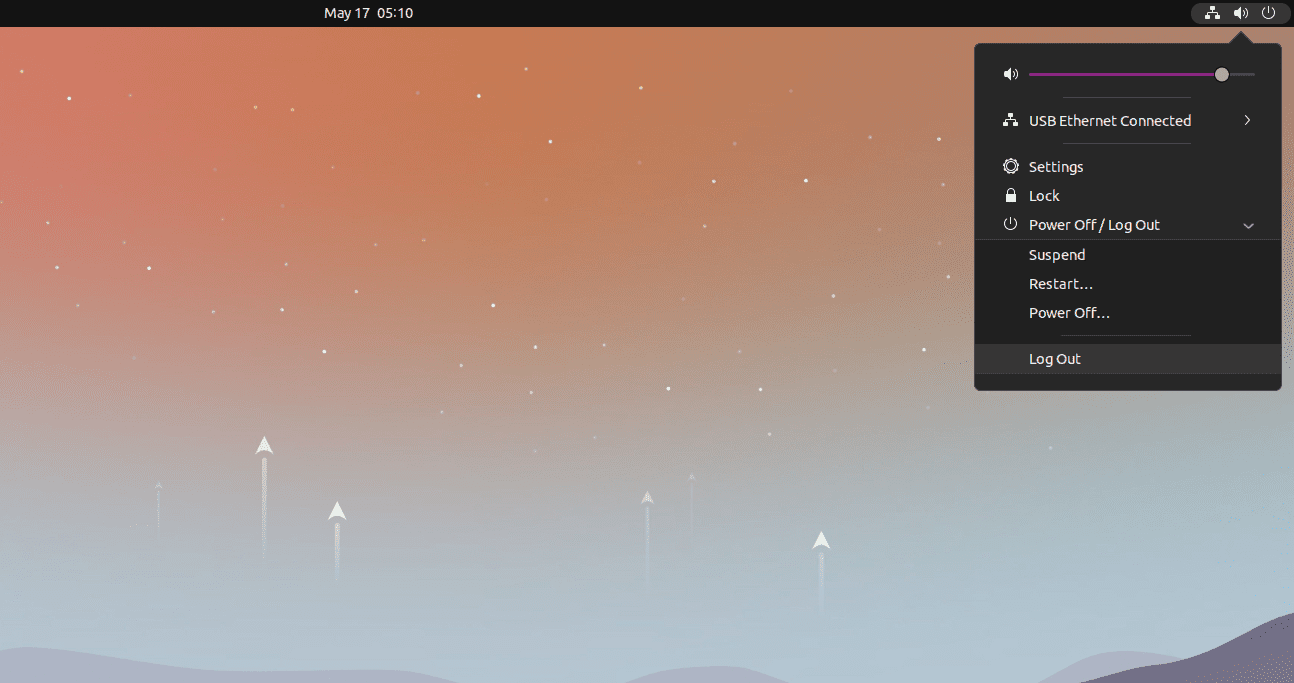
logout option
Click on your username. When the password screen appears, A setting bar at the bottom-right corner of your screen will show up. Select “GNOME,” type the password, and press enter to continue.
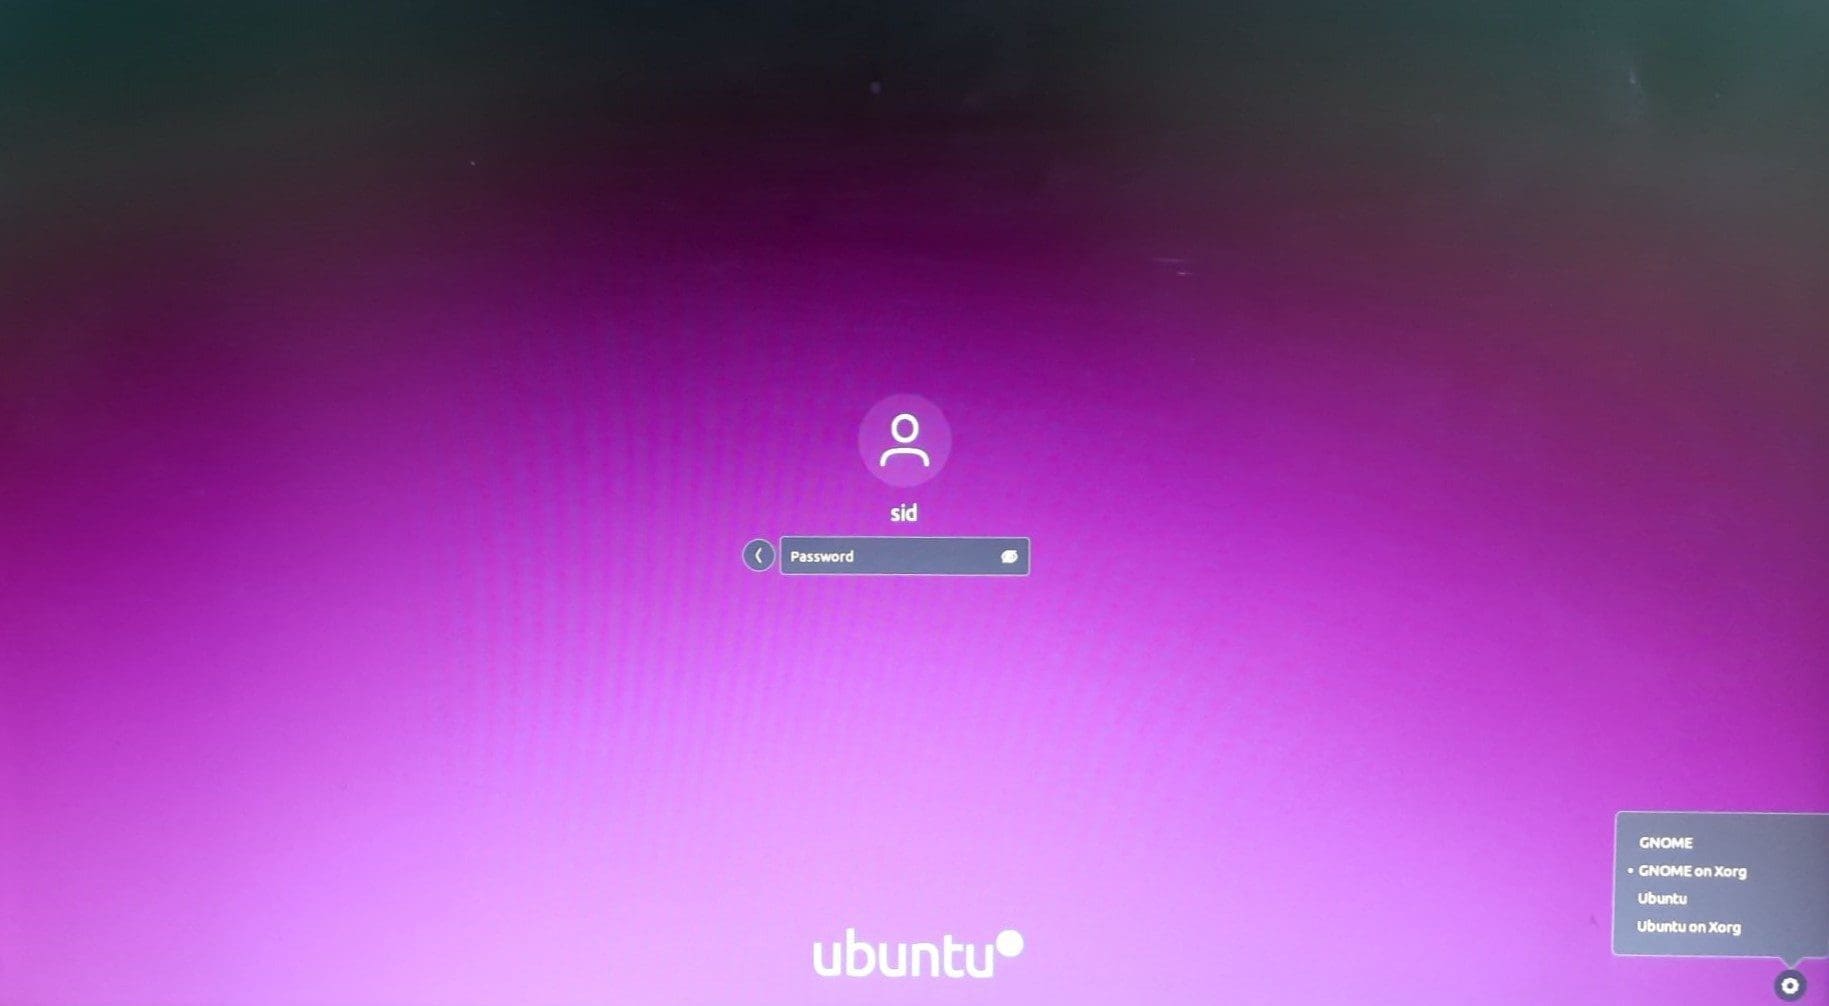
Switching to the GNOME desktop
The newly installed GNOME desktop will look as shown below. In Linux, you can install multiple desktop environments and switch between them.
Similarly, to select Vanilla GNOME, switch to GNOME Classic on the login page.
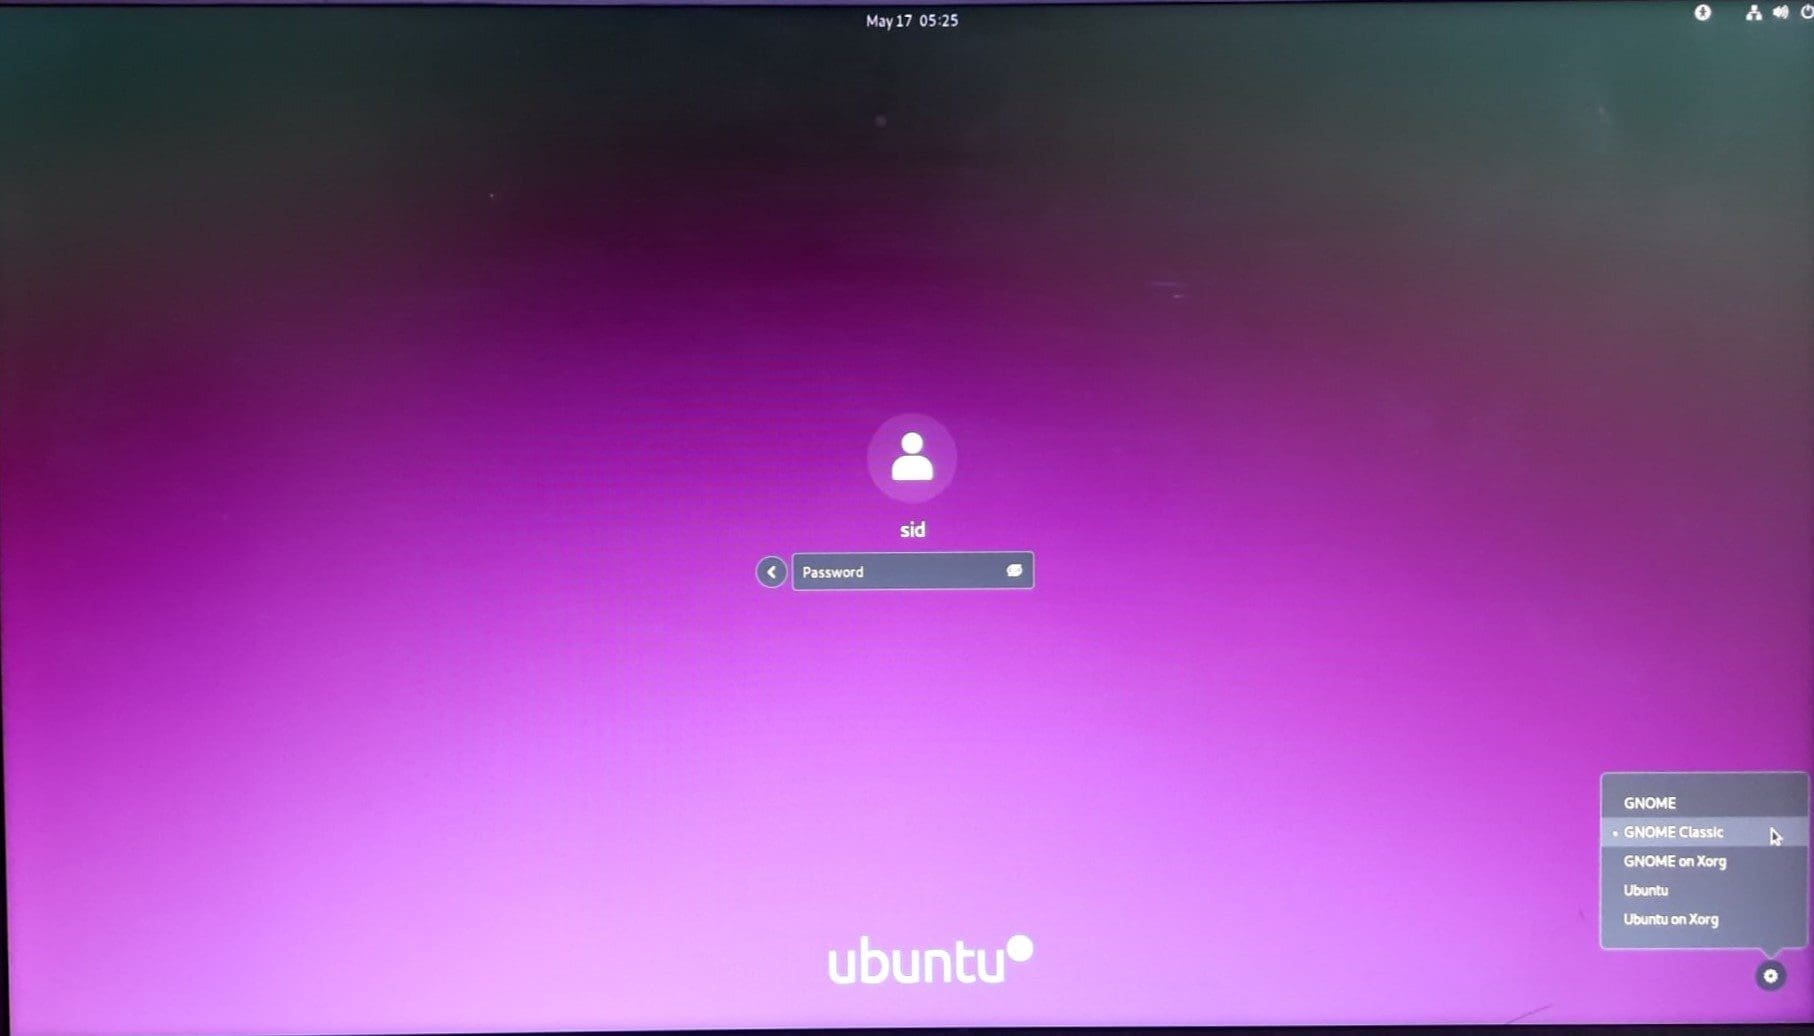
Switching to Vanilla GNOME desktop
Uninstalling GNOME desktop
In case you need to uninstall the GNOME desktop, you can do so by executing the following command:
sudo apt remove ubuntu-gnome-desktop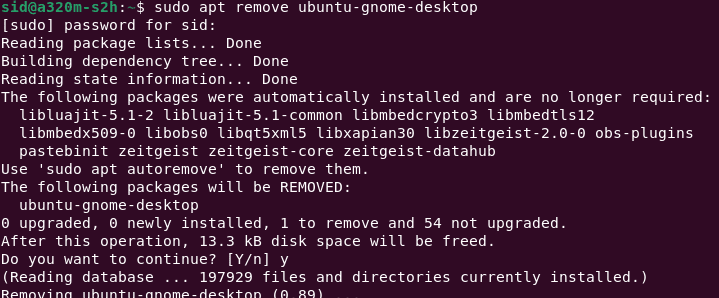
Uninstalling GNOME Desktop
Conclusion
So, we discussed how to install GNOME on Ubuntu using two different methods. Any of the above methods will work fine. Do let us know your feedback in the comments below. If you liked the article, please share it with your friends!
