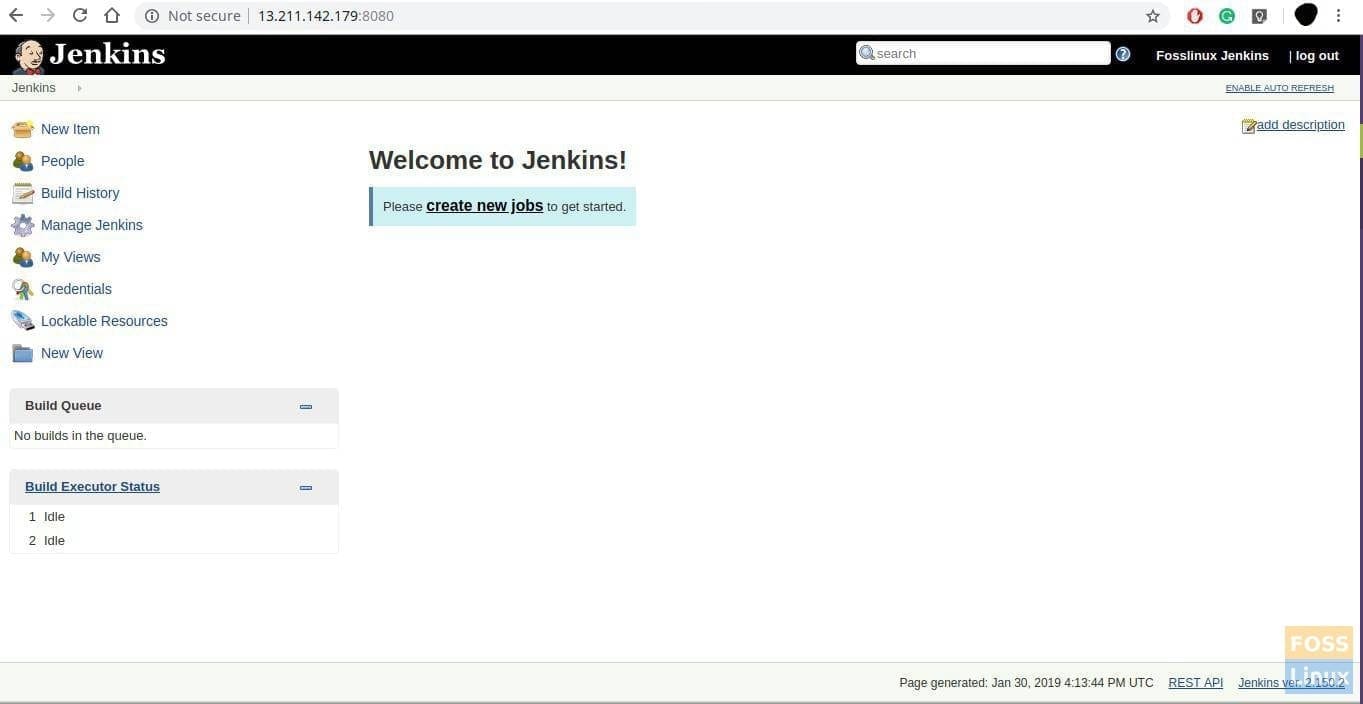
In today’s tutorial, let’s take a look at how to install and configure Jenkins on Ubuntu. Jenkins is an open-source automation server, and it helps to set up continuous integration and continuous delivery (CI/CD) pipeline.
The Jenkins project was started in 2004 and originally called Hudson. The most significant advantage of using Jenkins is the availability of hundreds of plugins to support building, deploying, and automating any project with ease.
Installing Jenkins on Ubuntu
Prerequisites
- A computer with at least 512MB RAM (recommended) and 10 GB of drive space
- Supported software: Java 8 (either a JRE or Java Development Kit (JDK)
1. Installing Java
According to Jenkins’s official web site, Java 8 is the ONLY currently supported runtime environment. Older versions of Java are not supported. Java 9 and Java 10 are not supported.
Install Java 8 repository
sudo add-apt-repository ppa:webupd8team/java
Update repository list
sudo apt update
Install Java 8
sudo apt install oracle-java8-set-default
When you see the prompt for the license agreement, select “yes” and continue.
2. Installing Jenkins
Launch the Terminal and enter the following command to add the Ubuntu repository of Jenkins and also its key to your system.
sudo wget -q -O - https://pkg.jenkins.io/debian-stable/jenkins.io.key | sudo apt-key add -
Then add the following entry in your /etc/apt/sources.list
Edit sources.list file
sudo vim /etc/apt/sources.list
Add the following line to the end of the file.
deb https://pkg.jenkins.io/debian-stable binary/
Save and close the file.
Update the system and install Jenkins.
sudo apt-get update
sudo apt-get install jenkins
Enable Jenkins on system boot.
sudo systemctl enable jenkins.service
Modify firewall settings to allow the 8080 port.
sudo ufw allow 8080
Reload firewall and then check its status.
sudo ufw reload
sudo ufw status
3. Configuring Jenkins
Open a web browser and type Server IP address, followed by port 8080.
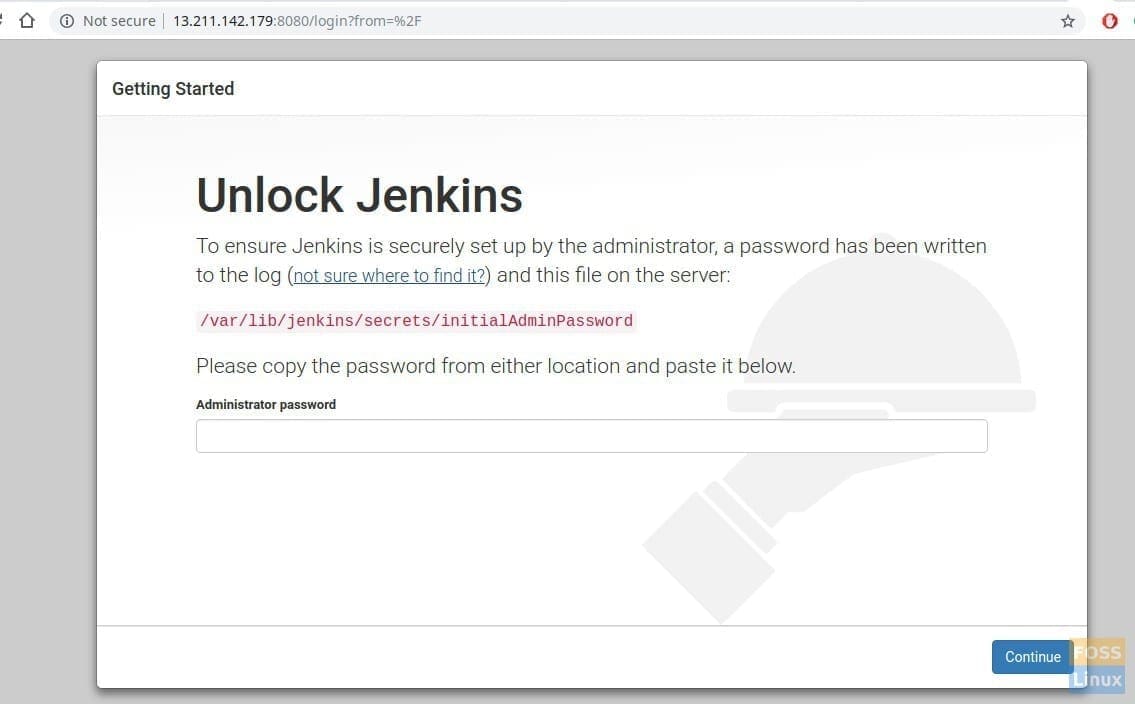
Jenkins Initial Admin Password
Then copy the admin password from a file.
sudo cat /var/lib/jenkins/secrets/initialAdminPassword

Enter the administrator password and click enter. Then you will get the Plugin install window.
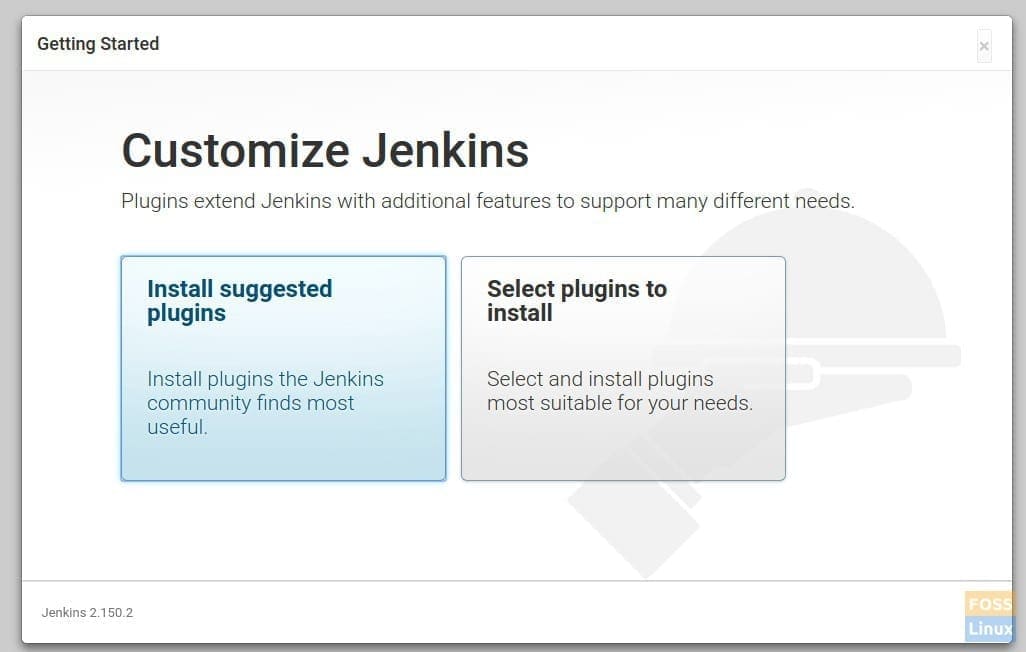
Install Plugins
You can select ‘Install suggested plugins’ if you don’t need any customization, as this option will install all those plugins that the Jenkins community finds most useful. If you want to choose only those plugins that you need and avoid the rest, ‘Select plugins to install.’
Here we are going ahead with the first option, which is to install all the suggested plugins.
After the plugin installation, Jenkins will ask to create a first admin user. Enter the username, password, full name, and email address for the user.
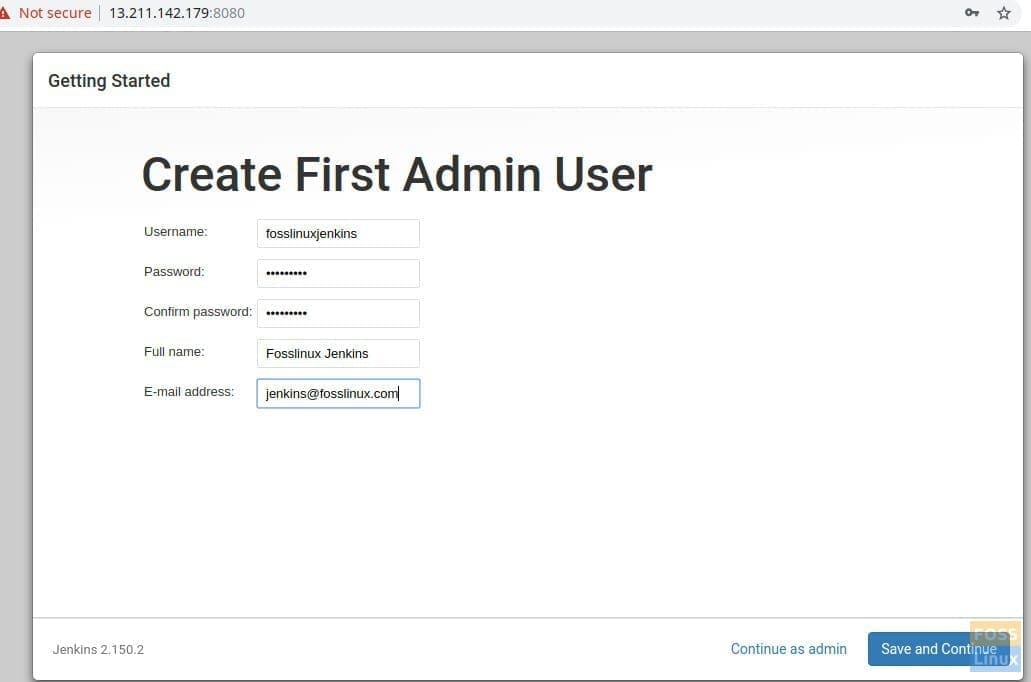
Create First Admin User
Click ‘Save and Continue’
On the next page, you will be asked to enter the Jenkins URL.
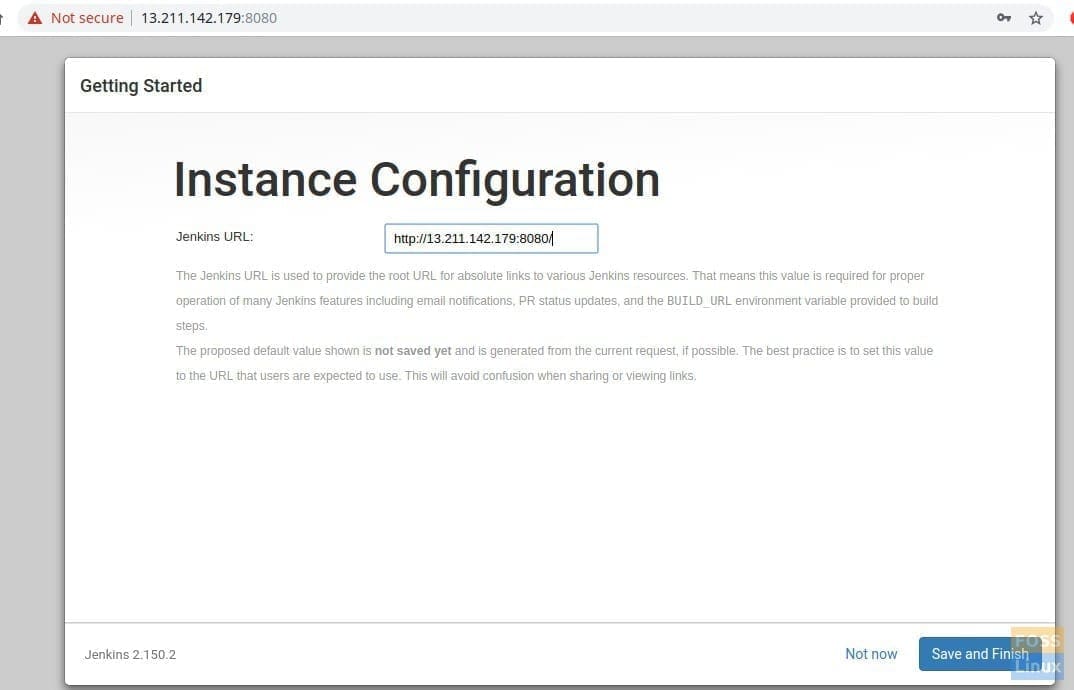
Instance URL Configurations
Click Save and Finish button to complete the setup.
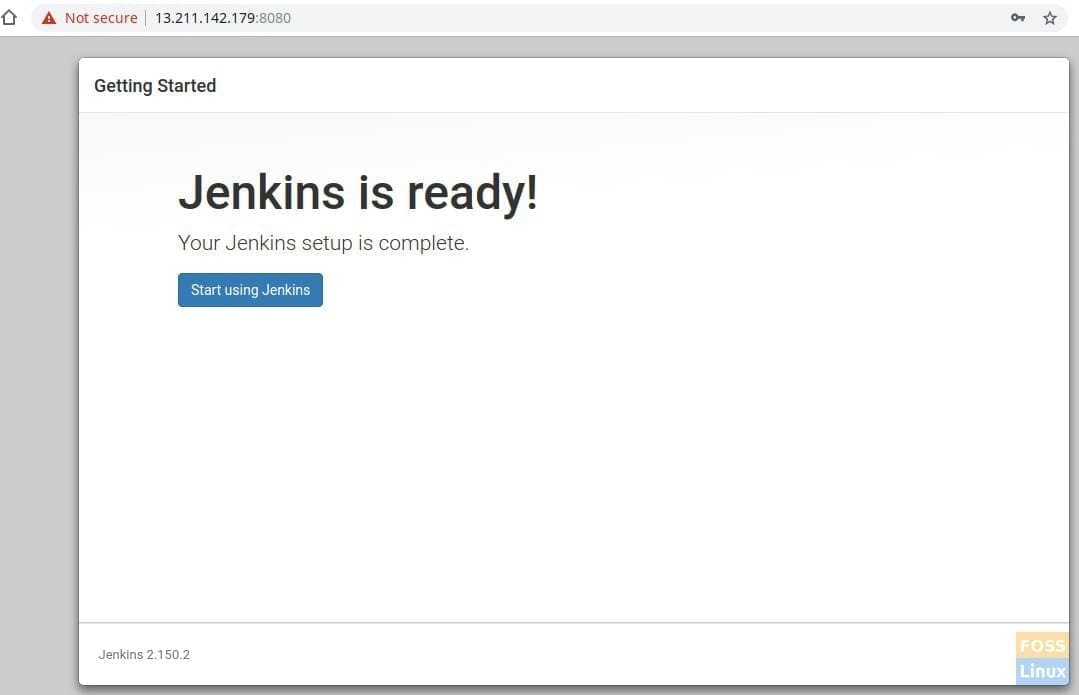
Jenkins Ready
Now click ‘Start using Jenkins,’ and it will redirect to Jenkins Dashboard.
Your Jenkins installation is now completed. If you have any questions, please comment below, and we will be glad to discuss it.


