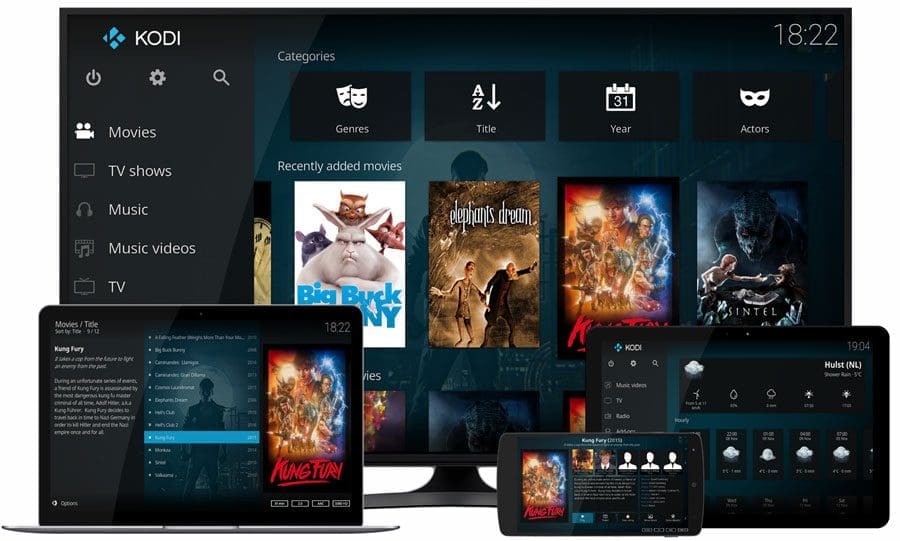
If you are looking for a standalone-like media player for your Linux machine, Kodi is a strong contender that I recommend you trying it out. For those unaware of Kodi, it is a free and open-source media player developed by XBMC Foundation.
Kodi’s highly optimized user interface for remote control almost resembles the standalone Bluray Players available in the market today. The best use of Kodi is for playing movies from your Linux PC connected to a larger display like a TV or a projector via HDMI connection, and your laptop supports IR remote, you can control the playback through it. Kodi is nicely compatible with remote.

Kodi Media Player
Best Features of Kodi
- Free and open-source software
- Beautiful and user-friendly user interface supporting IR remote
- Watch and record live TV
- Thousands of user-created Add-ons
- a highly active community means easy to find the solution to all sorts of customization and issues
- lets you import pictures into a library and view as a slideshow
- supports almost all remote controls and CEC-compatible TVs
In this guide, we will show you the best ways to install Kodi on your Ubuntu-based Linux distributions like elementary OS, Linux Mint, etc.
Installing Kodi on Ubuntu and Linux Mint
My Linux distribution of choice for this tutorial is Ubuntu
Step 1) Launch ‘Terminal’ from the ‘Applications’ search box.
Step 2) Before doing anything, it’s a good practice first to update your system. Enter the following commands one-at-a-time, followed by pressing enter.
sudo apt-get update
sudo apt-get upgrade
Step 3) Enter the following command in the Terminal and press enter. We shall first install the software-properties-common package that allows adding PPA to your Ubuntu or Linux Mint. Typically, this package comes installed by default in recent editions of Ubuntu and Linux Mint. However, there is no harm in entering the command just in case you are running an older Linux version.
sudo apt-get install software-properties-common
Step 4) Let’s get the PPA added.
sudo add-apt-repository ppa:team-xbmc/ppa
Step 5) Now, it’s time to update your system with the new package.
sudo apt-get update
Step 6): Enter the following command and pay attention to the progress in the Terminal. You will have to enter “Y” when needed.
sudo apt-get install kodi
Step 7) That’s it! Kodi should be installed on your system.
Step 8) Go to ‘Applications’ and look for ‘Kodi’. Launch it and enjoy using it.

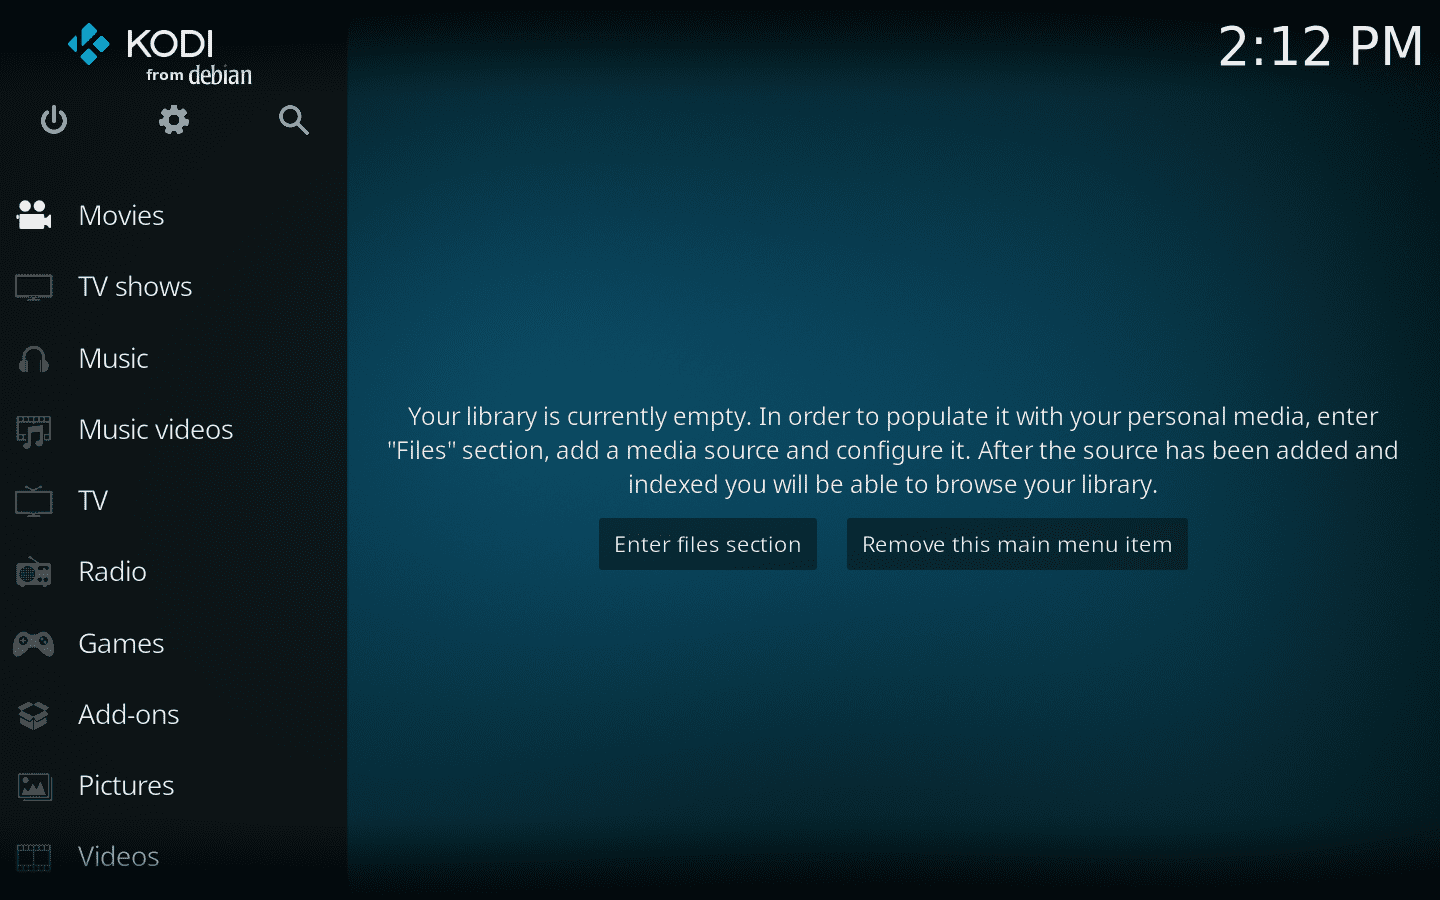
Kodi Interface


1 comment
Thanks for the info on installing kodi