The LXDE (Lightweight X11 Desktop Environment) is a program that aims to create a lightweight and fast desktop environment. This software is a meta-package that relies on the LXDE’s core and recommended components such as lxde-core, lxappearance, lxinput, lxsession-edit, gpicview, mousepad, lxterminal, galculator, lxrandr, and xarchiver. LXDE is optimized for devices with limited resources, including older resource-constrained PCs, newer netbooks, and other compact computers.
This tutorial guide will illustrate how to install LXDE on an existing Debian 11 Bullseye installation. Therefore, to learn more, keep reading this article guide.

LXDE desktop
Installing LXDE GUI in Debian 11 Bullseye
To install LXDE on Debian 11, we will use the apt command.
Note: You can also use the apt-get or aptitude command:
First, update the system with the following command:
sudo apt update
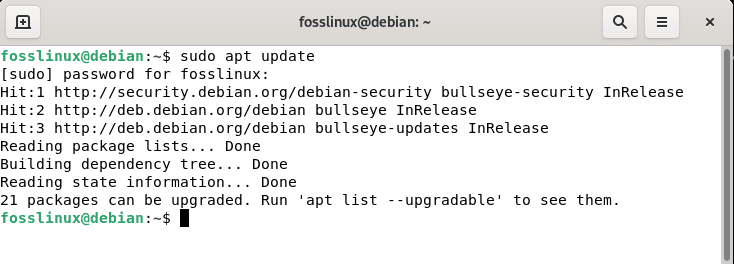
Apt update resources
After that, you can install LXDE using this command:
sudo apt install lxde task-lxde-desktop -y
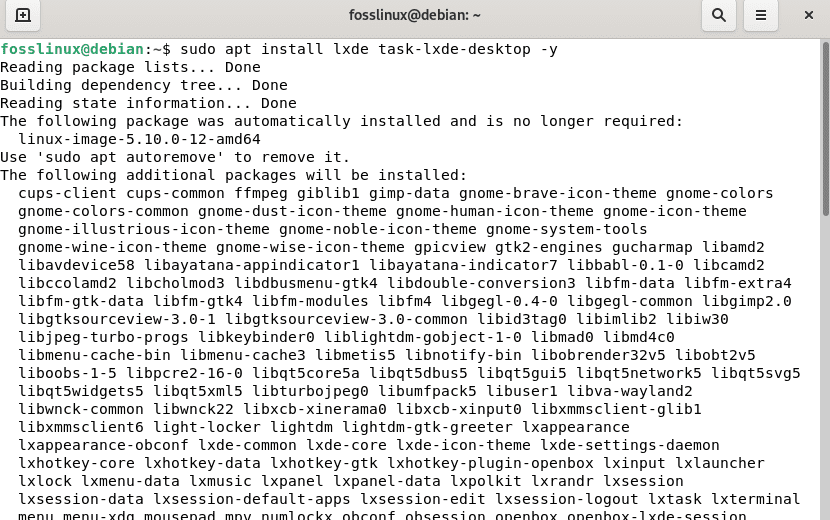
Install LXDE
The above command will install the necessary packages and dependencies to run the GUI.
You will be prompted to configure Lightdm throughout the installation process; hit OK when prompted, as seen below.
Select lightdm and hit ENTER on the following screen, as seen below.
Note: If the preceding setting didn’t prompt you, or if you wish to switch to Lightdm once LXDE is installed, execute the following command to bring up the setup panel.
sudo dpkg-reconfigure gdm3
Press OK on the setup screen.
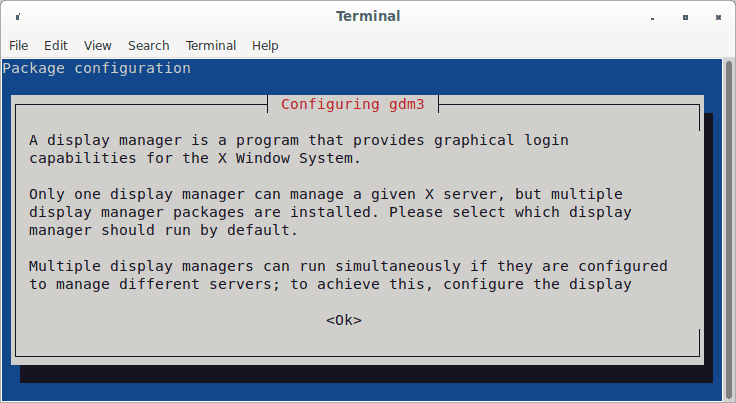
Click OK
Select Lightdm and hit ENTER on the following screen.
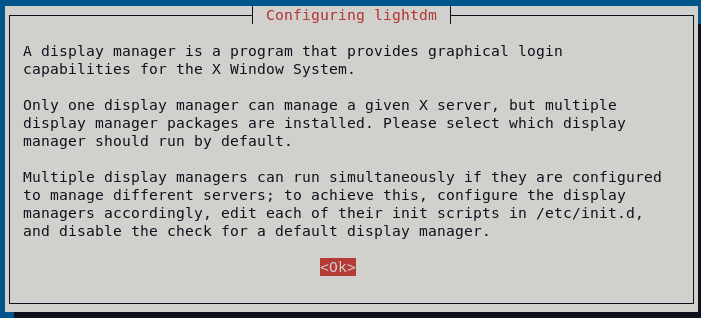
Configure lightdm
Note: If you cannot still configure the installed LXDE desktop, skip and switch the user and choose LXDE.
Log out or switch users after installing LXDE and selecting Lightdm to effect changes made on your Debian 11 OS.
Note: If you have a problem with xfce4-terminal, which is the default terminal emulator for LXDE, you can install another terminal like this:
sudo apt-get install lxterminal
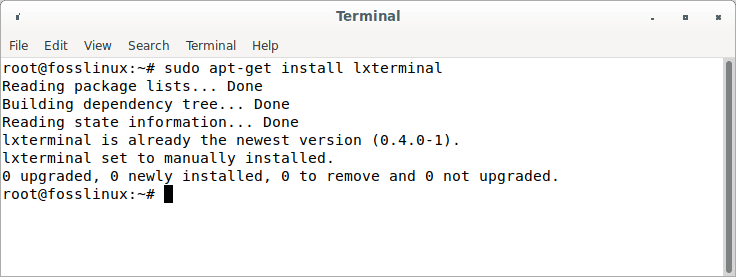
Install lxterminal
After that, you have to configure LXDE to run at startup. To do this, we use the following command:
sudo dpkg-reconfigure lxsession
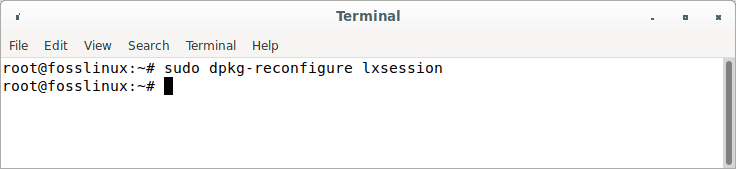
Reconfigure Lxsession
After that, reboot your PC. You should note a new icon on your desktop called “LXDE.” When you click on it, it will show the login screen. Now you can sign in and enjoy using LXDE.
If you want to change the default terminal emulator, you can use the following command:
sudo dpkg-reconfigure xfce4-terminal

or

sudo update-alternatives --config x-terminal-emulator
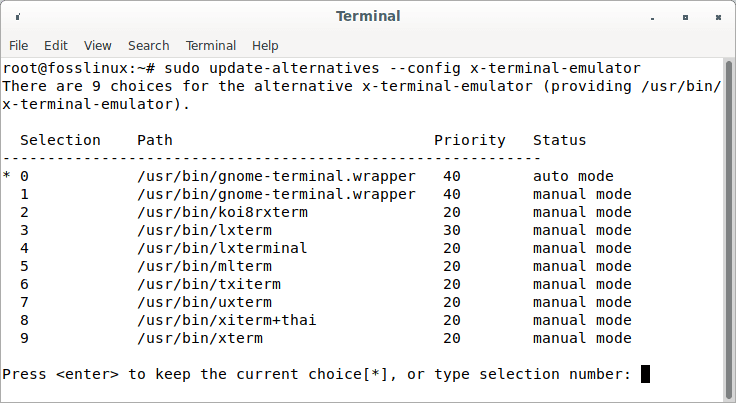
Change default terminal
How to install LXDE during Debian installation
The Debian installation process has a very basic and easy-to-use installer. For example, the following instructions will guide you through installing LXDE on your new Debian machine. This section covers how to install LXDE during the Debian installation process if you don’t already have Debian installed. The installation procedure is nearly identical to Gnome’s; the main variation is in the package selection stage. So let’s get started.
Insert your media installer (DVD, USB) and start it up.
Now click on “Install” followed by “Graphical install.” The installer window will now appear:
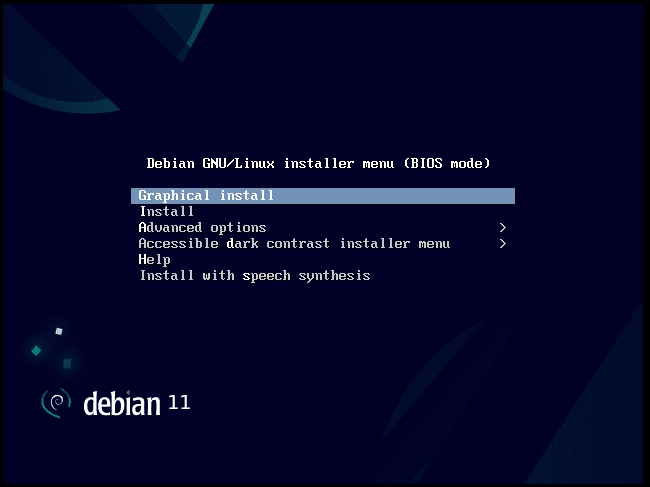
Graphical install
Click the “Continue” button, and you will be presented with a menu of different language options for the installation process. Select your preferred language, choose your location (the country where you live), and then click “Continue” to proceed. Once this data has been entered, you should see a screen like the one shown below:
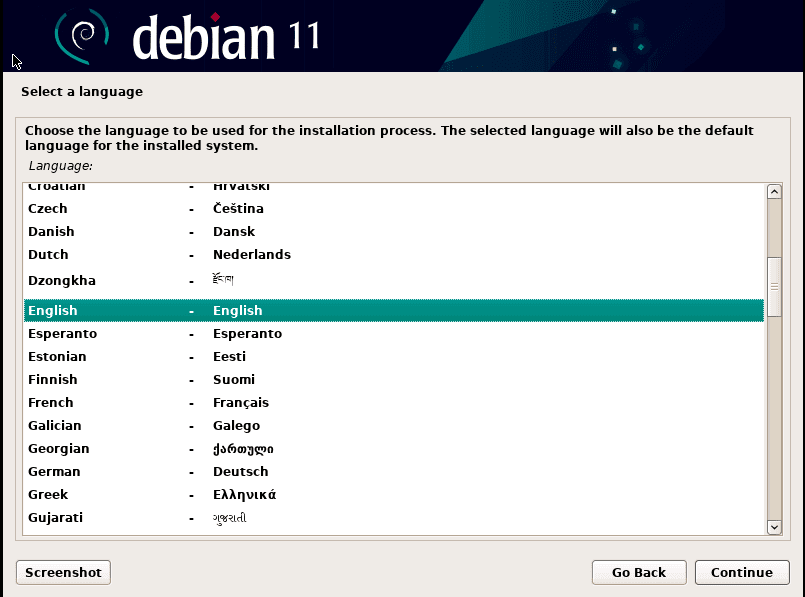
Select Language
Select your desired keyboard layout (for example, United States) and press “Continue” to proceed with the installation process.
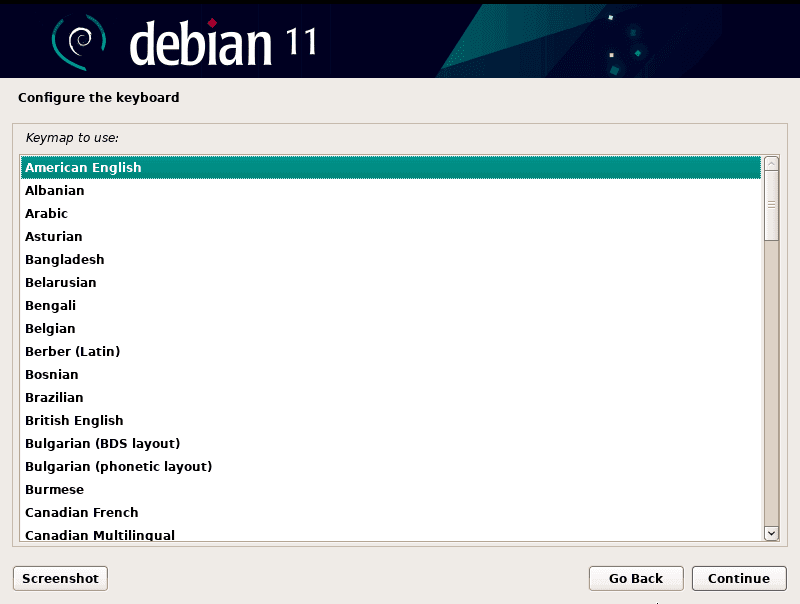
Configure Keyboard
Note: On the next screen, you can choose whether or not you want to run an update of your software packages before continuing with the installation process.
Depending on your computer specifications, the installer will load the required components, which might take a few seconds to many minutes.

Loading installation components
The next step is to choose your system hostname, which is the name that displays after your username, such as fosslinux@hostname. The hostname might be the computer name if you’re using Windows. This is an entirely random decision. Then hit the Continue button.
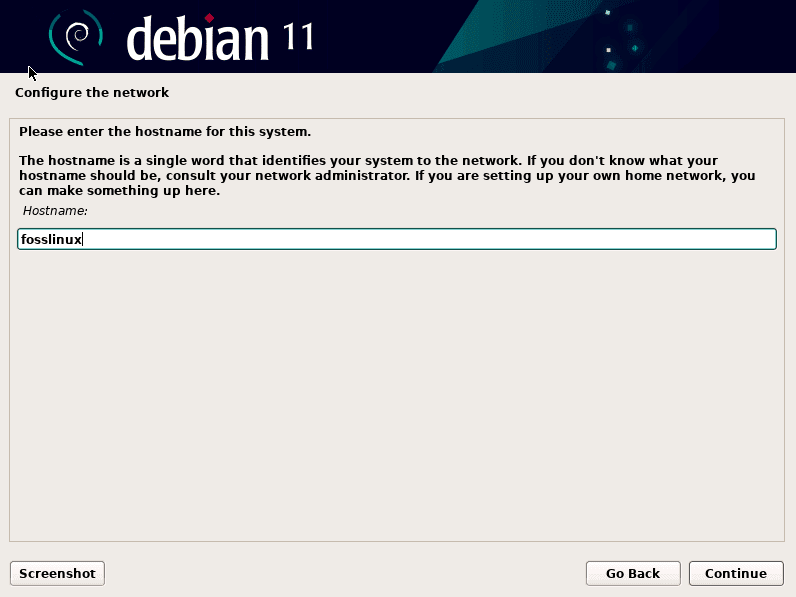
Choose hostname
The following form contains another random field that asks for your domain name; if you like, you can leave it blank, then hit Continue.
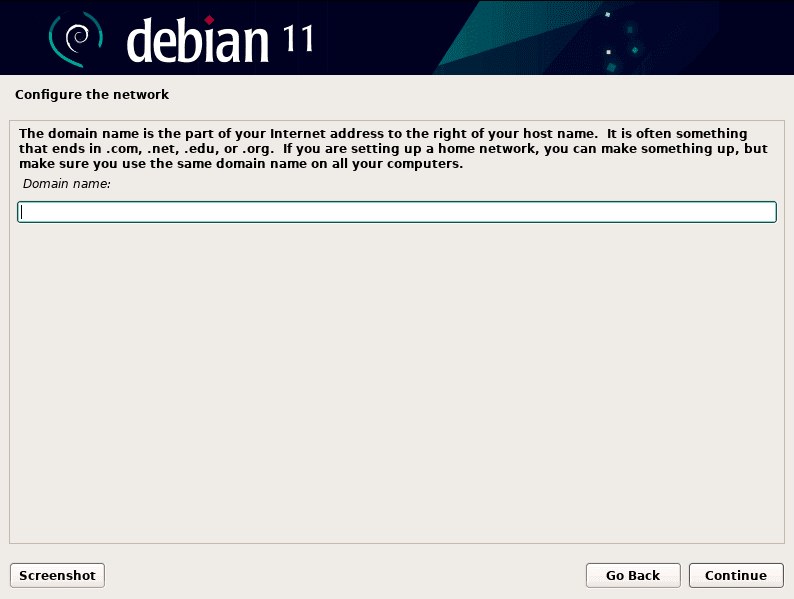
Domain name
The root user must now be given a password. If you’re a Windows user, the root user is equivalent to the Administrator user. Continue after filling in the password.
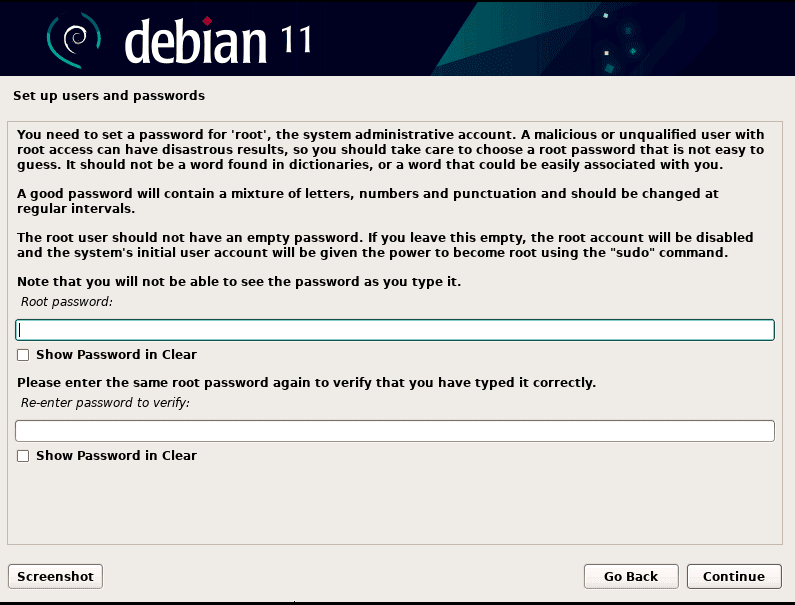
Setup root passwords
Another arbitrary field requires you to provide your user’s true name; you can type whatever name you like (This is not the username). Then hit the Continue button.
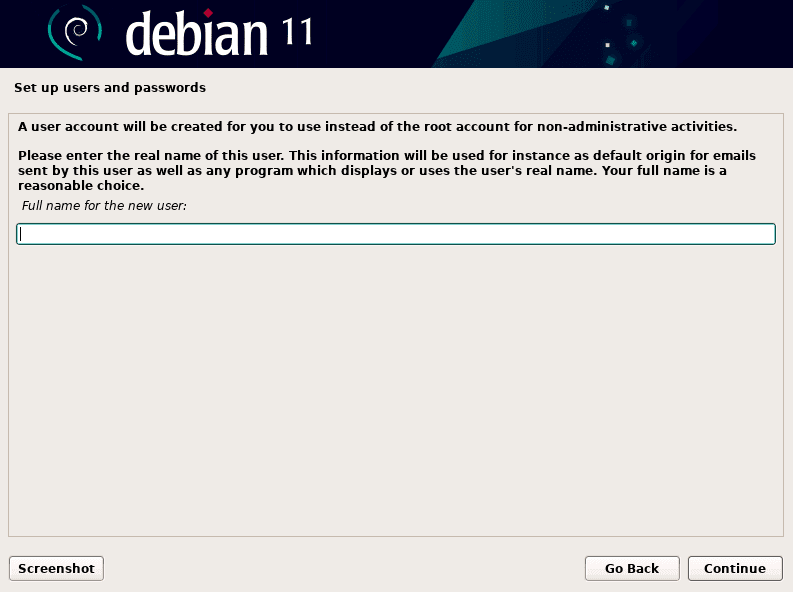
Input the user’s full name
Now type the non-privileged username into the empty username field and click Continue.

Setup username
Press Continue after defining a new passphrase for the non-privileged user you created in the previous step.

Set non-privileged user password
Choose your time zone; this is necessary for your computer clock to function appropriately; once you’ve chosen a time zone, further options will appear; then hit the Continue button.
Now you must allocate disk space or partitions for the new Debian installation. It is advised that new users take advantage of the available free space. Use the “Guided – use the entire disk” if you have no substantial knowledge about partitioning and don’t want to tamper with any of your hard drive partitions. You may proceed if you are comfortable with Linux partitions.
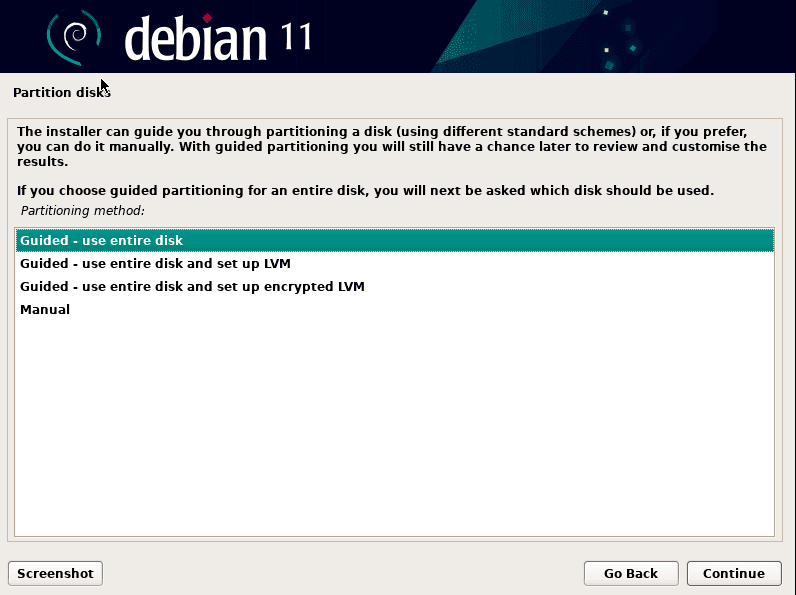
Partition disks
Select the disk device that you want Debian 11 OS to be installed; if you have a unique disk, that’s OK; if not, choose the proper disk and click Continue.
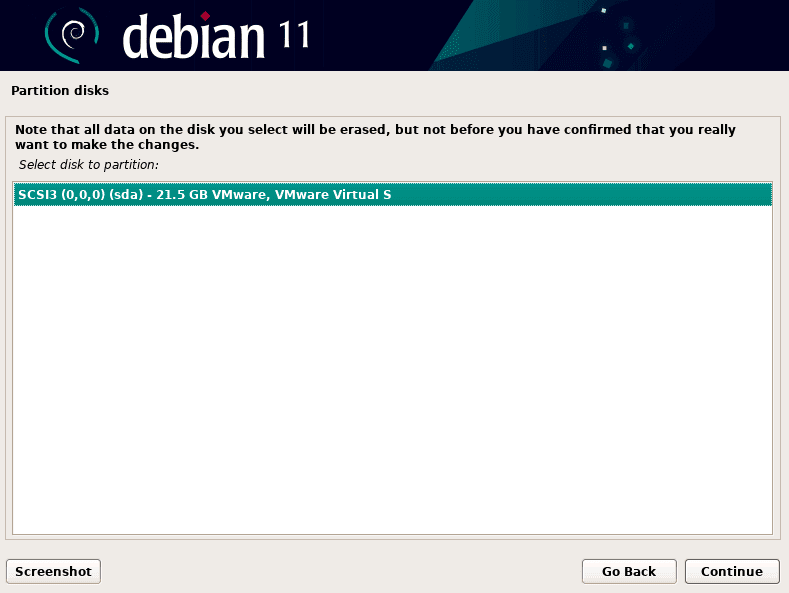
Select disk to partition
Now you must decide where you want your files to be installed. In this scenario, we’ll install all files in a single partition, which is the preferred choice for new users; if you’re an expert user, you can partition your disk as you wish. Continue when you’ve made your selections.
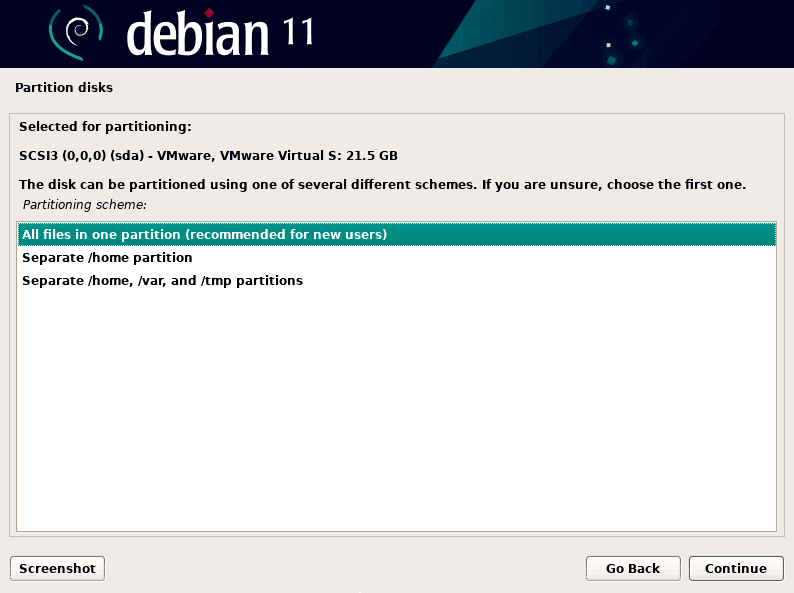
Choose partitioning scheme
Select “Finish partitioning and write changes to disk,” then hit Continue.
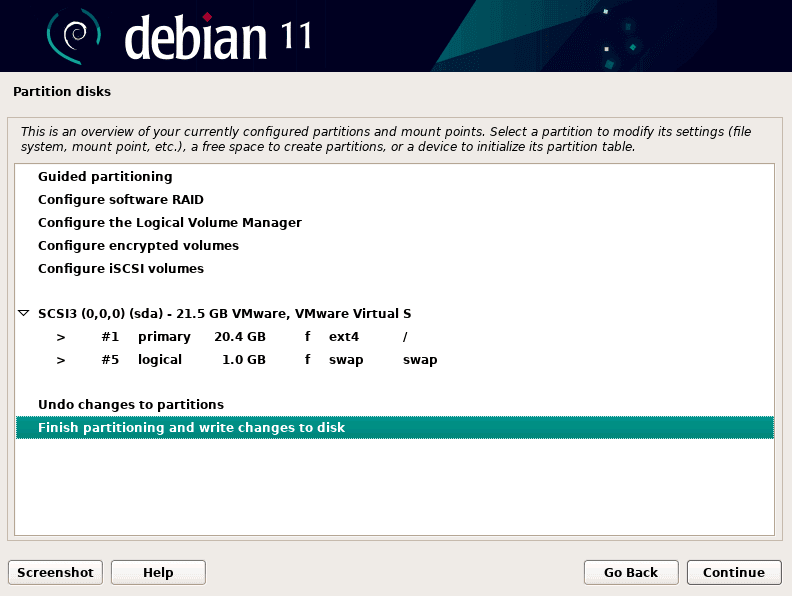
Finish partitioning to make changes
The installation of the base system files will proceed; this might take a few minutes. Now you will be shown a progress bar as the installation process runs.
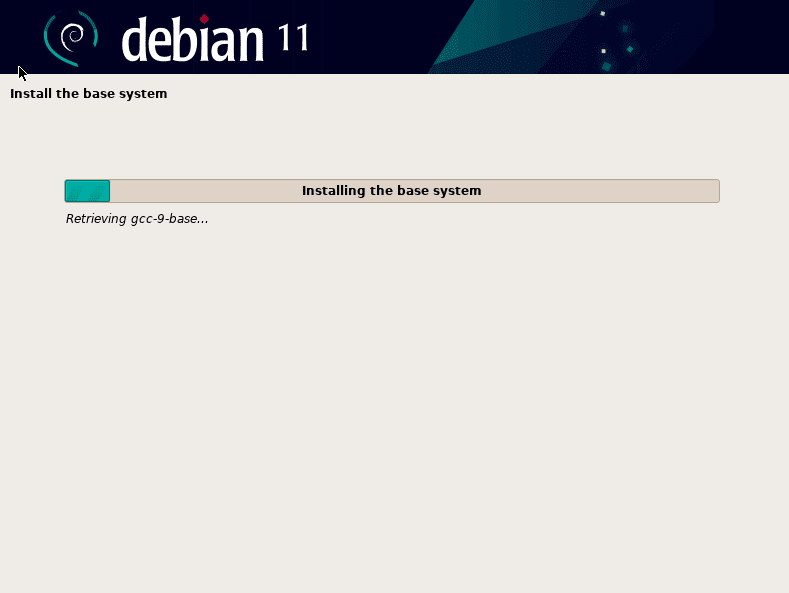
Base system installation
The installation will ask whether you have any other media; the default choice is “No,” so select it and hit Next.
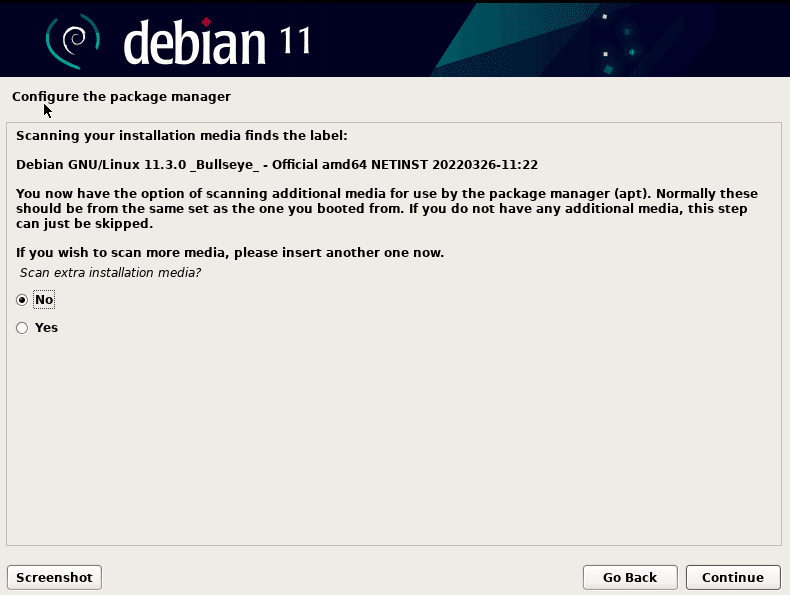
Scan extra installation media
The installer will probe whether you want to install up-to-date packages from a mirror; you may click “Yes” and then choose a mirror, or you can select “No” and update packages later using the apt update command. Choose your preferred choice and hit Continue.

Choose Debian archive mirror
The installation of packages will begin, and you will be needed to engage with the package selection at this time.
When prompted, “Would you want to participate in the package usage survey?” Select the desired option and click Continue.
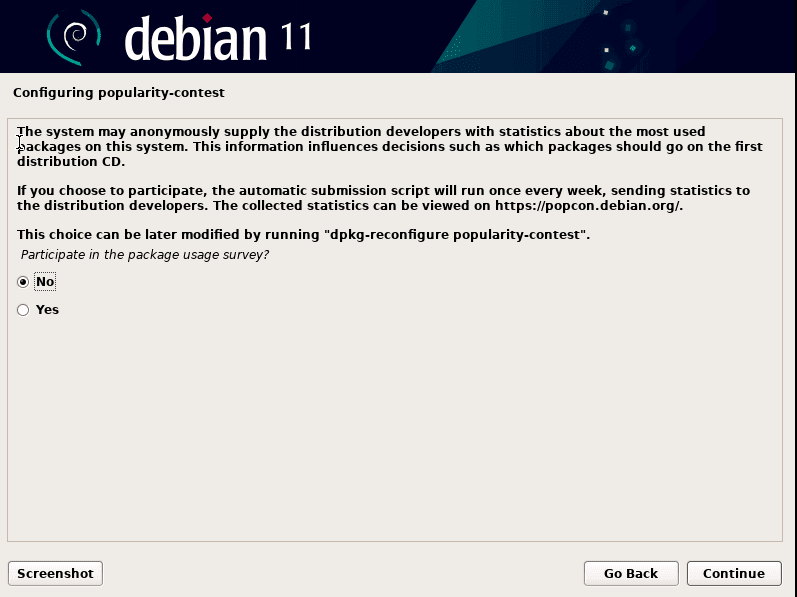
Participate in survey
On the next screen, add LXDE to your freshly installed Debian system. Choose the LXDE package and click Continue.
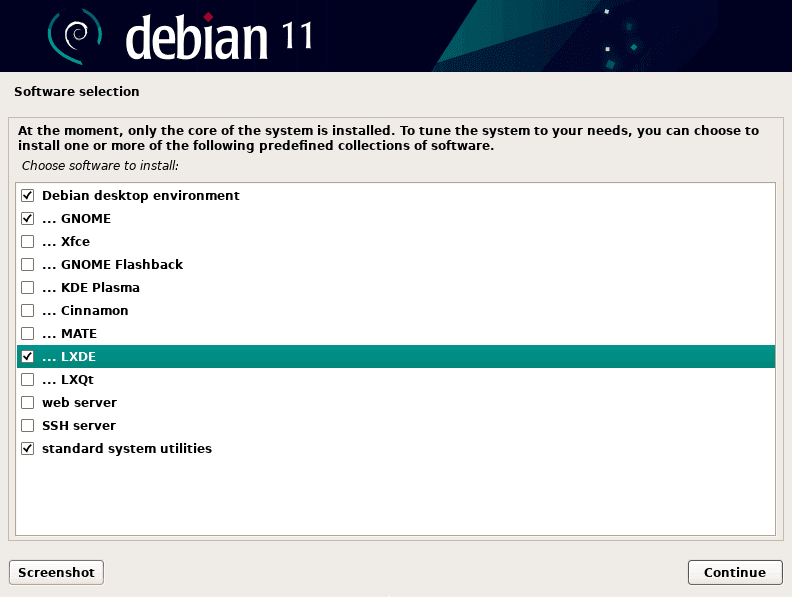
Check LXDE package
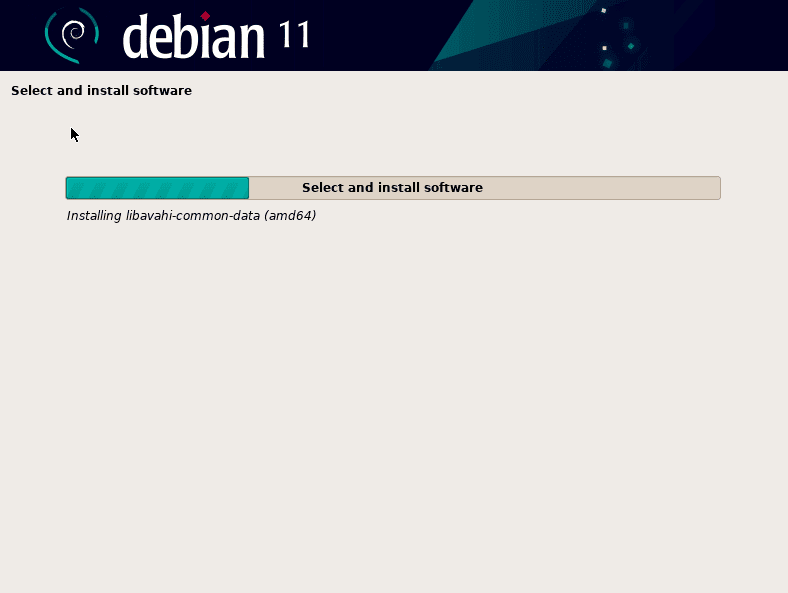
The software installation will proceed; it will take a few minutes to complete.
You’ll be prompted to set up Lightdm. Continue after selecting Lightdm.

Select lightdm
The software installation will take a few more minutes to complete.
Installation progress
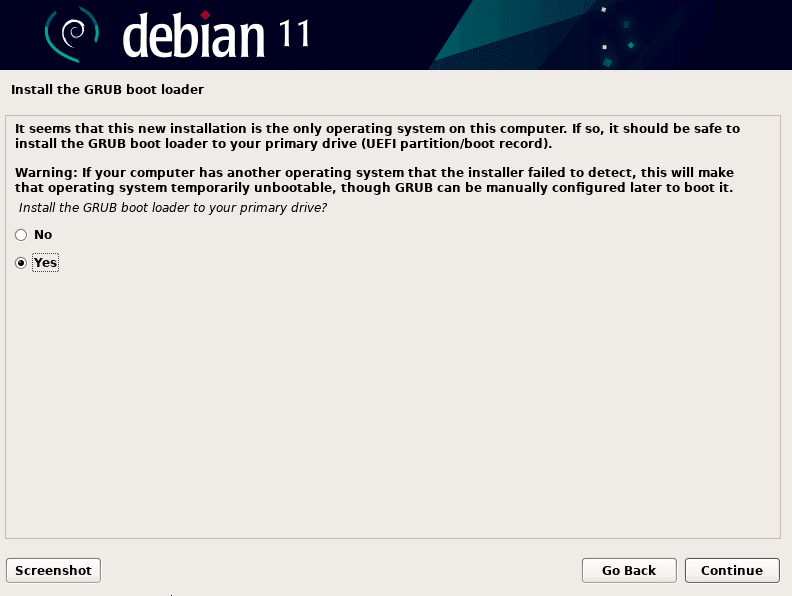
When the software installation is complete, you will be prompted to install the GRUB bootloader; choose “Yes” and press Continue.
Install grub bootloader
Select the disk device where Debian will be installed and click Continue.
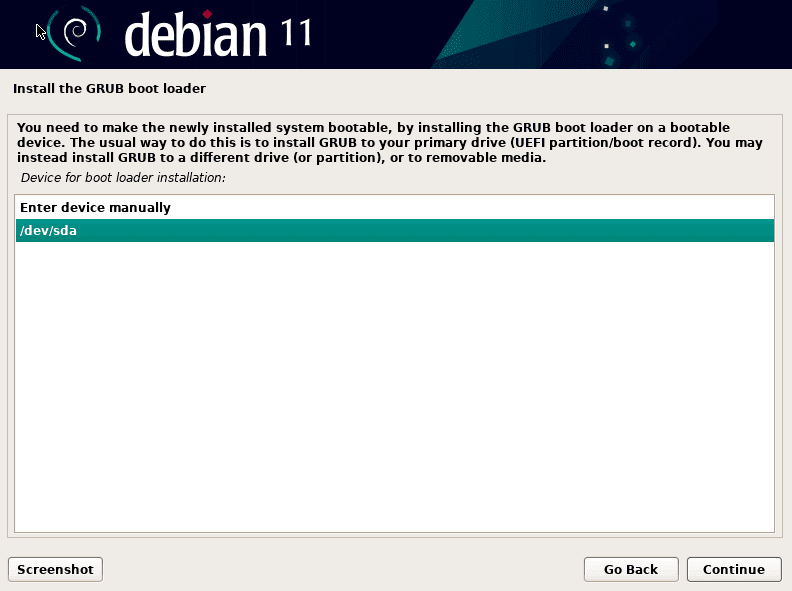
Select device
The software installation will take a few more minutes to complete. Once the installation process is complete, you will see a dialogue box asking you to restart your computer.
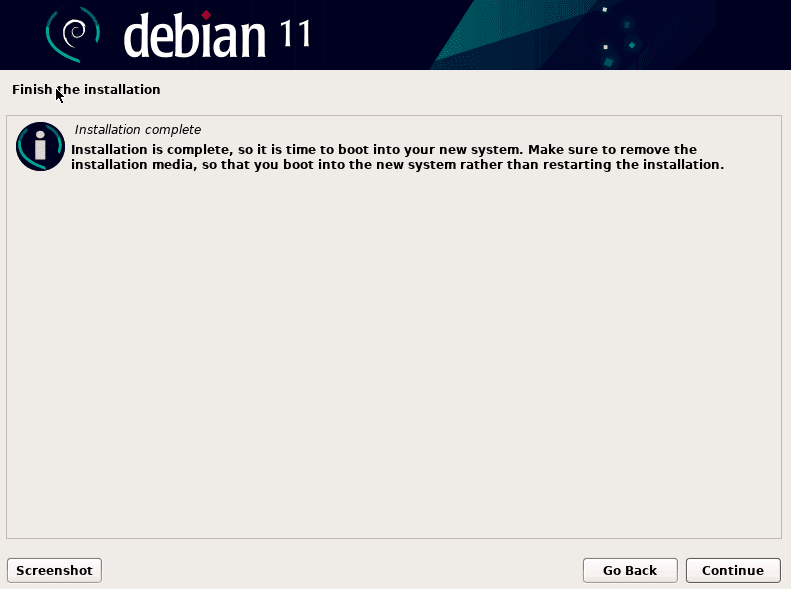
Complete installation
That’s all LXDE has been successfully installed on your Debian 11 Bullseye OS.
Conclusion
Installing LXDE GUI in Debian 11 Bullseye is a simple task that can be executed without complications. The two methods used to install the GUI have all been covered in this article guide. I hope you found it helpful. If yes, please leave a remark in the comments section below and let us know which method worked for you.