systemd is a well-known Linux system and service manager. Since Debian 8, systemd has been the default init system. It is compatible with both SysV and LSB init scripts. Therefore it can take the place of sysvinit in some situations.
It supports the following:
- Aggressive parallelization
- Employs socket and D-Bus activation to start services
- Provides on-demand daemon start
- Keeps track of activities using Linux control groups
- Manages mount and automount points, and
- Implements a complex transactional dependency-based service control logic.
Installing systemd will not change your init system unless you also boot with:
init=/lib/systemd/systemd
or
install systemd-sysv.
systemd is the root of the Linux kernel process tree hierarchy. As a result, it may be utilized to perform tasks such as automatically regulating and starting your services and equipment. Installing systemd on Debian 11 may be done in three ways, namely Apt-get, apt, and aptitude. These are the most common techniques we can employ to complete the installation process. Each technique will be discussed in the subsequent sections. Choose any method that suits you the best.
Installing systemd on Debian
Below are essential methods one can use to install systemd on Debian.
Method 1: Installing systemd using the apt command
First, update the Debian resources by executing the following line of code:
sudo apt update
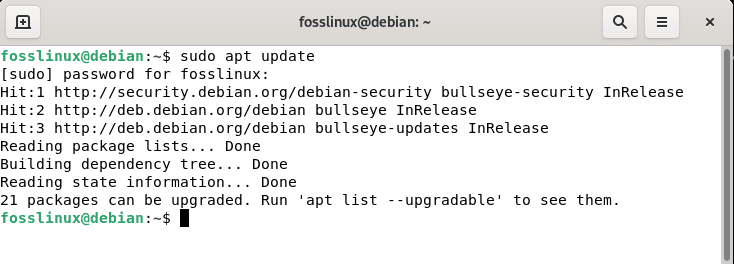
Apt update resources
Once the updating process has completed, install systemd using the line of code displayed here:
sudo apt -y install systemd
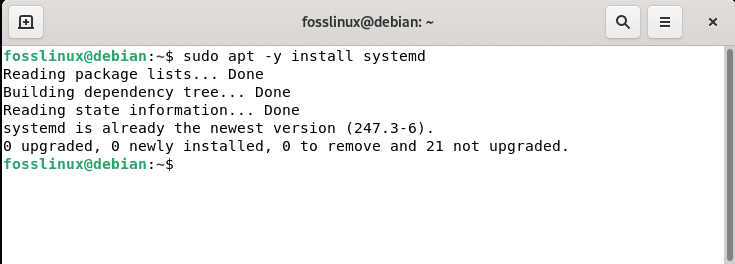
Apt install systemd
That’s all. systemd has been installed on your Debian OS
Method 2: Installing systemd using the apt-get command
First, update the Debian resources by executing the following line of code:
sudo apt-get update
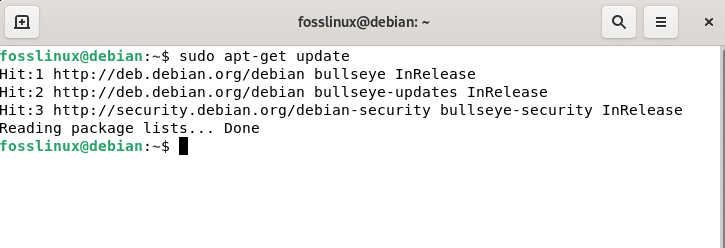
Apt-get update resources
Once the updating process has completed, install systemd using the line of code displayed here:
sudo apt-get -y install systemd
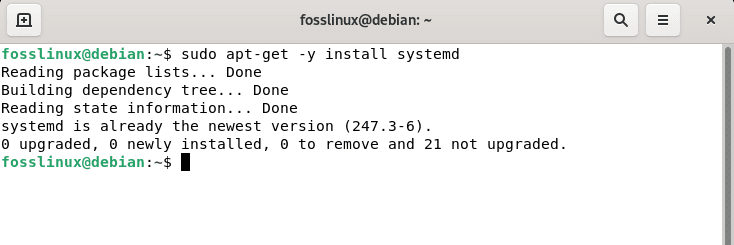
Apt-get install systemd
That’s all. systemd has been installed on your Debian OS
Method 3: Installing systemd using the aptitude command
If you wish to use this approach, you may need to install aptitude first because it is not usually installed by default on Debian. First, run any commands to install aptitude on your Debian 11 OS.
sudo apt install aptitude -y
or
sudo apt-get install aptitude -y
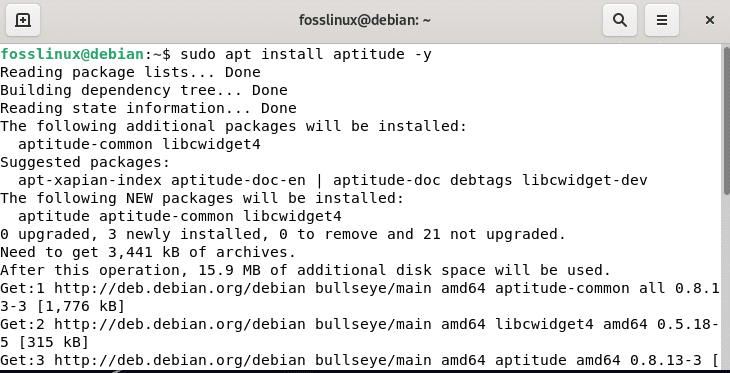
Install aptitude
Once aptitude has been installed on your Debian 11 OS, use the following command to update the Debian database using aptitude.
sudo aptitude update

Aptitude update resources
Give the terminal time to execute the command above, then install systemd using aptitude by running the line of code shown below:
sudo aptitude -y install systemd

Aptitude install systemd
That’s all. systemd has been installed on your Debian 11 OS.
How to use systemd in Debian
systemd is a daemon with the PID 1. Its tasks are divided into units. Services (.service), devices (.device), mount points (.mount), sockets (.socket), and timers(.timer) are the most frequent units. The unit ssh.service, for example, starts the secure shell daemon. systemd places each service in its control group (cgroup) named after it. Modern kernels offer cgroup-based process separation and resource allocation.
systemd develops and manages the sockets that allow system components to communicate with one another. For example, it initially generates the /dev/log connection before starting the syslog daemon. This method has two advantages: One, processes talking with syslog through /dev/log can be started concurrently. Second, crashed services can be resumed without causing processes that communicate with them via sockets to lose their connection. While the process is restarting, the kernel will buffer the communication.
Targets are collections of units. They direct units to assemble the system. For example, graphical.target invokes all units required to boot up a workstation with a graphical user interface. Targets can be built on top of one another or rely on others. systemd activates the target default.target at boot time, an alias for another target, such as graphical.target.
systemd makes use of “unit” to manage all system functions and activities. systemd units use configuration files to regulate their various actions. There are three types of unit configuration files:
- “default unit configuration files,” which are located in the directory
"/usr/lib/systemd/system."
- “system-specific unit configuration files” with configuration files found in
"/etc/systemd/system"
- “run-time unit configuration files” with configuration files found in
"/run/systemd/system"
Run the command provided herein to list all unit files:
systemctl list-unit-files
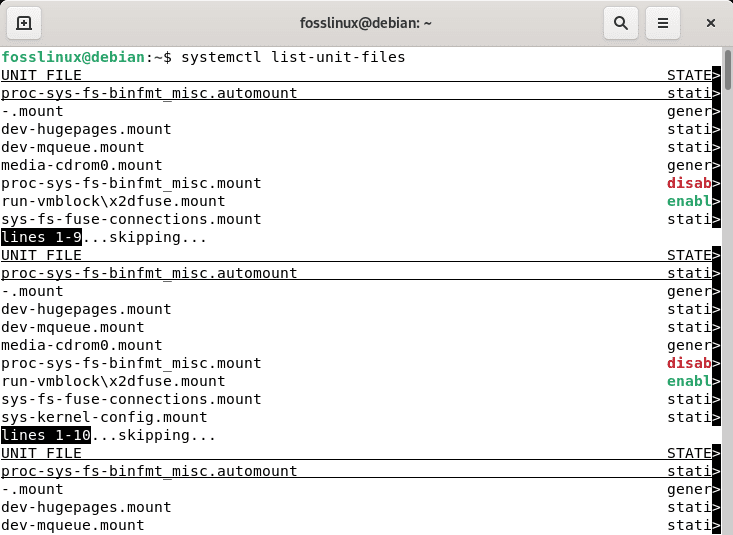
List unit files
Alternatively, you can use the Linux grep command to output only enabled services. To do so, run this command:
systemctl list-unit-files |grep enabled
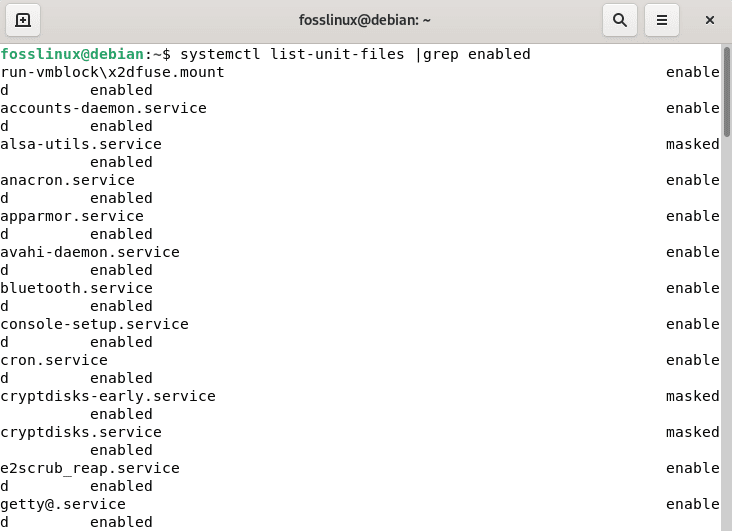
List of enabled services
If you intend to check the service status, run the command below where the <service_name> is the actual name of the server in question:
sudo systemctl status <service_name>
systemd primary use cases include:
systemctl - Show all loaded units and their states

systemctl start [NAME…] - Start (turn on) one or more units

systemctl stop [NAME…] - halt (turn off) one or more units

systemctl disable [NAME…] - Turn off one or more unit files

systemctl list-unit-files - displays the status of all installed unit files.

systemctl --failed - Displays the units that failed during boot.

systemctl list-units - List all of the units

systemctl --type=mount – filter for types such as service, mount, device, socket, or target.

systemctl enable debug-shell.service - To debug, launch a root shell on TTY 9.
systemd basic usage
systemctl is the primary tool used to inspect and administer the system and service manager “systemd” Using systemctl, you may activate or stop services indefinitely or only for the ongoing instance.
How to get information on the system status?
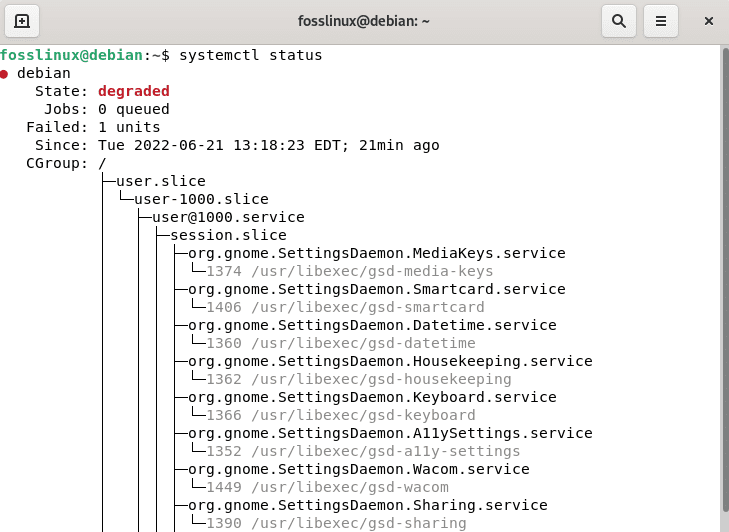
Indicate system status:
systemctl status
Systemctl status
List damaged/failed units:
systemctl --failed

List failed units
A list of the files that have been installed on the unit:
systemctl list-unit-files
How to manage services?
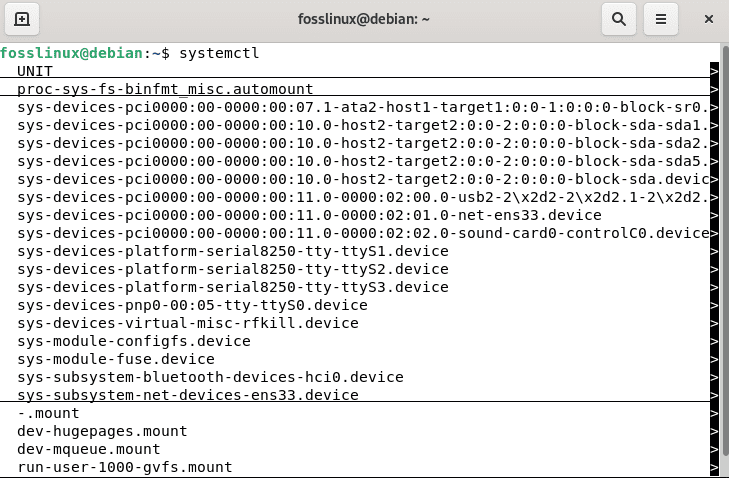
List every active service:
systemctl
List every active service
Immediate activation of the service “fosslinux”:
systemctl start fosslinux
Immediate deactivation of the service “fosslinux”:
systemctl stop fosslinux
Immediate restart of the service “fosslinux”:
systemctl restart fosslinux
Display the status of the “fosslinux” service:
systemctl status fosslinux
Enable “fosslinux” to be launched during system startup:
systemctl enable fosslinux
Disable “fosslinux” from starting at boot time:
systemctl disable fosslinux
Configure systemd for testing purposes
To test systemd before implementing it as the default, add the following boot option to the kernel:
init=/lib/systemd/systemd
For a single boot, this may be done in the grub menu by pressing “e” and adding this to the kernel line. For example, depending on the parameters necessary for your specific system, it may look like this:
linux /vmlinuz-3.13-1-amd64 root=/dev/mapper/root-root init=/lib/systemd/systemd ro quiet
How to configure systemd as default?
To utilize systemd, you must install systemd-sysv, which provides symlinks for /sbin/init. It is suggested to execute this when the systemd is already running, as mentioned in the preceding section.
sudo apt-get install systemd-sysv

Install systemd-sysv
Simply reboot to boot your system with the freshly loaded systemd. To reboot using the terminal, run the following command and wait as your Debian 11 OS reboots to the newly loaded systemd
reboot
Note: If you use a self-compiled kernel, ensure sure it is 2.6.39 or newer and that the following options are enabled:
CONFIG_DEVTMPFS=y

CONFIG_CGROUPS=y

CONFIG_AUTOFS4_FS=[y|m]

CONFIG_IPV6=[y|m], optional, but highly recommended

CONFIG_FANOTIFY=y, optional, required for systemd readahead. available in Linux kernel >= 2.6.37.
Conclusion
This brief article has outlined all aspects concerning installing and using systemd in Debian 11 Bullseye. I hope you found it helpful. Please let us know how you felt about the article in the comments below. Thanks for reading and following fosslinux for more article guides.

